
A Melt and Pour Soapy First Try…
Hello! I have been a wee bit quiet lately taking care of family and doing some major home overhaul but here I am back again with some crafty goodness. What better way to get back into the creative swing of things other than trying a new craft I had never made before! Melt and Pour soaps have been around for some time but I honestly thought they might be a bit much to try. The closest I had gotten to melt and pour products was making candles with my mother as a child, so this was going to be a learning curve. Thankfully it ended up being a lot easier than I thought and I might have found a new crafting medium to work in!
At The Creativation Trade Show 2018, held by Association For Creative Industries or AFCI, I saw the Life of the Party booth showcasing their soap products. At first I was just excited with their lovely line of molds, being not only safe for soap but can be used for candy and resin. Their line of soap products can be found at most craft stores and online (don’t forget to use your store coupons). Watching their demos I saw how their Melt and Pour Soap base kits could be used, also how to be more creative by using their premade soap bases with additional scents, dyes, herbs and exfoliates. I expressed my concern with a few allergies I have to certain plants and chemicals so the kind ladies at the booth gave me some kits to try out that did not contain my allergens.
Fast forward to the end of Summer, while cleaning and sorting my craft supplies I find these kits collecting dust on one of my craft tables. I needed to rectify this and start trying to make some soap!
In addition to the soap making kits I used:
1 Small Spritz Bottle filled with rubbing alcohol
1 Microwave Safe Glass Measuring Cup
1 Soap Cutting Blade
1 Pack Wood Craft Sticks
Additional Fragrance and Essential Oils
Dried Herbs from my garden
Food Grade Spices
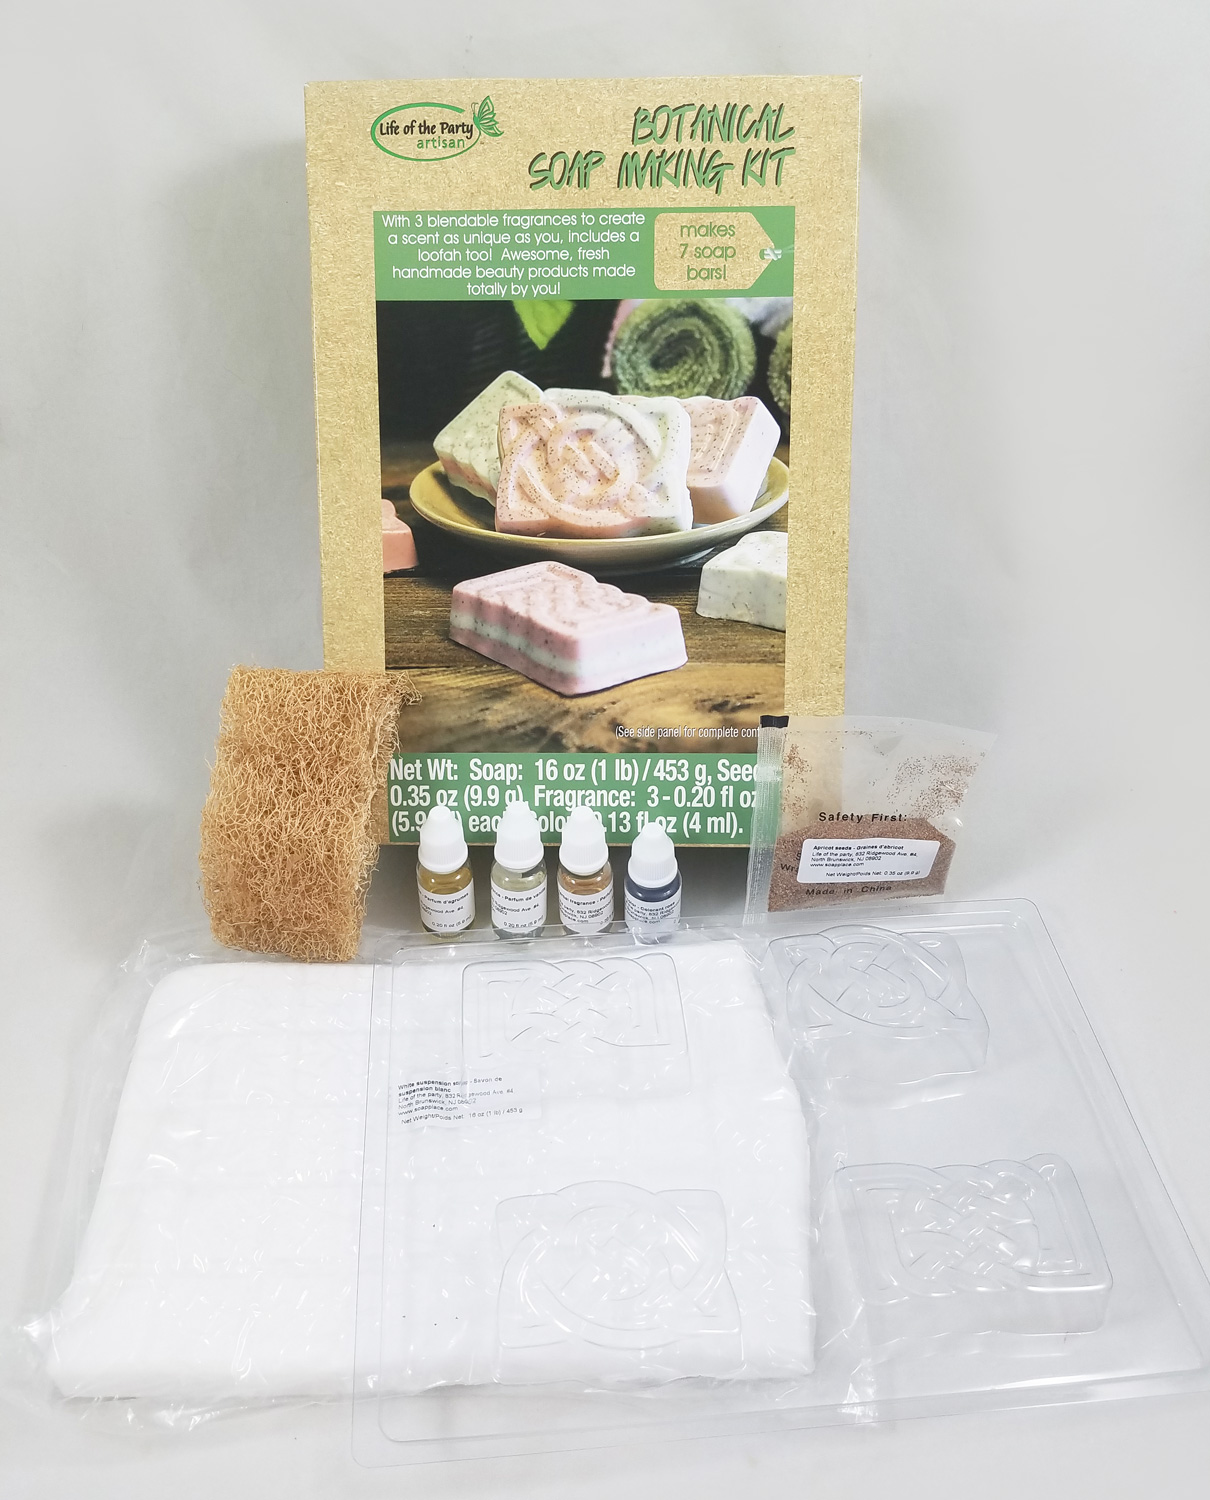
The first kit I tried out was the Life of the Party Botanical Soap Making Kit*. I picked this kit as my first try as it seemed the most simplistic of the kits, with smaller soap bar molds and a more mainstream soap base.
It comes with:
16 oz (1lb) White Suspension Soap
3 – 0.20 fl oz blendable fragrances Cool Citrus, Warm Vanilla, Fresh Herbal
0.13 fl oz rose color
0.35 oz apricot seeds
1- 4 cavity mold 1 loofah 1 instruction sheet
Make sure to read the kit instructions fully before attempting to create any soap.
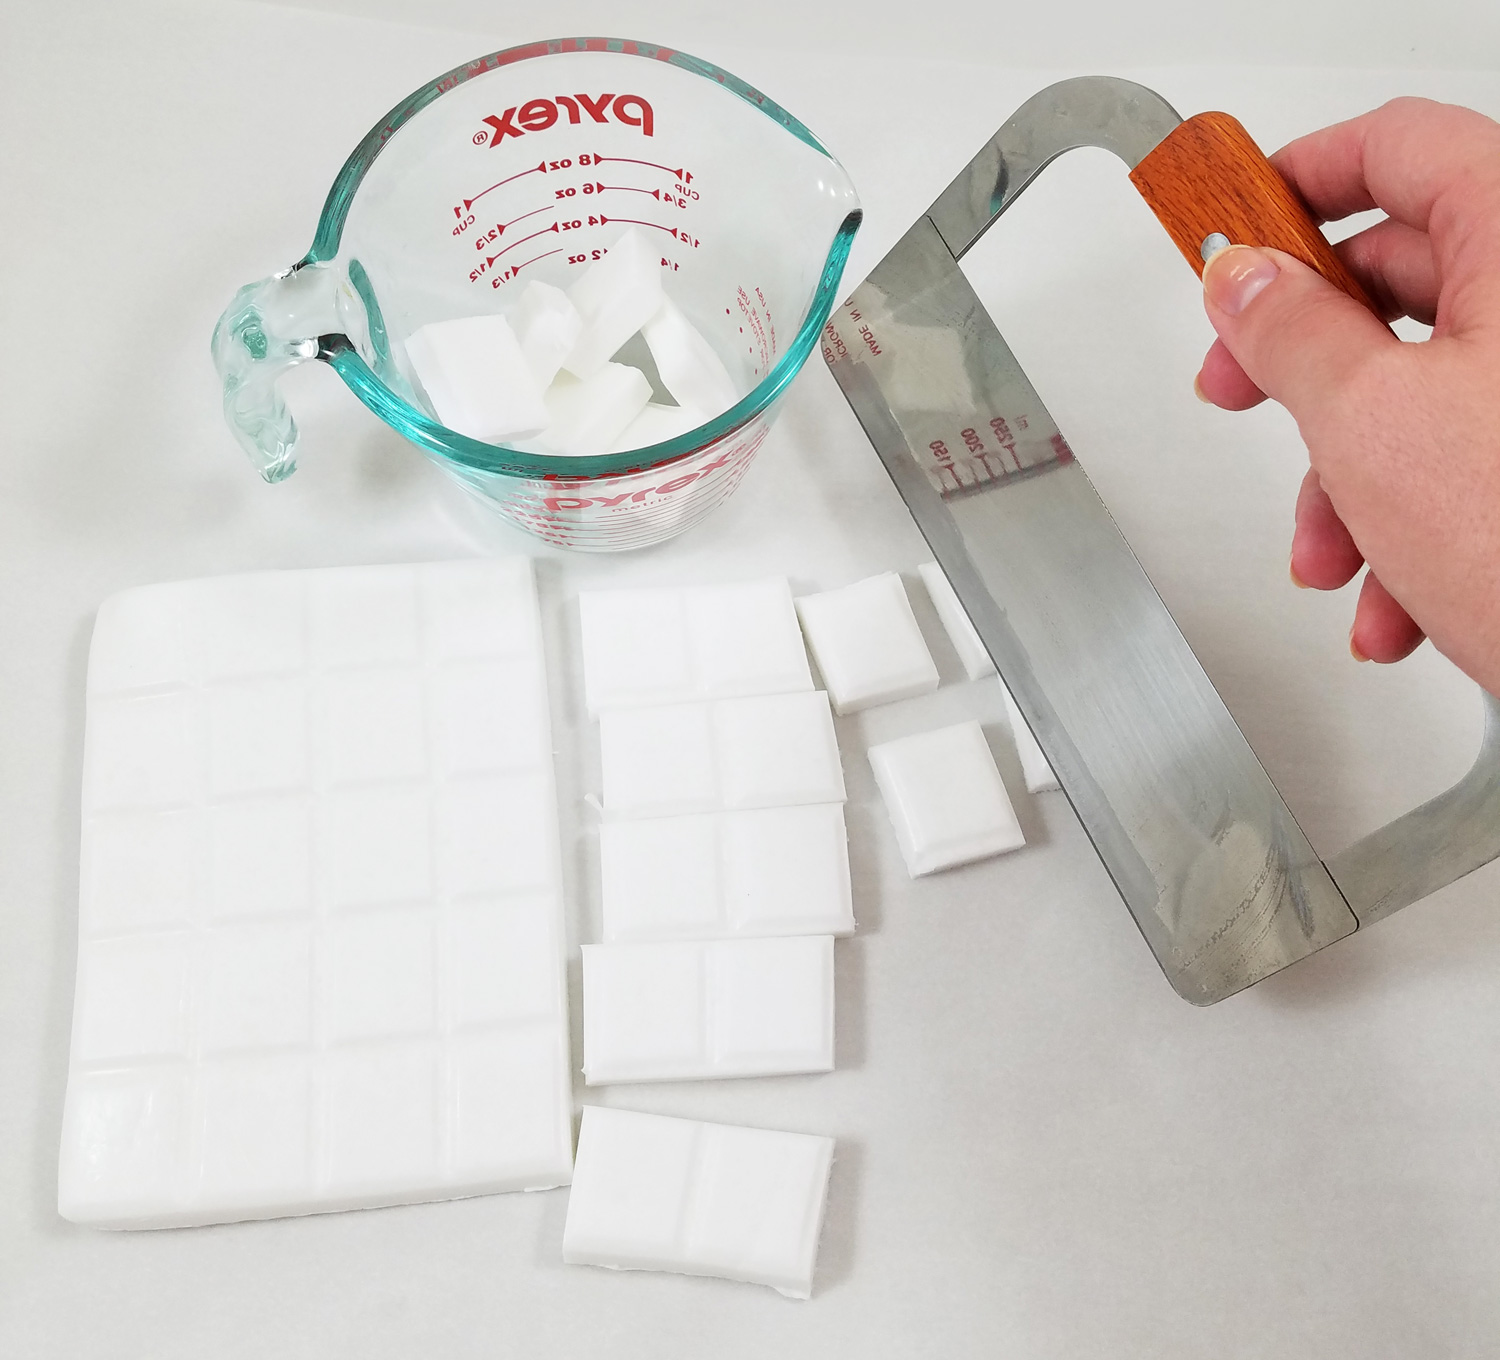
Following the instruction sheet included with the kit I cut the soap brick into cubes.
I would describe the texture of the White Suspension Soap as something akin to the old style “skin care bar” soap sold in the U.S. for the last hundred or so years. It was a bit stiff to cut through with a butter knife so I went ahead and tried Life of the Party Soap Cutter Straight Blade *. While a knife can do the same job, I find using the cutter allows me to cut easier and quicker and it is kinder on achy hands.
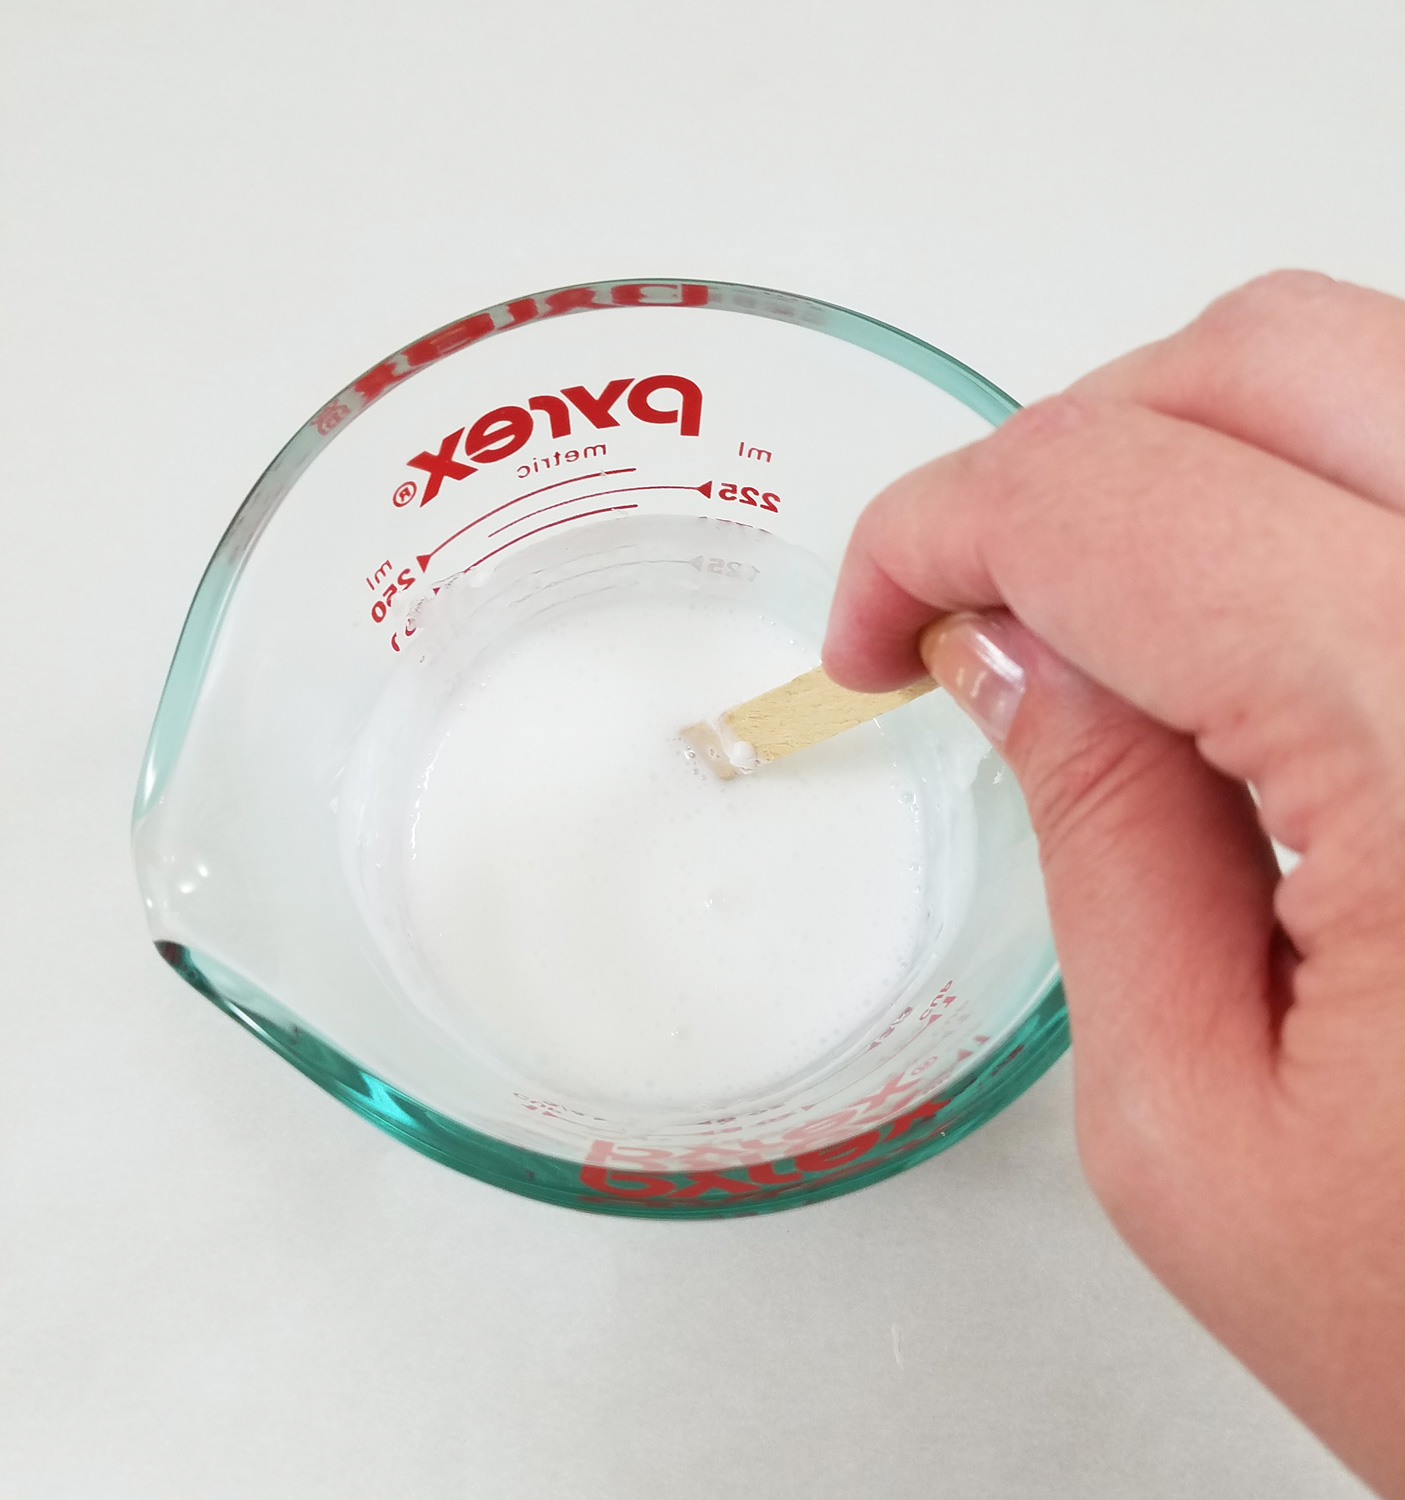
I put the soap cubes into a microwave-safe measuring cup and put it in the microwave for 20 second intervals, stirring the cubes until melted. Be careful with this step as it is easy to overheat the soap and the melted soap is very hot.
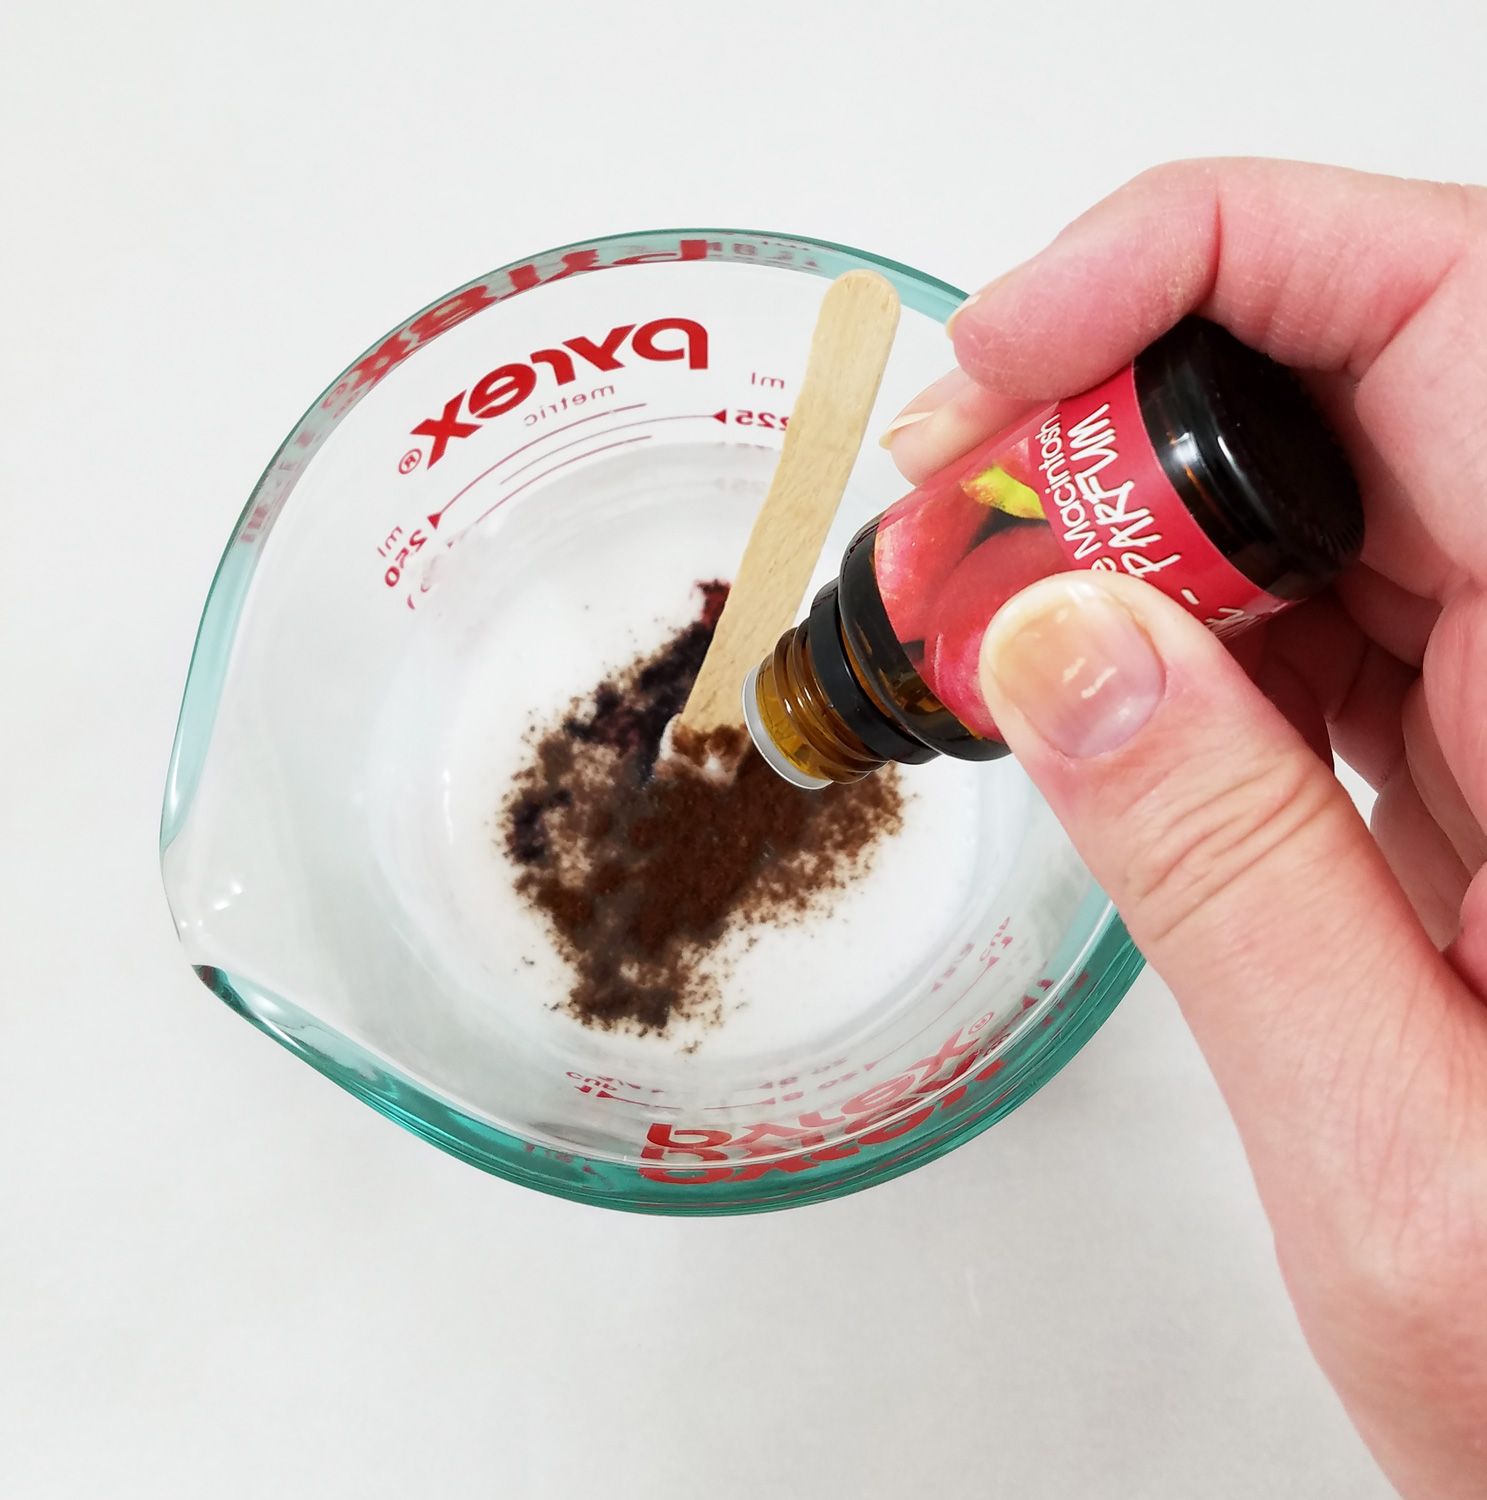
I wasn’t overly fond of the other two fragrances that came with the kit but I did like the Warm Vanilla scent. So I decided to add ground cinnamon, the Warm Vanilla and Life of the Party Macintosh Apple Fragrance * , giving it a scent somewhat akin to an apple pie. Keep in mind the more drops of fragrance or oils you use the stronger the scent will be.
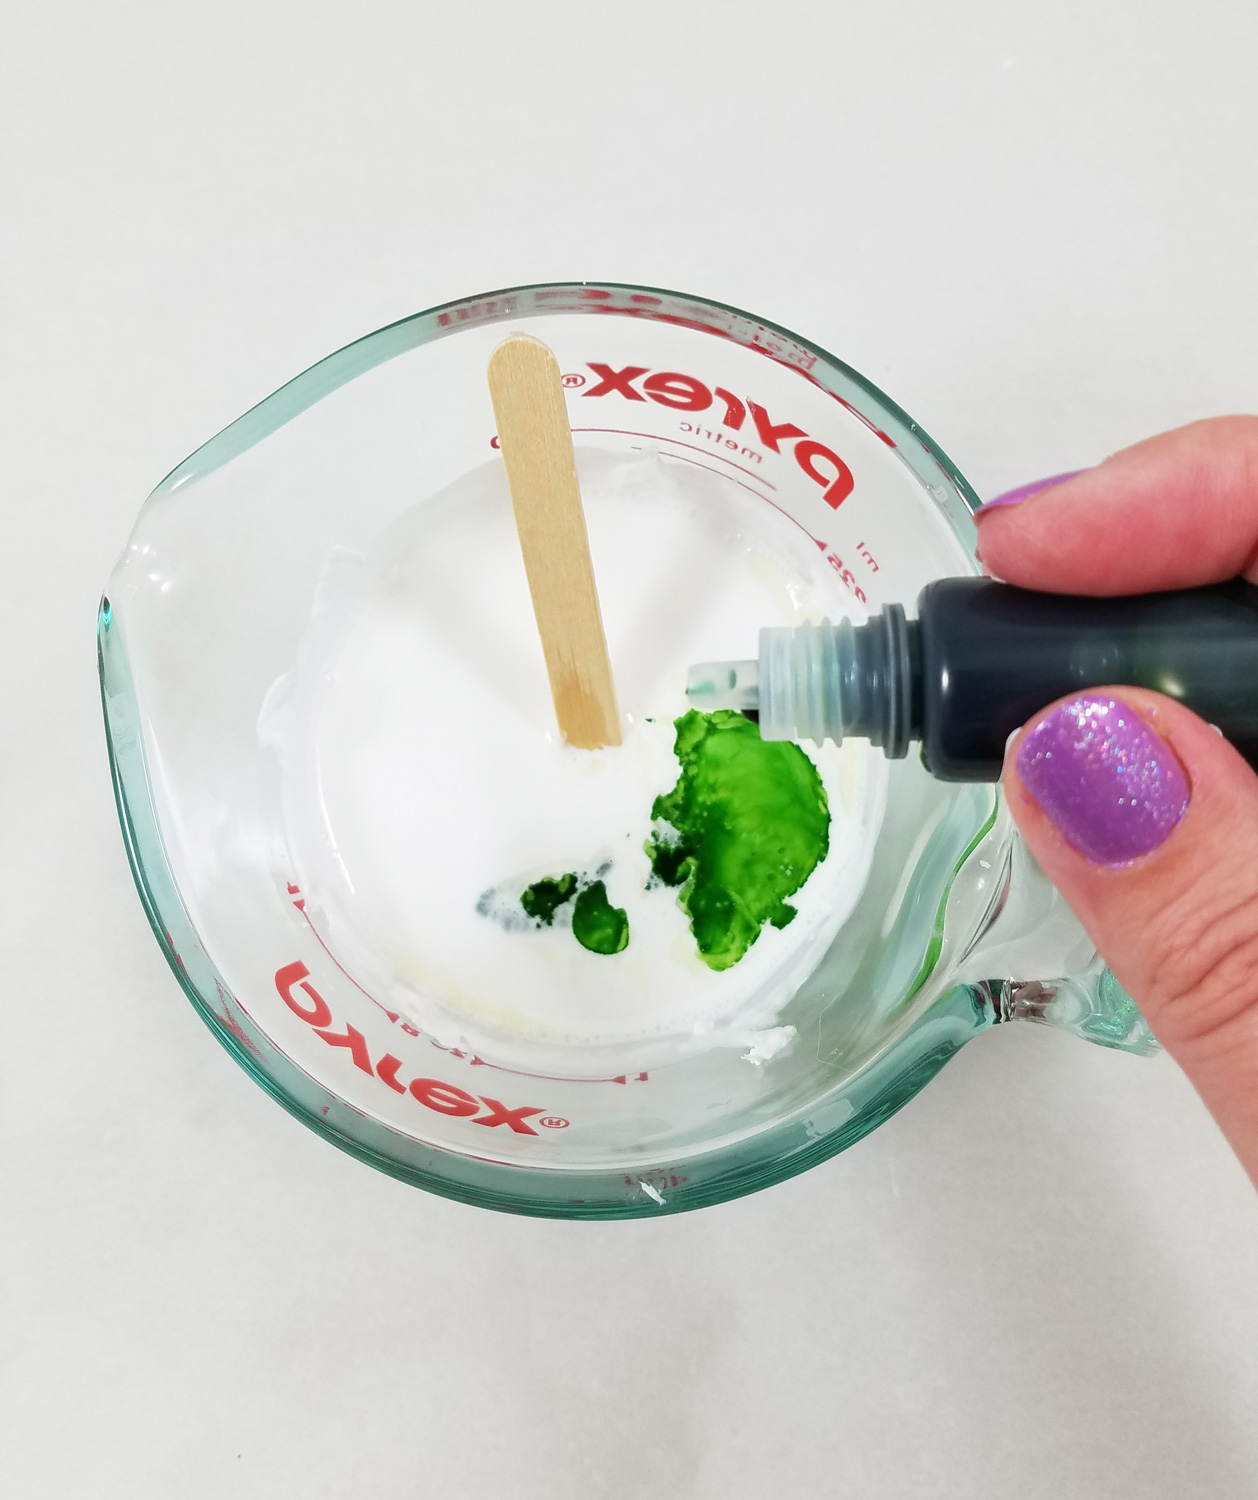
I added in the apricot seeds from the kit as an exfoliant and a few drops of the rose color dye to tint the soap a pale pink. At one point I noticed the soap started to get cool and harden so I popped it back in the microwave for 20 seconds and then stirred well.

Instead of leaving the loofah whole I cut it up so I could put portions into each soap cavity. This would make these not your normal soap bars but indulgent foot scrubbing soap bars. The hot liquid soap saturated the loofah and filled each mold cavity.
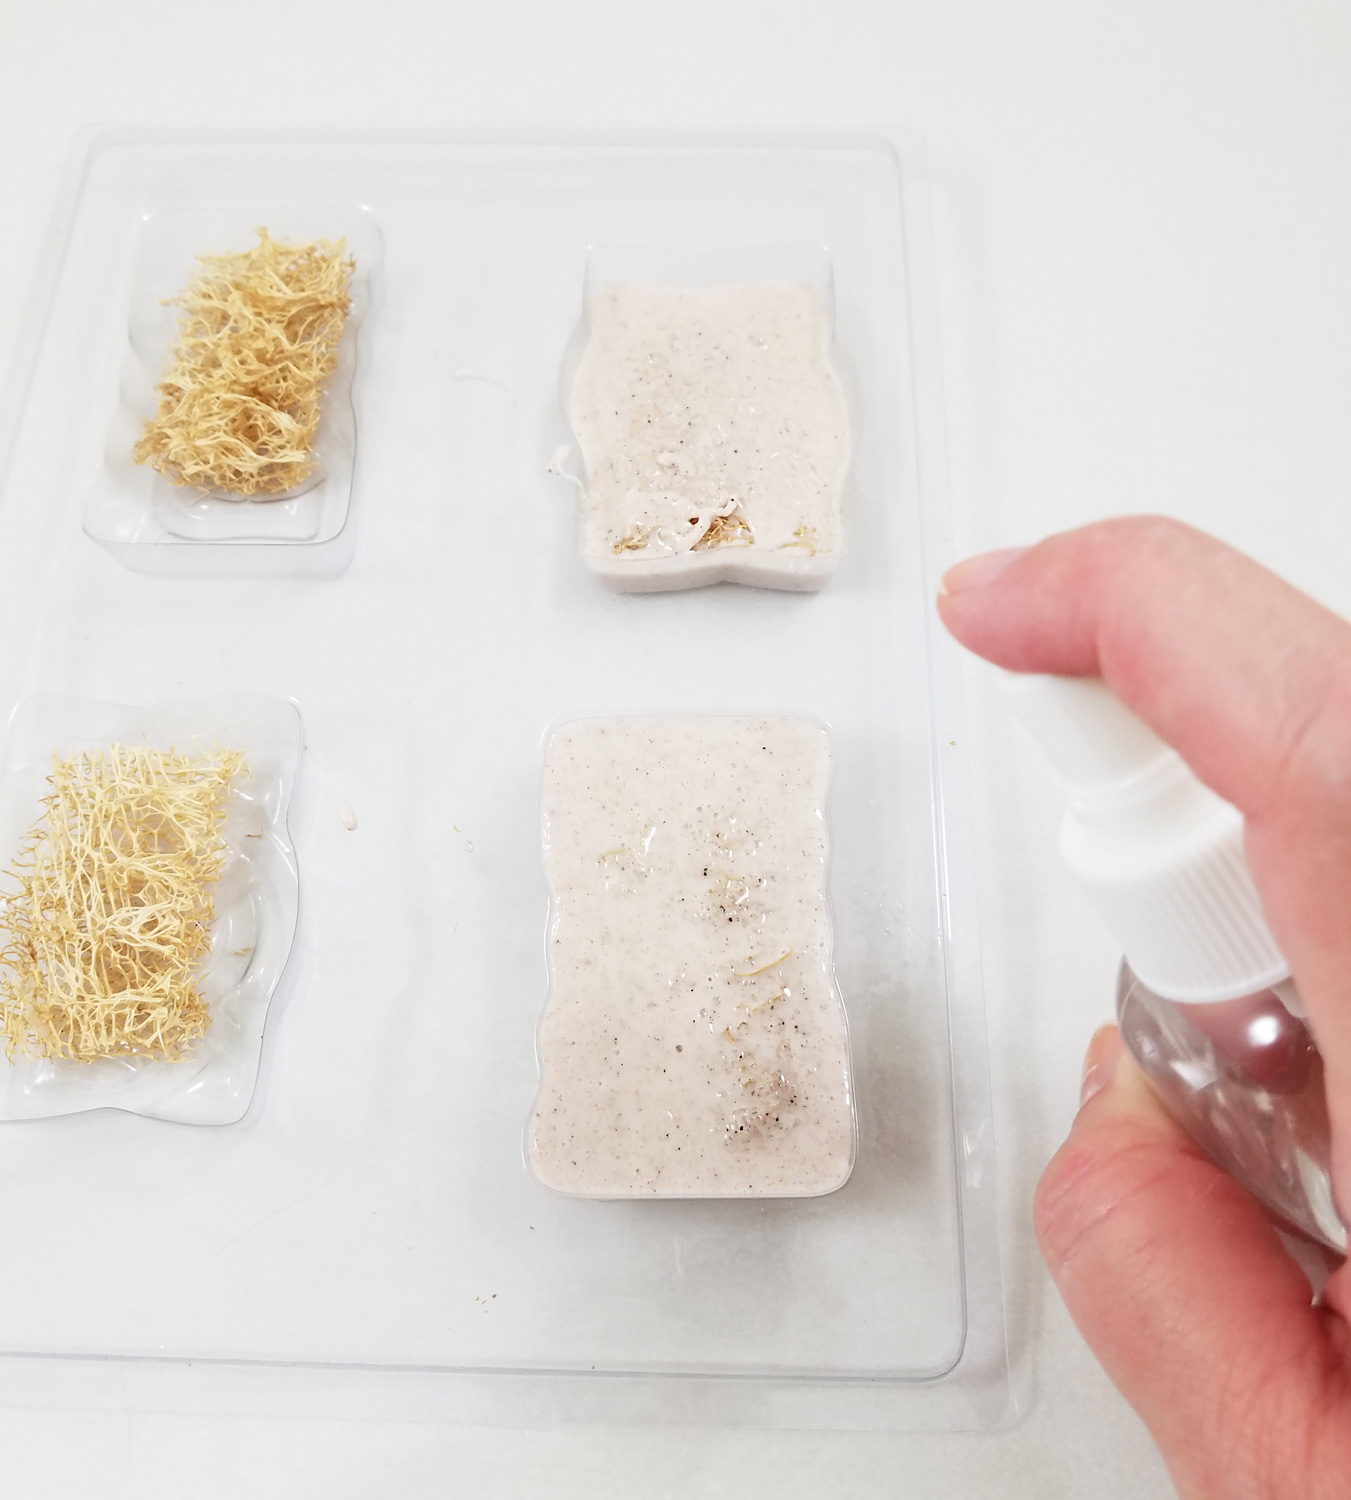
Before the soap cooled I spritzed the soap in the mold with the rubbing alcohol to pop the bubbles that formed in the pouring process. The instructions said to let the soap bars cool and sit still for 30-40 minutes, but since I live in a warm climate I had to let the soap sit for close to 1 1/2 before moving and demolding. You might find that there will be some variance in heating and cooling time depending on what climate you live in.
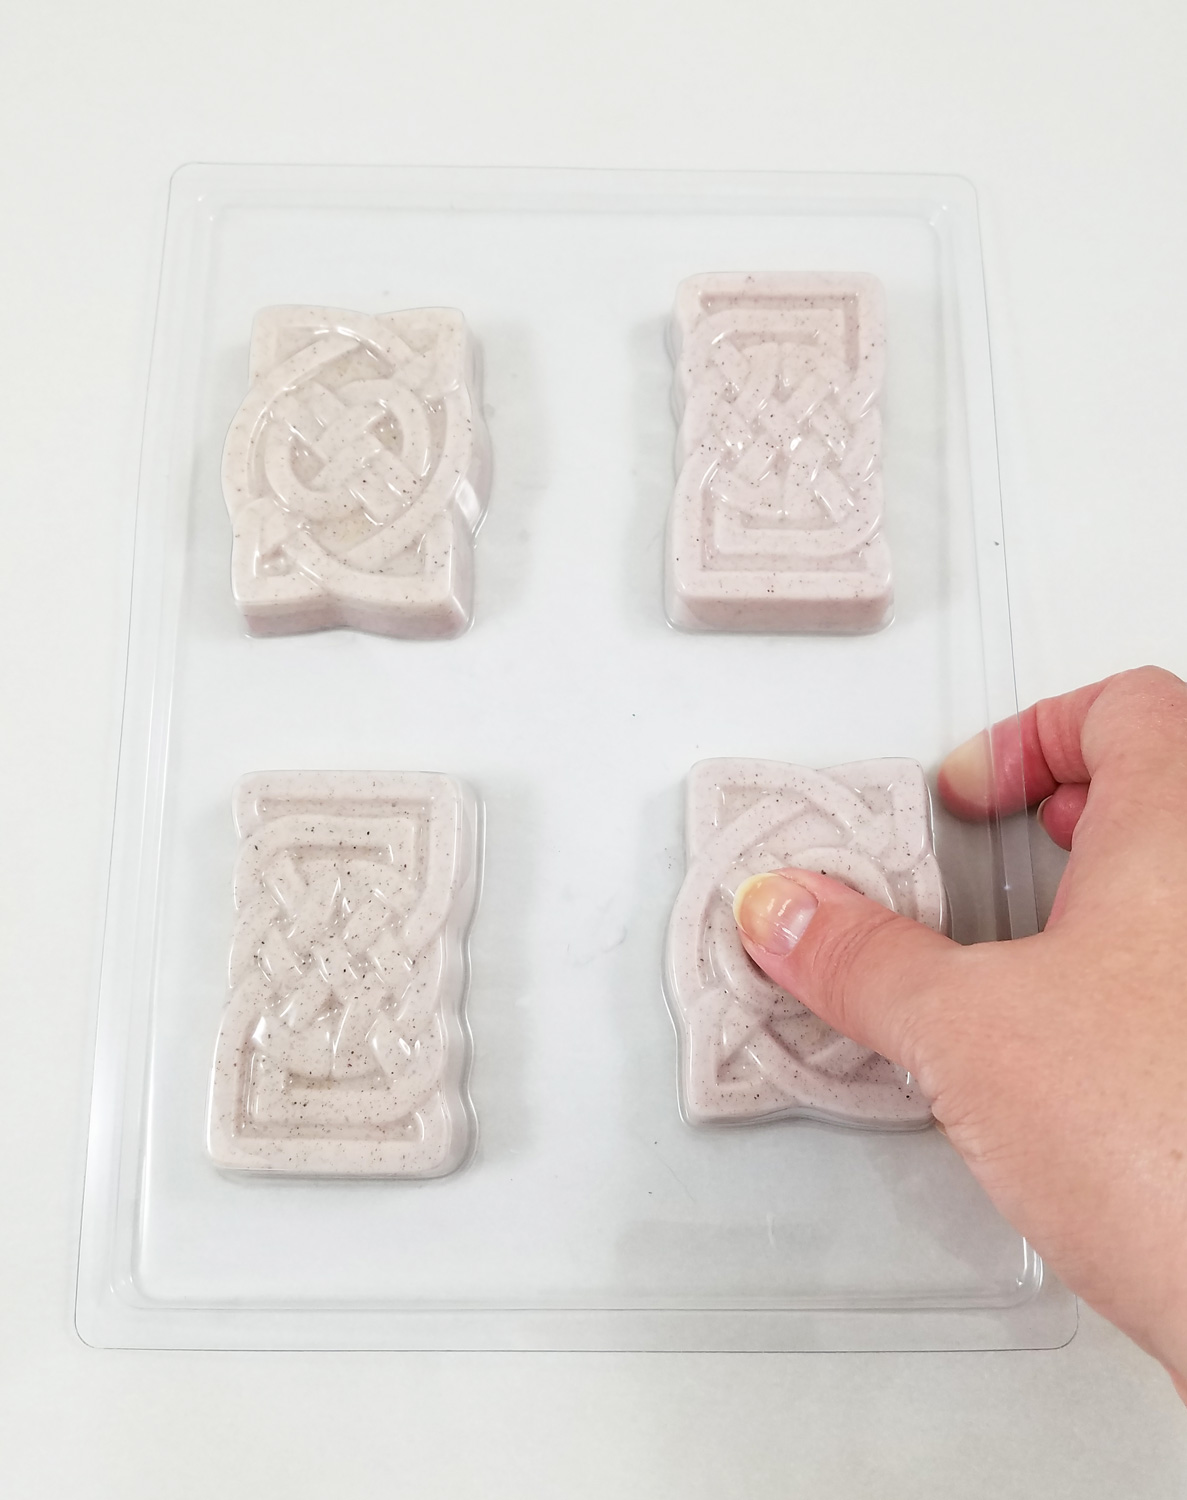
To release the soap from the molds I had to flip over the mold onto a flat surface and apply pressure with my thumbs to the back of the mold. The soap base being a firmer soap, it required a decent amount of pushing and easing the soap out of the mold.
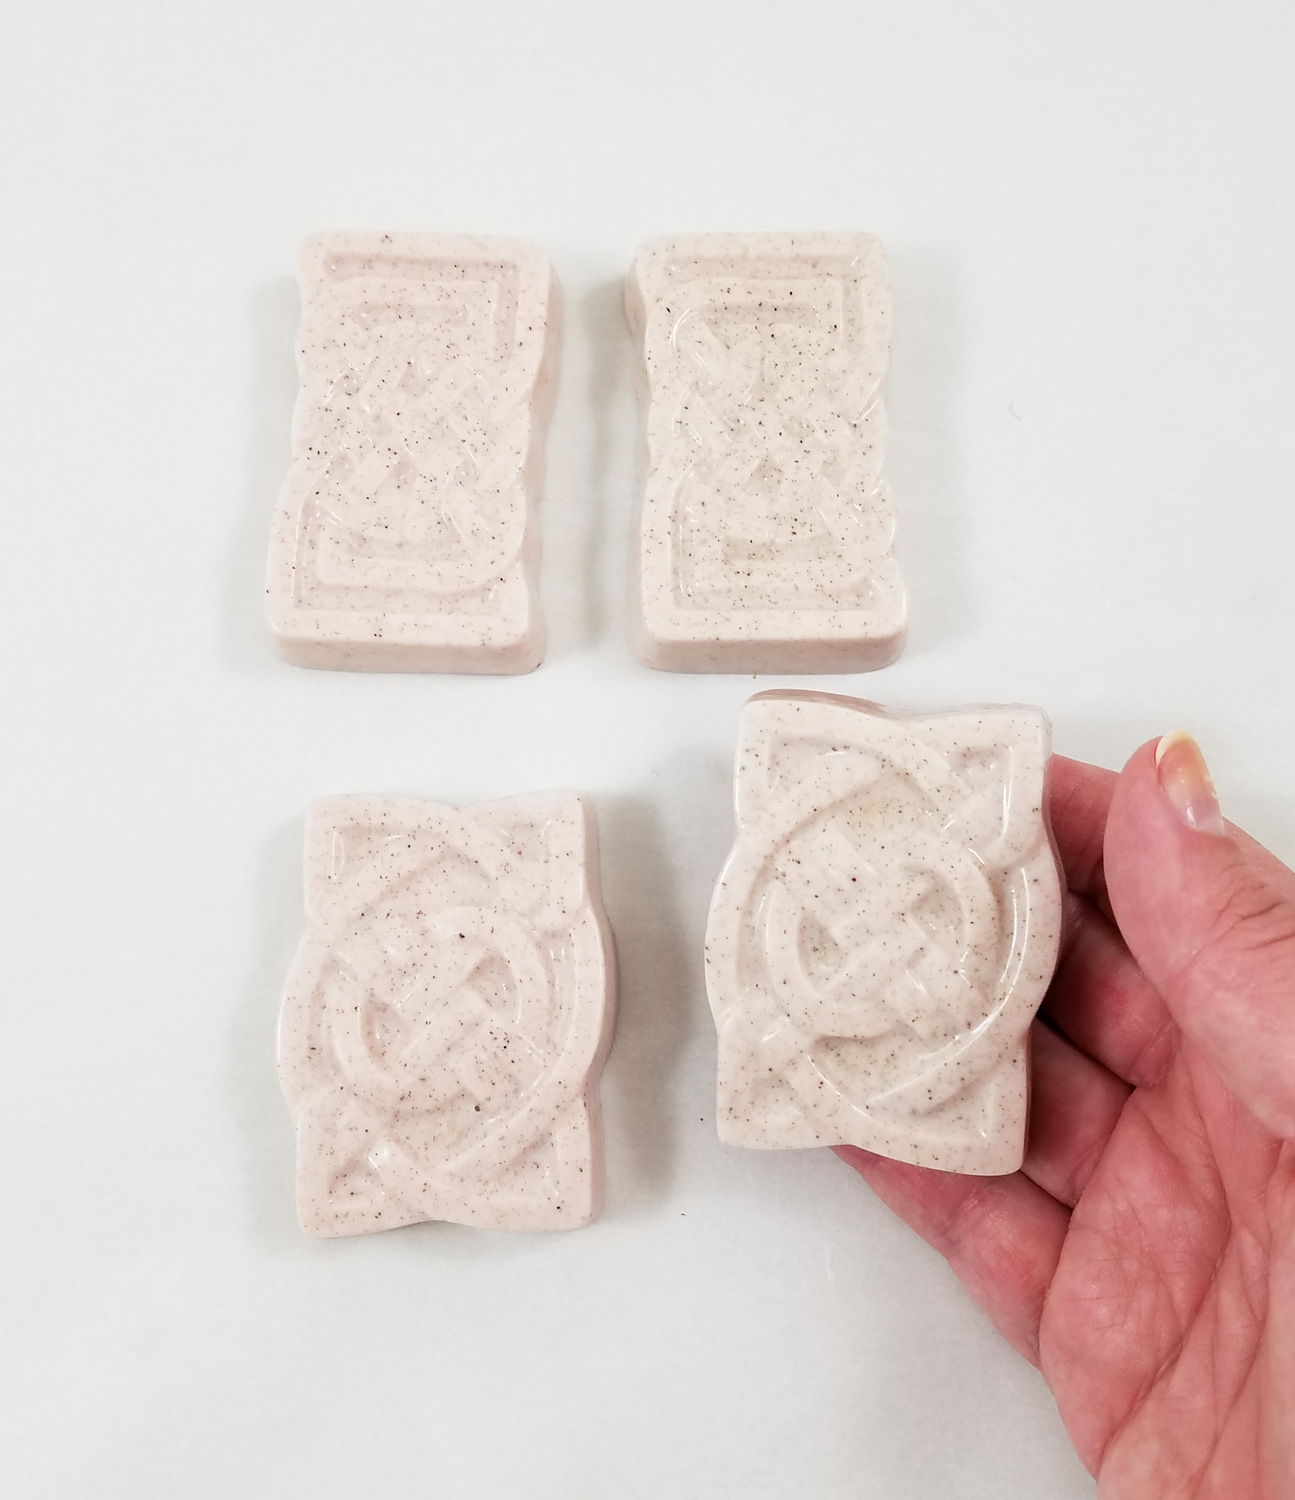
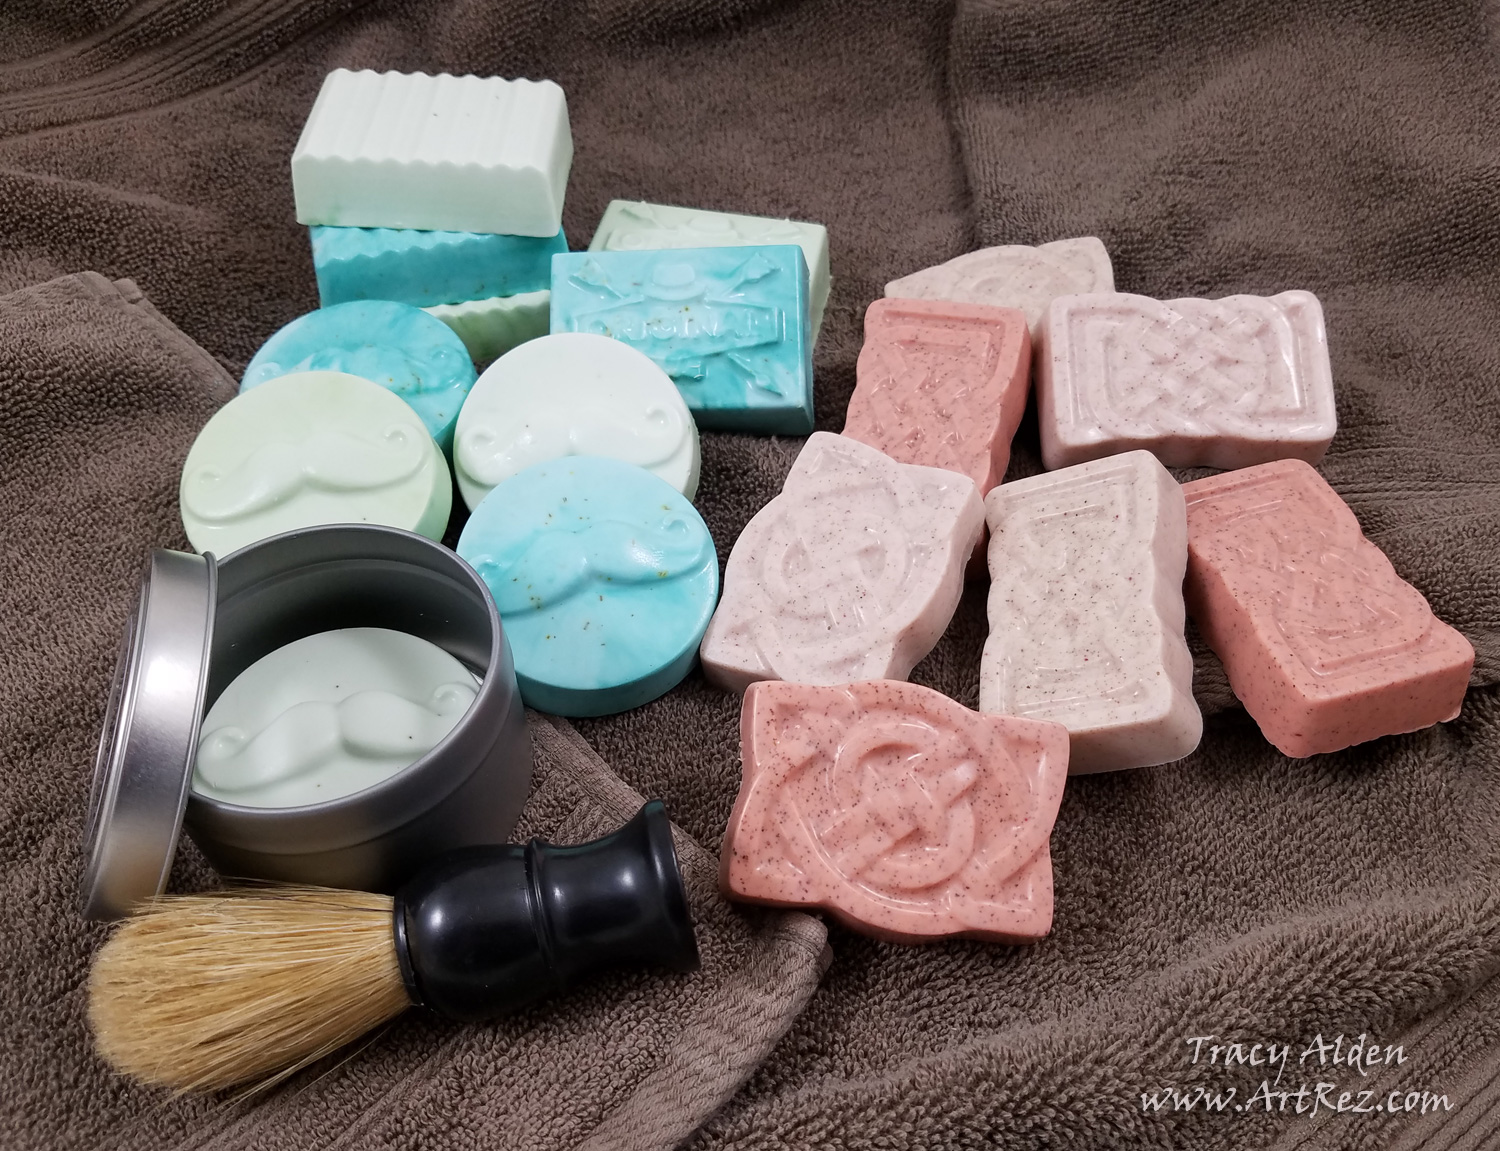
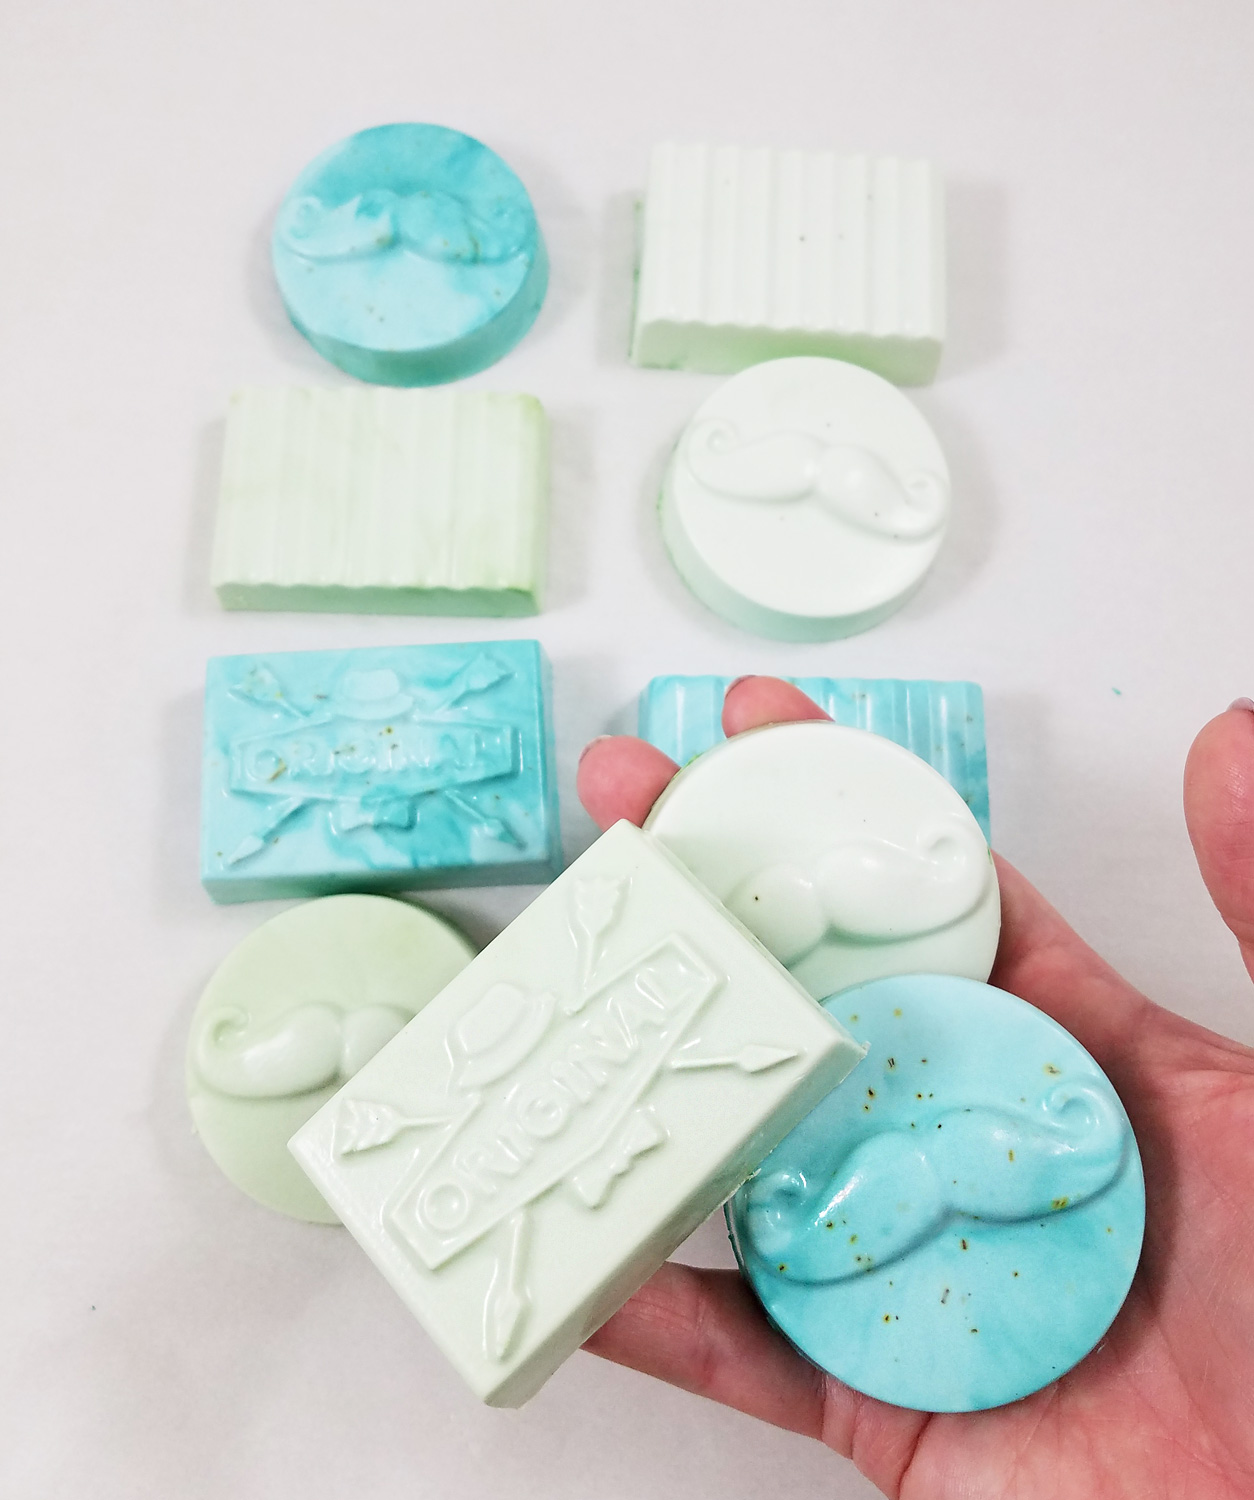
Once I got the soap out of the molds I was really surprised how nicely the soap captured the delicate knotwork pattern of the mold. The instructions said to wrap the soaps individually in plastic wrap and/or scrapbook paper to retain the scent and freshness of the newly made soap.
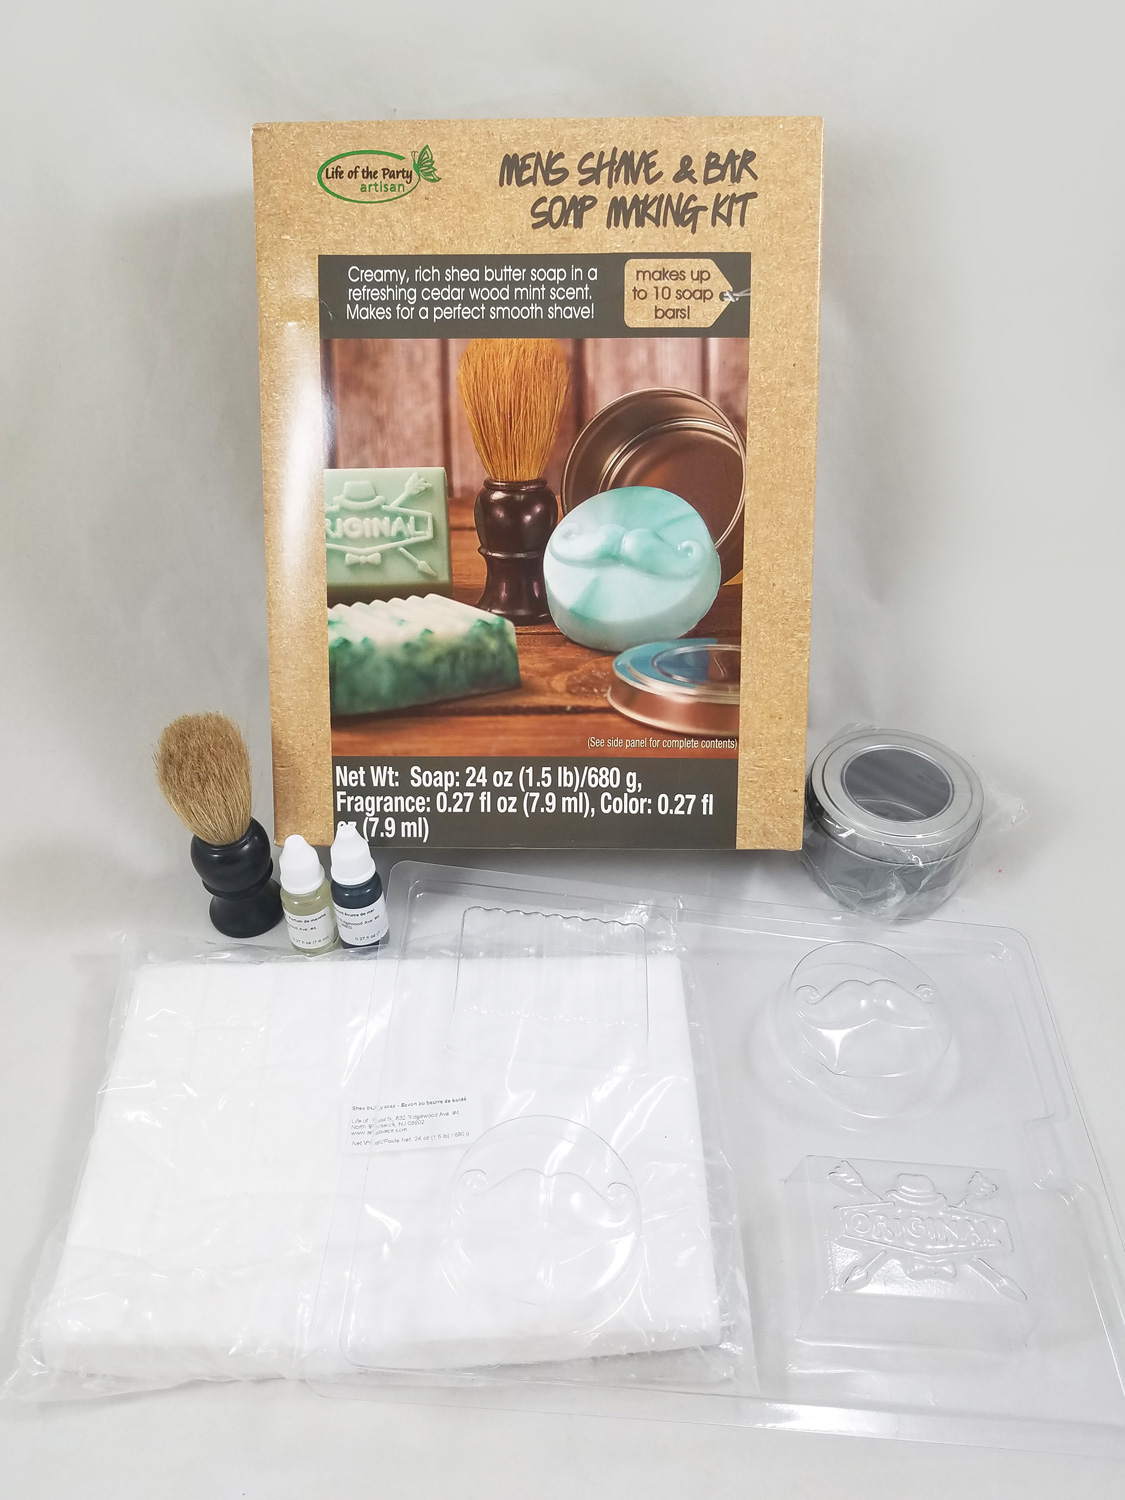
The second kit I tried was the Life of the Party Mens Shave & Bar Soap Making Kit *. This kit had a shea butter soap base, old timey soap mold and shave elements.
It comes with:
24 oz (1.5 lb) shea butter soap
0.27 seafoam color
0.27 fl oz cedar wood mint fragrance
1 shave brush
1 soap tin
1- 4 cavity mold
1 instruction sheet
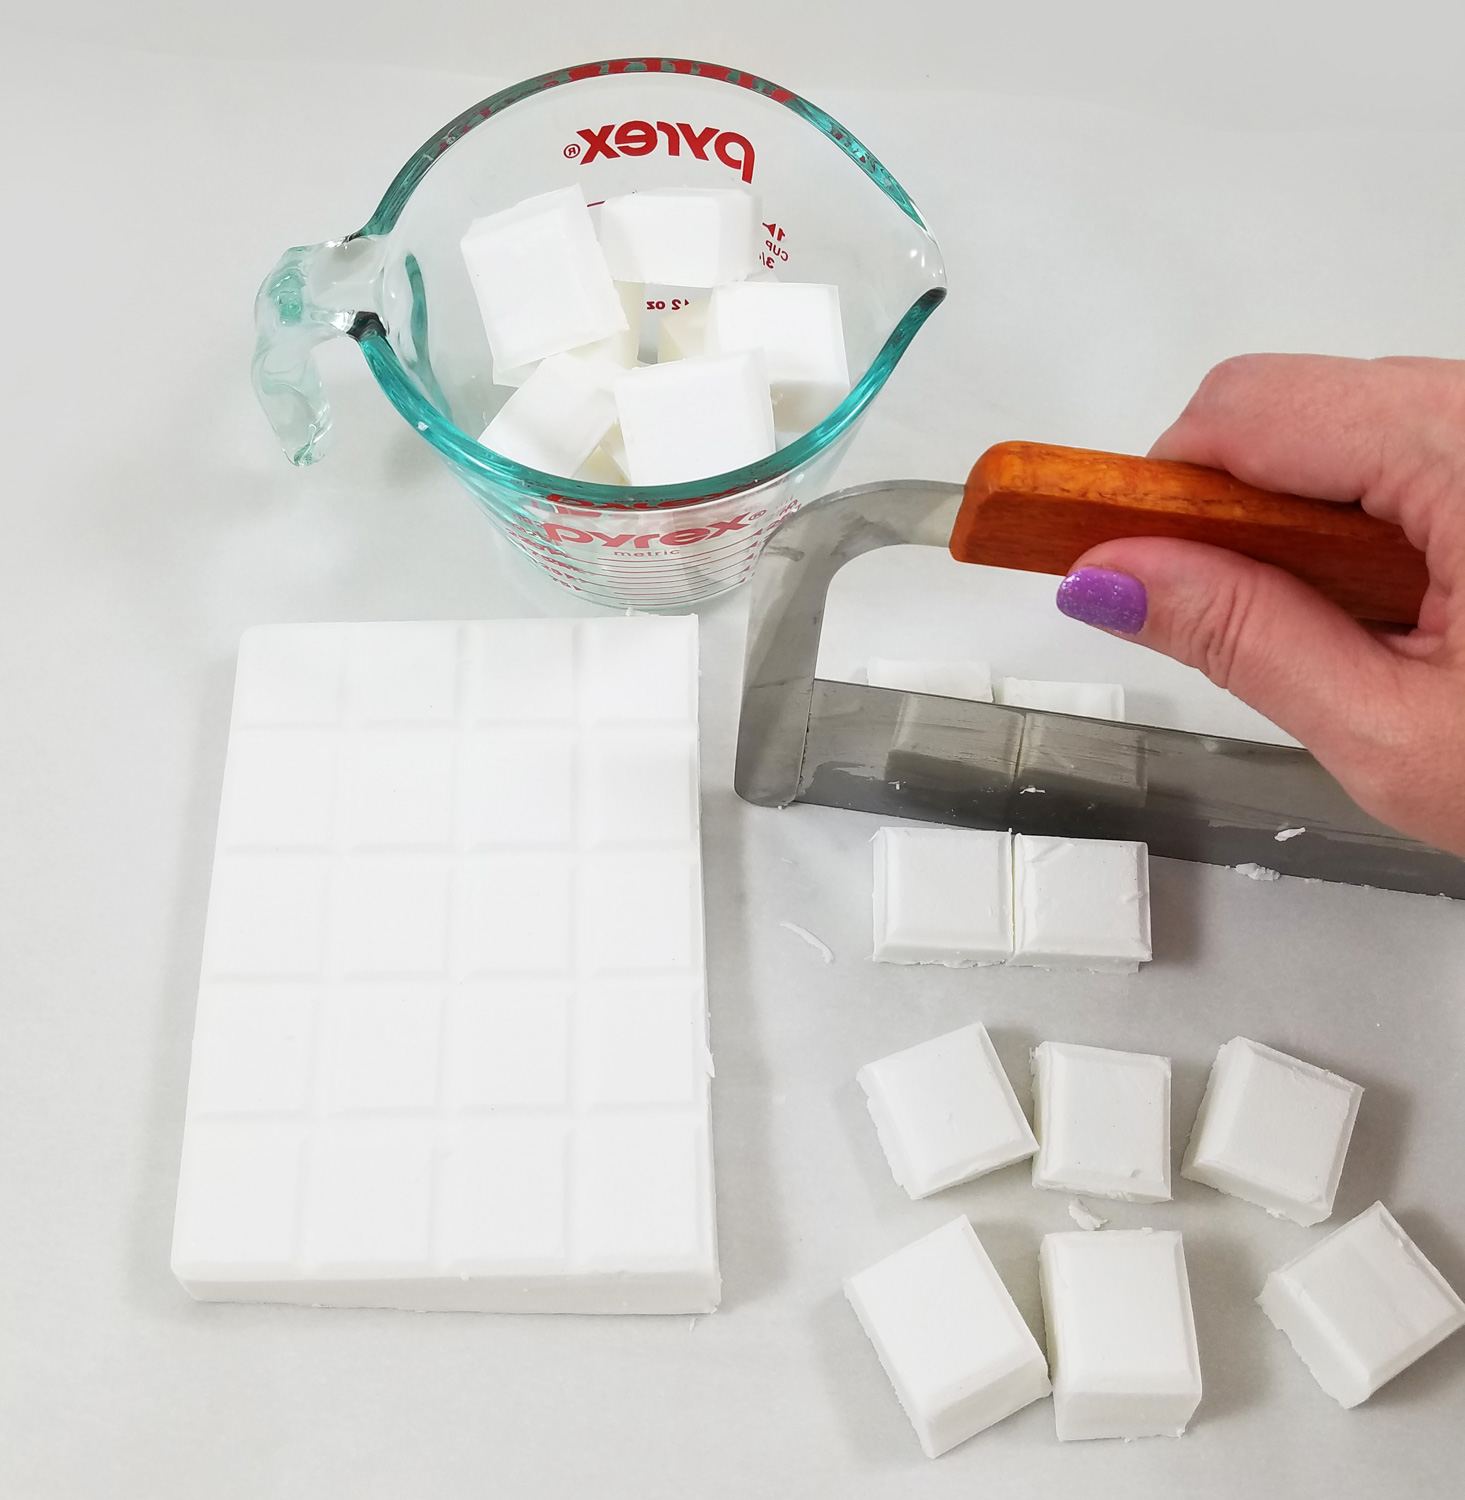
Once again following the instruction sheet included with the kit I cut the soap brick into cubes. My personal opinion is that the Shea Butter Soap Base is a better soap than the White Suspension Soap. It is very smooth, a bit soft and feels great on the skin, it does not remind me of a mass produced soap. It is more along the lines of specialty milled soaps and gift shop soaps. It also seems to melt faster and stay hotter longer when heated in the microwave.
I got a bit more creative in the fragrance department because the cedar wood mint fragrance included in the kit was kinda weird. I had my husband smell it and he felt it smelled rather accurately like “generic men’s body spray”. So I decided to play fragrance mad scientist and break out some of my essential oils. I mixed together several small scent batches (before melting the soap) until I found two blends that were more unique.
Clean Forest Scent
Cedarwood Essential oil
Peppermint Essential oil
Life of the Party Eucalyptus Mint fragrance *
This blend works for the soap and the shave bars as it lathers smooth without exfoliant.
Spice Route Scent
Tangerine Essential oil
Life of the Party Eucalyptus Mint fragrance
Ground Cloves (gives a nice scent and acts as a exfoliant)
Dried mint from my garden (gives a nice scent and acts as a exfoliant)
This blend works more as a soap bar only because of the added exfoliant.
Once my scents were ready I split the soap base into two batches. Each batch got a different fragrance and different amounts of the seafoam green dye.
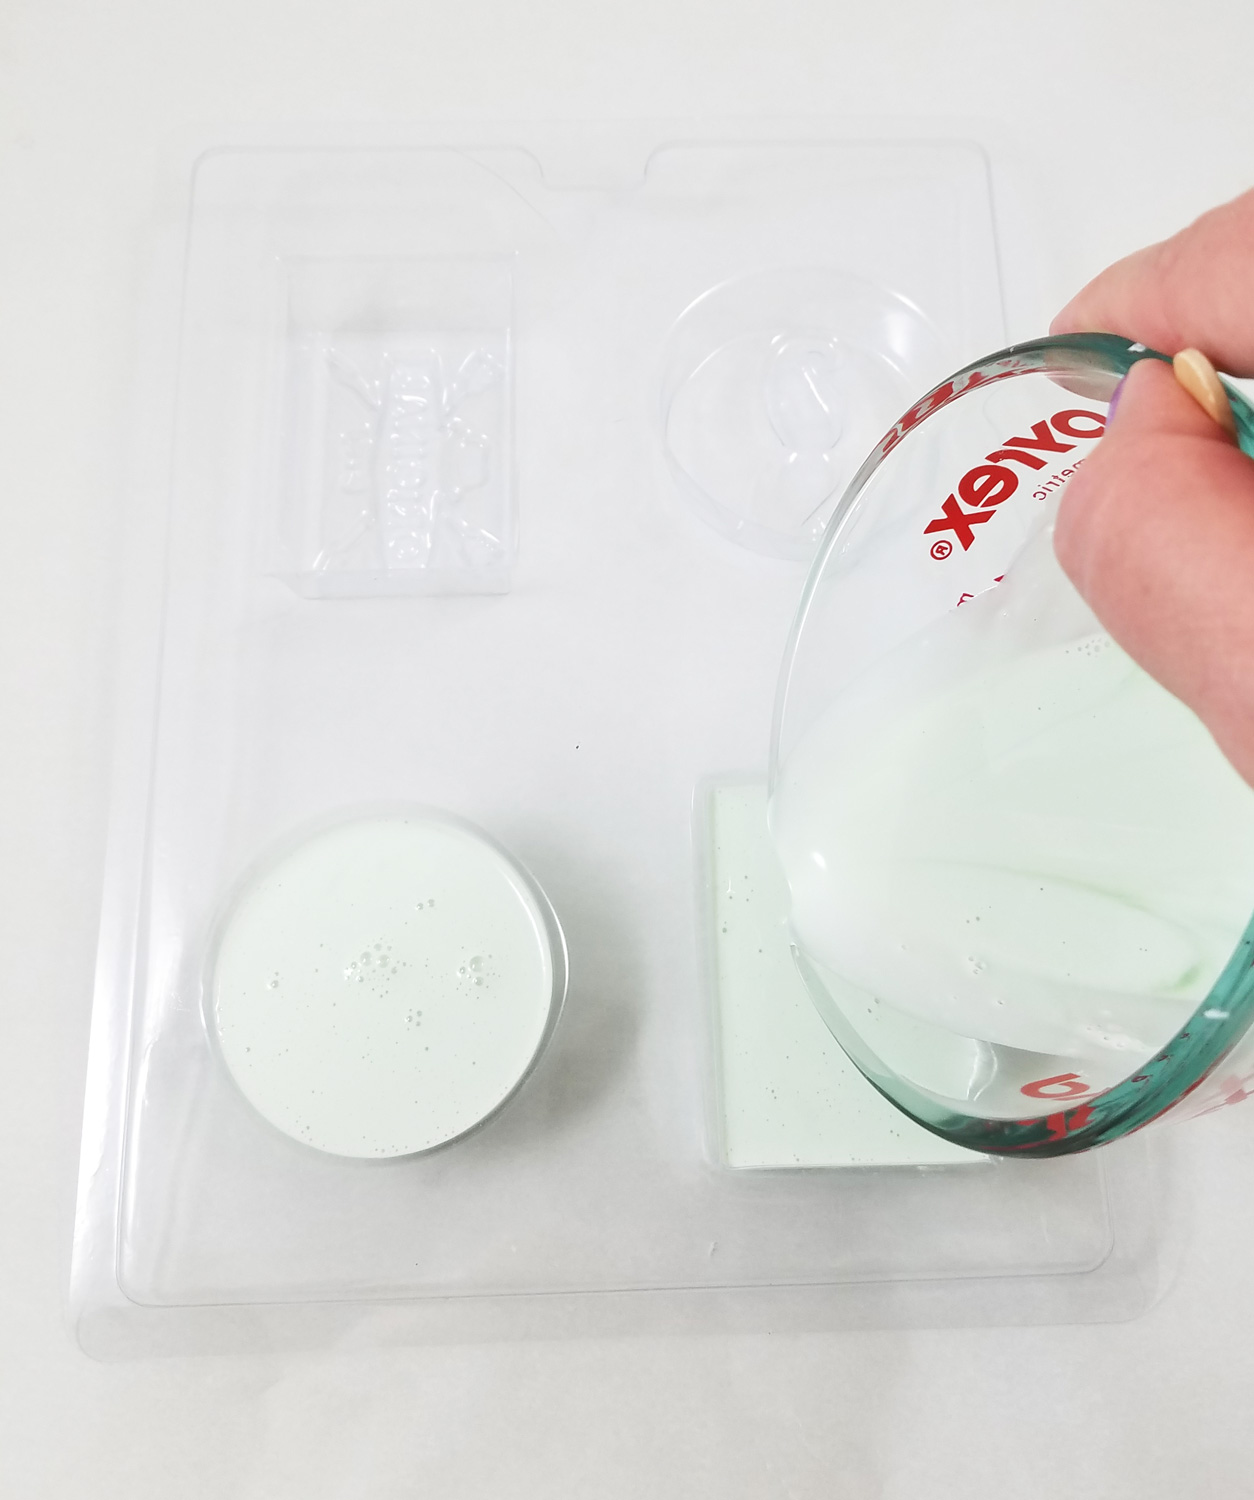
The shea butter soap base flows even smoother into the mold cavities and cools a little slower. I let them cool completely and popped them out of the molds as per the instructions.
Once again the soap took on the delicate details of the mold. The shea butter makes these bars a bit softer so it is important to wrap them up so they do not get marred. The shaving soap puck lathered up perfect in the tin with the use of the shave brush.
Overall I love both of these kits but the shea butter base is my favorite soap base and I think a bit easier to work with. I am also pretty fond of the molds and can see them being used for candy and resin projects easily with the right mold release. While the scents were not my favorite aspect of the kits, everyone’s sense of smell is different, so someone else might love them. I did find rather enjoyable the ease of making and adding other fragrances, herbs, spices and exfoliants. As for my sensitive skin not one of the soap bars have caused me to have an allergic reaction.
What interesting soaps might you create? 🙂
Until Next Time, Safe Travels!
This post contains affiliate links. To read my full disclosure, click here. All affiliated links will have a red asterisk, such as this*.