#TBT The Upcycled Mummy’s Curse! A spoOky DIY
Continuing my Throwback Thursday posts, this time highlighting my love of Halloween, Ancient Egypt and upcycled crafts! Posted in 2015 on the Amazing Casting Products blog, I had some rather odd inspiration for this project and it all started with me finding some fun plastic Halloween skulls at a Thrift store. With two of them, I made Ghoulish Glam Skulls and the rest I saved for Halloween decor around the house.
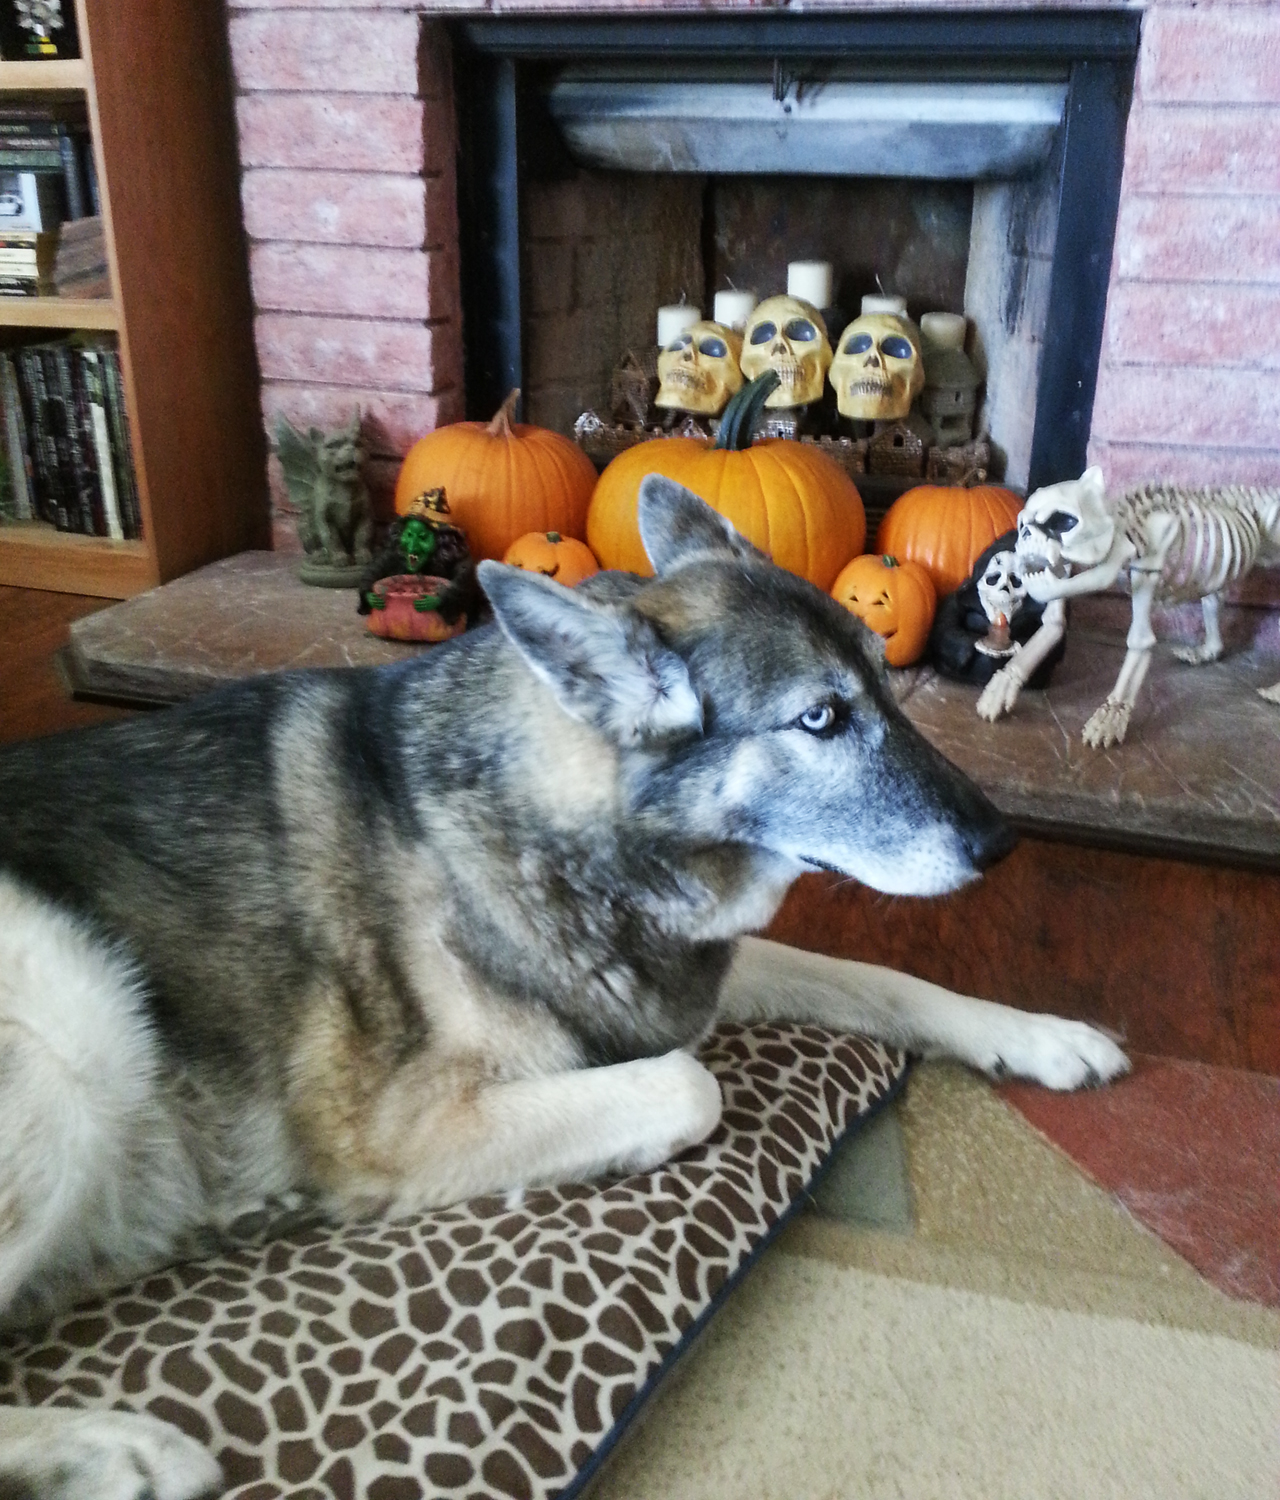
While I was outside in the garden one of our dogs, Luna, decided to play in the house, the skulls were close to her toys and she cracked one of them. I of course couldn’t be angry with her playing though her rather adorable “I totally did NOT do that” face also helped. When I was about to throw out the skull, an idea came to me: why not use the cracked skull as a base for a Halloween mummy head prop?
Supplies:
Amazing Casting Resin
Alumilite Dyes
Liquitex Gloss and Matte Varnish
Acrylic Paint
Aluminium Foil and Paper Bags
Stir Sticks
Plastic Halloween Skull
Cotton Muslin Fabric
Black leaf tea bags
Beacon’s Gem-Tac
Paint Brush
Paper Tape Roll
Hot Glue Gun and glue sticks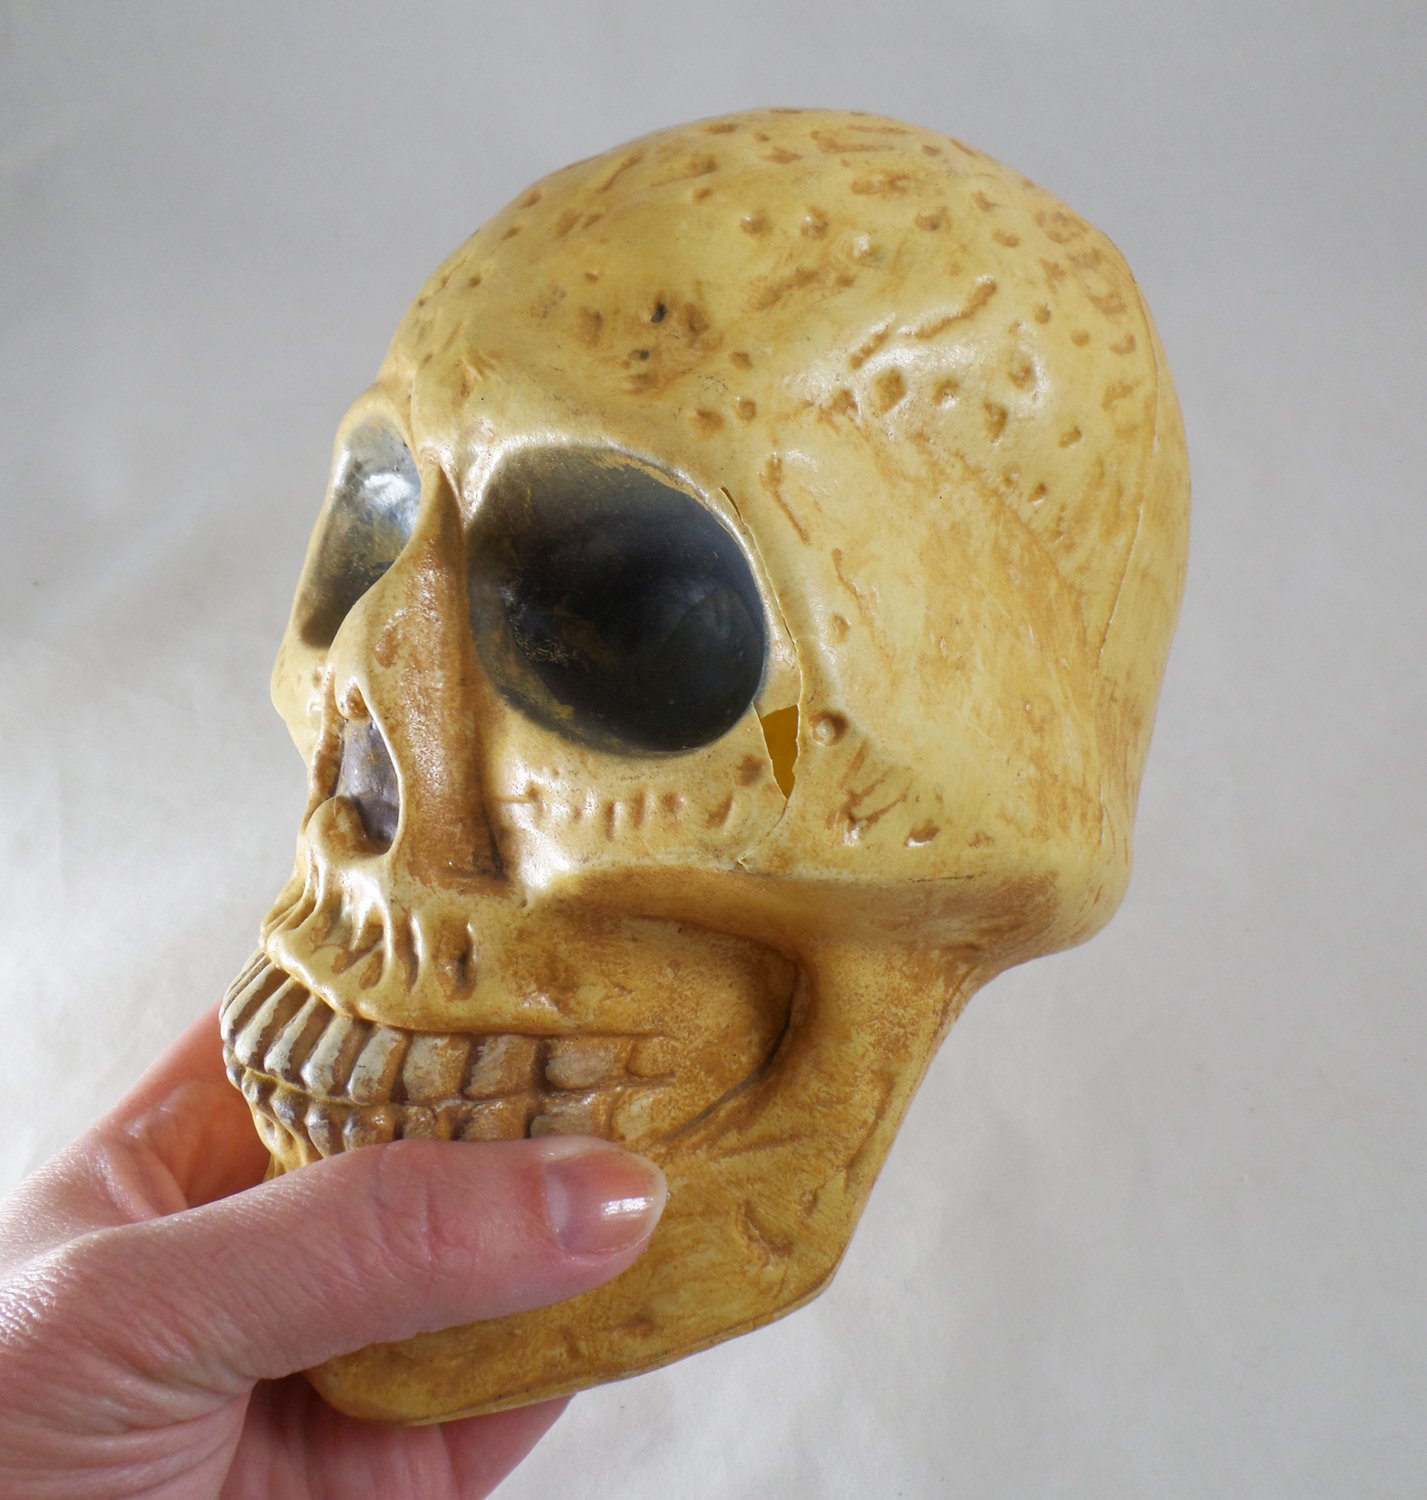
With the crack being along the side of the eye socket and most of the left side of the skull I needed to stabilize the now-fragile skull. I thought of using Casting Resin but I needed to seal the hole before filling the skull with resin. I taped up the crack with clear packing tape, creating a temporary seal for the resin.
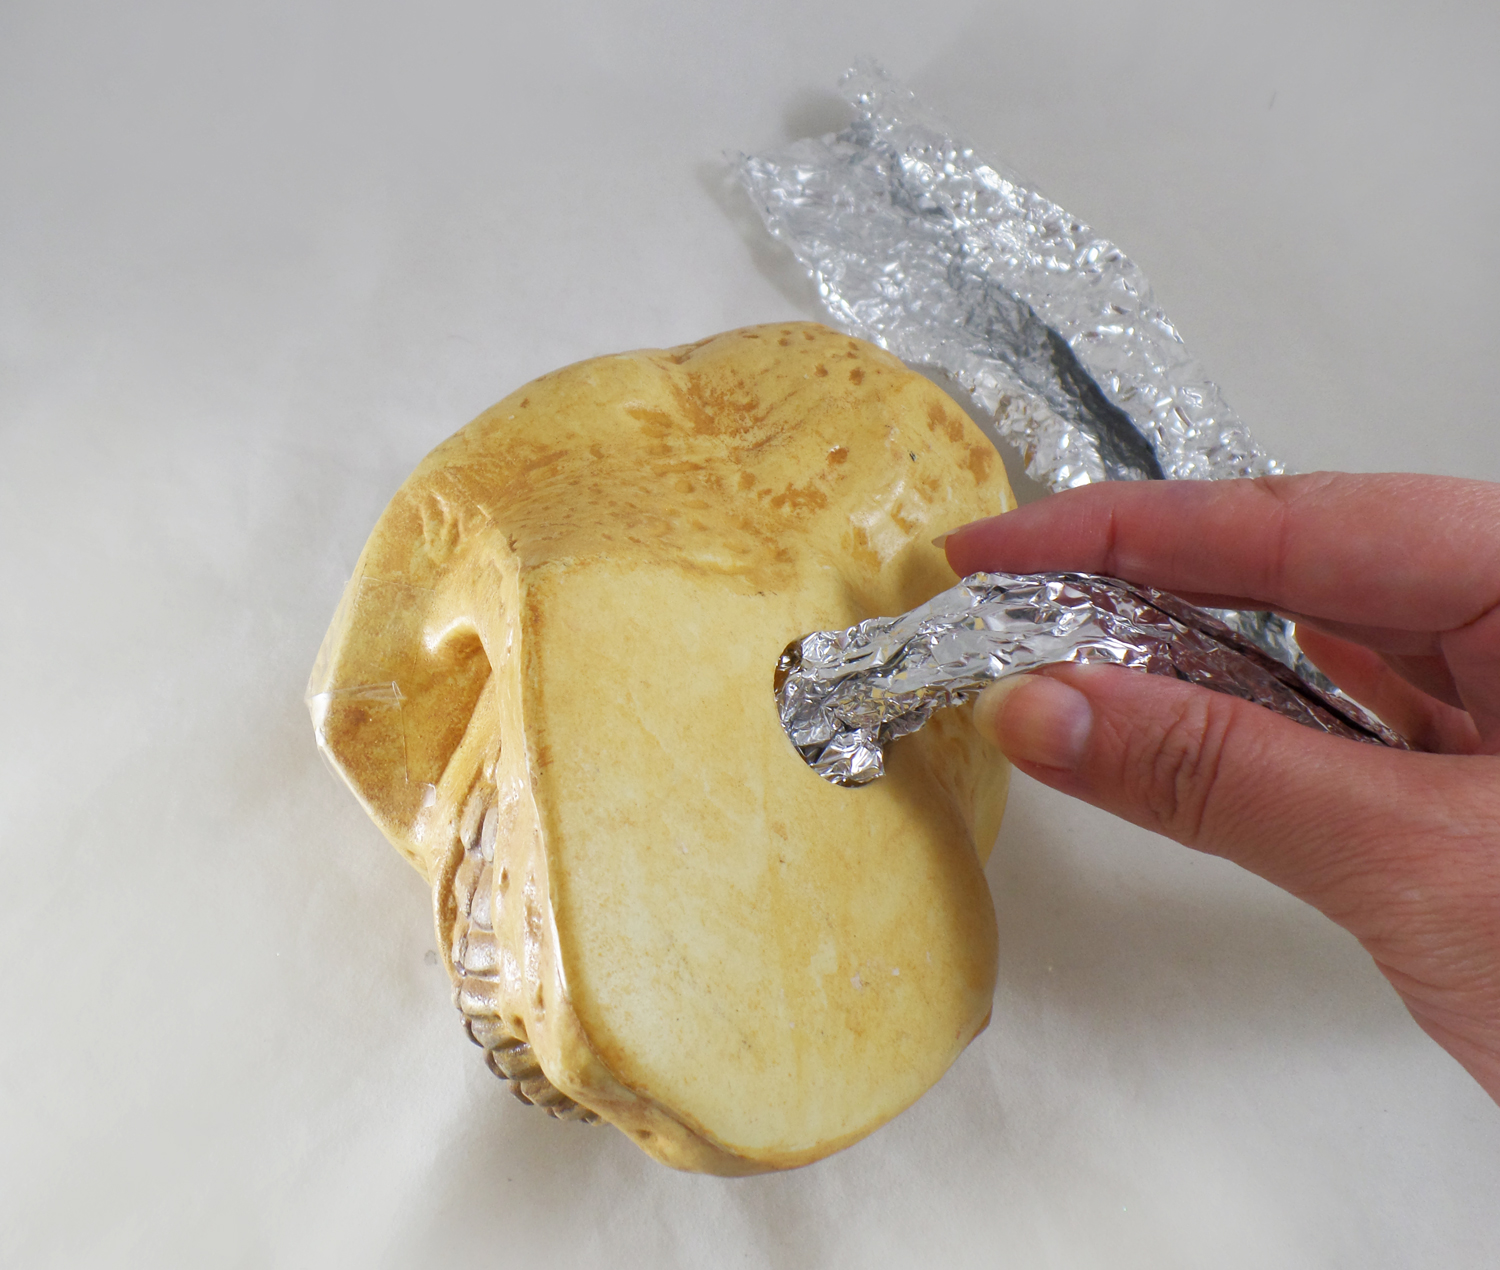
Knowing that if I were to fill up the whole skull with Casting Resin it would not only require a lot of resin but make the skull on the heavy side I needed to put some sort of filler inside the skull. Using used clean paper bags and crumpled aluminum foil I slipped them inside the skull through a hole in the bottom.
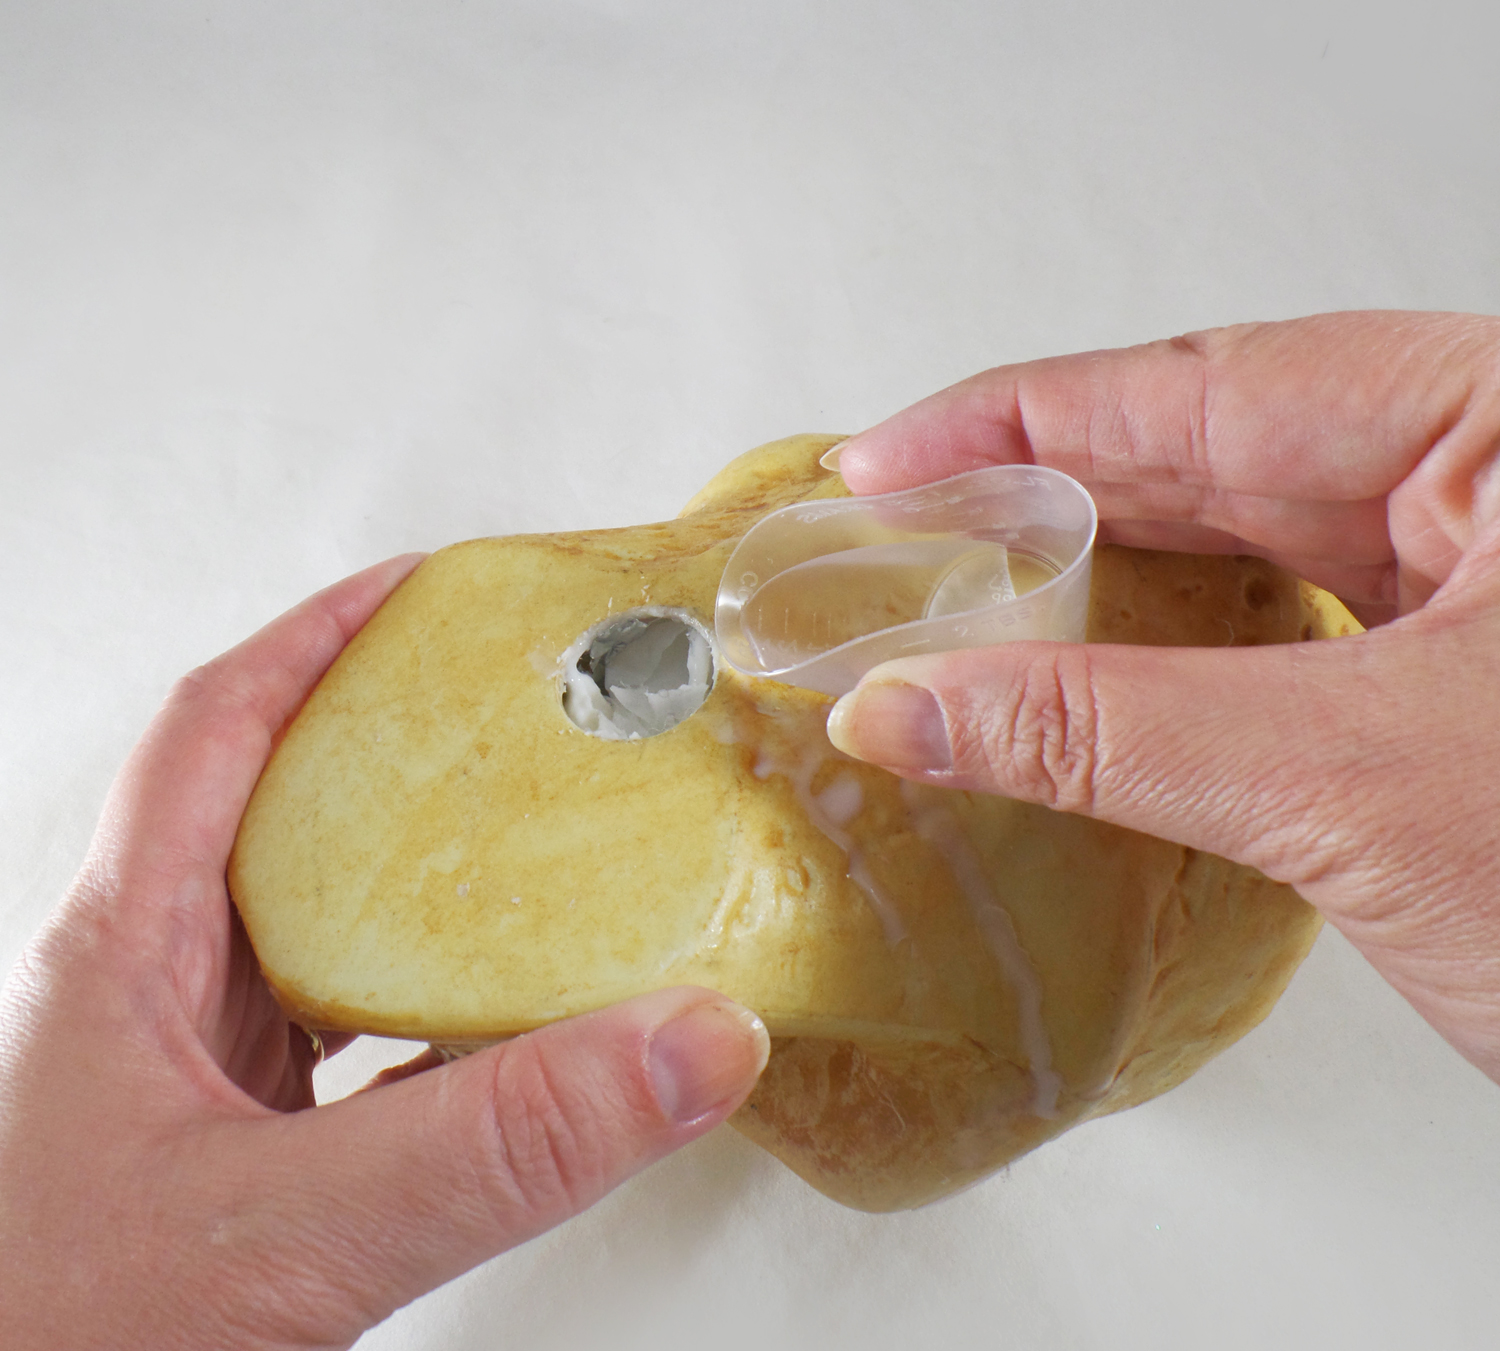
Next I made small batches of Amazing Casting Resin and poured it through the hole in the bottom of the skull. By pouring small batches and then tilting the skull I was able to make sure all of the inside of the skull was equally covered with resin, stabilizing the plastic skull. This process went very quickly because Amazing Casting Resin sets up in 10-15 minutes. I ended up using 3/4 of a resin kit to fill the inside of the skull.

Once I had filled up the inside of the skull I hot glued a tape roll to the bottom of the skull to create a neck for the mummy head. Any gaps between the tape roll and the skull I filled in with aluminum foil and hot glue.
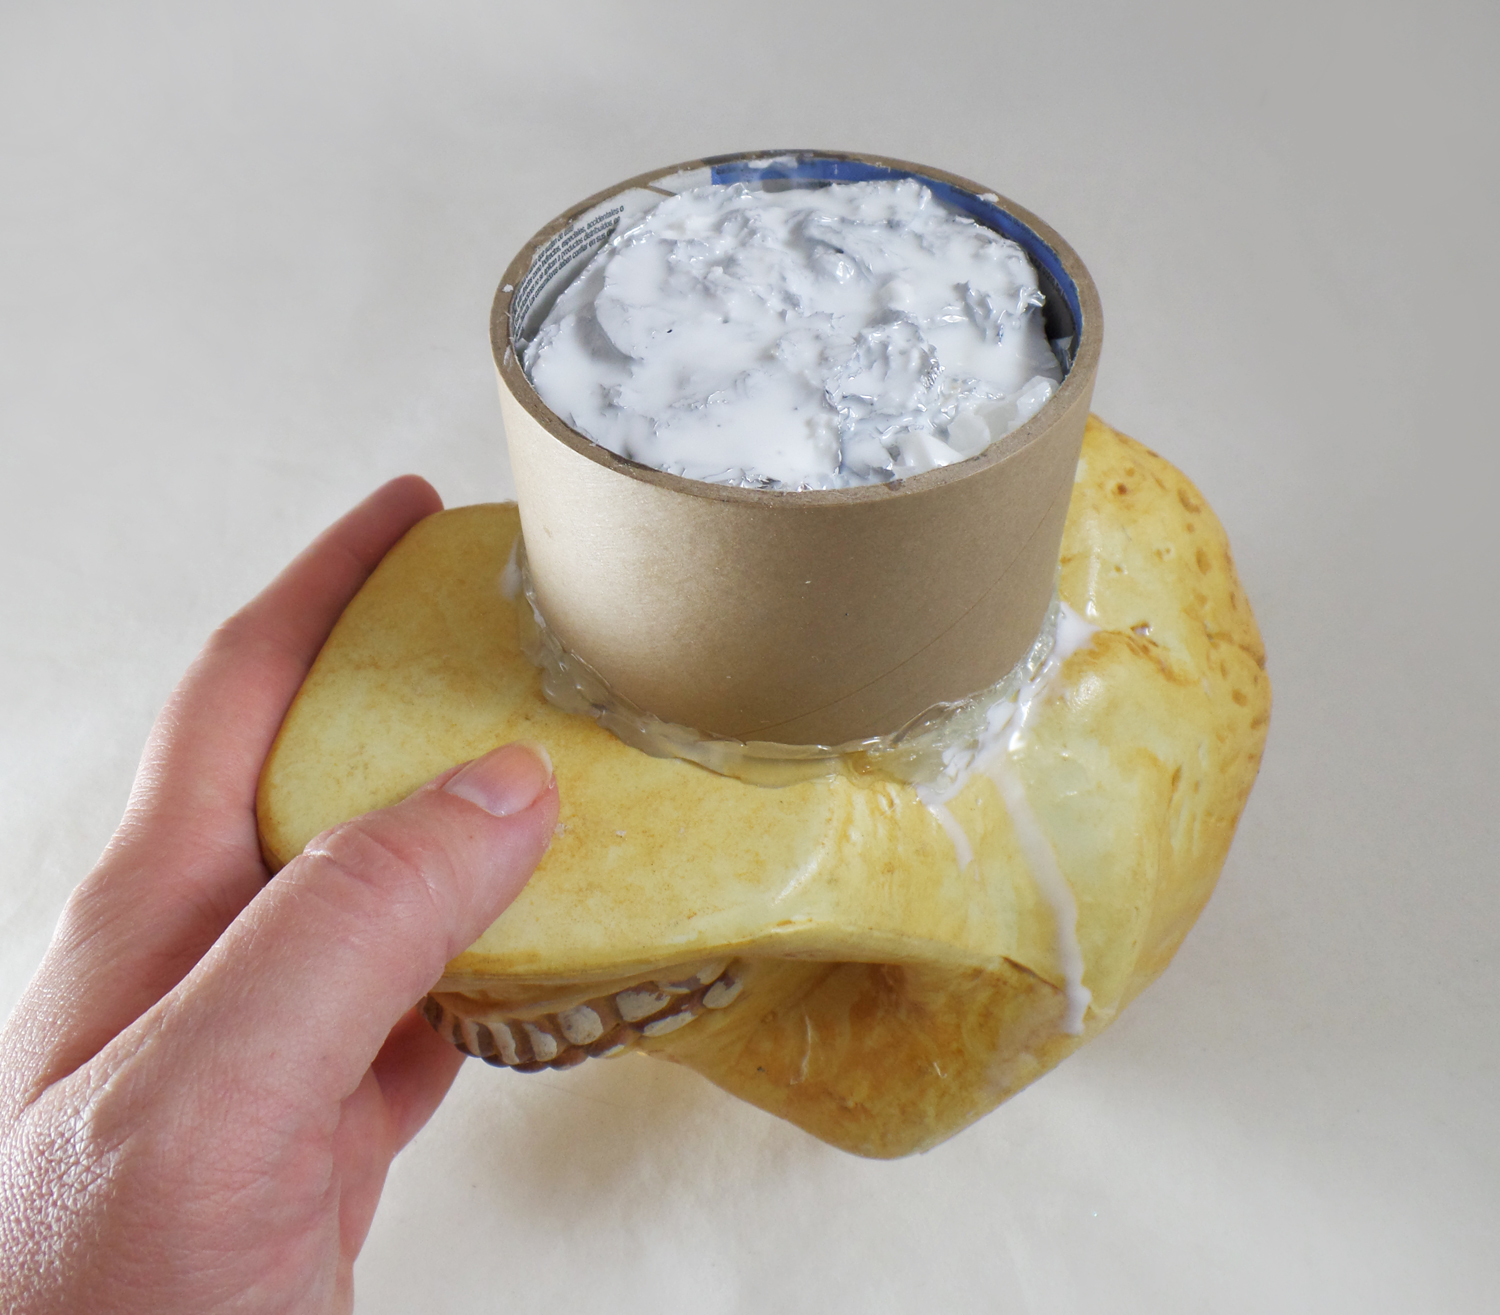
I then mixed up some Casting Resin and poured it into the newly formed neck of the mummy head. I put some extra foil into the neck cavity and filled it up with more Casting Resin, using up all of the kit.
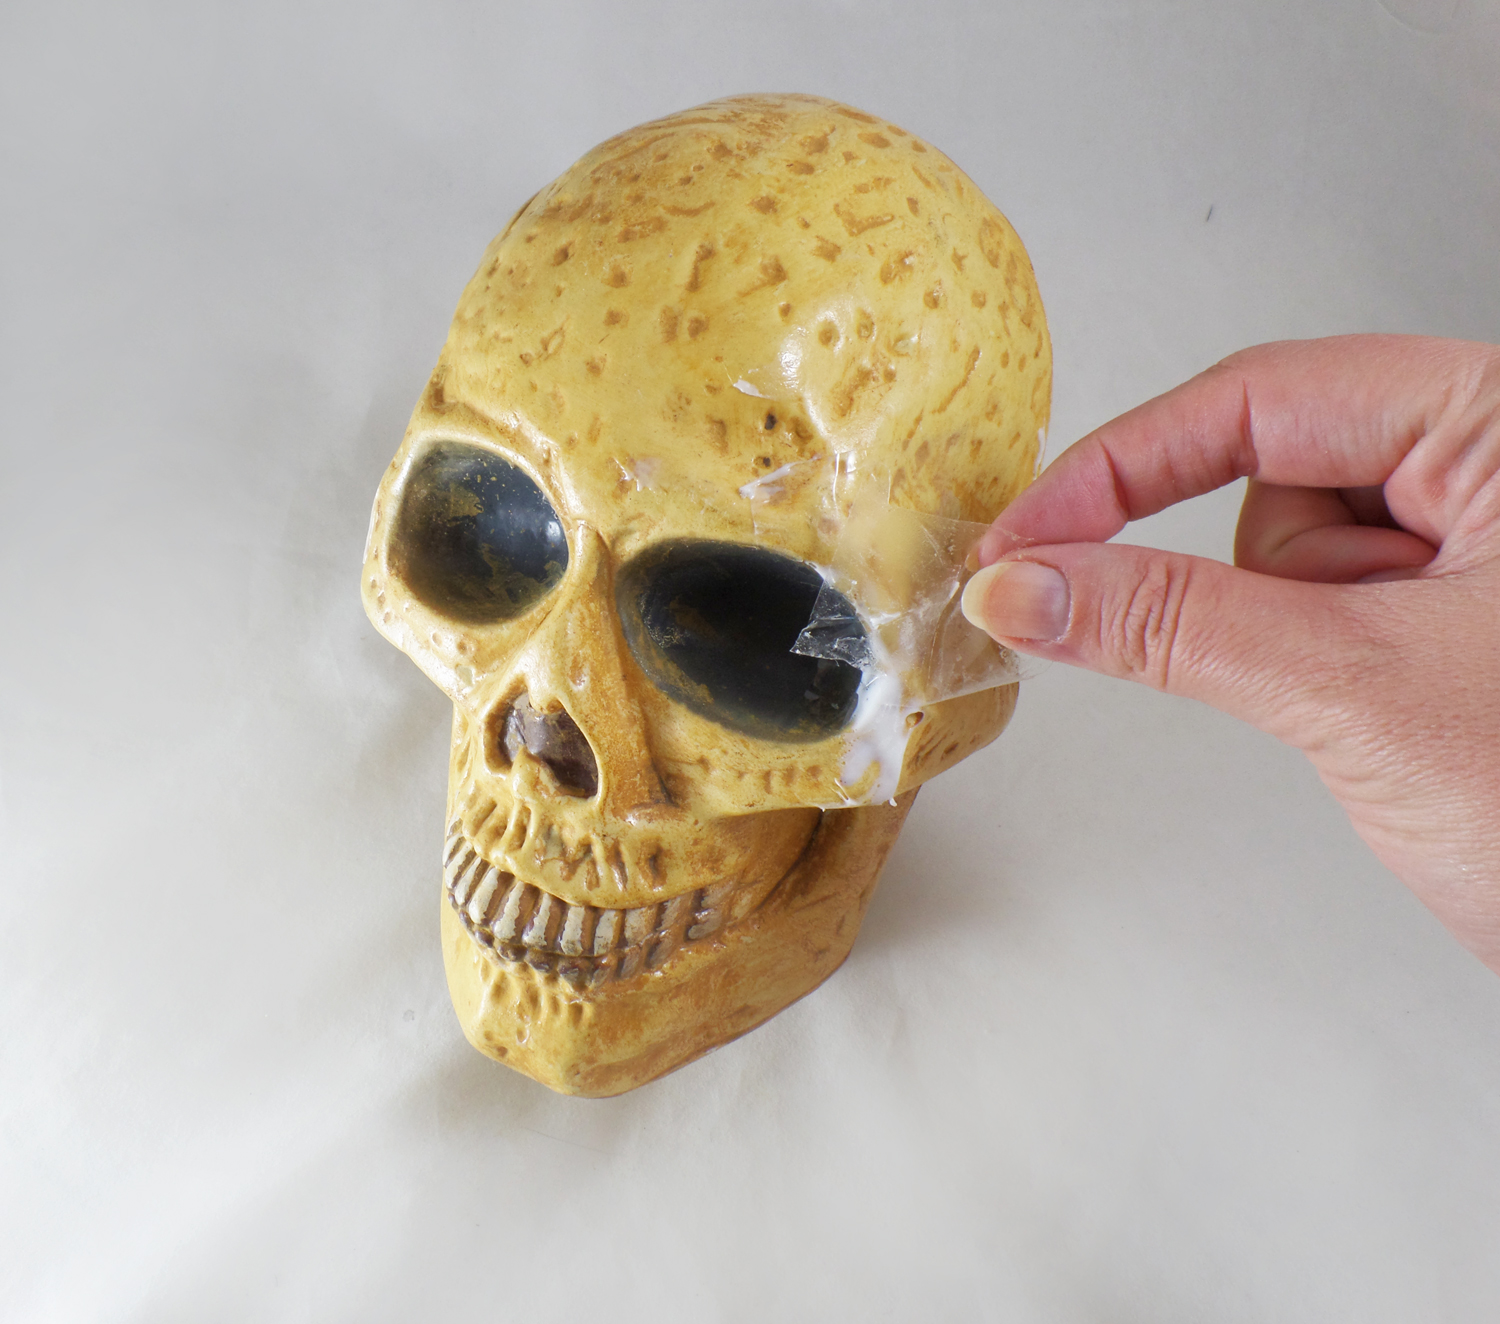
Once the resin was cured, I removed the tape from the now resin-filled crack and removed any excess resin spills off the skull.
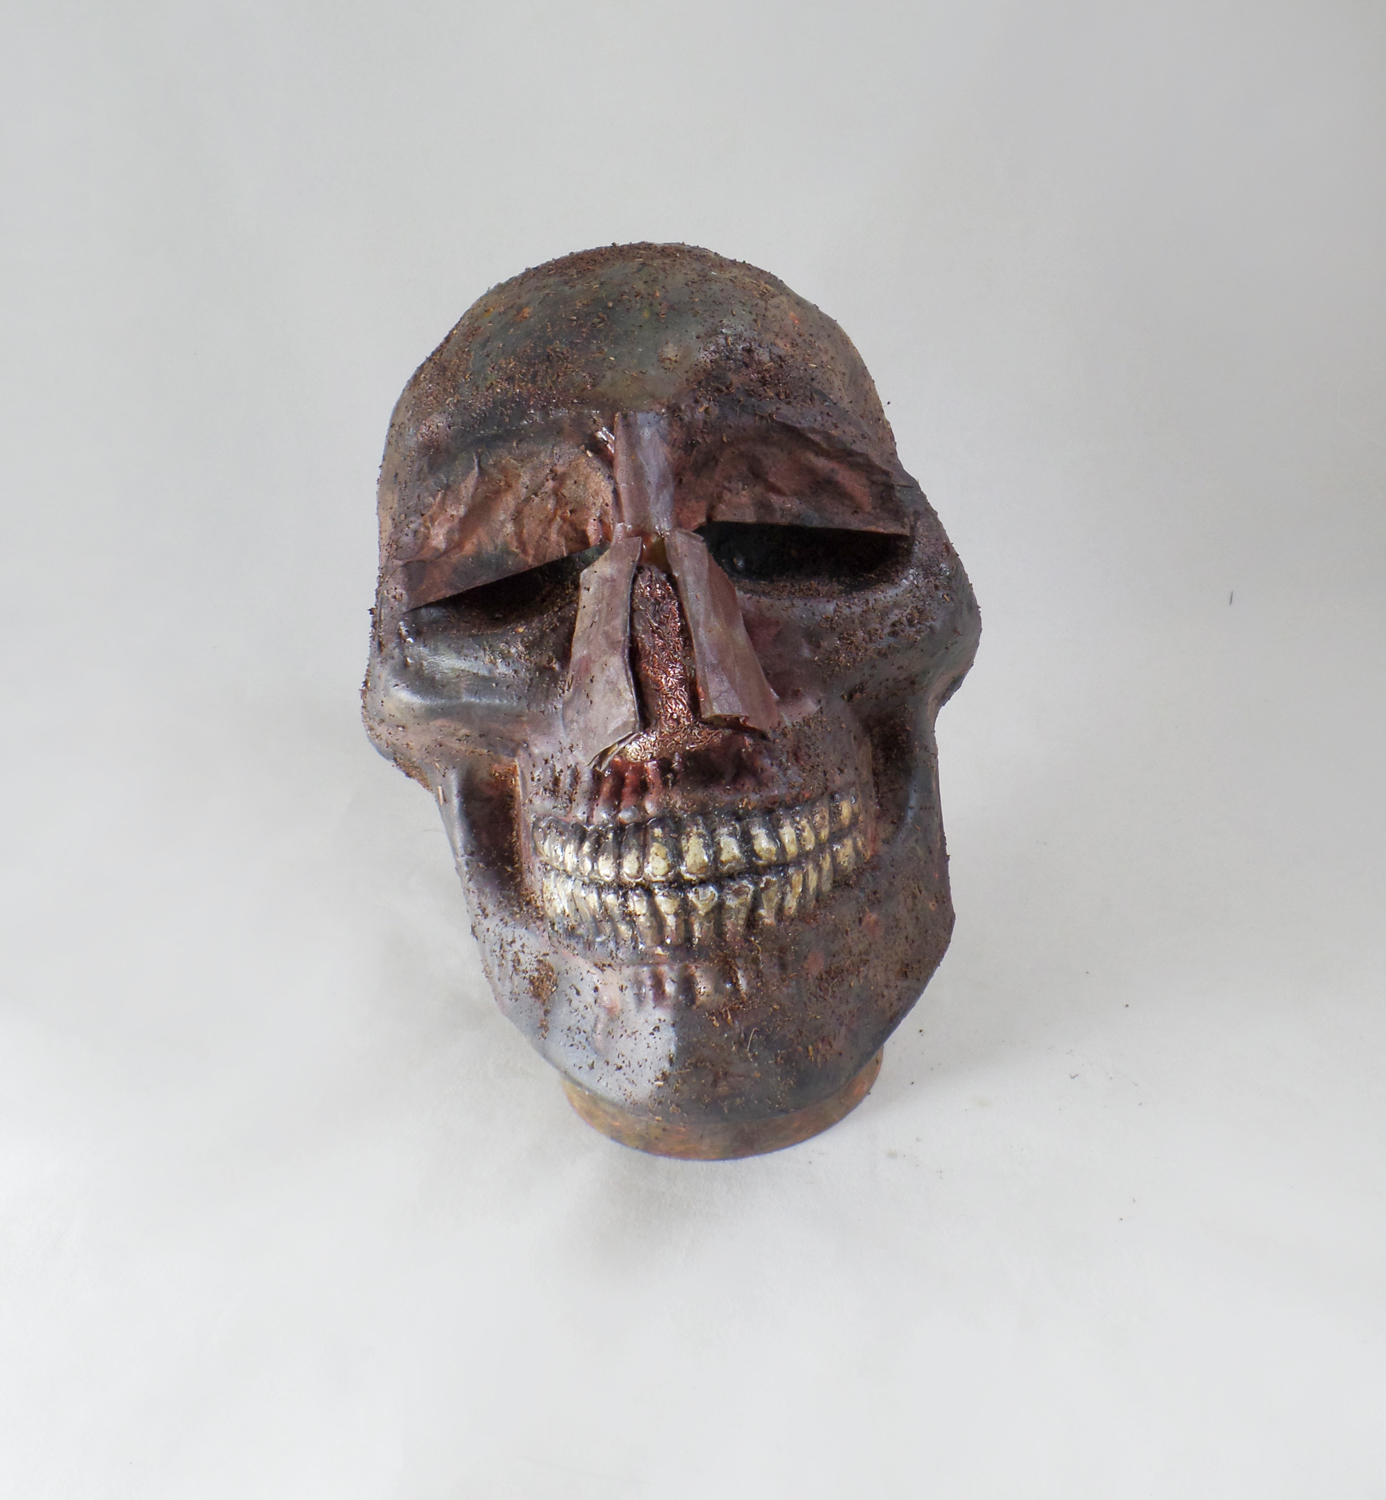
Since not much of the plastic would be visible under the wrappings but I didn’t want it looking like a skull. I painted the skull with a mixture of yellow, brown and black acrylic paint. I glued on used tea bags to create eyelids and created a nose out of paper bags and tin foil. I glued on some loose tea grounds to give the look of sand/dirt and sealed it with Liquitex Matte Varnish.

To create wrappings: I dyed cotton muslin fabric in a bath of hot black leaf tea and bags. I let it soak for a few hours to stain and then let the fabric dry. Once dry I tore the fabric into 2 inch strips to make wrappings. I started applied the wrappings to the skull with a bit of Beacon’s Gem-Tac and started to wind it around the skull. I didn’t use any set pattern or style; I just had fun and made sure to cover up any of the more skull-like features of the head.
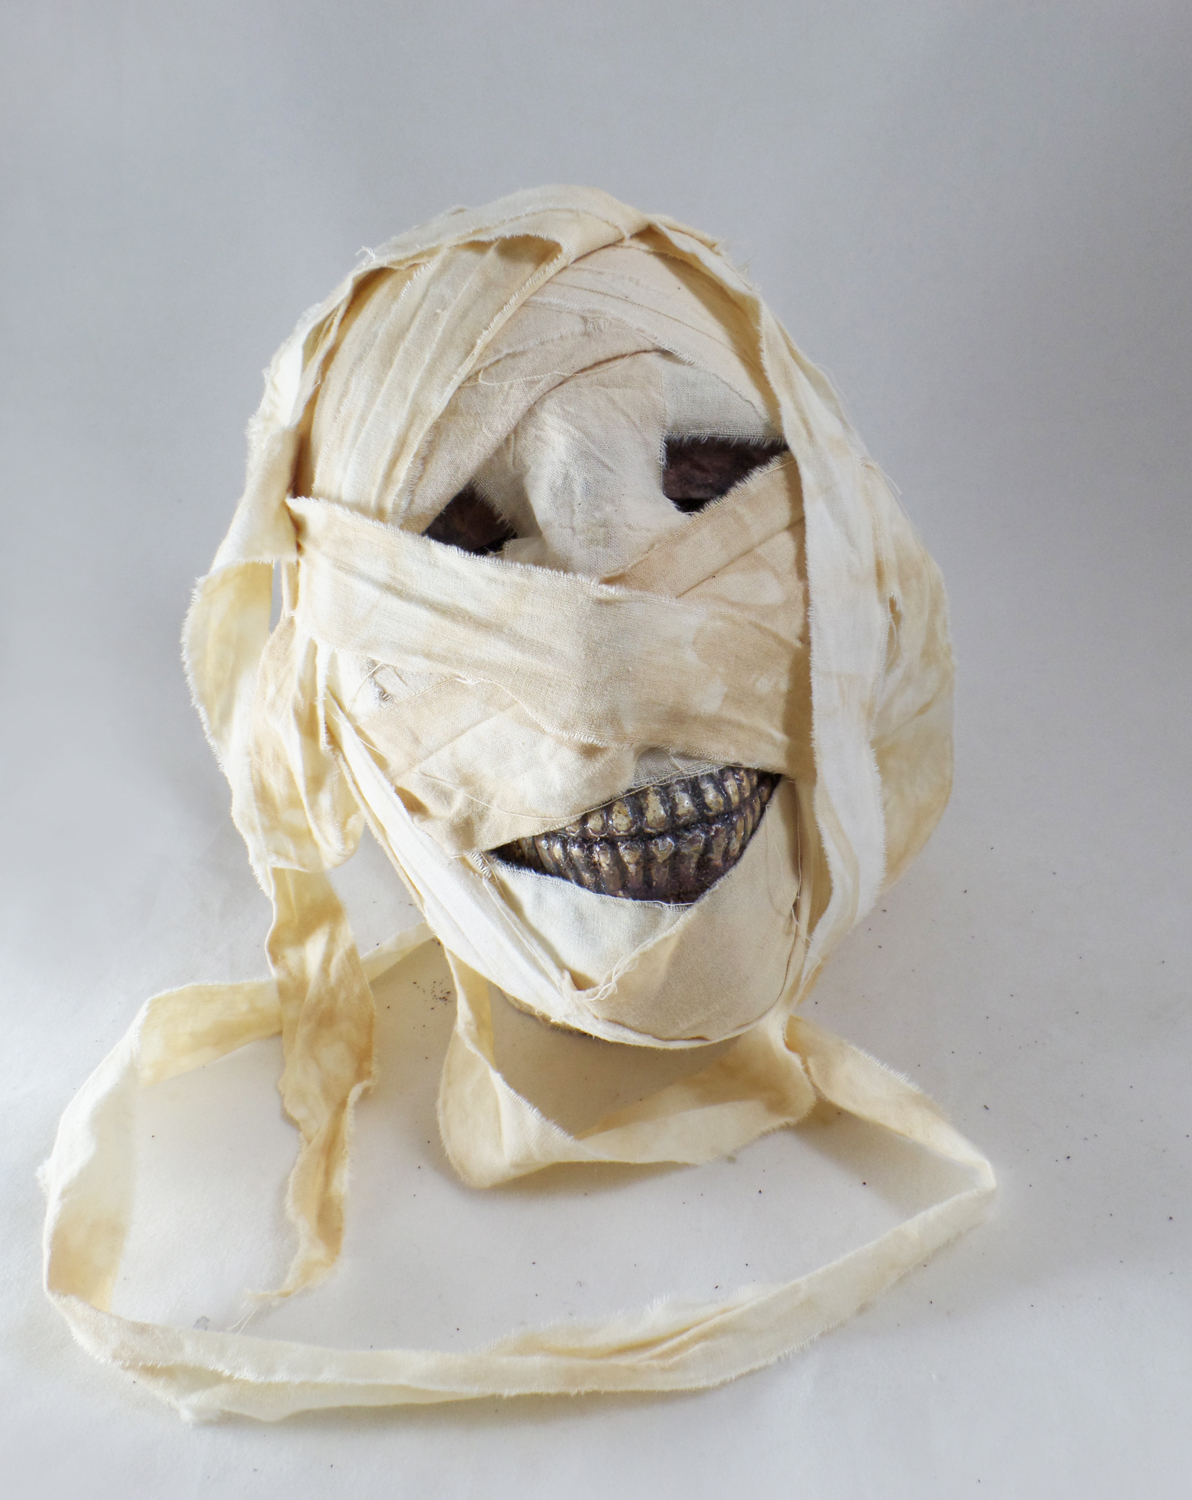
Once I was finished wrapping the skull I liked the overall look, but felt it needed something more to create the look of age.
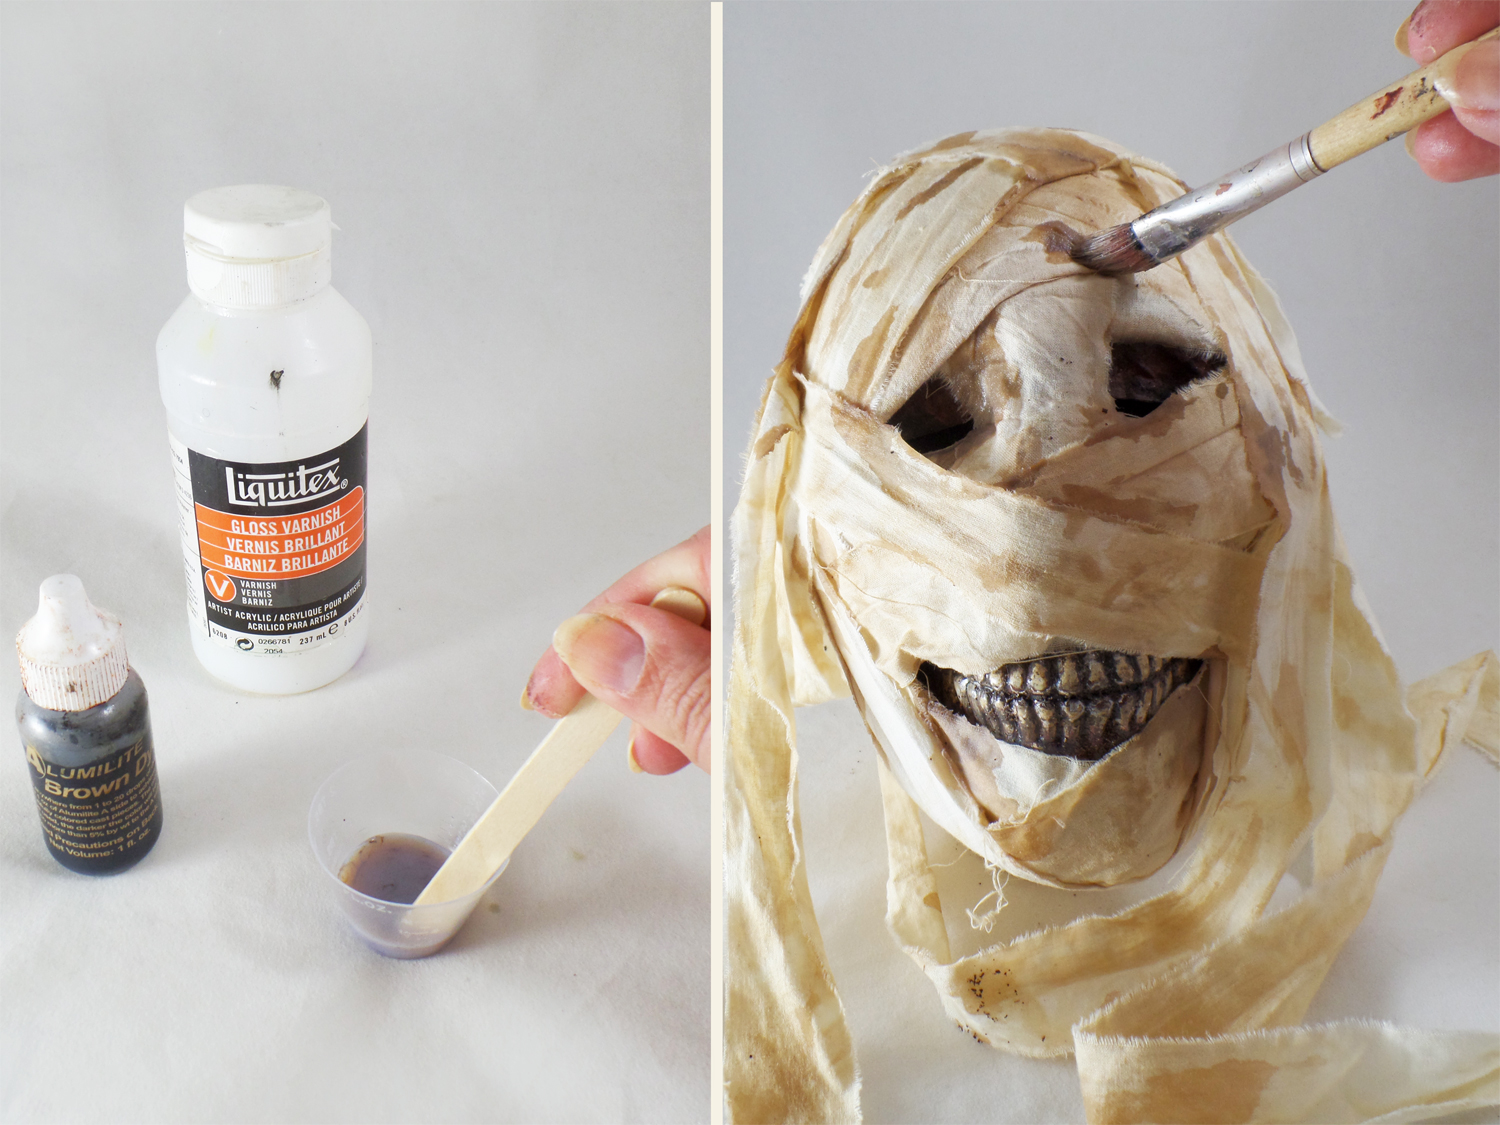
Since real mummies still have old oils and resin still visible on the surface of their wrappings, I created some out of Liquitex Gloss Varnish mixed with some Brown Alumilite Dye. I used the varnish instead of resin because I wanted to control how it dripped and needed it to dry quickly. The Alumilite Dye allowed me to tint the varnish without losing the transparent nature of the varnish.
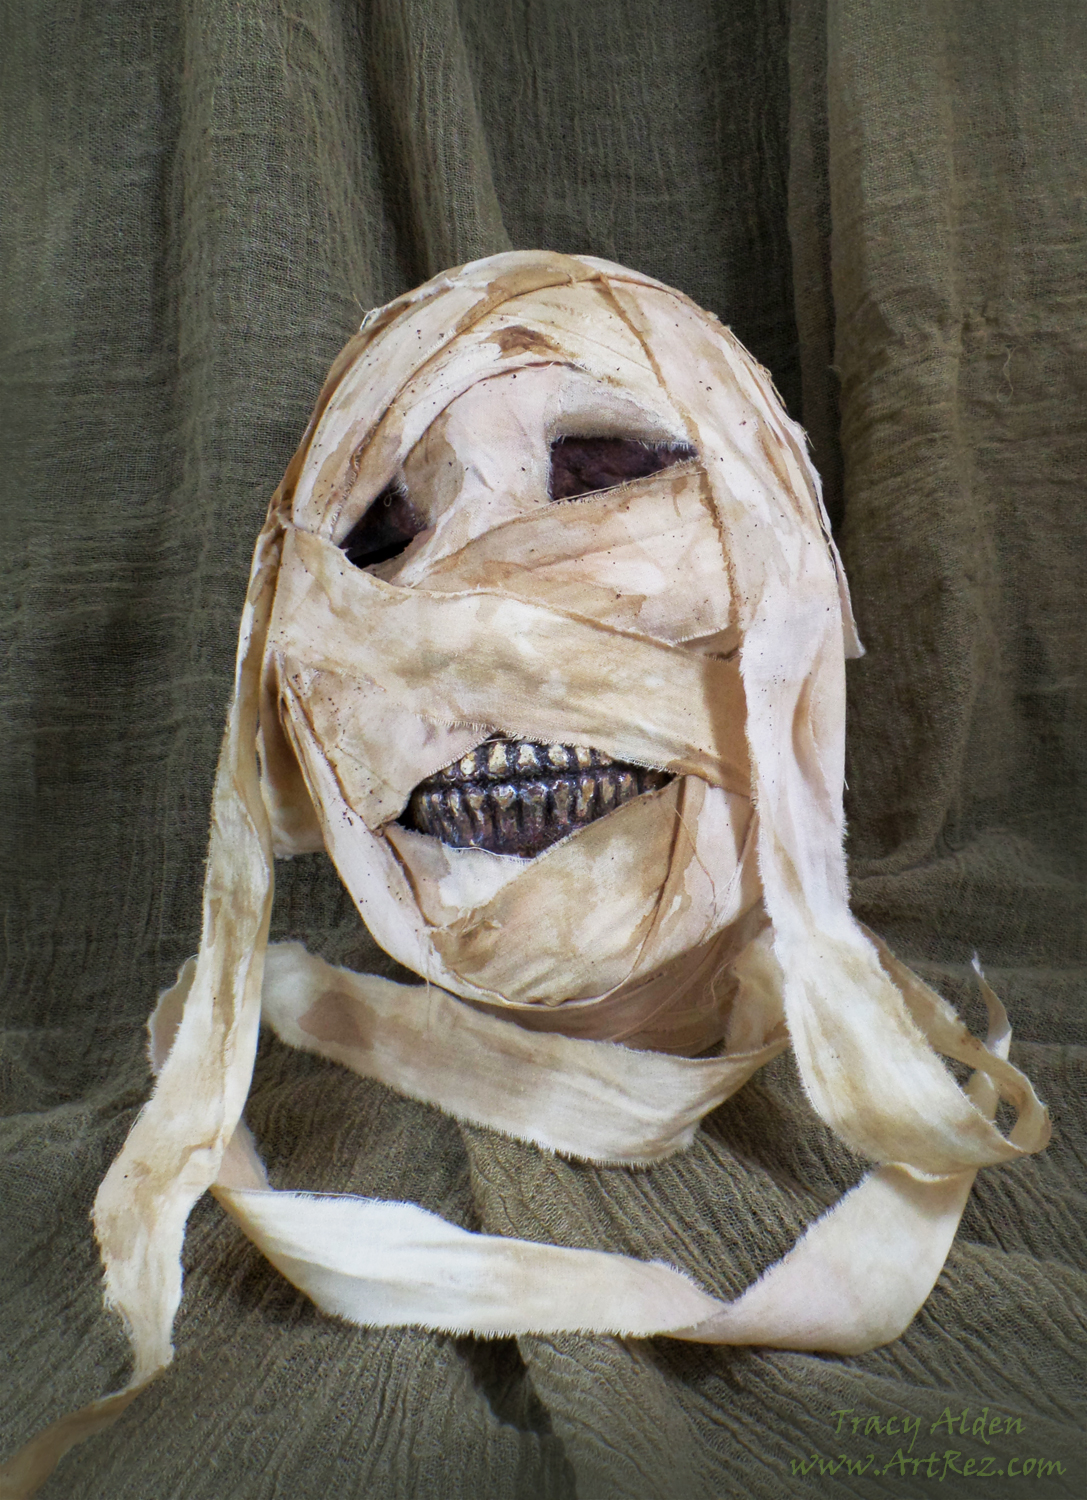
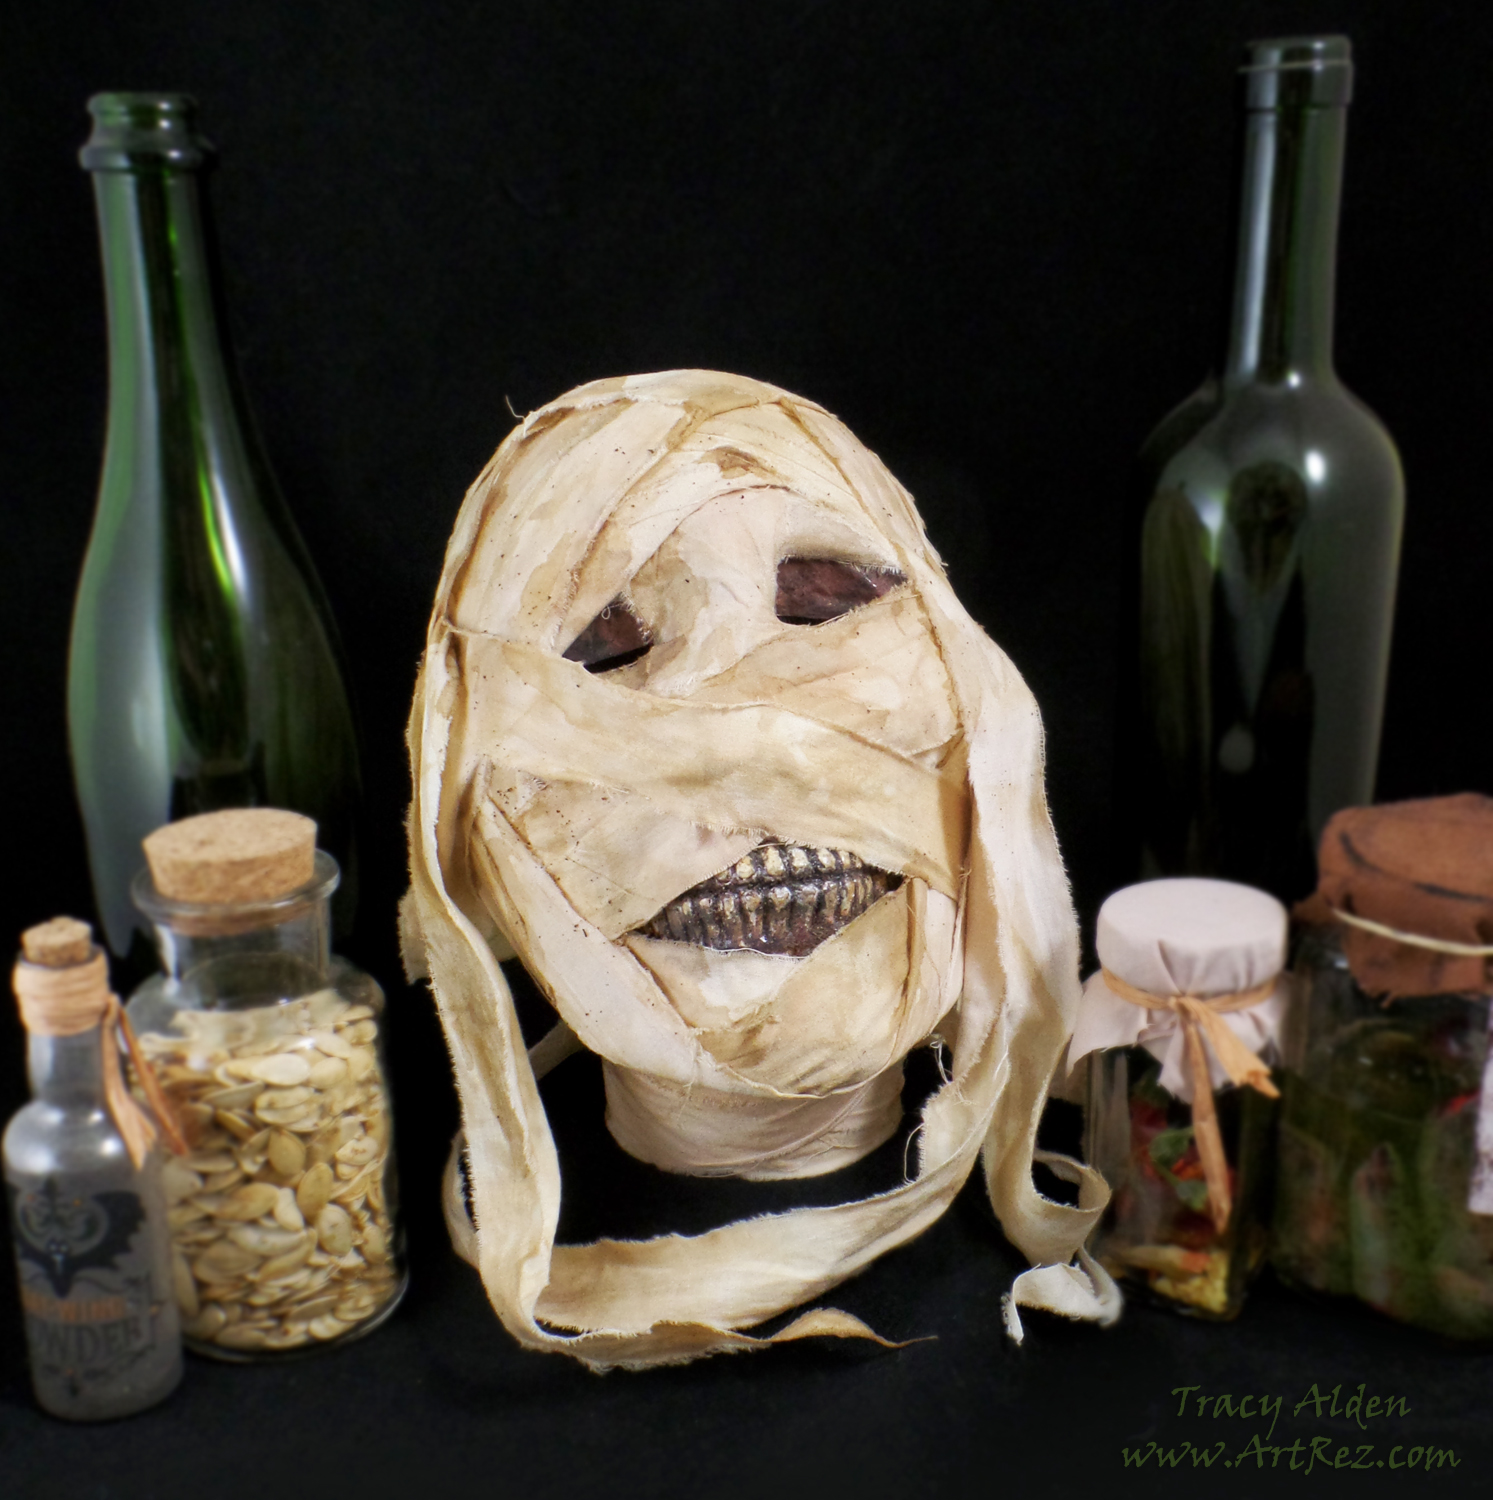
Once dry, this spooky décor is a perfect addition to my creepy curiosity cabinet on display for Halloween!
Until next time, safe travels!
This is an affiliate post, which means I received an assortment of products as a compensation for the creation of art. To read my full disclosure, click here.
#TBT Sit for a Spell! DIY Eye of Newt Apothecary Jar

Kicking off my Throwback Thursday posts with one of my favorite upcycling Halloween crafts. Posted in 2015 on the Amazing Casting Products blog, this quick and easy project is perfect with Halloween coming up fast.
Taking inspiration from one of William Shakespeare’s most famous plays, Macbeth:
“Eye of newt, and toe of frog,
Wool of bat, and tongue of dog,
Adder’s fork, and blind-worm’s sting,
Lizard’s leg, and howlet’s wing,–
For a charm of powerful trouble,
Like a hell-broth boil and bubble.”That part of the play has a wonderful spooky quality, often inspiring all types of ghoulish displays and decor for Halloween. The interesting part is that most of those names of ingredients were not intended to be taken literal, but were herbalist or folk terms for common herbs and plants. In the case of “Eye of newt” it was referring to a type of mustard seed. However thanks to pop culture more often than not most people think of real newt eyes in a jar. So knowing some seeds in a jar isn’t that ghoulish of a Halloween decoration I decided to go with the pop culture version of making a jar with faux newt eyes.
Supplies:
A Glass Jar previously used for a candle
Resin
Moss
Eye Beads
Glitter (optional)
Chalk Sticker
Chalk Pen
Wood Bead
Black Chalk Paint
Sandpaper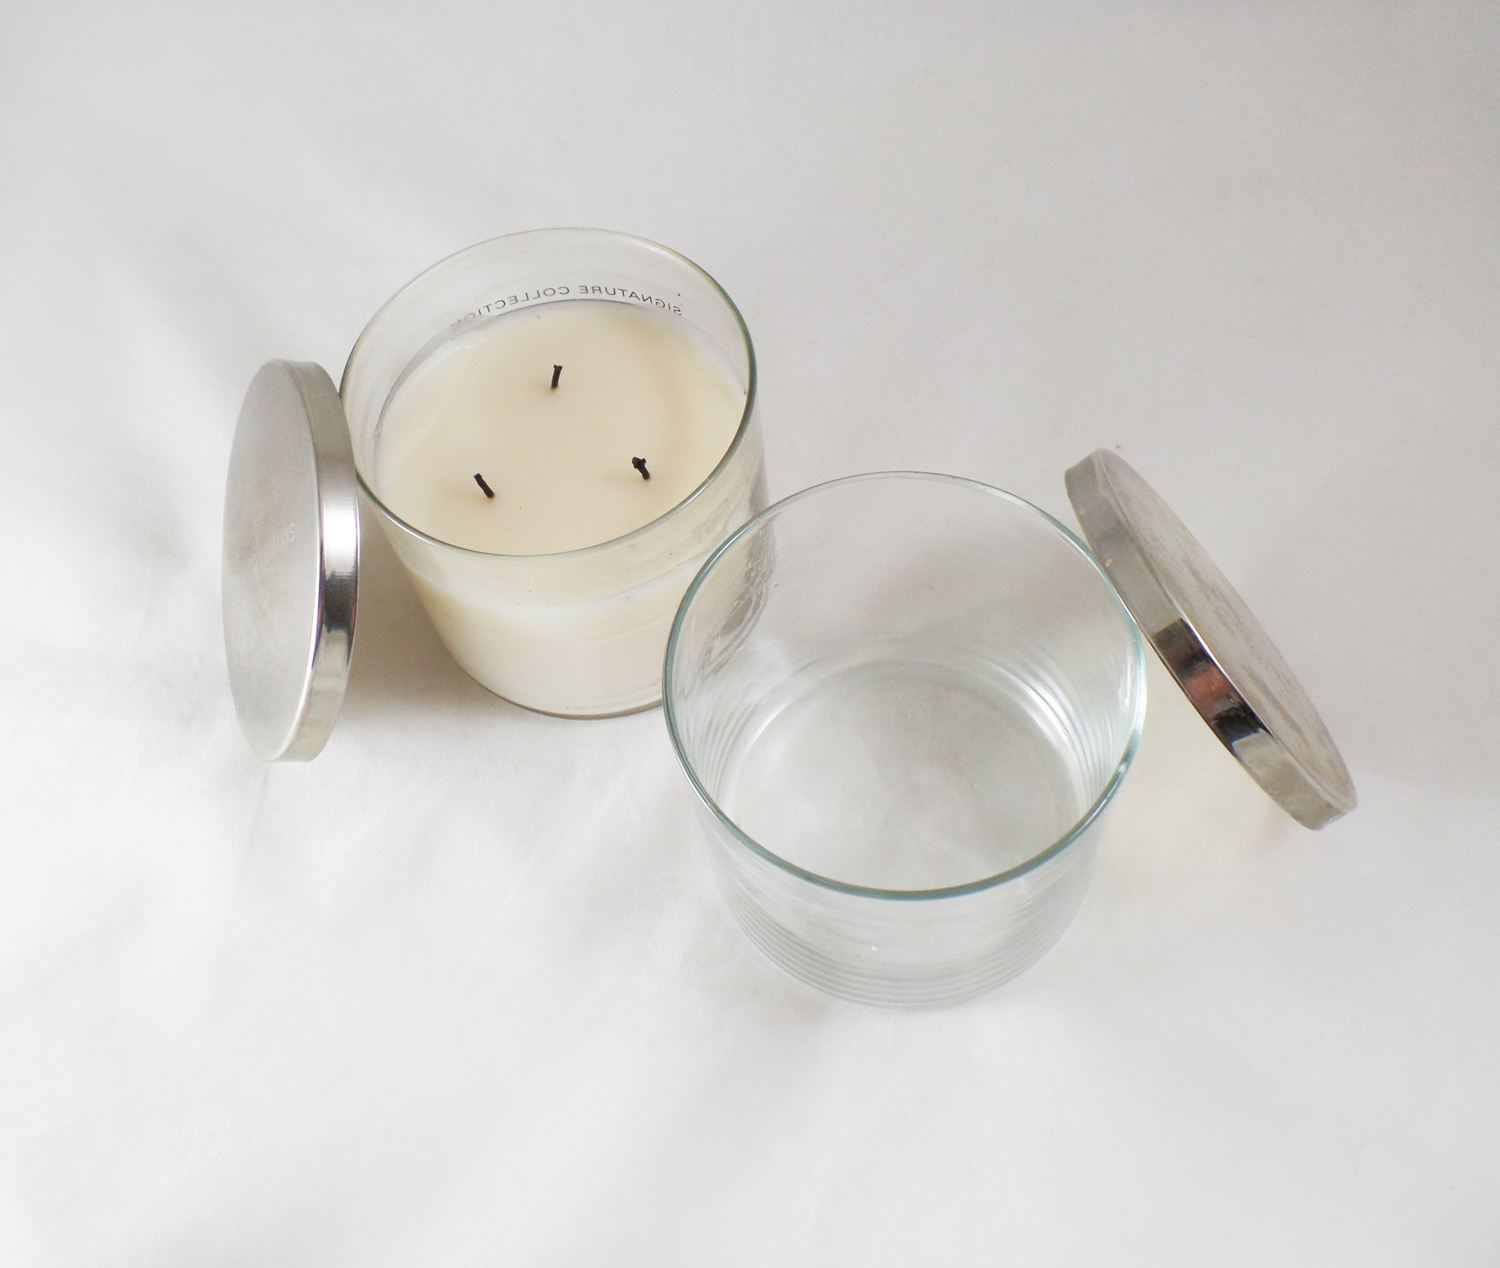
I cleaned up a old jar that previously had a three wick candle with a metal lid, making it perfect for an apothecary jar. I picked this type of glass because it is tempered and can handle the heat often created by thick pours of curing resin.
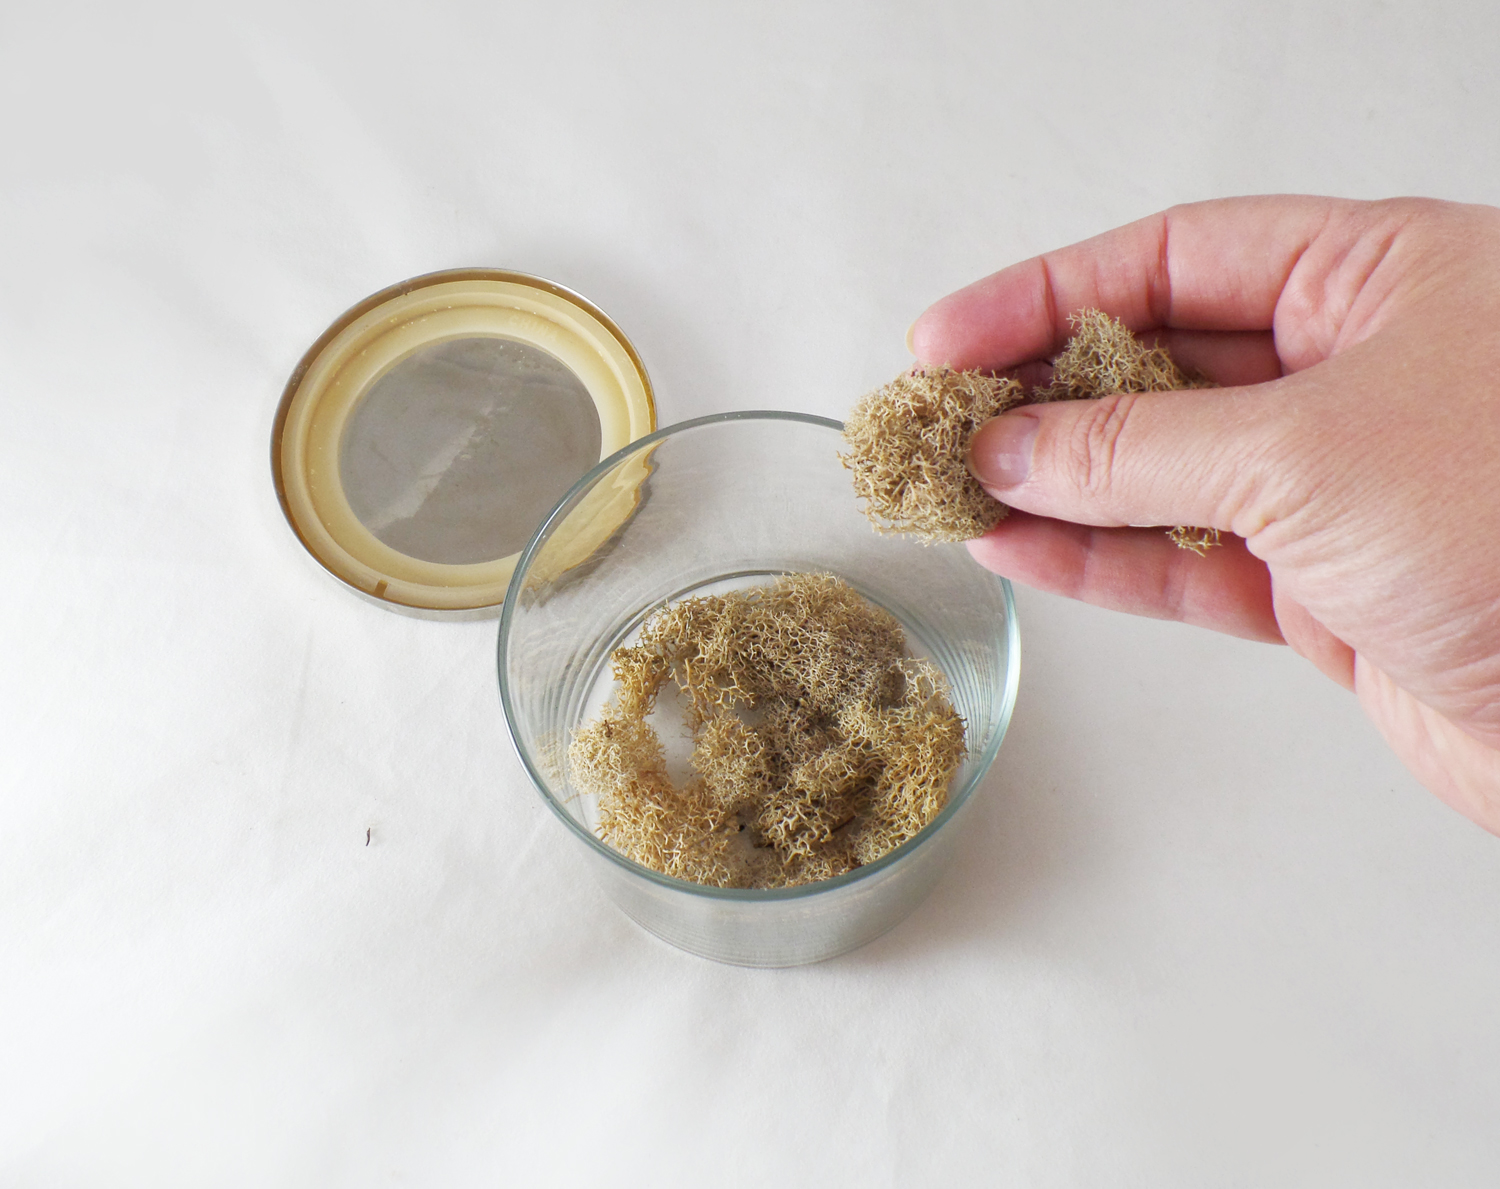
I put some dried moss at the bottom of the jar to add some visual contrast. It would also help with adding some textured base to prop the fake eyes on so they wouldn’t all sink to the bottom.
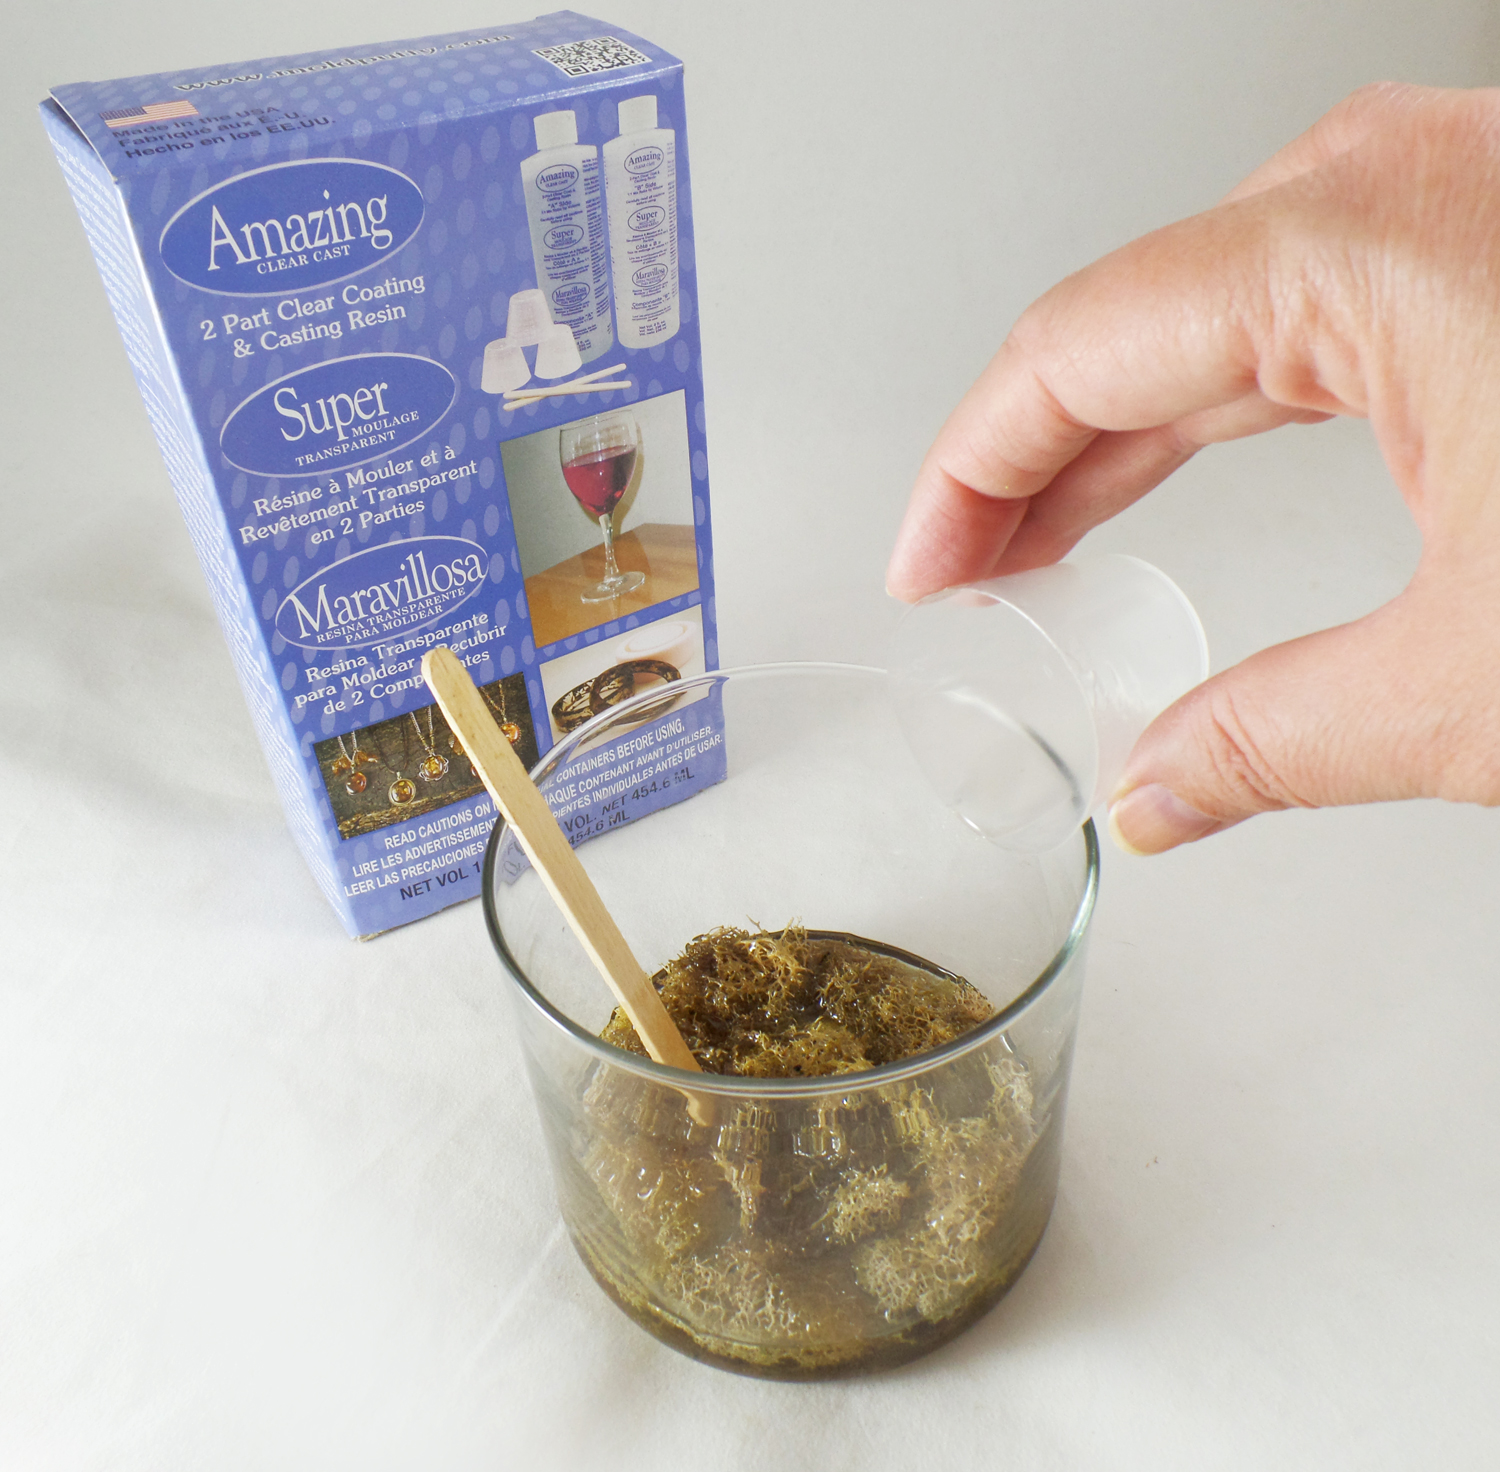
I mixed up 3 fluid ounces of Amazing Clear Cast Resin and slowly poured it on top of the moss to cover it.
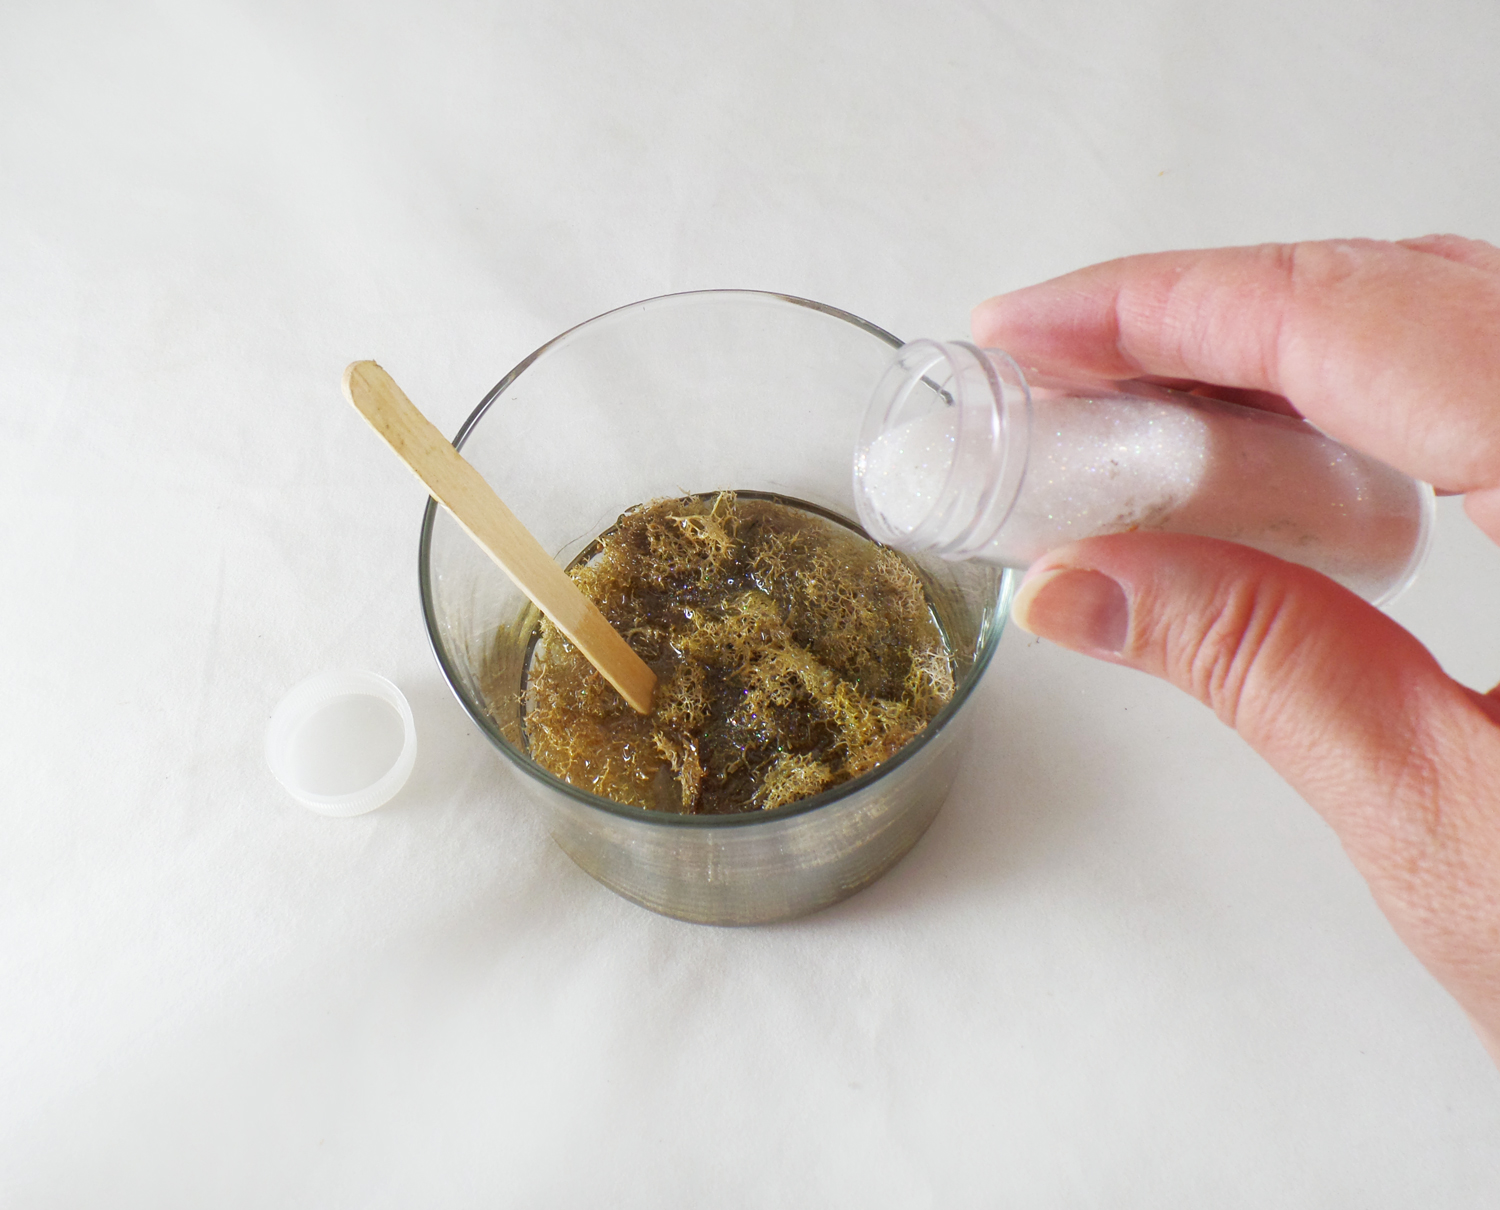
The moss became a bit dark after the resin started to soak into it, so before the resin layer started to cure I sprinkled a bit of micro crystal glitter* to give just a slight shimmer to the moss layer.
*The glitter is an optional step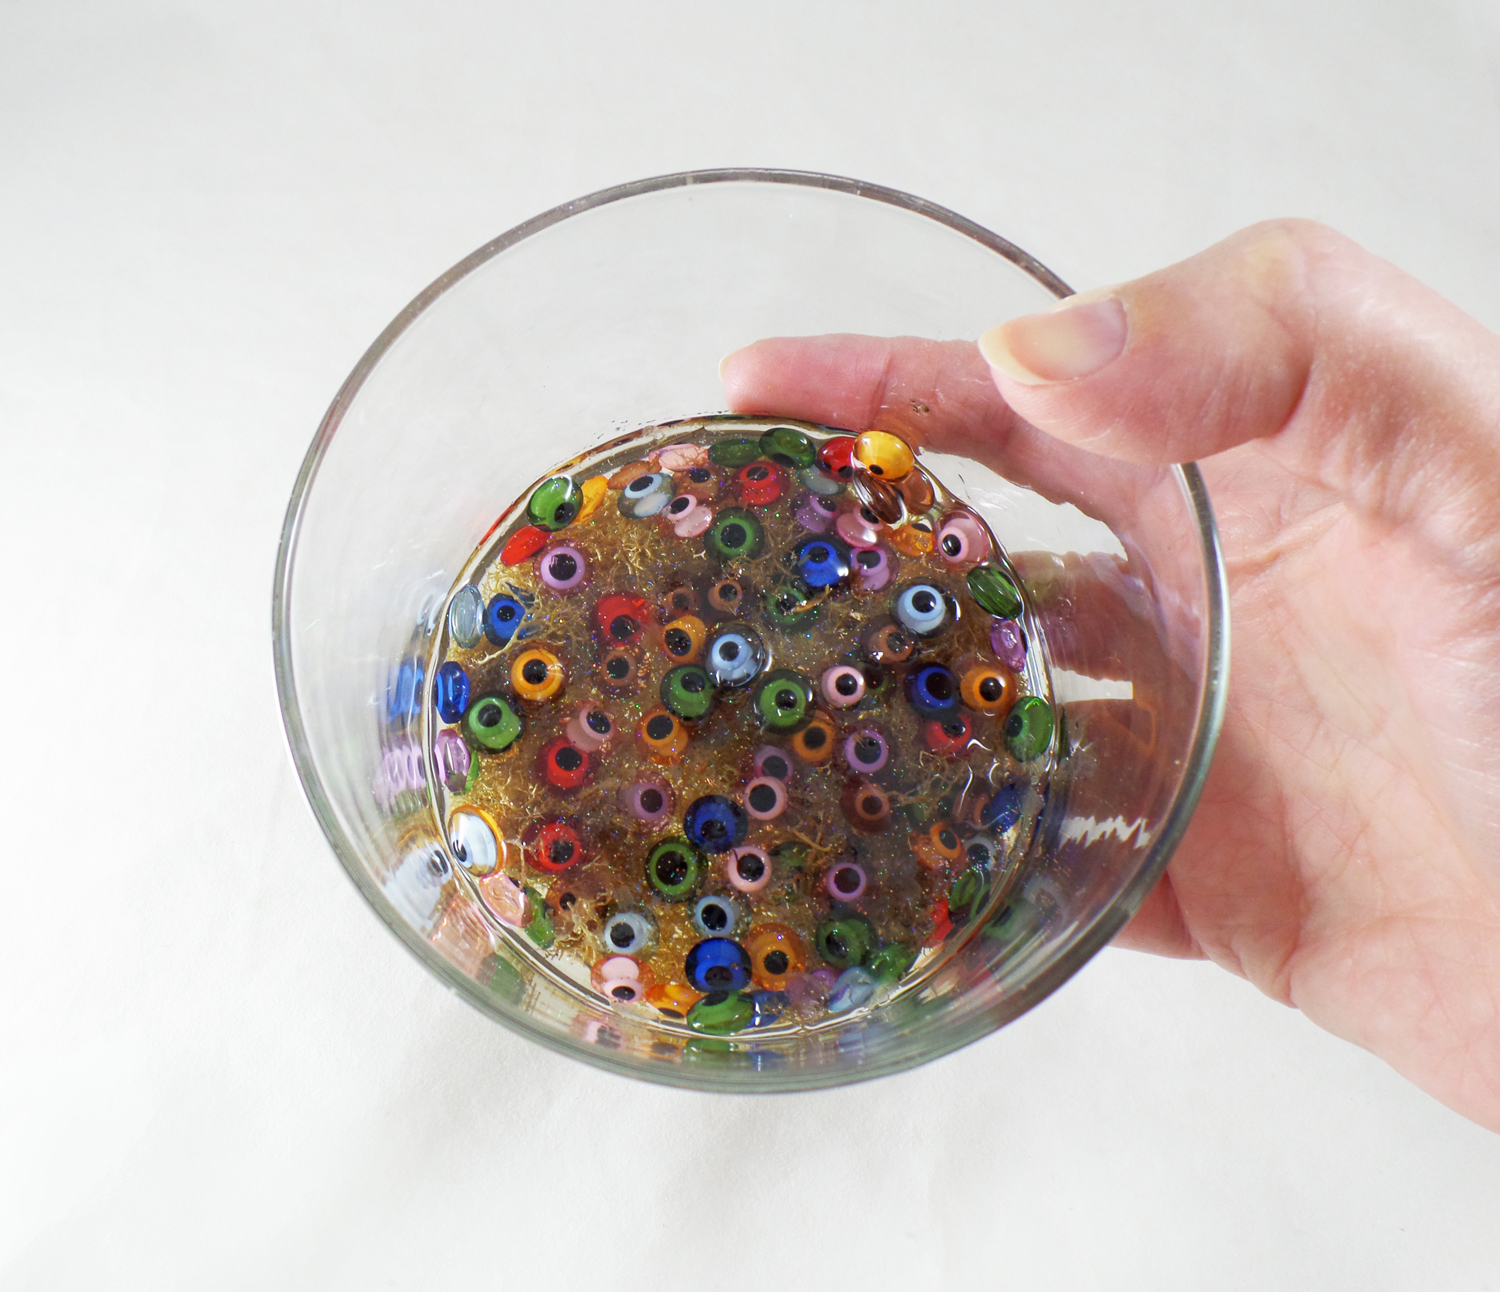
For newt eyes I used transparent acrylic Eye of Warding beads carefully placed in the still wet resin. Recent popularity of the beads has had a lot of bead manufacturers making all kinds of the Eye of Warding beads out of glass, acrylic, clay and even recycled plastic.
*Take a trip to your favorite craft store to check out what types of beads they might have for you to use!
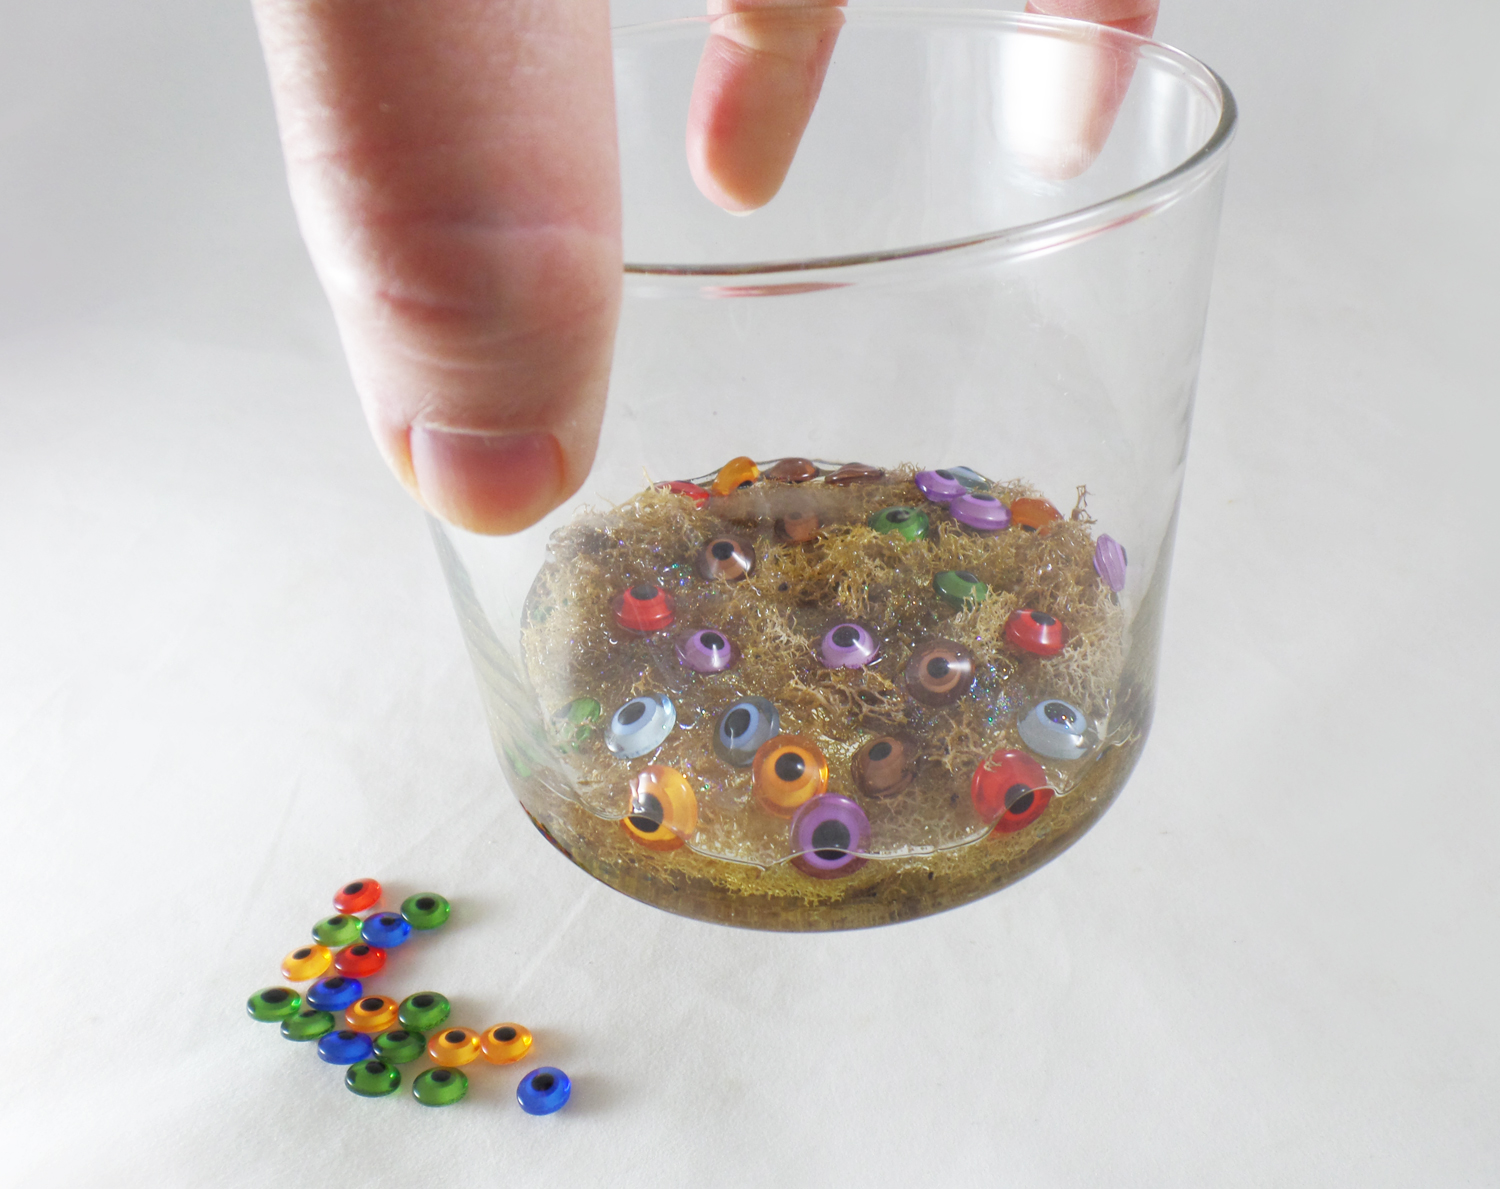
Once I let the first layer of resin cure for about an hour I added some more eye beads and little snippets of moss. I didn’t want to add too much. I wanted it to look like someone used the “newt eyes” a lot in their spells.

While the final layer of resin cured I worked on the lid to the jar. To bring down some of the bright silver tone of the lid I used some sandpaper and little bit of chalk paint to give it an aged look. A painted wooded bead, glued on top of the lid, gave it a pull knob.
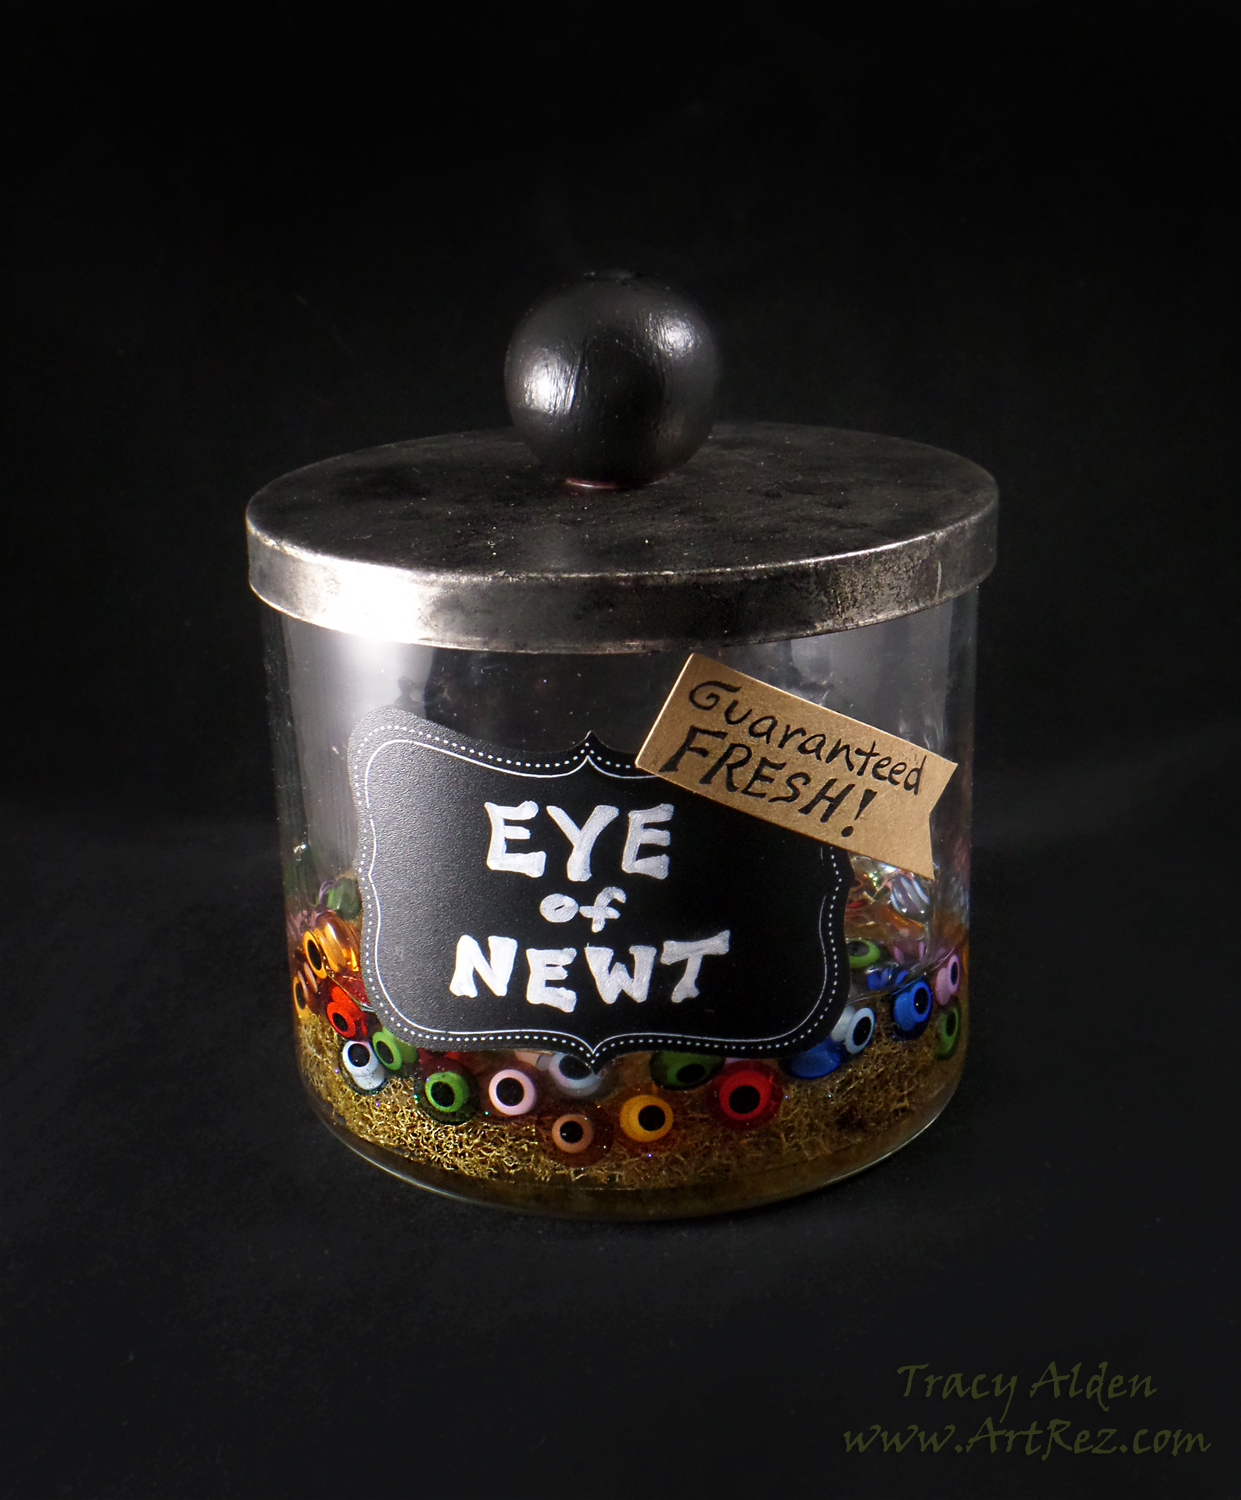
With a chalk board sticker for a label the jar was finished and not a single newt harmed! 🙂
Until next time, safe travels!
*This is an affiliate post, which means I received an assortment of products as a compensation for the creation of art. To read my full disclosure, click here.

Ancient and Contemporary Inspired Artistry