A #Cre8time trip to Ancient Greece with Amazing Casting Products and Stencil Girl Products
Hello! Tracy here with something special this month, a wonderful collaboration between Amazing Casting Products and Stencil Girl Products! Showcasing projects by incorporating Stencil Girl stencils along with Amazing Mold Putty and Amazing Clear Cast.
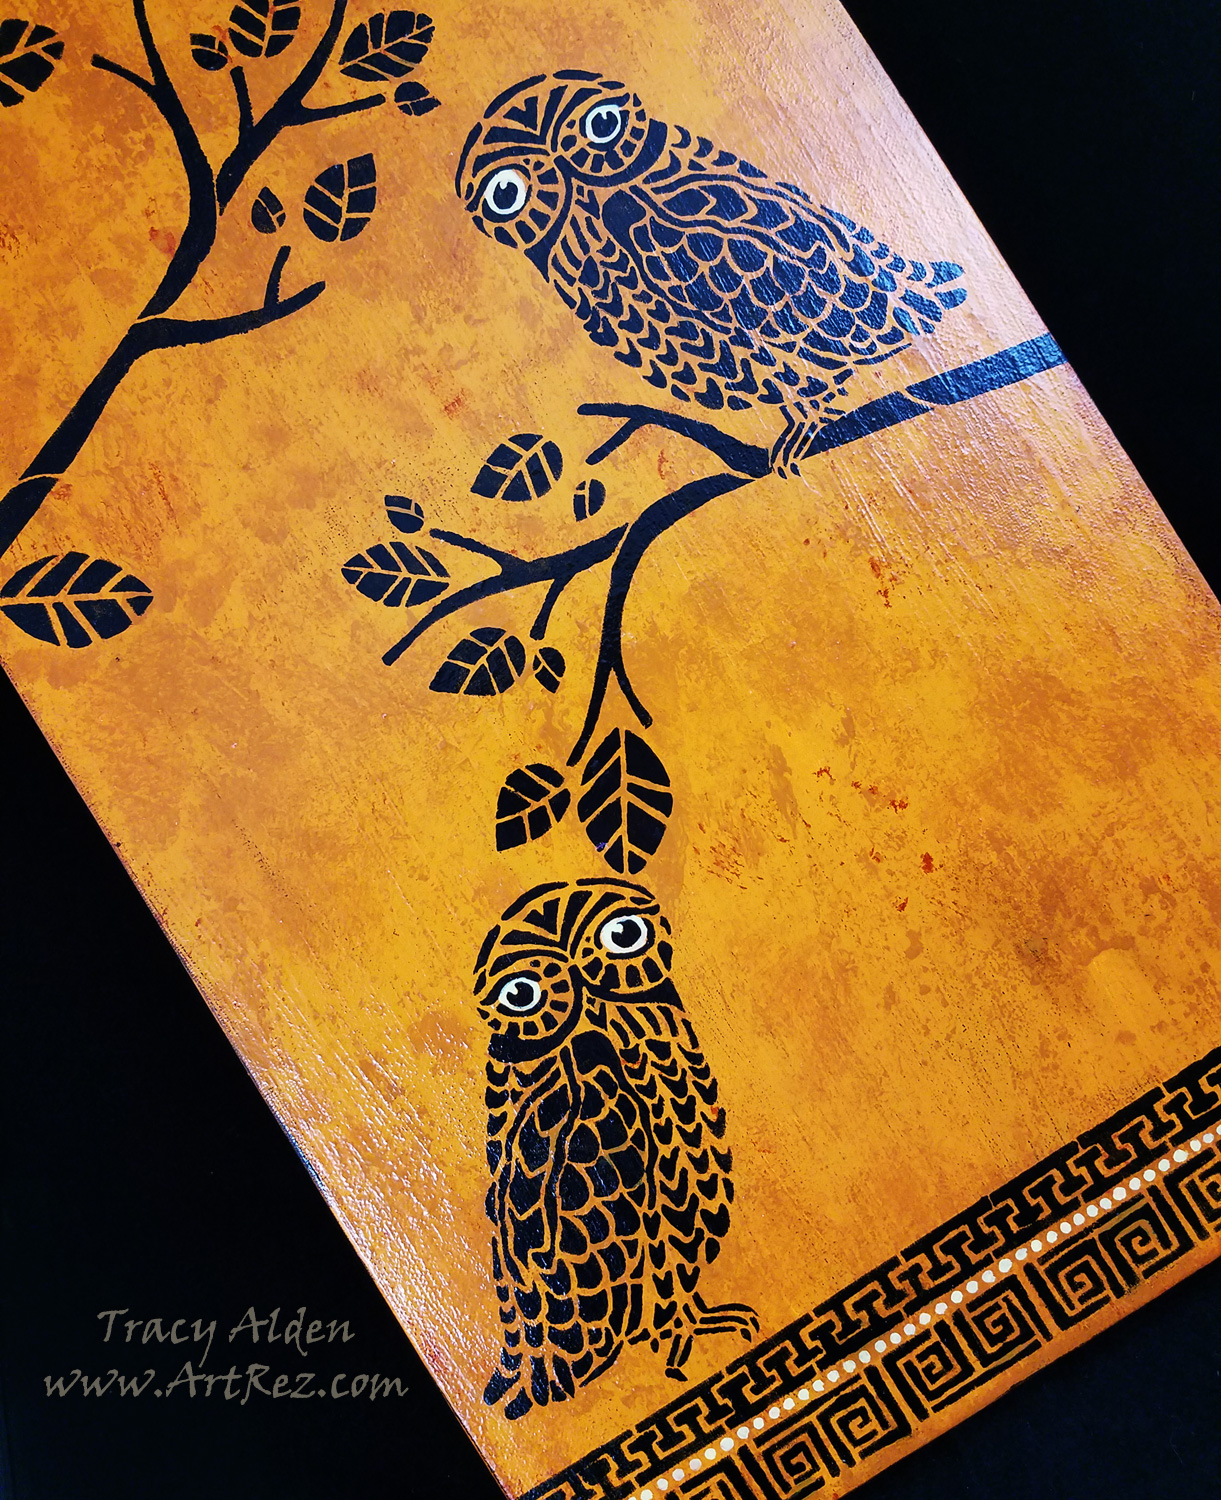
When I was given the chance to look through the Stencil Girl Products online catalog of stencils, there was so many to choose from! After seeing their Three Owls and a Branch stencil I immediately got an idea for a canvas piece. One of the owls in particular reminded me of Athena’s owl from the original Clash of the Titans movie, and once I saw the Stitch a Greek Border stencil I just knew I had to do a Grecian inspired piece!
Supplies:
Amazing Mold Putty
Amazing Clear Cast Resin
Stencil Girl Products Three Owls and a Branch 9″ X 12″ stencil
Stencil Girl Products Stitch a Greek Border 9″ X 12″ stencil
12″ X 24″ Canvas
Painter’s Tape
Paint Brush
Cosmetic Sponges
Acrylic Paint (Black, Yellow, Pale Yellow, Brown and Orange)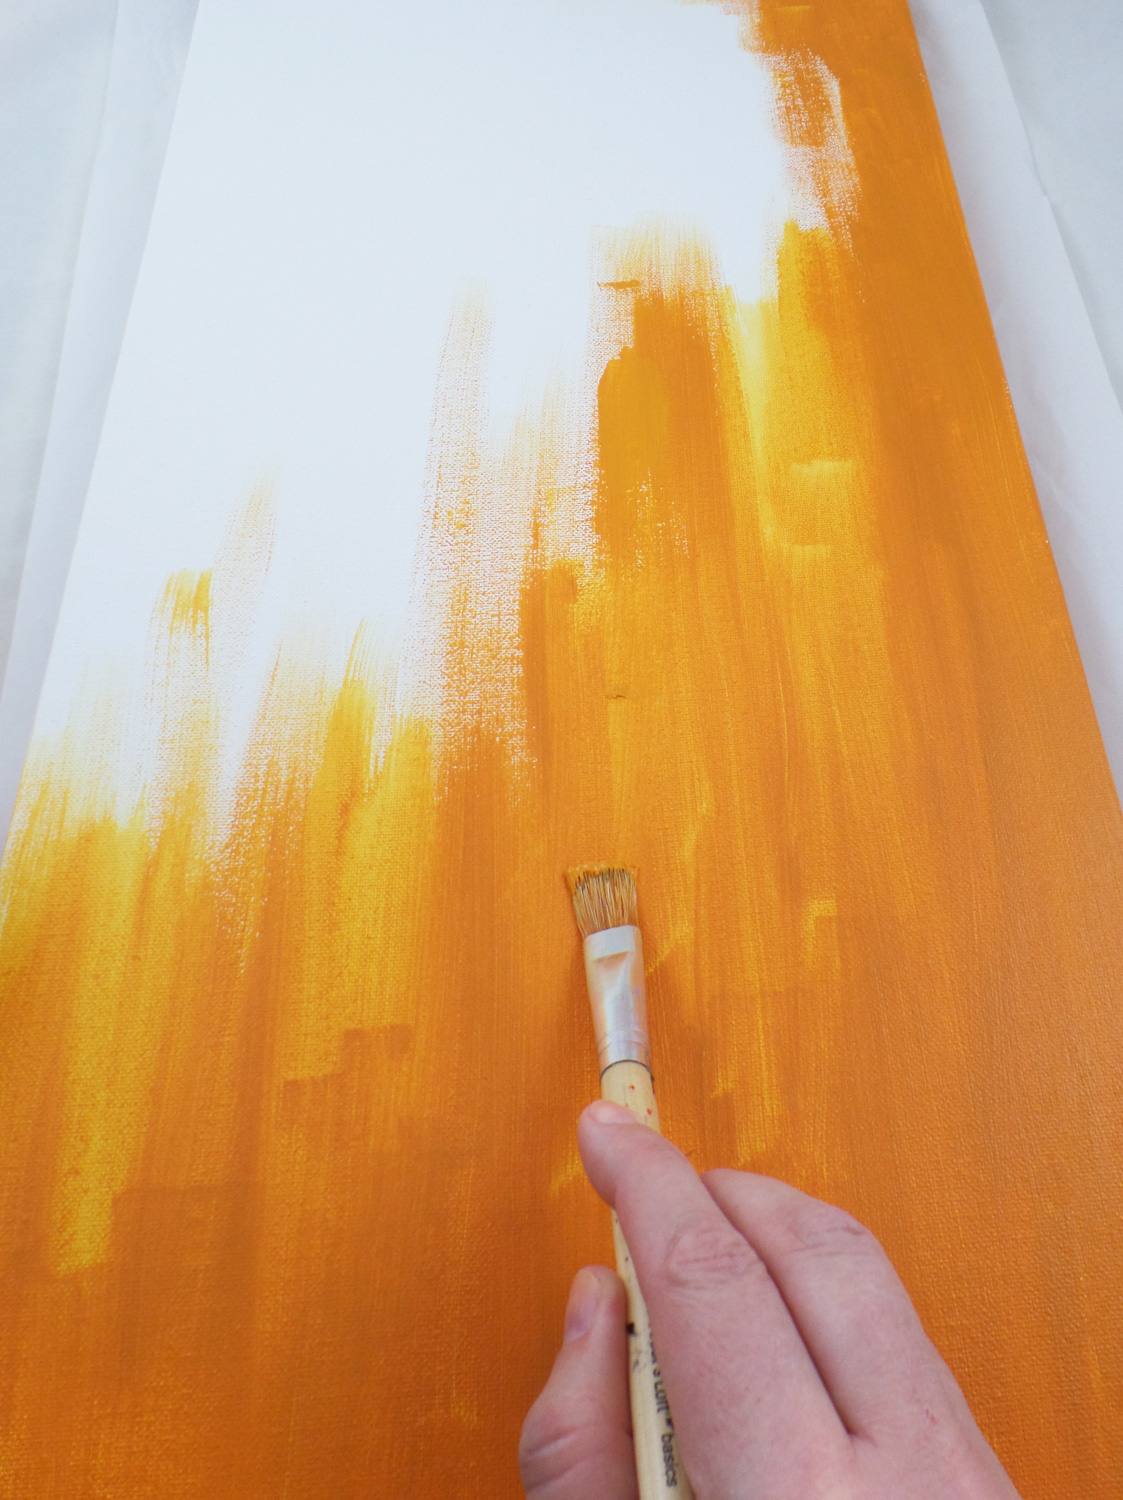
I mixed together the Yellow, Brown and Orange acrylic paints and applied it to the surface of the canvas. I did about two coats of paint to get a mostly even color tone.
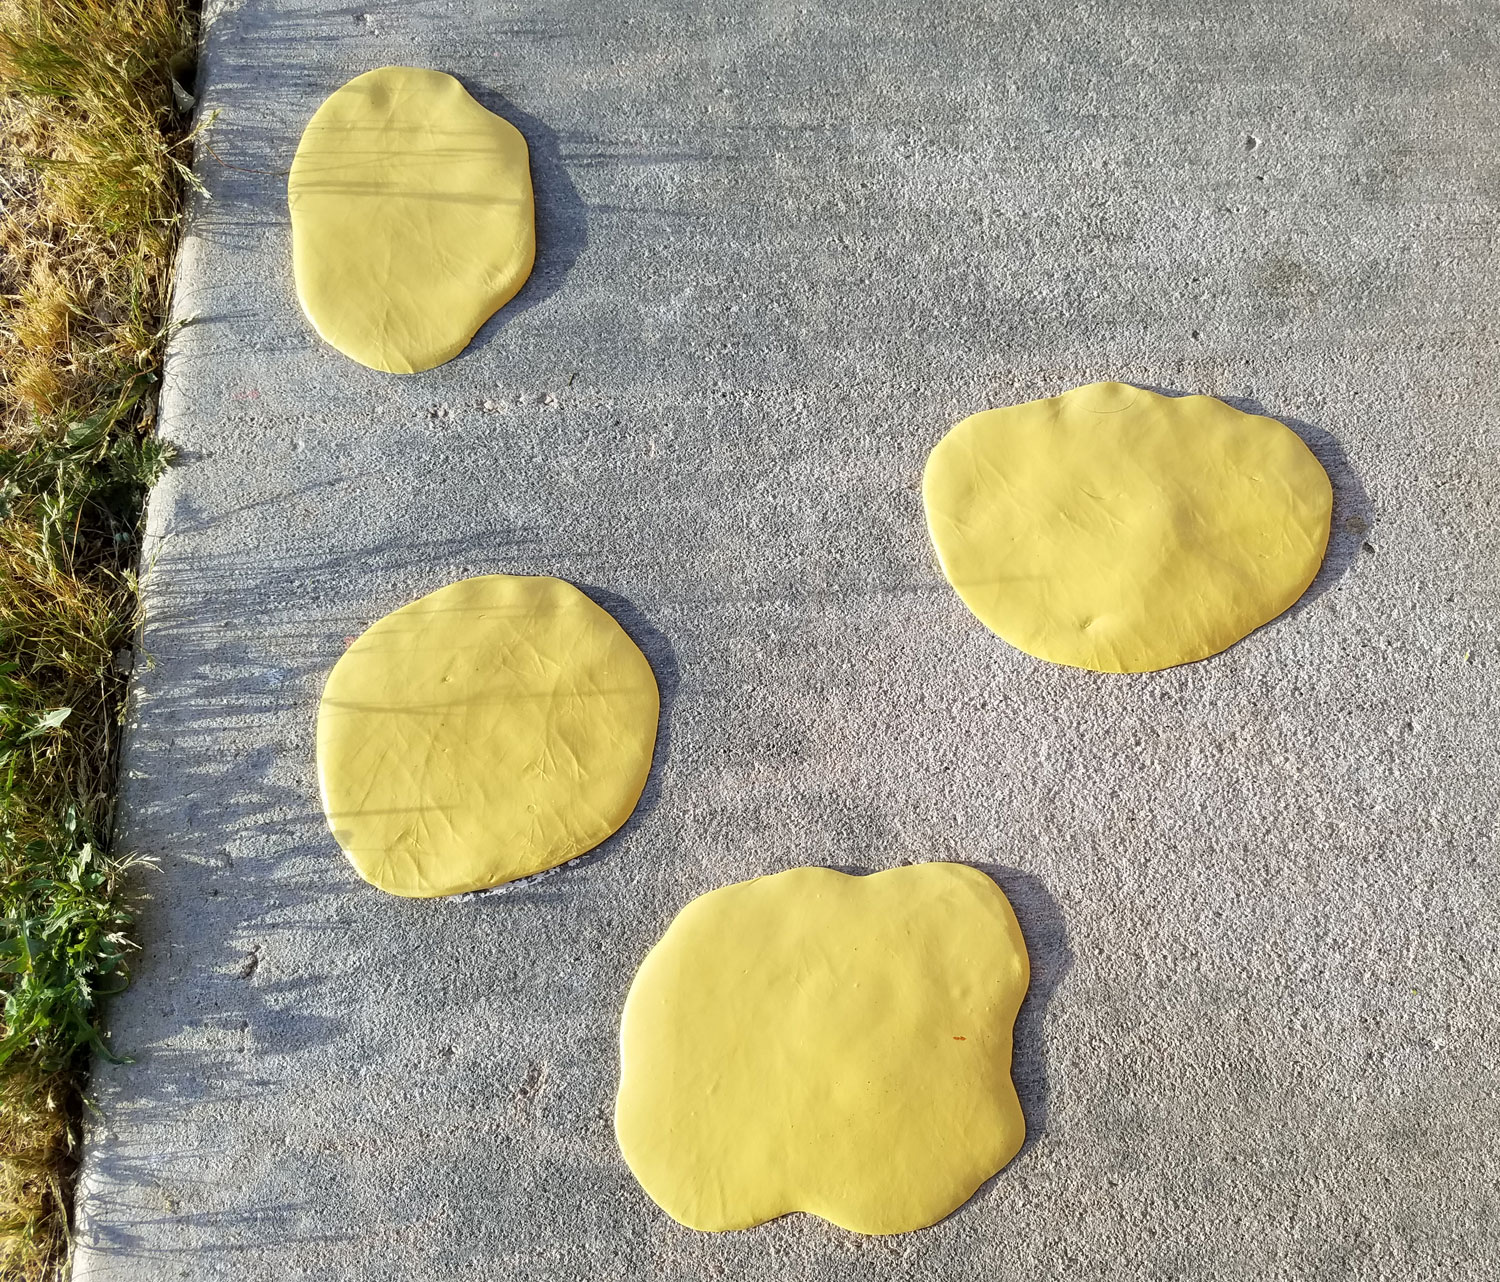
While the paint on the canvas was drying I scrubbed and cleaned a rough patch of sidewalk in my front yard. Once the cement was dry I mixed up some Amazing Mold Putty{CLICK HERE to view mixing/preparation}, and pressed the putty into the most textured spots of the sidewalk. I let the mold putty cure and carefully peeled the putty off the sidewalk.
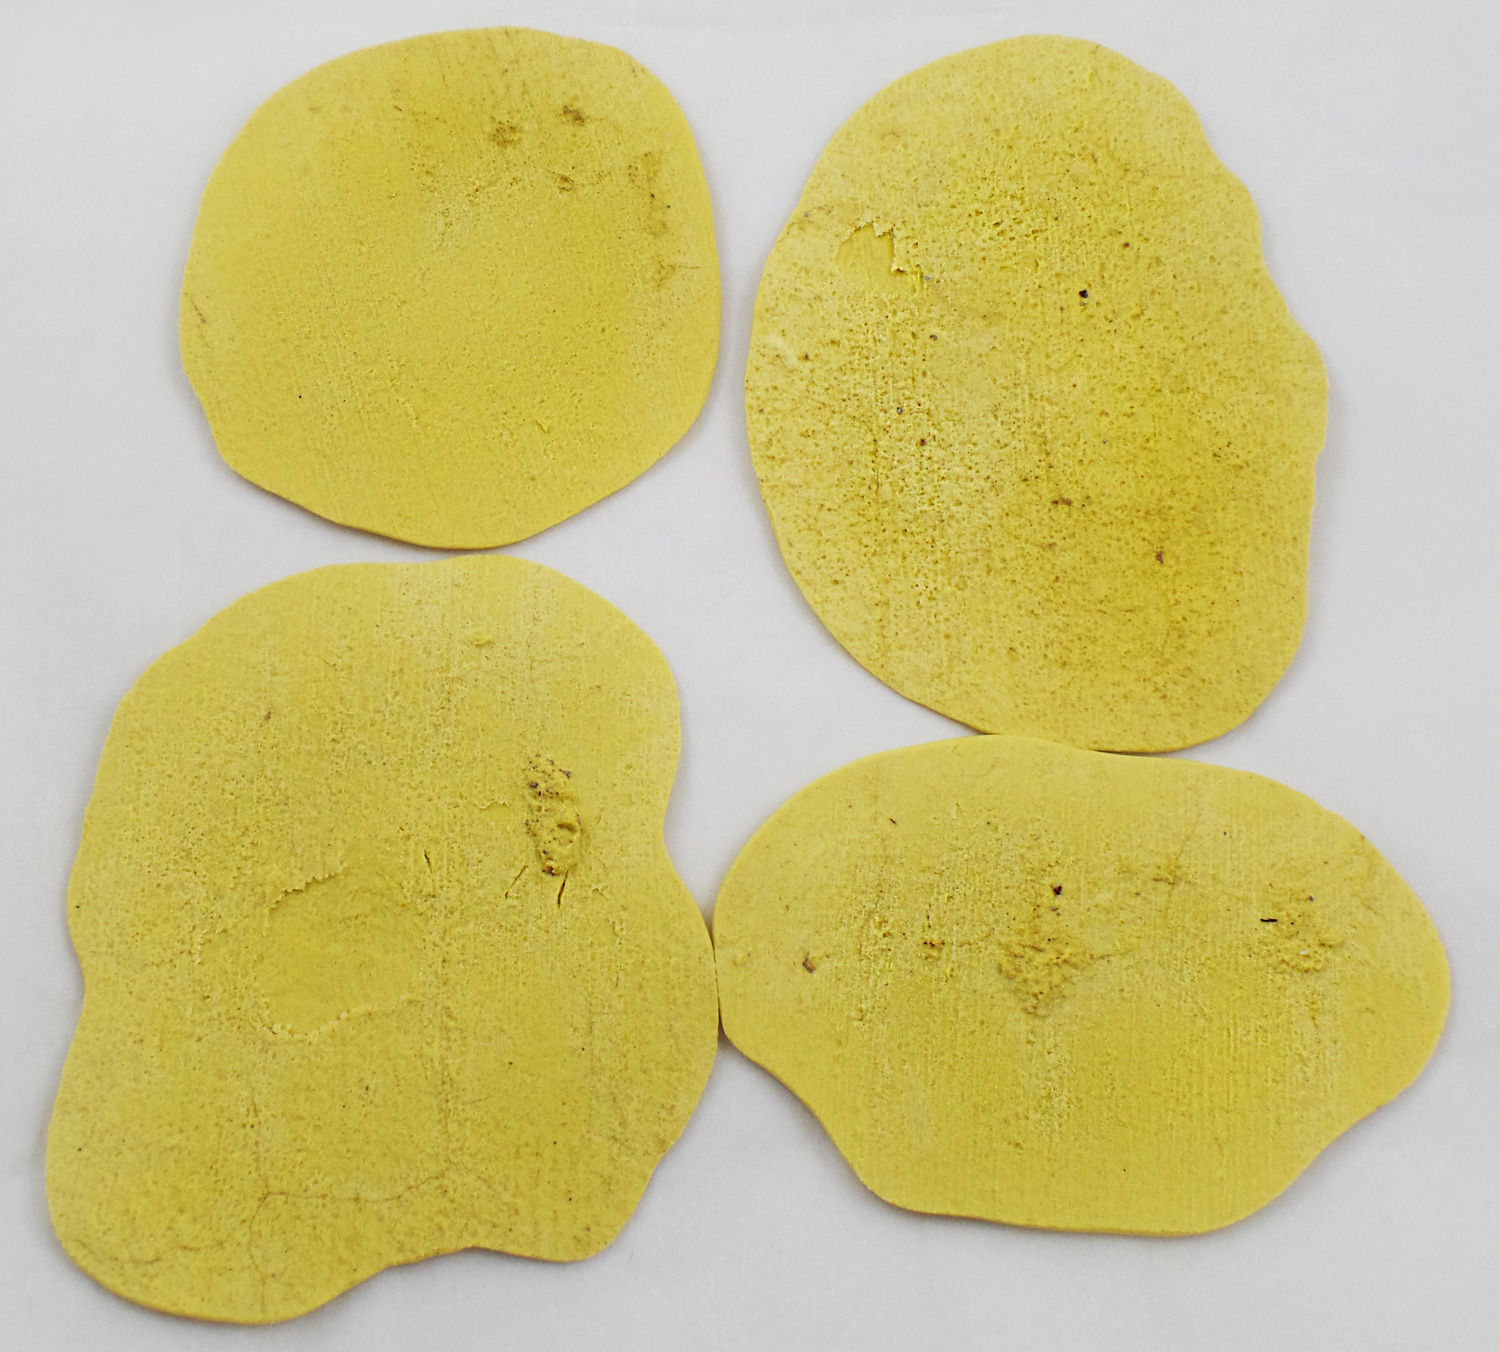
Once removed from the sidewalk I now had wonderful one of kind texture plates to use as stamps!
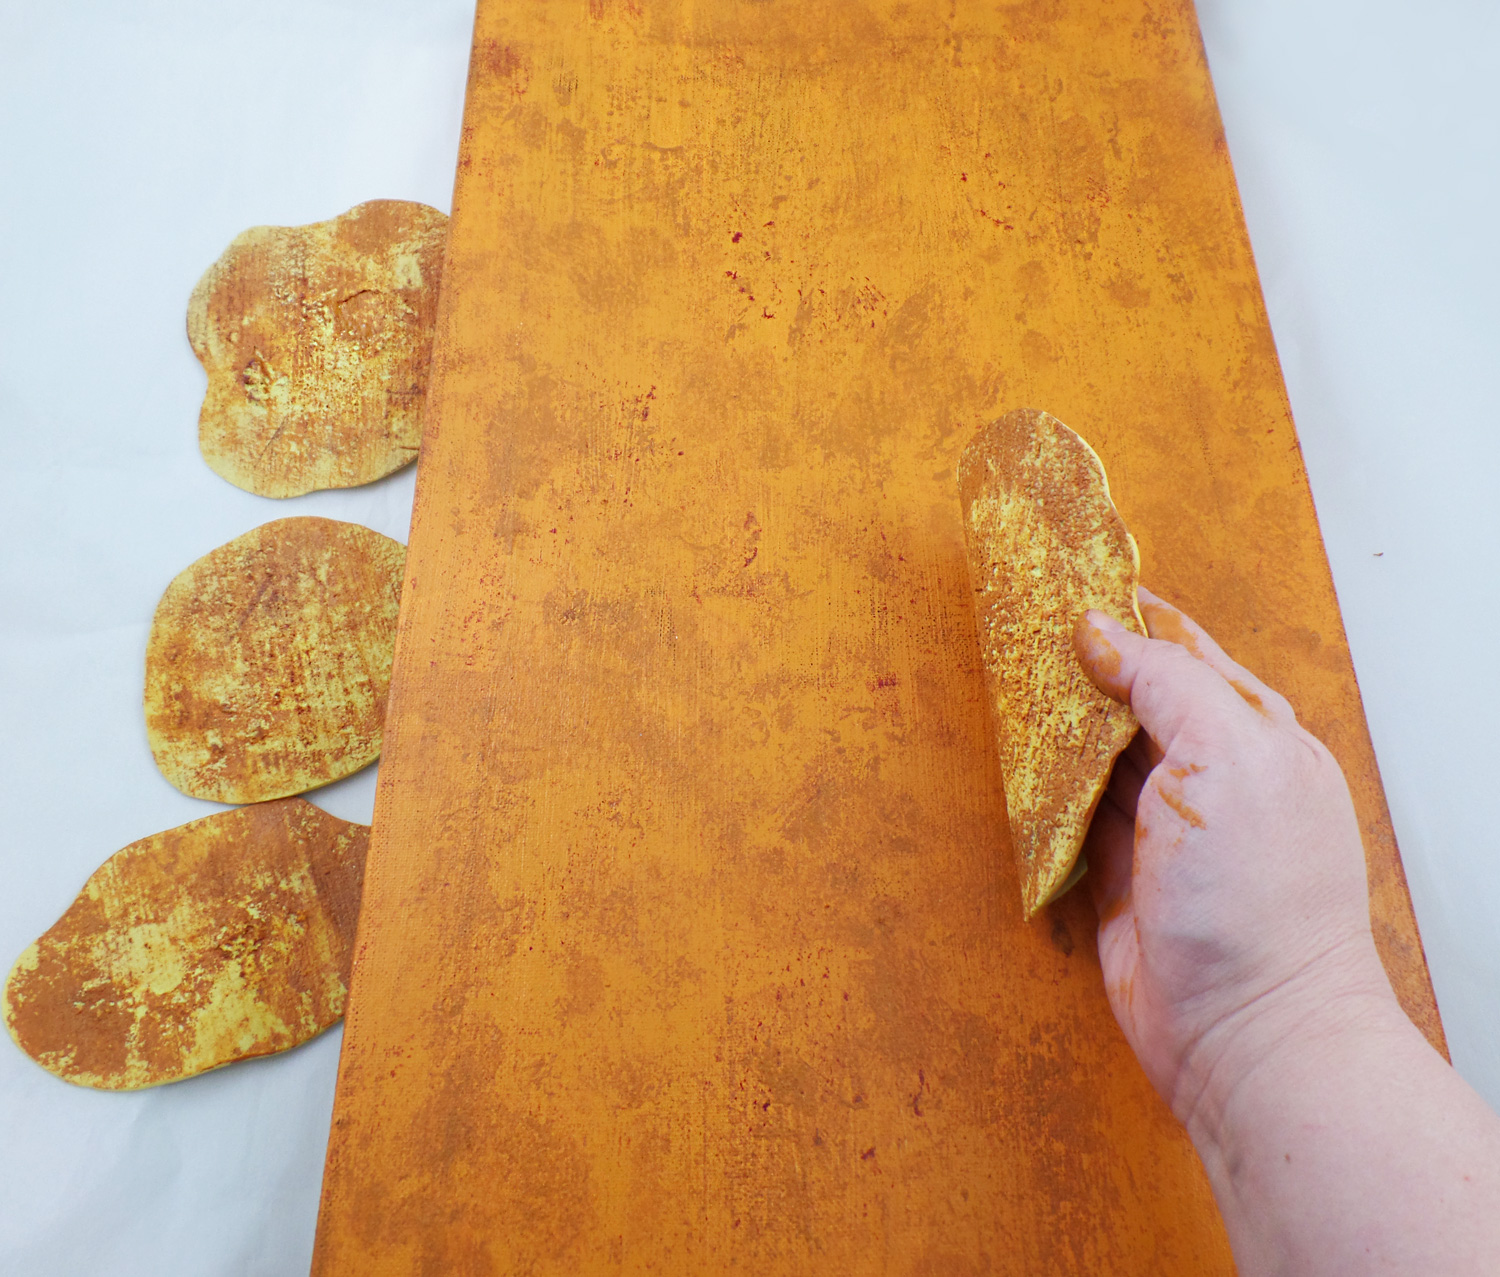
To each Amazing Mold Putty stamp I applied a light coat of acrylic pant and stamped it all over the surface of the canvas. There was no rhyme or reason to the placement, just anywhere I wanted to create a controlled splatter of color. By using several colors of paint the surface started to mimic aged Grecian frescoes and pottery. I let the paint dry fully.
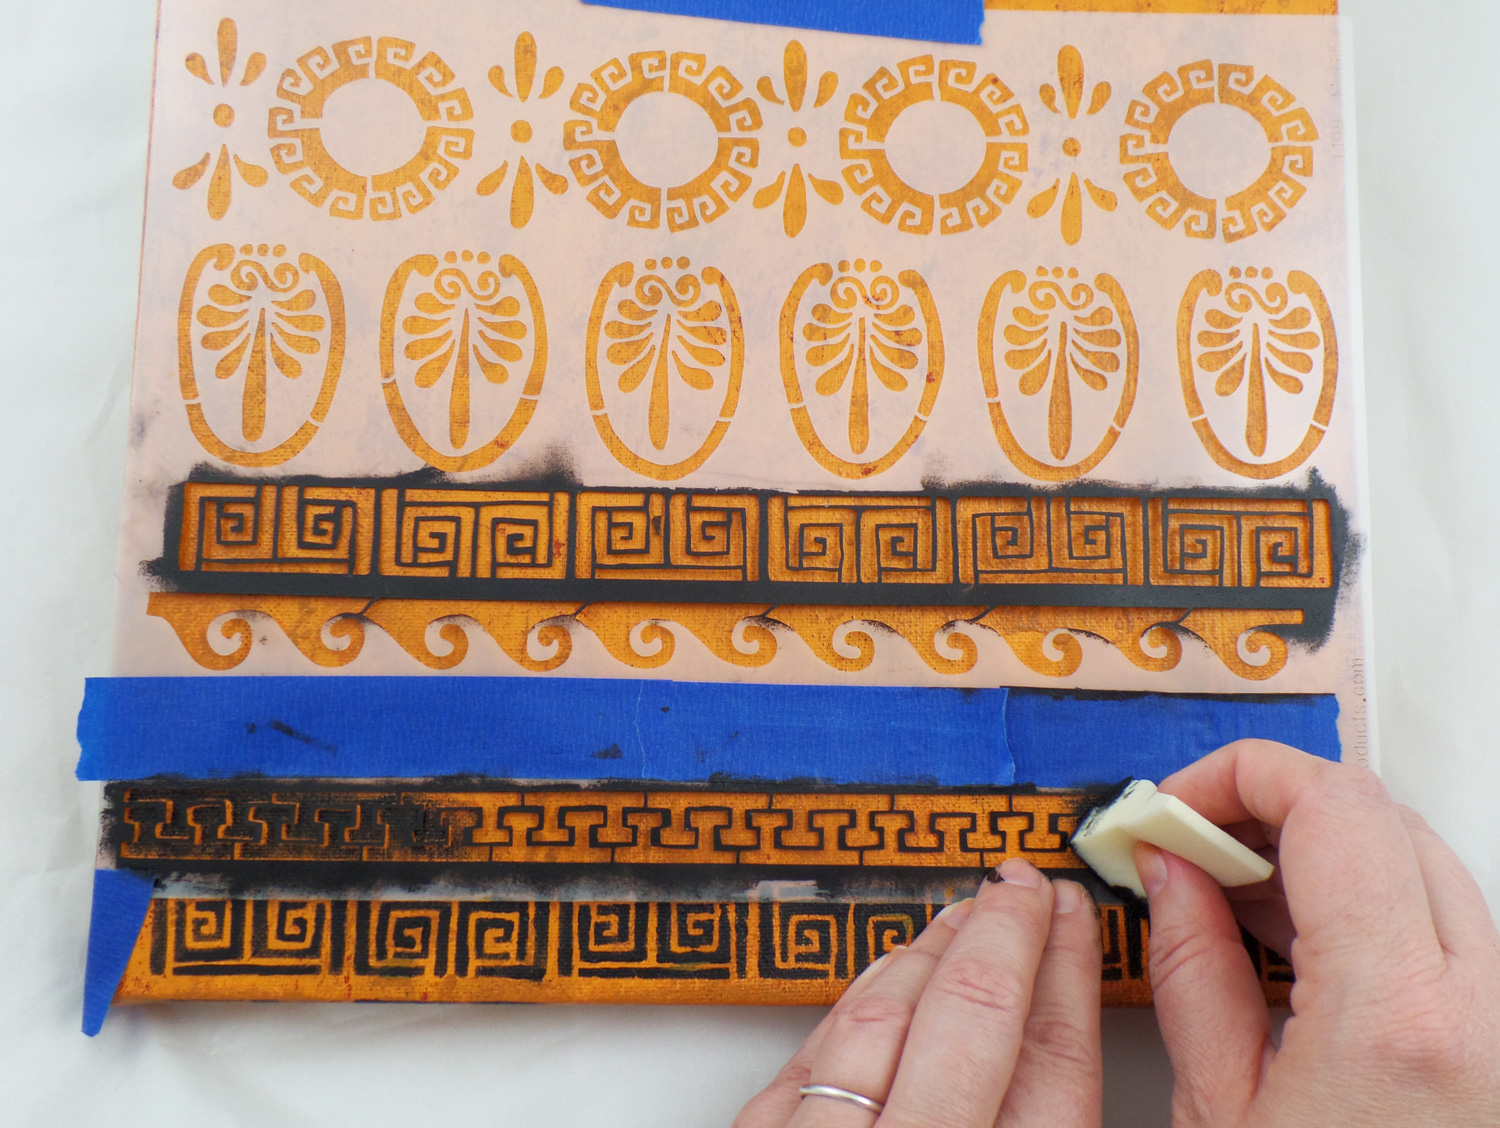
Using painters tape I taped in place the Stencil Girl Products Stitch a Greek Border on the bottom of the canvas and picked two different trim patterns to stencil. By using painter’s tape, it will hold the stencil in place but not damage the painted surface (nor the stencil), allowing for easy repositioning. I then poured a small amount of Black acrylic paint on a palette and dabbed a cosmetic sponge lightly into the paint. I carefully applied the paint while holding the stencil in place to prevent any slight slippage of the stencil. If an area needed a second coat of paint it was easy to go back and reapply paint without any worries of paint overloading. I repeated this for the top of the canvas as well.
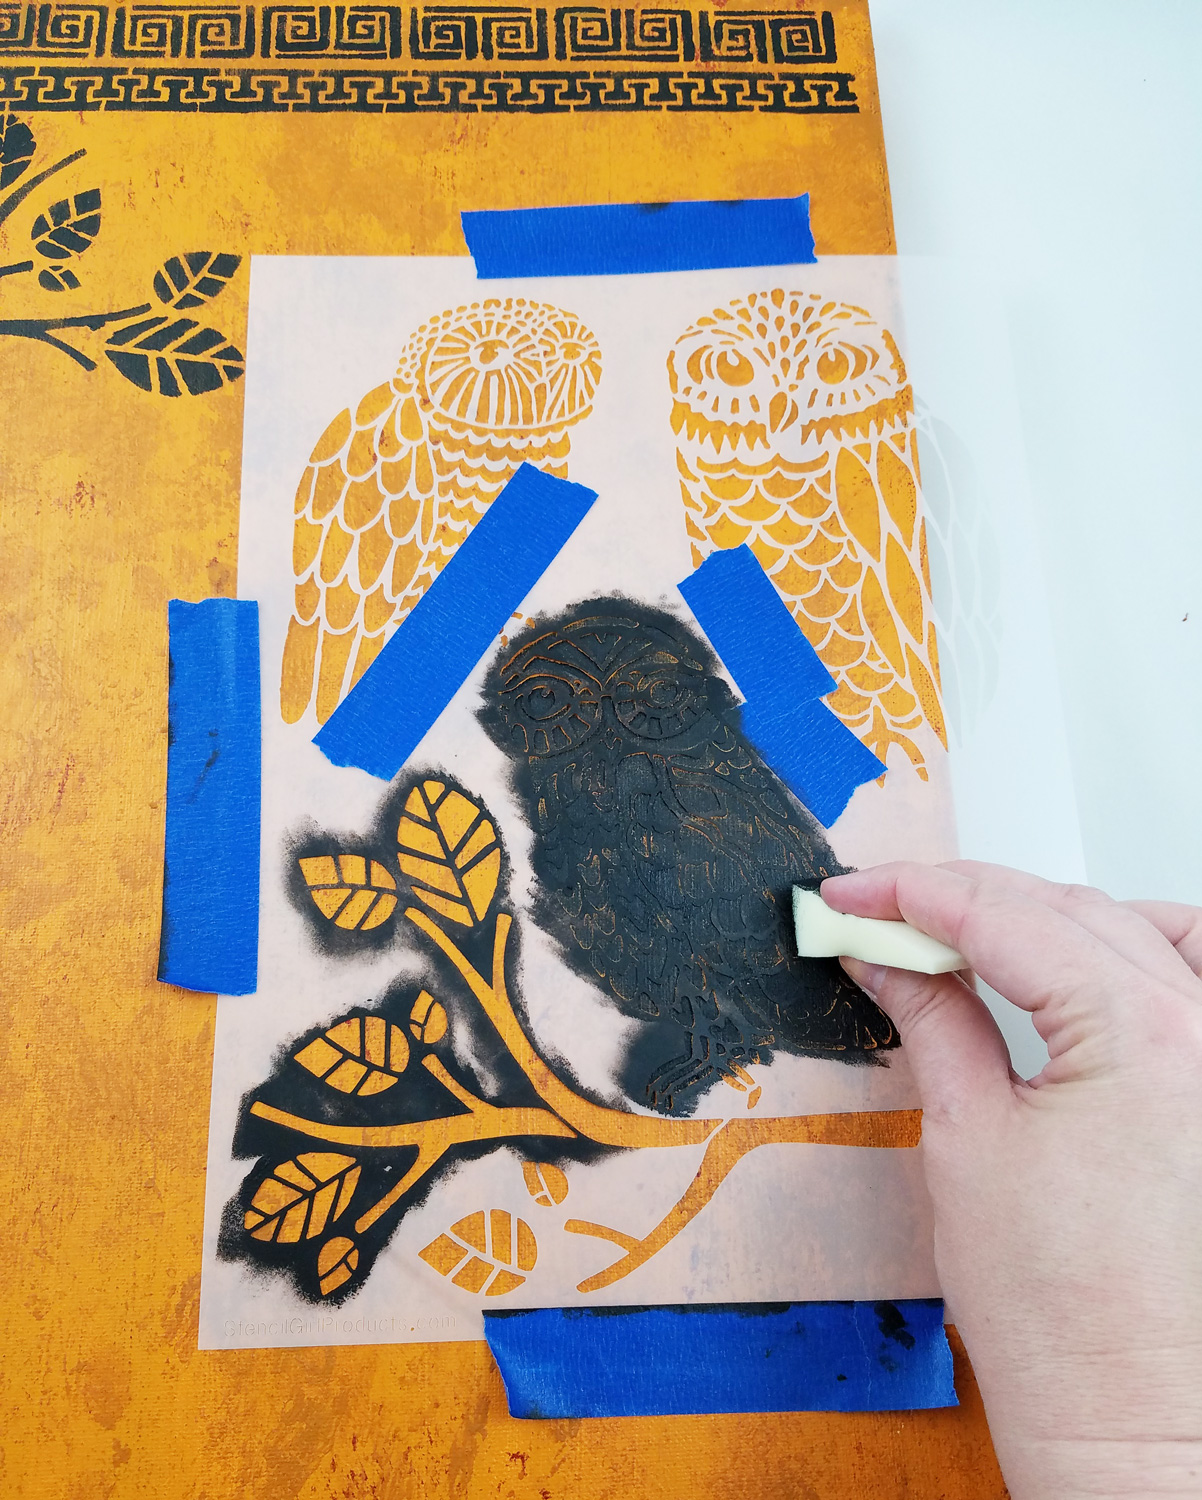
The Stencil Girl Products Three Owls and a Branch stencil allowed for a lot of artistic freedom by simply blocking off sections I did not want paint to go through with painter’s tape. By flipping over the stencil or moving it around at different angles I was able to create many tree branches with ease.
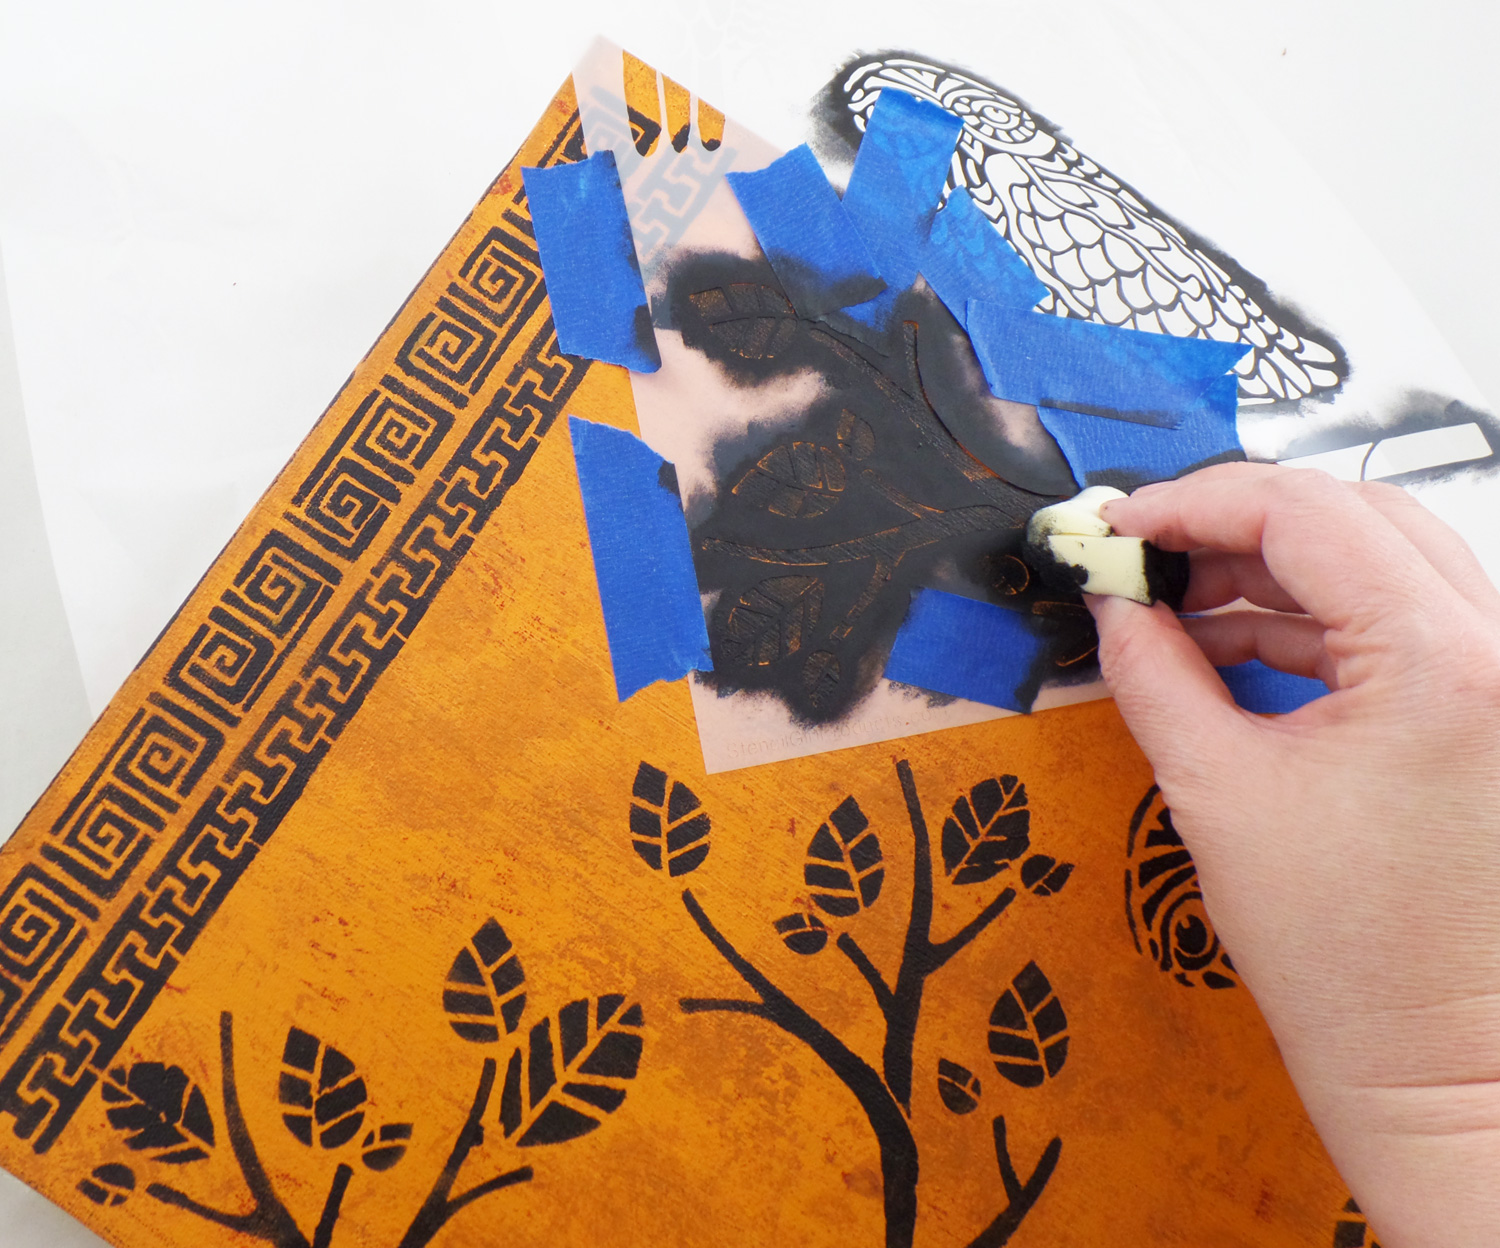
With a few branches I even taped off some of the leaves to create the look of tree just starting to sprout leaves in Spring. Once I was done stenciling it was easy to clean the stencils by placing them in a small tub with soap water and gently rubbing the paint off.

Once all of the paint was dry I went back to fix any stenciling mistakes I had made with a small paint brush. I then added some Light Yellow acrylic paint to the eyes of the owls and trim to further replicate the look of ancient Greek art.
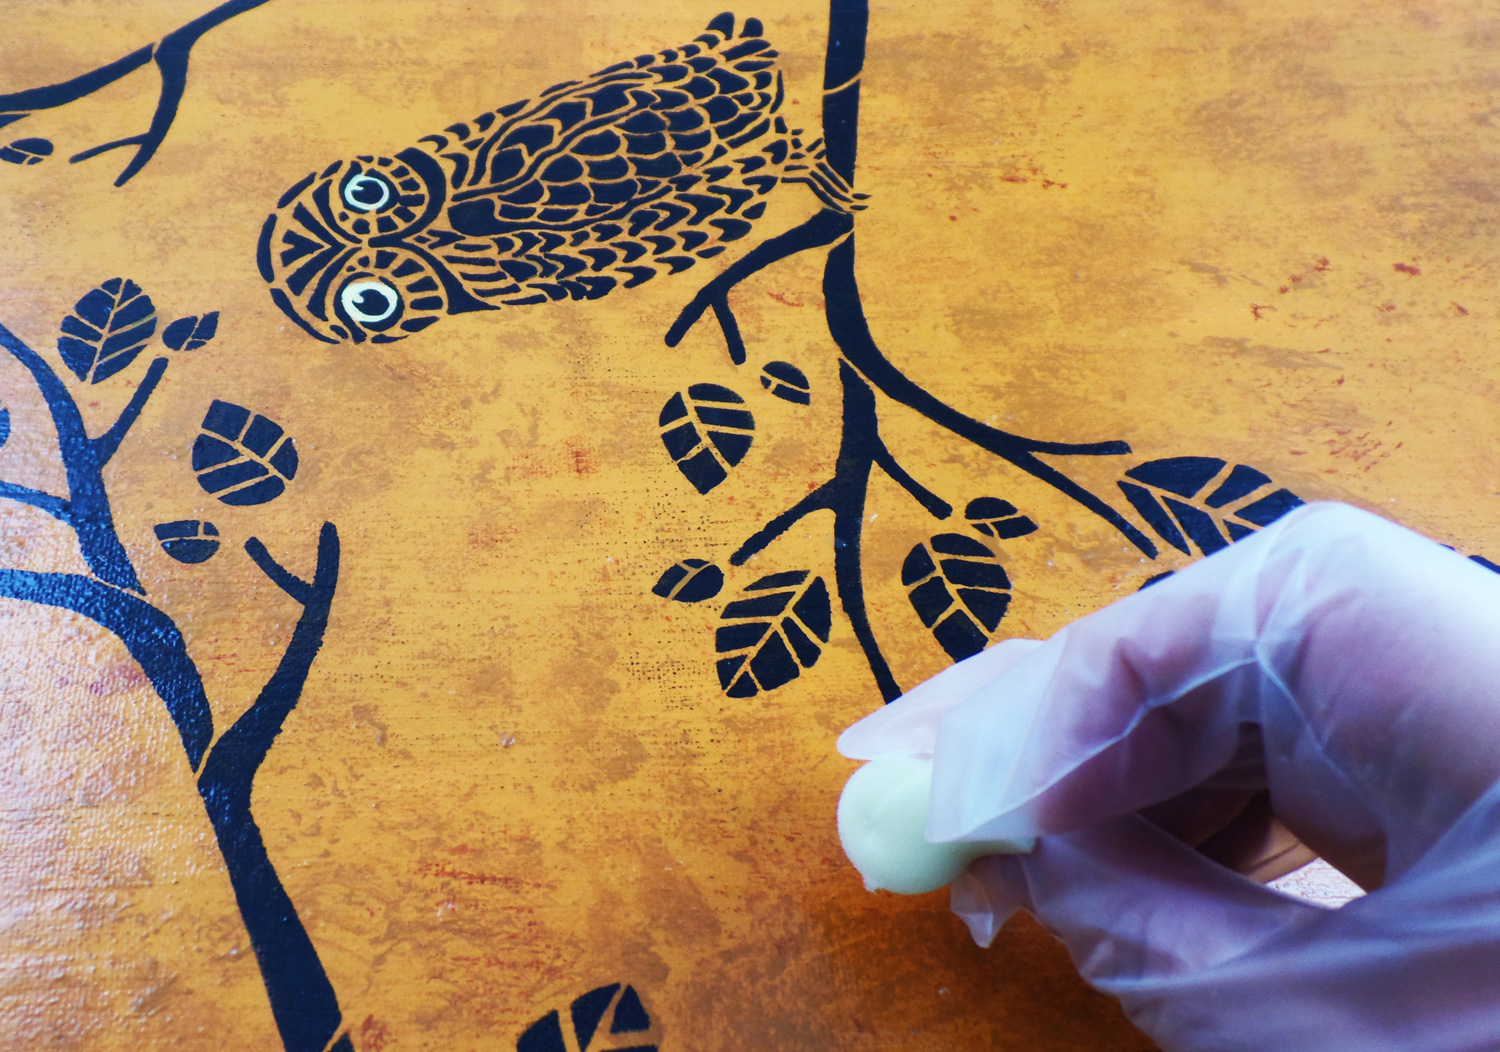
I mixed up some Amazing Clear Cast Resin, let it sit for 10 minutes, and applied a thin layer to the front of the canvas with a cosmetic sponge. I applied the resin slowly, a downward motion, top to bottom of the canvas. I didn’t mind if I had little bumps and canvas texture showing through, as the resin was acting as a color intensifier and a thin protective coating. I let the resin fully cure for 24 hours before handling.
*If I wanted a more of a glassy smooth surface I would apply a second or even third layer of resin without a cosmetic sponge.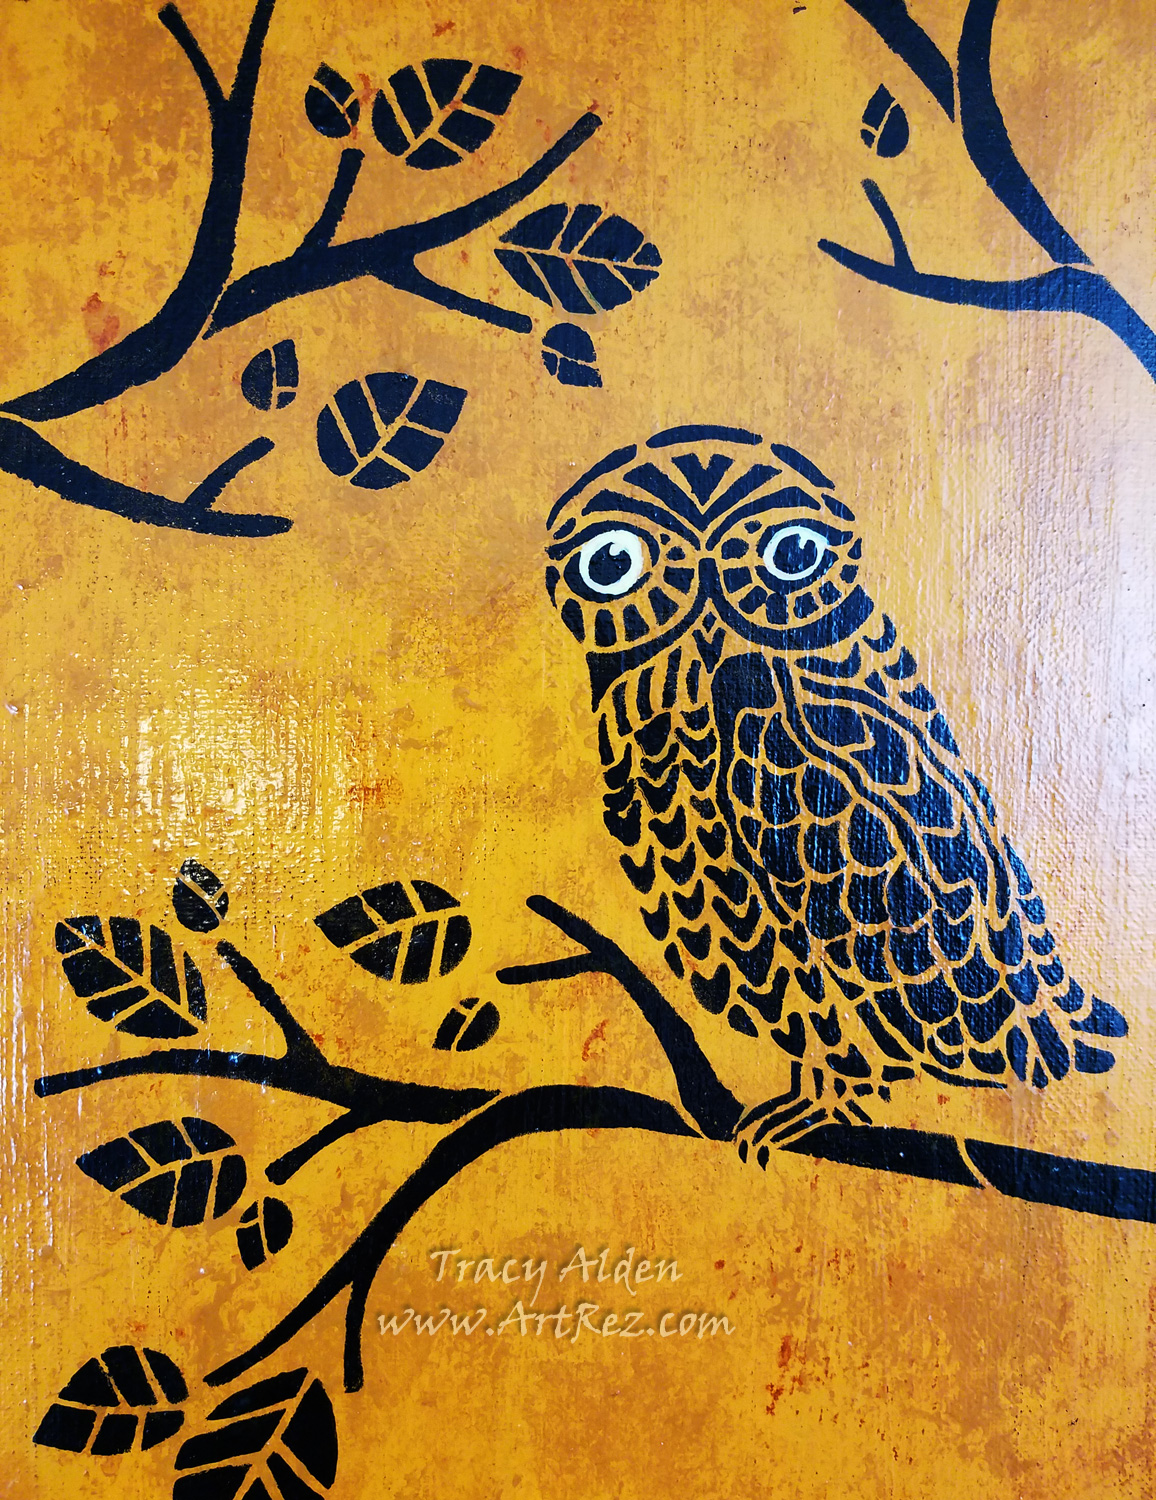
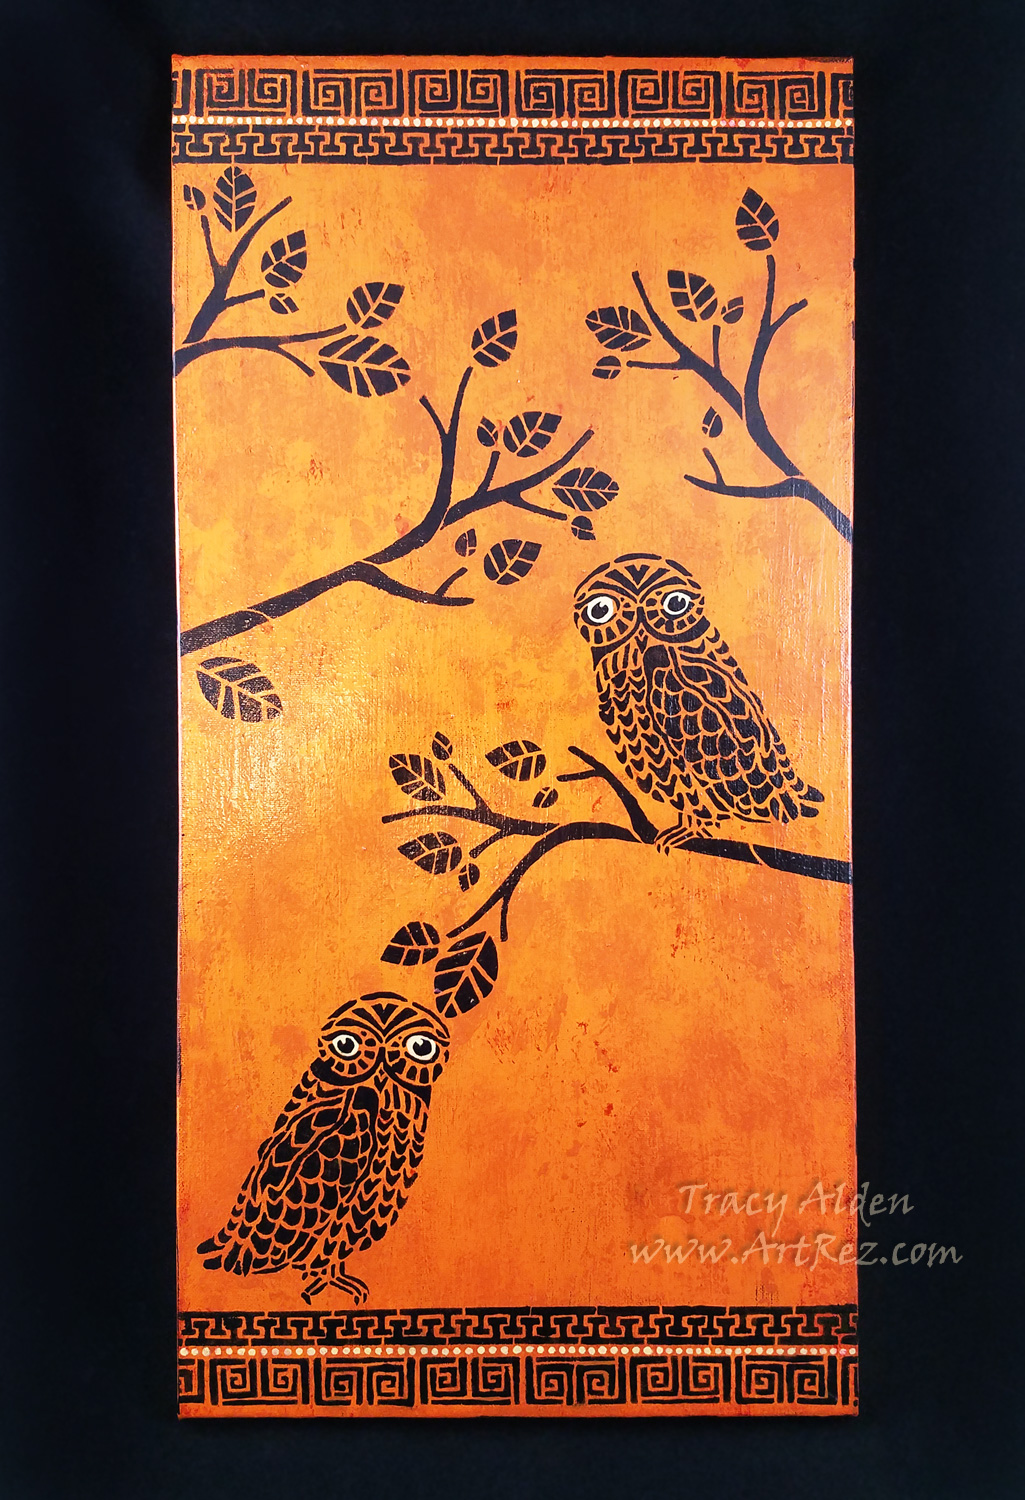
Now completed, Athena’s ever watchful owls seem to be right off an ancient fresco!
Until Next Time, Safe Travels!
Temple Rain, a Mixed Media Canvas
In April I had the great opportunity to receive a Frog Dog Studio kit by being part of the Amazing Crafting Products Design Team. I was so excited when I received the kit; it had so many wonderful goodies, from ink pads, pigment ink, mica, chipboard pieces, tissue paper and more! There was enough supplies to make several projects and still have things left over.
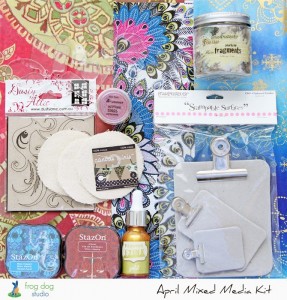
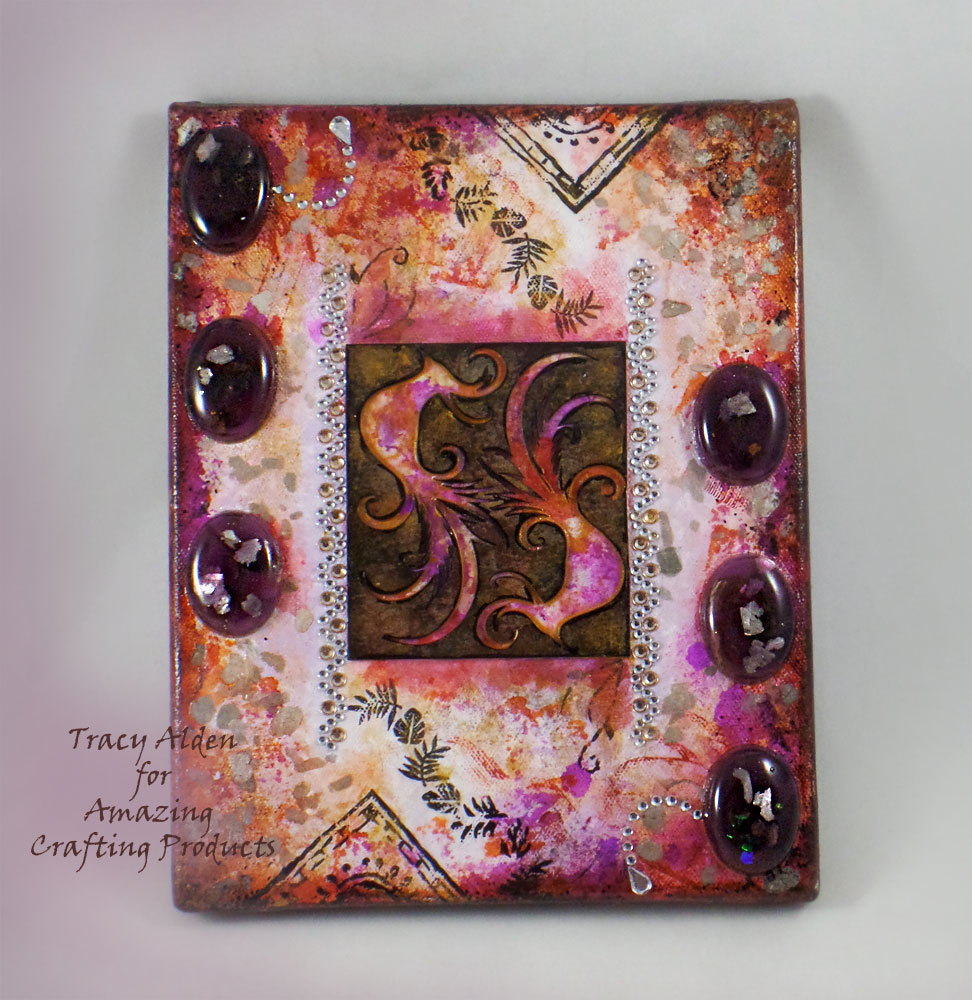
Many of the supplies in the April kit seemed to have a East Asian flair to it. It got me thinking about my trip through Asia and I was inspired to create a Mixed Media hidden story book.
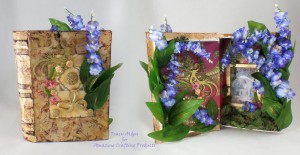
The tutorial for this project can be found here: Mixed Media Book Box
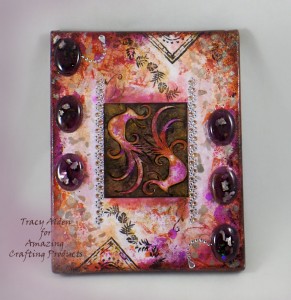
With more of the supplies left over, I created a Mixed Media Canvas piece with wild tropical colors. It was so much fun that I wanted to try making another canvas piece but with a completely different feel, and I still had supplies left over from the Frog Dog Studio kit. Sadly, I got busy with home improvement projects and had to wait until the end of May to start my new canvas.
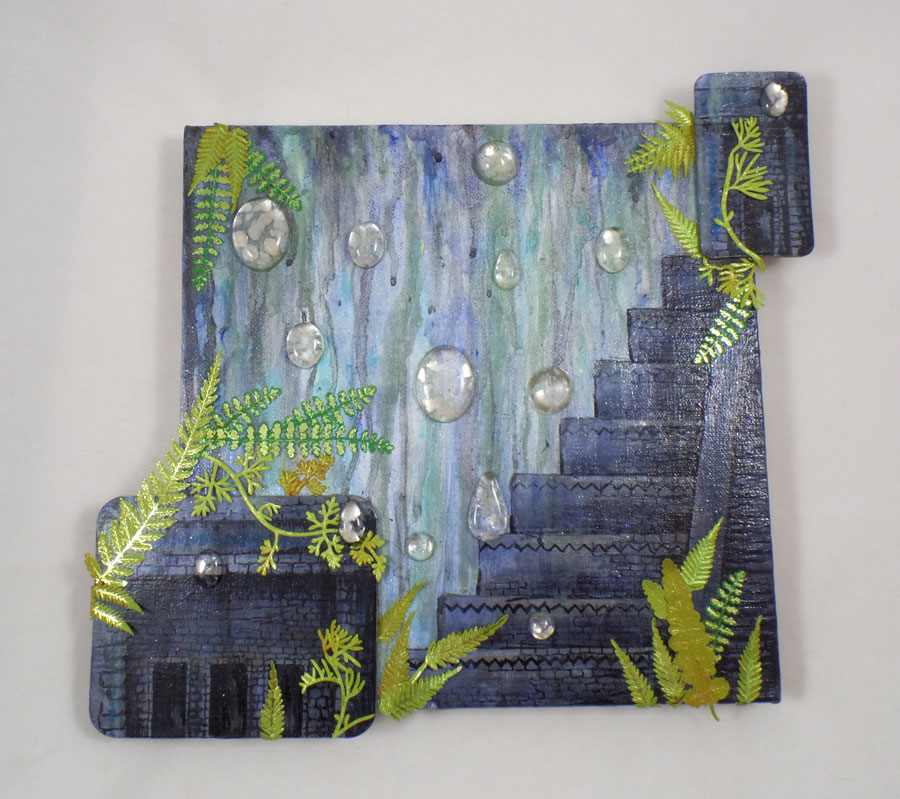
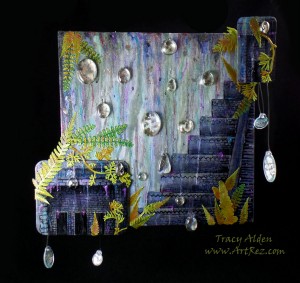
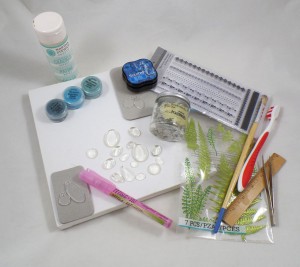 With a portion of the extras from the kit, miscellaneous supplies from my collection and canvas, I started to lay out the project, figuring out which direction to go. I wanted to use the chipboard from the Stampendous Mini Clipboard Canvas pack, the Tim Holtz Clear Fragments and Pearlized Stampendous Mica Fragments. I placed them this way and that on the canvas and suddenly I got an idea. What if I were to try making a abstract ruins in the rain?
Just like with my previous canvas piece, I pulled out what I call my resin “save for later” bin. This bin is populated with all kinds of resin pieces, some finished, uneven pourings or even pieces I just didn’t know what to do with. I picked out resin cabs that had the look of abstract water droplets.
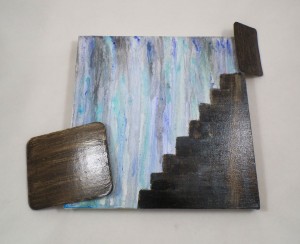 I applied water and acrylic paint to the canvas and tilted it so all the paint and water ran down to the bottom. Once dry, I painted a base dark layer for my ruins. I glued the chipboard pieces to the canvas using Nine Lives Products Glu6 Paste and let dry.
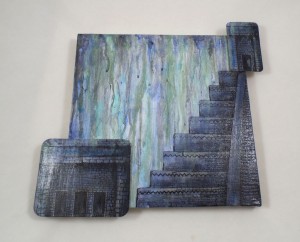
I applied a second layer of water and paint to give a look of rain falling. On went the crackle medium to the dark paint layer and once dry I added a gray-blue paint top layer that then crackled giving it the look of ancient stone. I wasn’t completely happy with the look so using a black permanent marker I drew in small bricks and shading to give detail to the ruins.

Using Nine Lives Products Glu6 Nonporous glue I glued the mica flakes to the back of the resin cabs and while the glue was still wet pressed them onto the canvas. The glue has to dry overnight but it is well worth the wait for a great bond on the resin cabs. I applied little paper leaves to look like plant overgrowth and Liquitex Gloss Varnish to seal the paper leaves and paint in place. I added some acrylic paint in blue and purple as highlights on the ruins and brown on the paper plants to give an earthy hue. A second layer of varnish in drops and dribbles gave the illusion of water to the finished canvas.
I added some acrylic paint in blue and purple as highlights on the ruins and brown on the paper plants to give an earthy hue. A second layer of varnish in drops and dribbles gave the illusion of water to the finished canvas.
Frog Dog Studio’s available kits change every month but the great variety offered in each kit is a great inspiration. What might you make with their next kit?Until next time, safe travels!

Ancient and Contemporary Inspired Artistry