Sparkling Masquerade Mask with Testors Craft Intense Glitter Paint
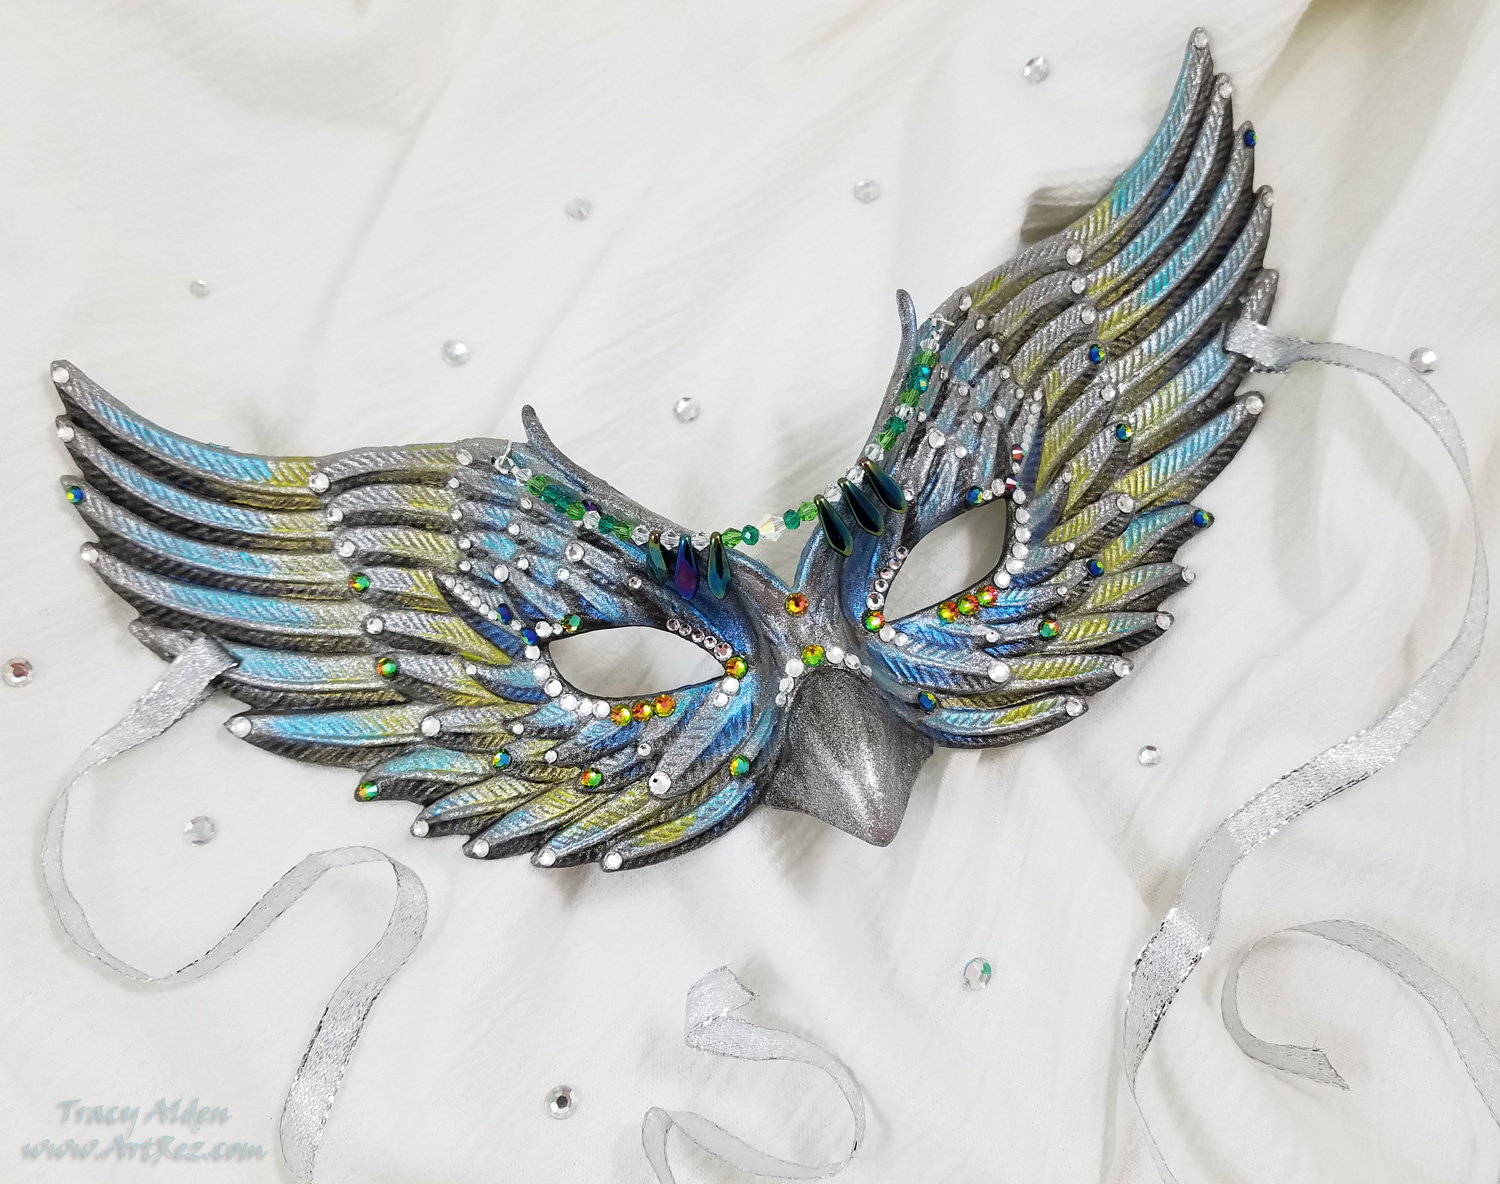
My last two blog posts, found Here and Here I talked about the 6th annual Prime Networking Event in January. At this event, bloggers, designers, authors and brands in the craft industry came together to network, make new partnerships, and learn about new product information. Educational, informative, with food, drinks and free product samples provided by this year’s sponsors. Afterward, the event attendees were encouraged to try out and create art for the Favecrafts Best Blogger Craft Event.
A sponsor at the event was Rust-Oleum with the Testors paint brand (Testors once its own company is now part the Rust-Oleum Group). During the blogger event attendees were asked to cast a vote for their favorite new Testors Craft/Rust-Oleum product. The winner of that vote was the Testors Craft Intense Glitter paint. As per the label it can be applied to wood, plastic, metal and more, with excellent adhesion, perfect for special occasion tablescapes and home accessories. Testors Intense Glitter paint is water based, low VOC and the glitter is made out of very small Mica particles (Mica is a naturally occurring mineral found in granite, rocks and crystals).
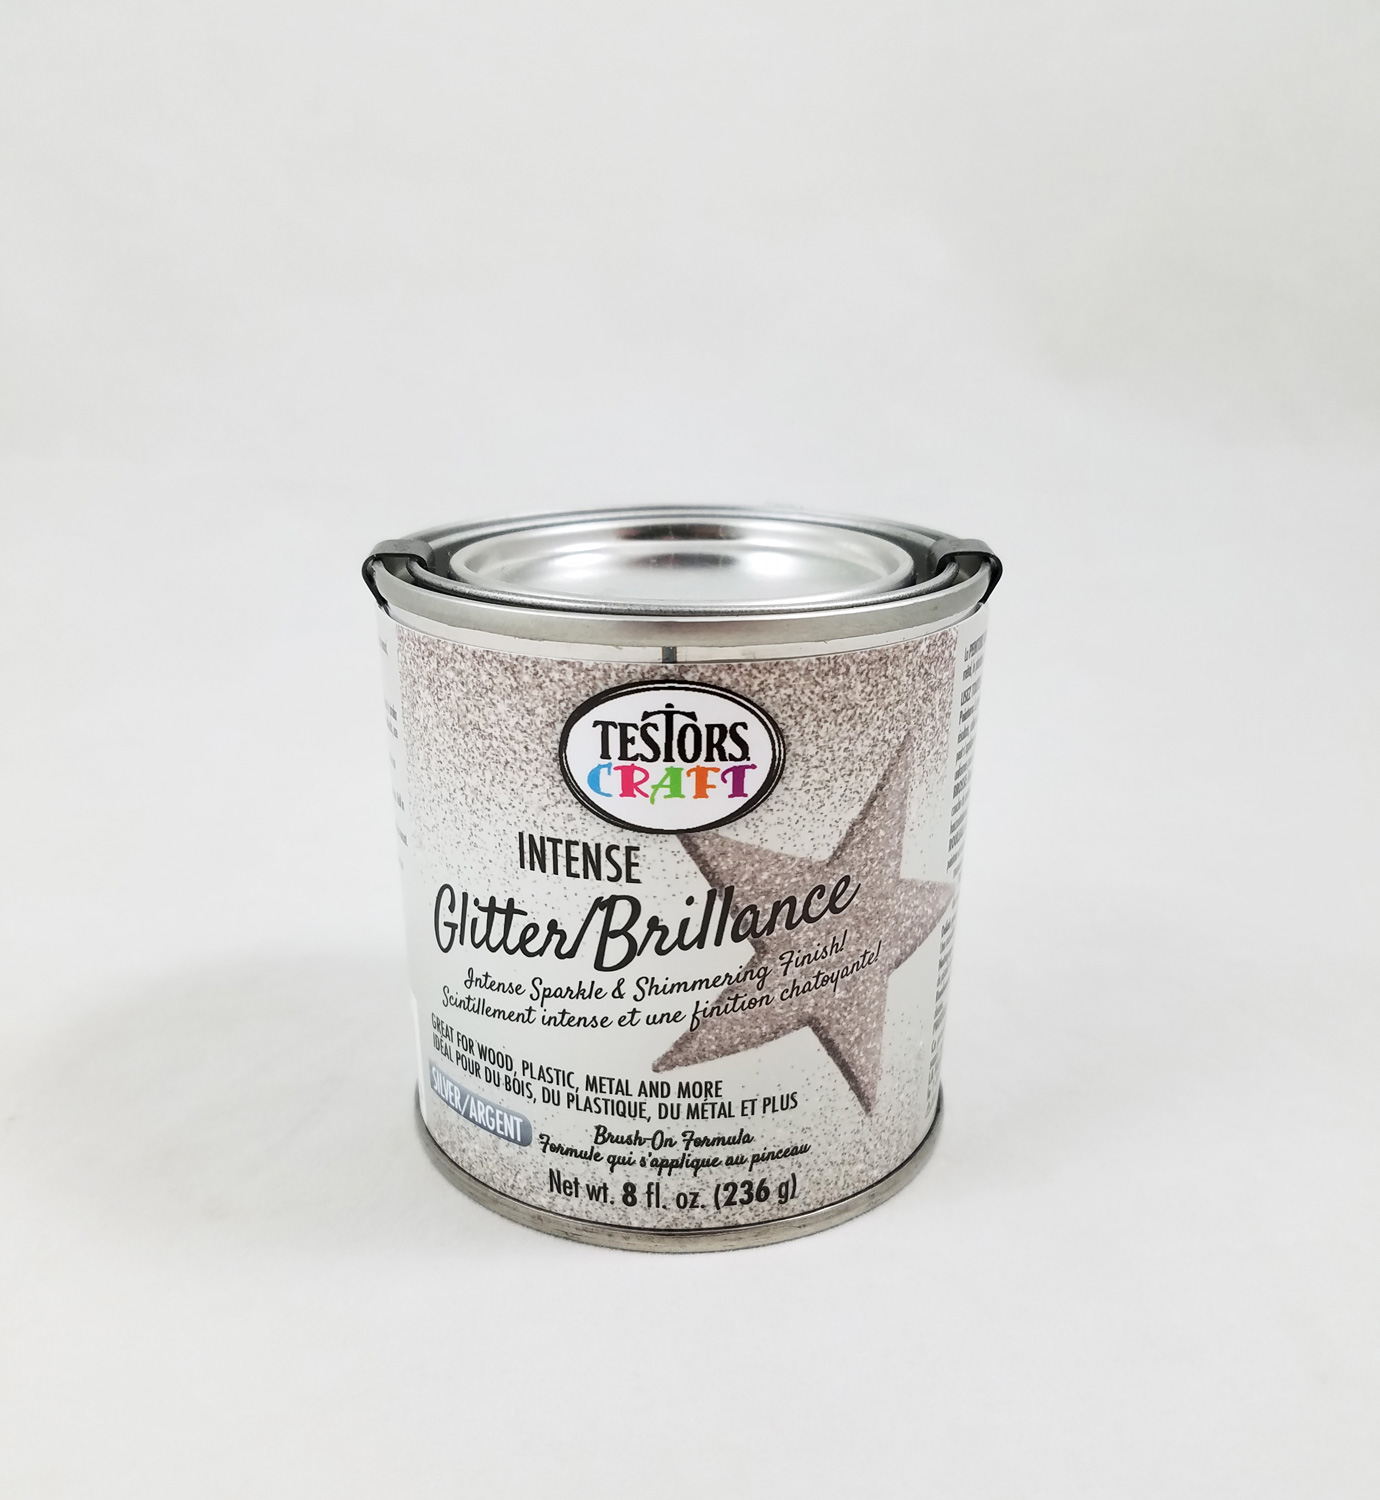
Many at the event were excited with this new paint and were excited to try it. However I will let you in on a secret: while a fan of the Rust-Oleum/Testors paint lines I am not a huge fan of glitter. I know I probably broke a crafting world rule by saying that but I have never found myself using much glitter in my projects. I use it mostly as a highlight, a minor shimmer or a tiny amount encased by resin. I have found many glitter paints in the past to be messy, have bad adhesion and not cover well. That being said I wanted to give this new paint a chance.
Upon opening the can of paint I realized how tiny the particles of glitter were. I painted a small swatch onto plastic, which it coated smoothly and even, when dry it looked amazing. I was staring to understand why so many were eager to try this paint. Inspiration for this project came from not wanting to coat furniture or small wood objects with glitter. I wanted to try turning something common into something beautiful. Grabbing a plastic Halloween mask from a .99 cent store I wanted to give this paint a true test, only to be very happy with my end results!Supplies:
Testors Craft Intense Glitter Paint
Plastic Owl Mask from a .99 cent store
Multi Surface Acrylic Paint in Grey and Black
Metallic Multi Surface Acrylic Paint in Blue and Green
2 Paint Brushes
Beacon Gem-Tac Glue
Swarovski Rhinestones Flatback Vitrail Medium SS20
Clear Crystal Rhinestone Flatback 4mm and 3mm
Crayon
Silver Ribbon
Beads, Bead Thread and Jumprings *optional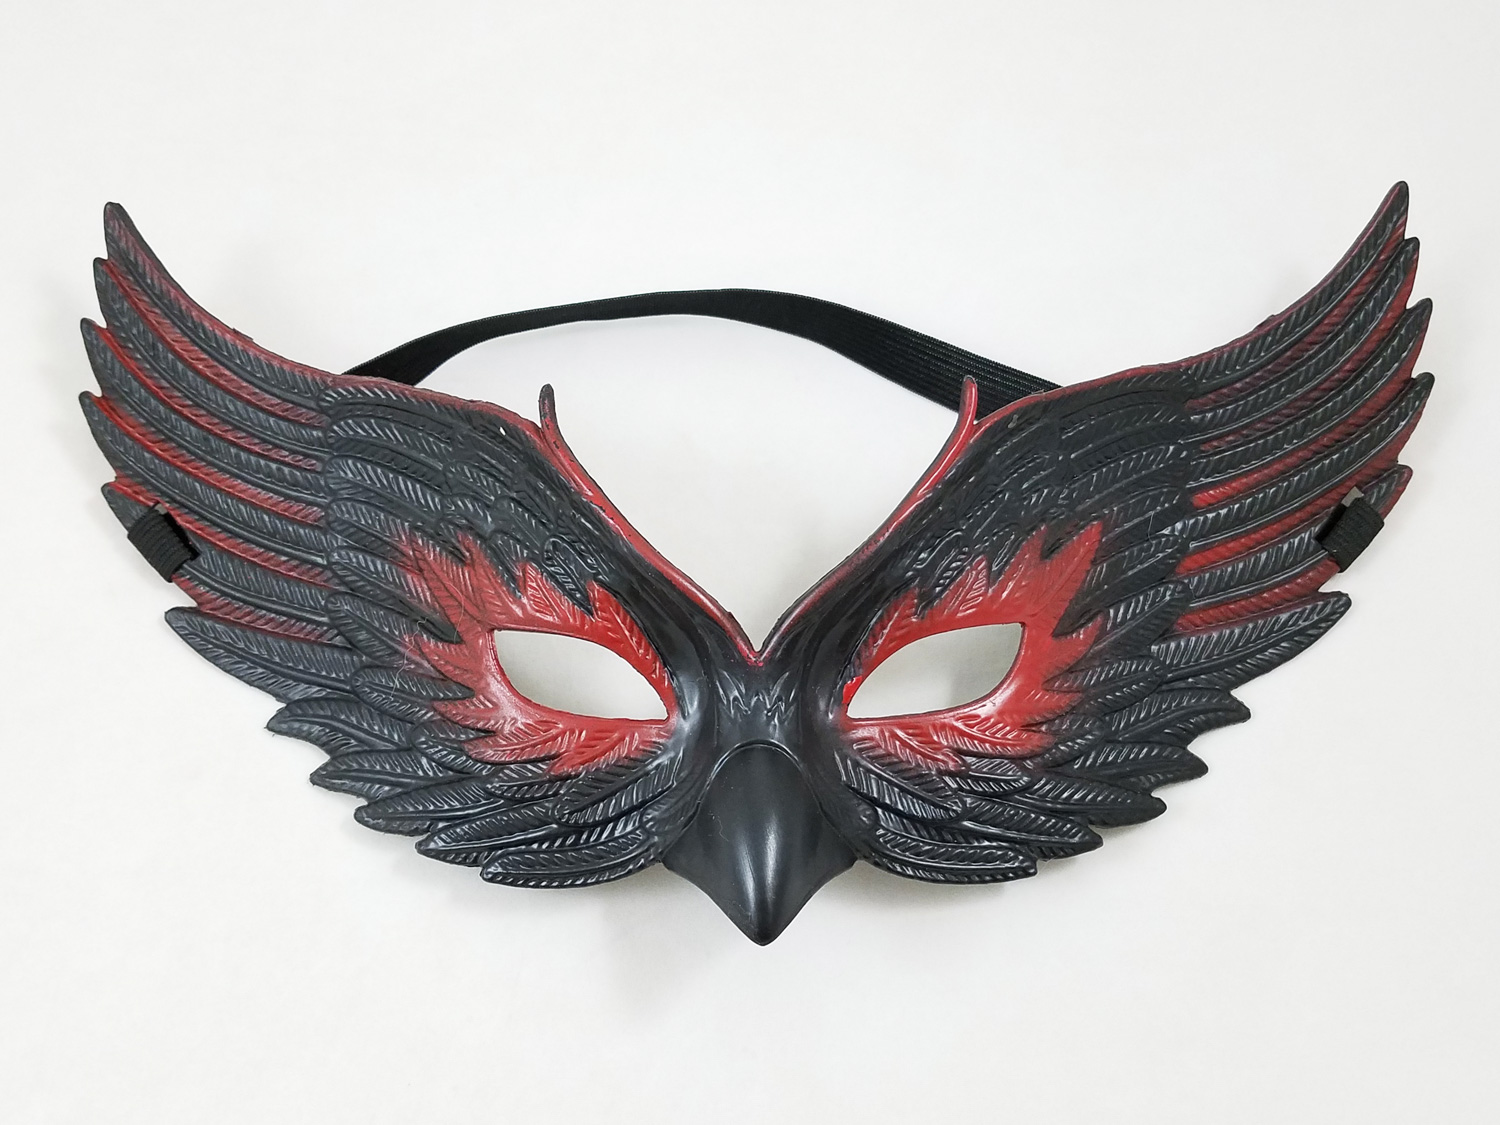
Starting by cleaning the plastic Halloween mask with soap and water, I made sure to remove any oils or dirt left from the manufacturing process. I cut off the elastic headband and filed any sharp edges.
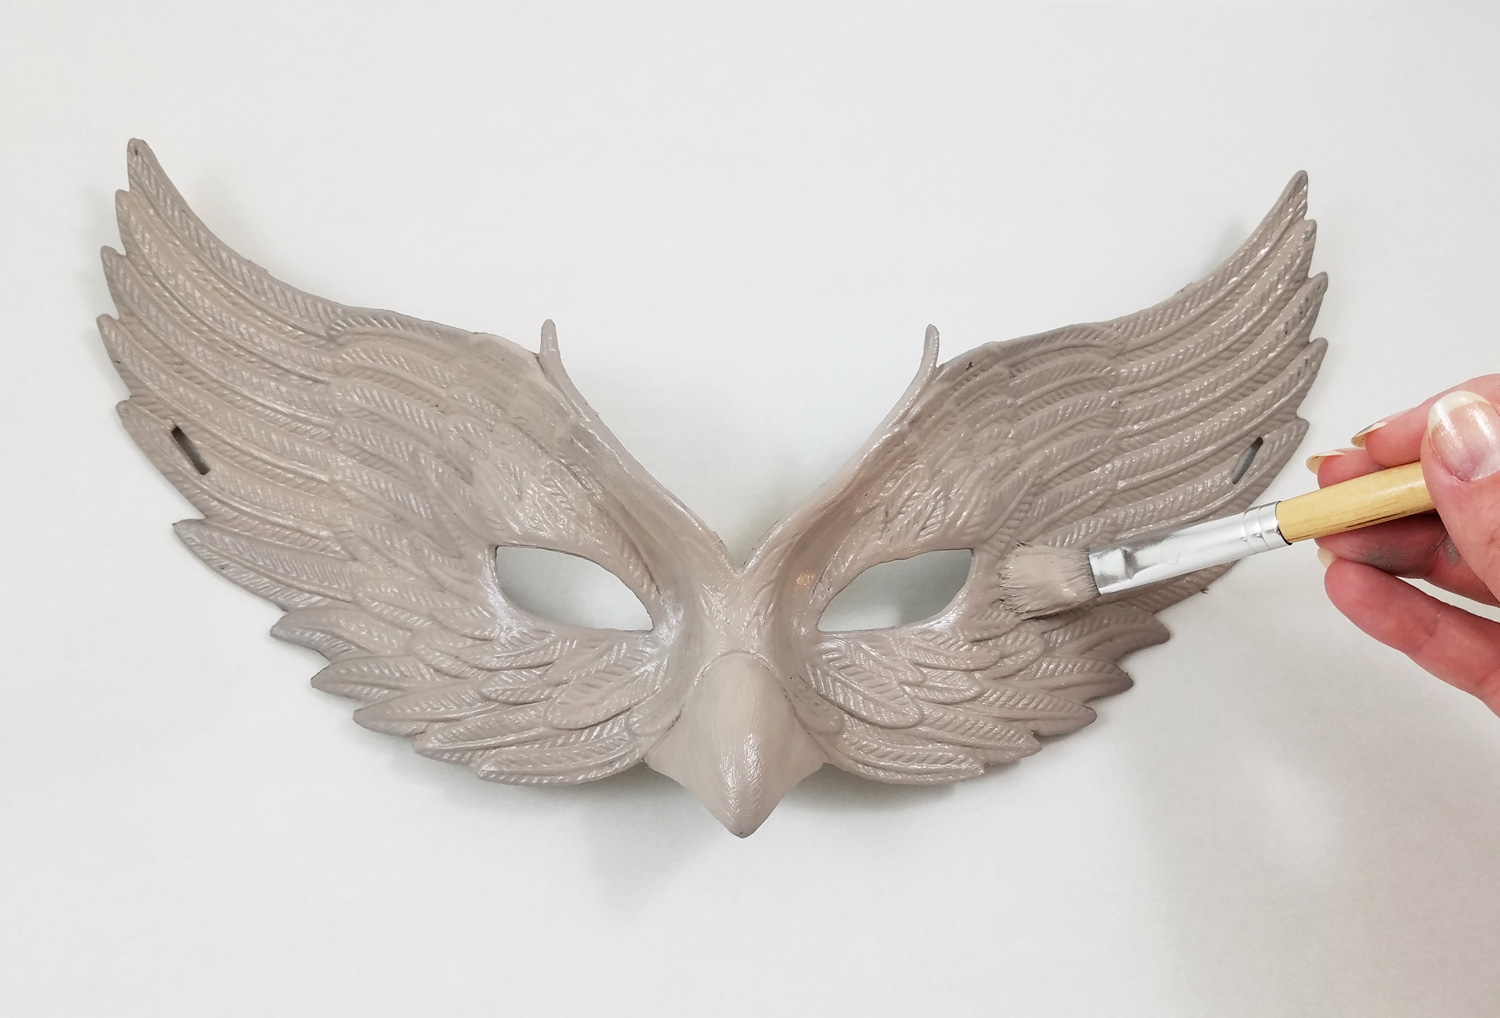
I noticed on the can of Testors Craft paint it said for best results to use a acrylic paint base coat similar in color to the glitter. Using a multi surface acrylic paint I painted the front and back of the mask, making sure to get complete coverage over the original black plastic.
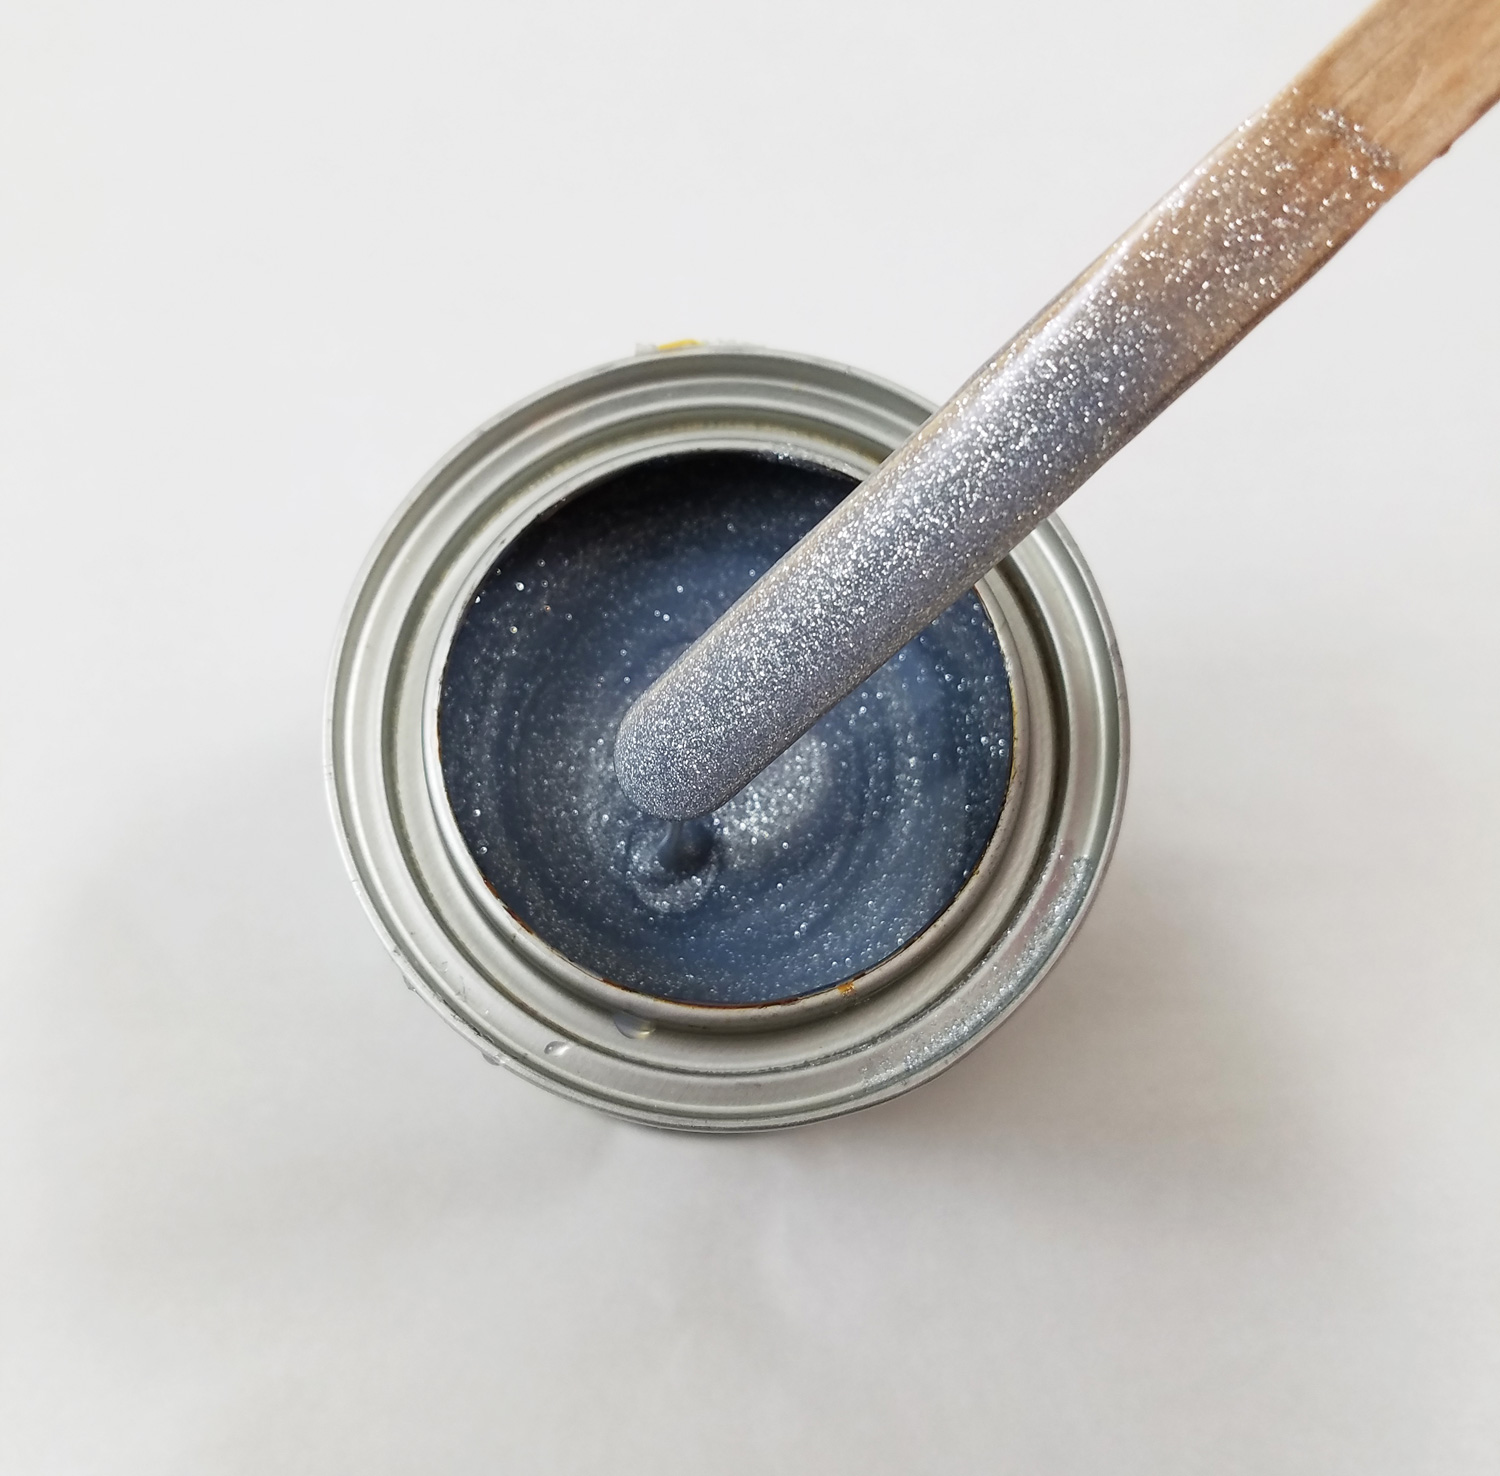
As you can see from the photo there is a intense amount of glitter in this paint. Before applying the paint to any surface make sure to stir thoroughly the Testors Craft Intense Glitter paint. This step MUST be repeated before each application because there is so much glitter in the paint it settles to the bottom when resting.
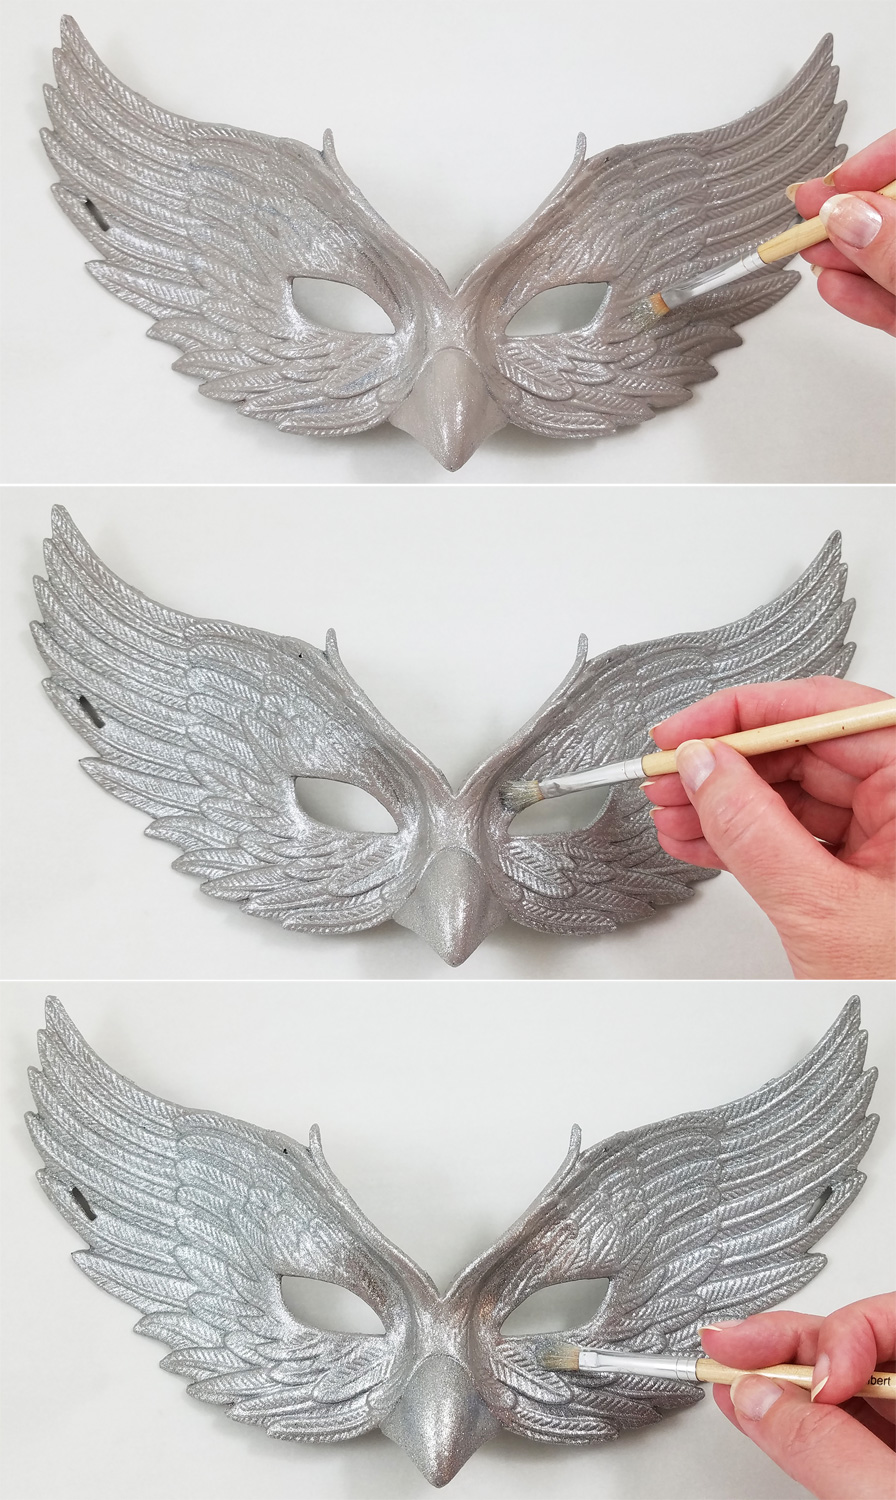
I applied one coat of paint brushing it on in uniform direction. With no need to rush, slow, steady and even brush strokes got the best and most even application of the paint. As long as you do not overload the brush the paint is not a messy paint and sticks well to the plastic surface. It dries in about one hour to touch and can be painted with a second coat in 4 hours. In the top photo you can see one coat of paint, each additional image with another coat of paint. I chose to paint three coats to get the most vibrant and intense glitter coverage, though I could have easily gotten away with 2 coats of paint.
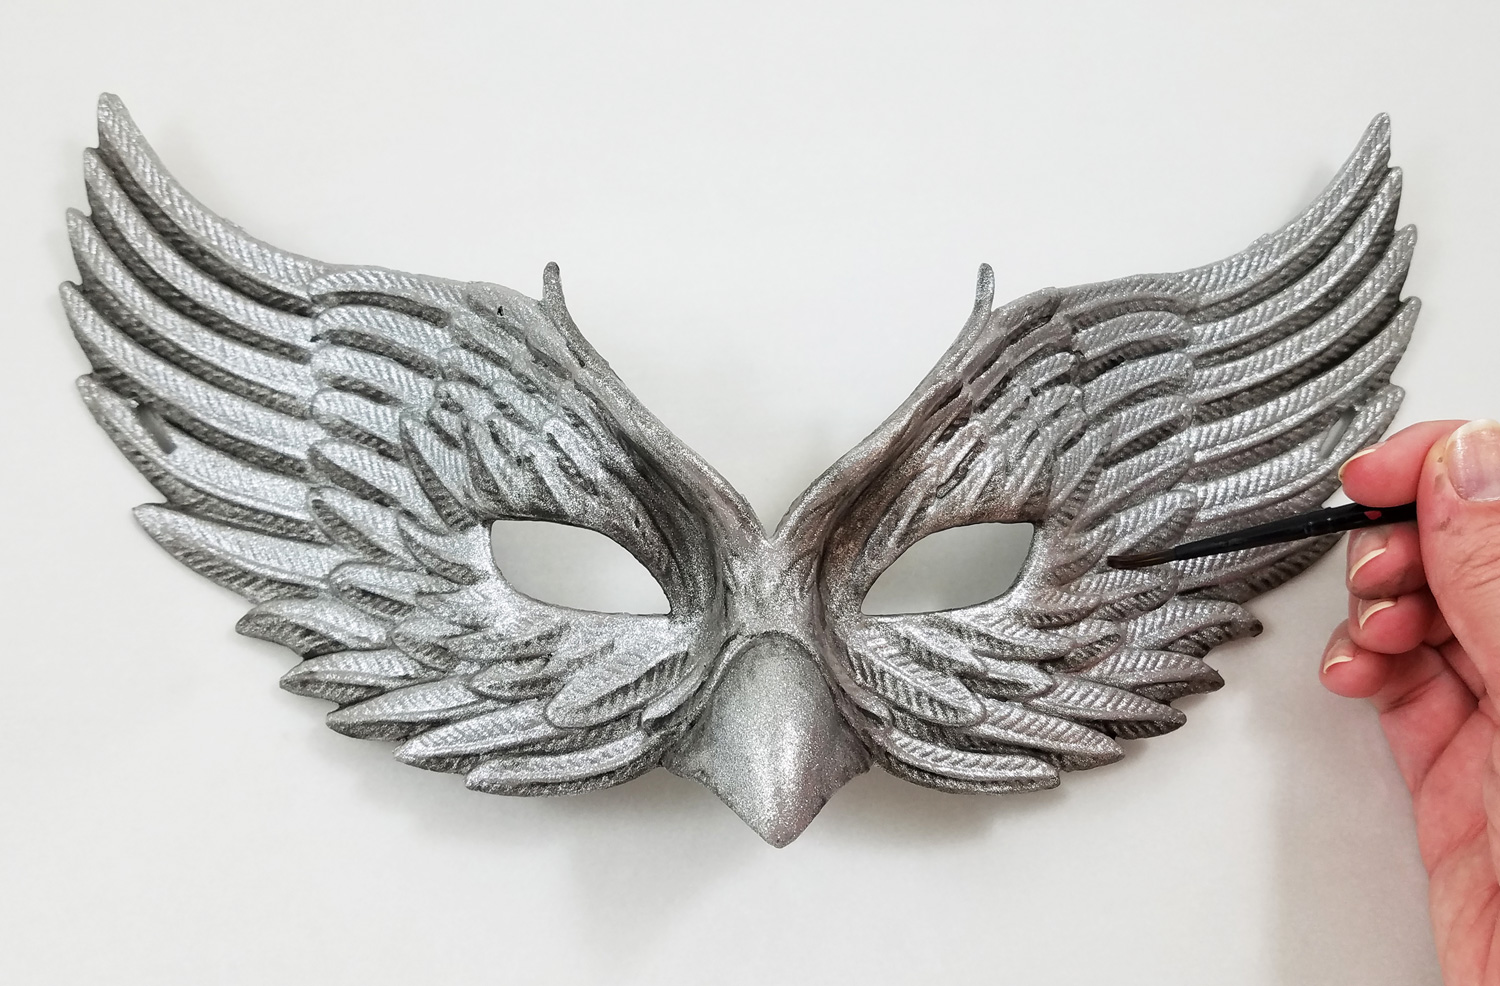
By applying a light color wash of black multi surface acrylic paint in the groves of the feather details, it added more contrast to the mask. I let the paint dry fully.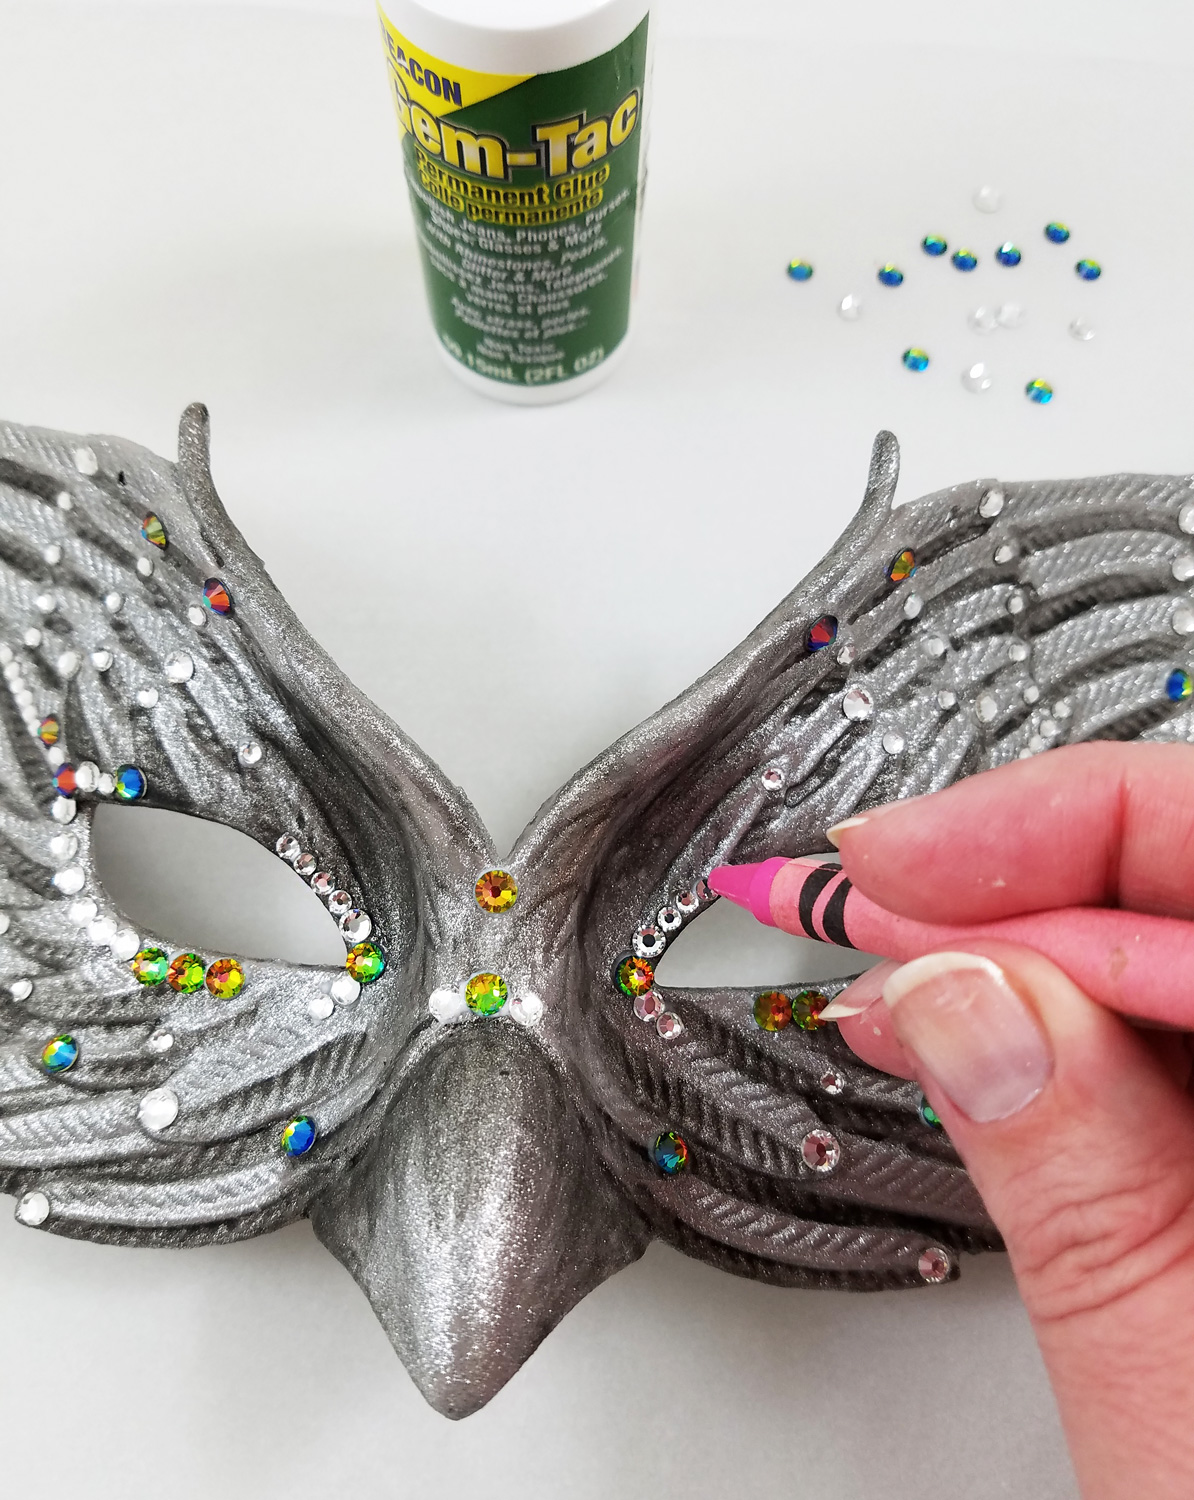
Beacon’s Gem-Tac is my go-to glue for applying small decorative elements to most craft surfaces. By squeezing small dots of glue on different portions of the mask I added flatback crystal rhinestones to add that extra special sparkle and shine. Applying flat backed rhinestones can be tedious but using an old costuming trick you can quickly apply them: pick up each rhinestone by pressing the top of each stone with a crayon. The wax is soft enough it temporarily sticks to the rhinestone allowing you to move it to wherever you would like it applied.
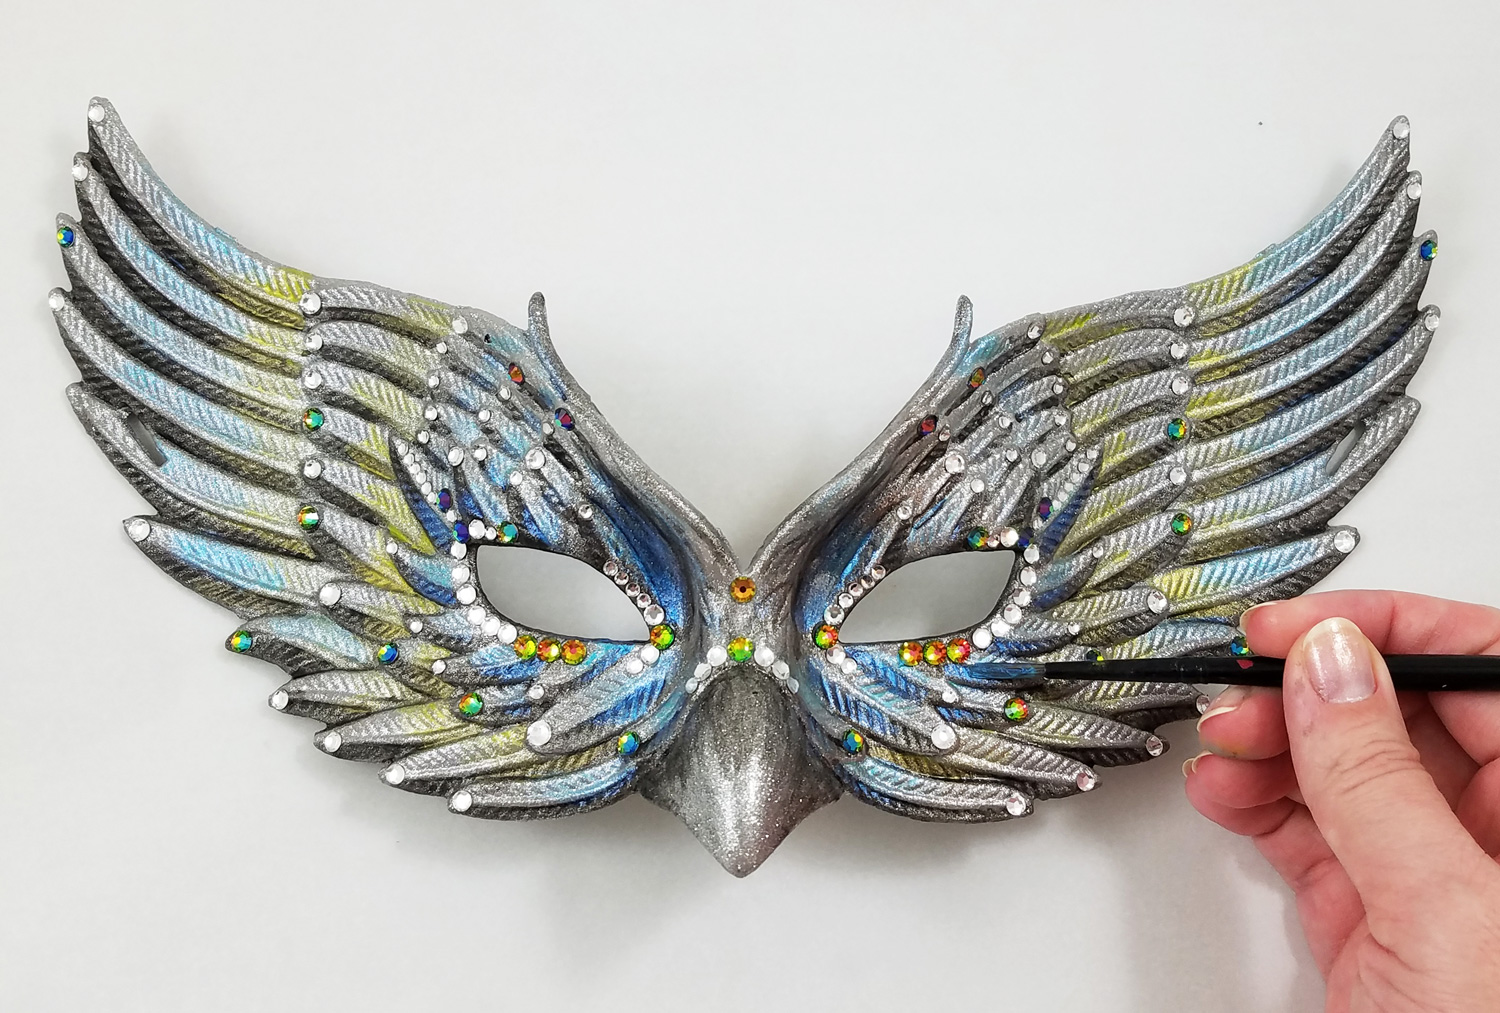
I loved the look of the rhinestones to the mask but I felt it was missing a little something. I went ahead and created a second acrylic paint color wash but this time with metallic blue and green paint. I applied this color directly on top of each glittered feather element of the mask and in the eyelid creases. This created a lovely transparent metallic hue. I let the paint dry fully.
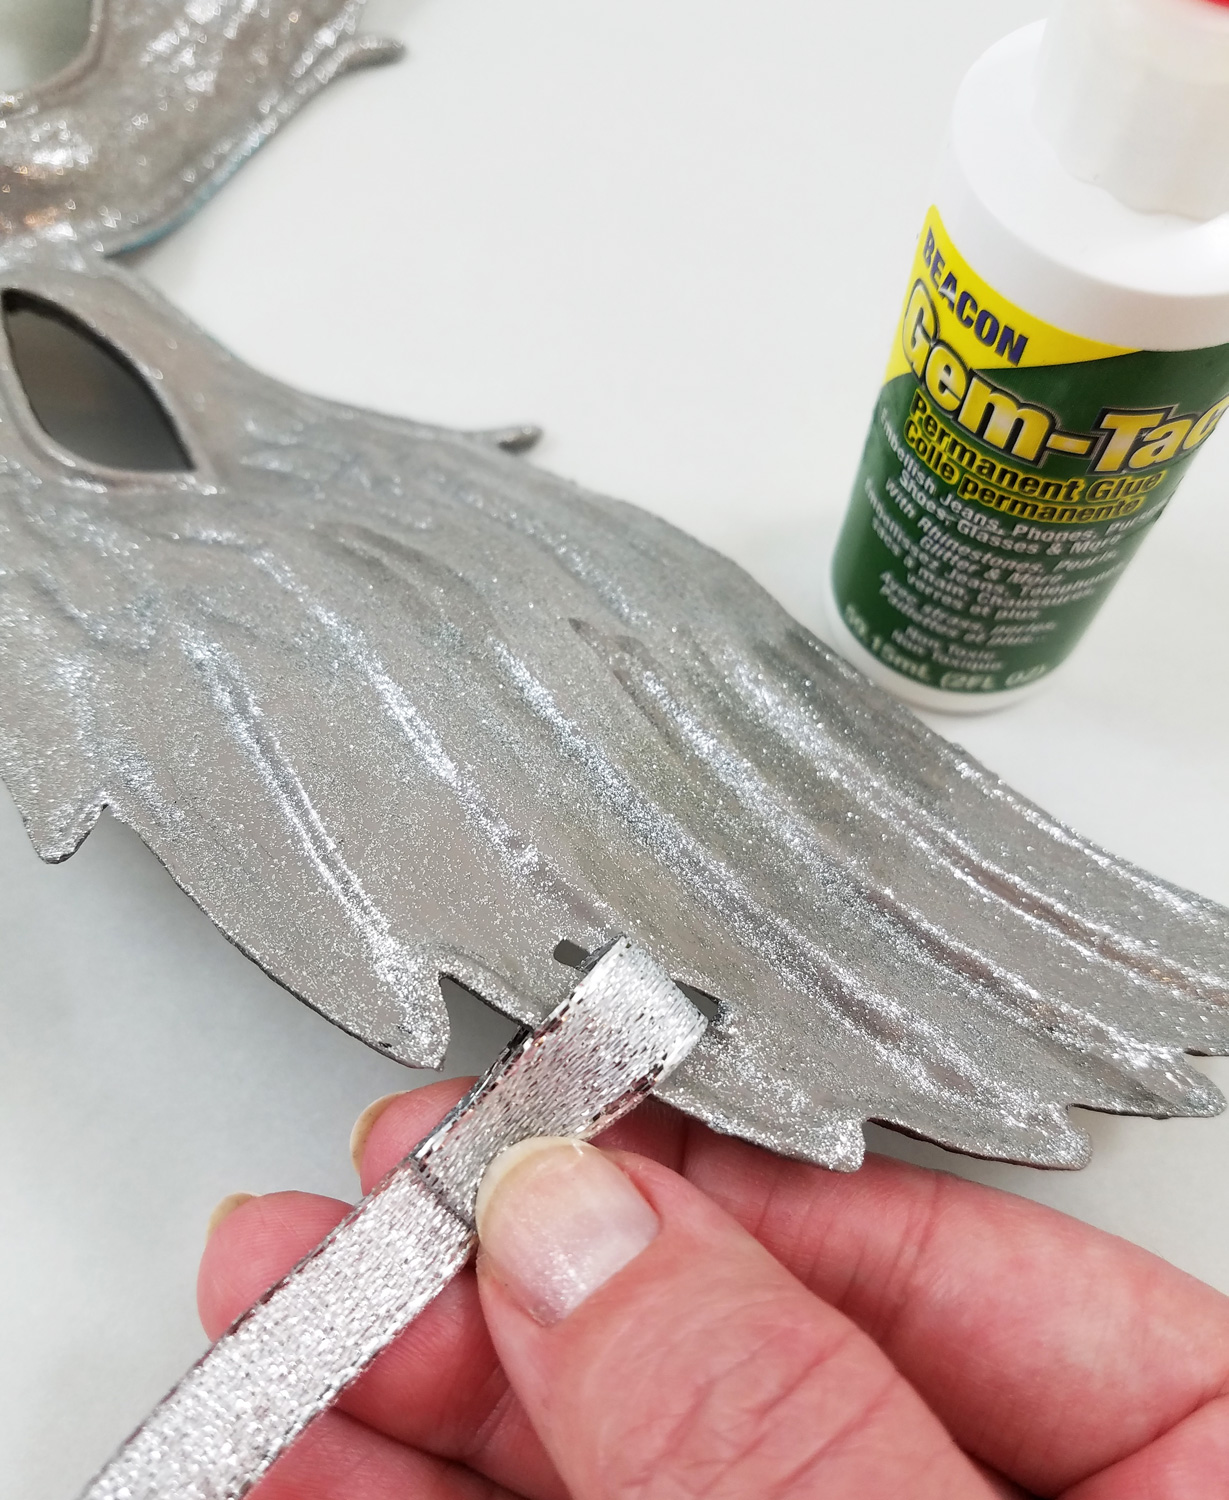
Silver ribbon was threaded through each side of the mask where the black elastic use to be. I folded the end of the ribbon under and glued it in place, pressing down firmly with my fingers and used a clothespin to hold in place while the glue dried.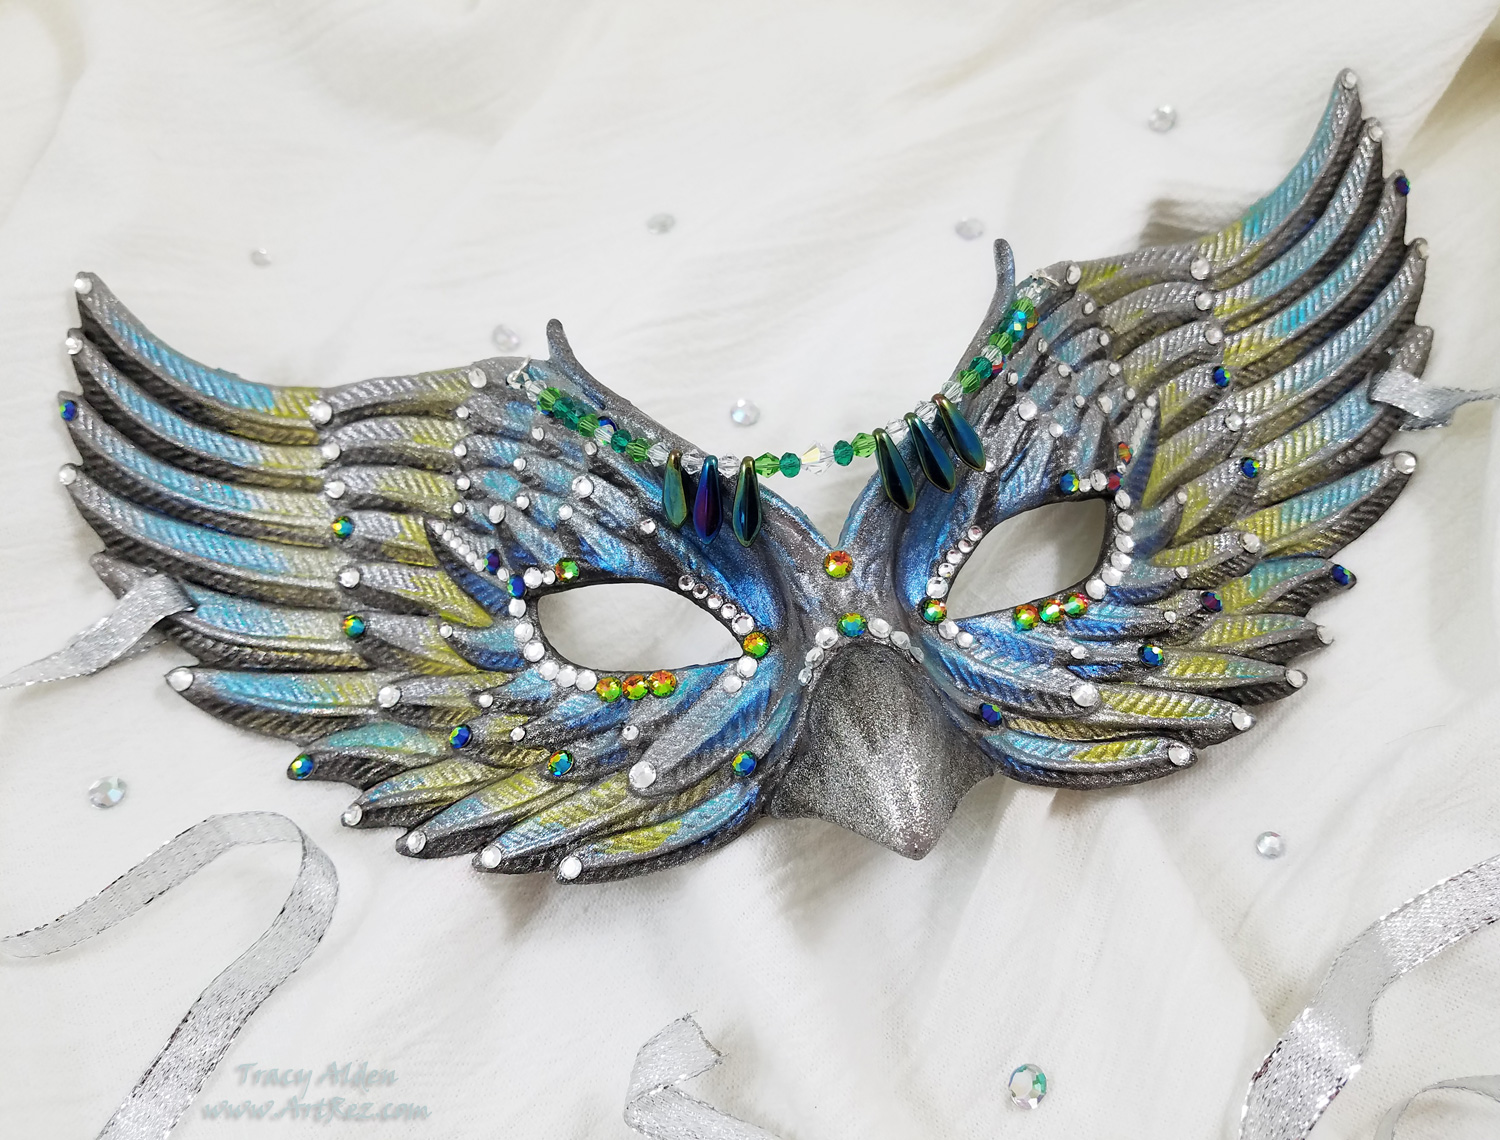
One more element of sparkle was added by stringing some crystal beads onto a 9 inch length of beading thread and threading it through two tiny holes that were part of the original mask. Now the masquerade mask was finished, ready to be worn or displayed.Testors Craft Intense Glitter paint truly won me over and I look forward to finding out what other paint applications I can try!
Until Next Time, Safe Travels!
