- Acrylic, Day of the Dead, Día de los Muertos, Fiona Accessories, Home Decor, Mixed Media, Paper Crafts
Day of the Dead Papier-mâché #Cre8time Inspiration
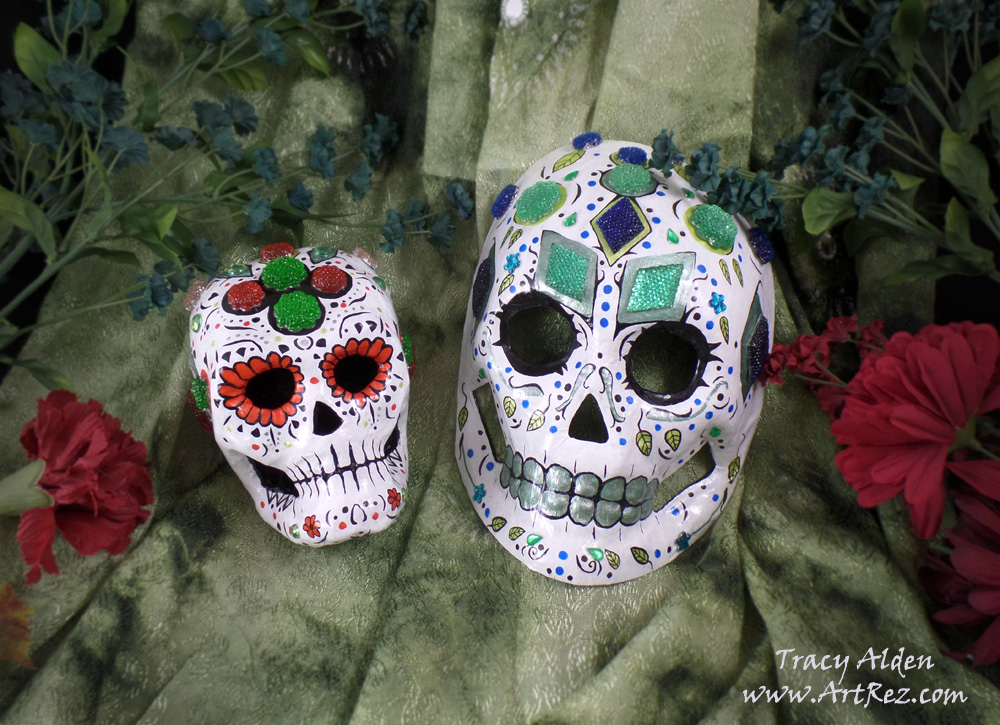
I am a huge fan of Day of the Dead festivals and artwork, even if it is a wee bit ahead of the calendar date! I was inspired to create these pieces after going to Linpeng International Inc./Fiona Accessories to visit with Fiona and Jimmy Lin. They are truly wonderful and talented people with a dedication to creating beautiful hand painted beads, jewelry and beading supplies, and I am grateful for meeting Fiona at the Craft and Hobby Association Trade Show in 2014. At this visit, as usual, we discussed beads and jewelry, went over new ideas and displays, but Jimmy showed me something a bit different this time: little packages of Acrylic flat back gems, normally used for scrapbooking, in a wide variety of colors. He asked me if I could think of any other applications and the first thing that came to mind was covering papier-mâché skulls with the gems for Day of the Dead decor.
Supplies:
Fiona Accessories Acrylic flat back gems Flower and Diamond shaped in sizes 14mm, 19mm, 22 mm and 20x30mm
Mini acrylic flat backed gems (normally for scrapbooking, nail or shoes)
Liquitex Gloss Varnish
Acrylic Paint
Paint Brushes
Papier-mâché mask and skull by Darice and often sold at Michaels late Summer into Fall
Beacon Gem-Tac (Great stuff, non-toxic and flexible)
Sakura Pigma Micron Pen Set (I just love using their pen sets for any illustrations I do)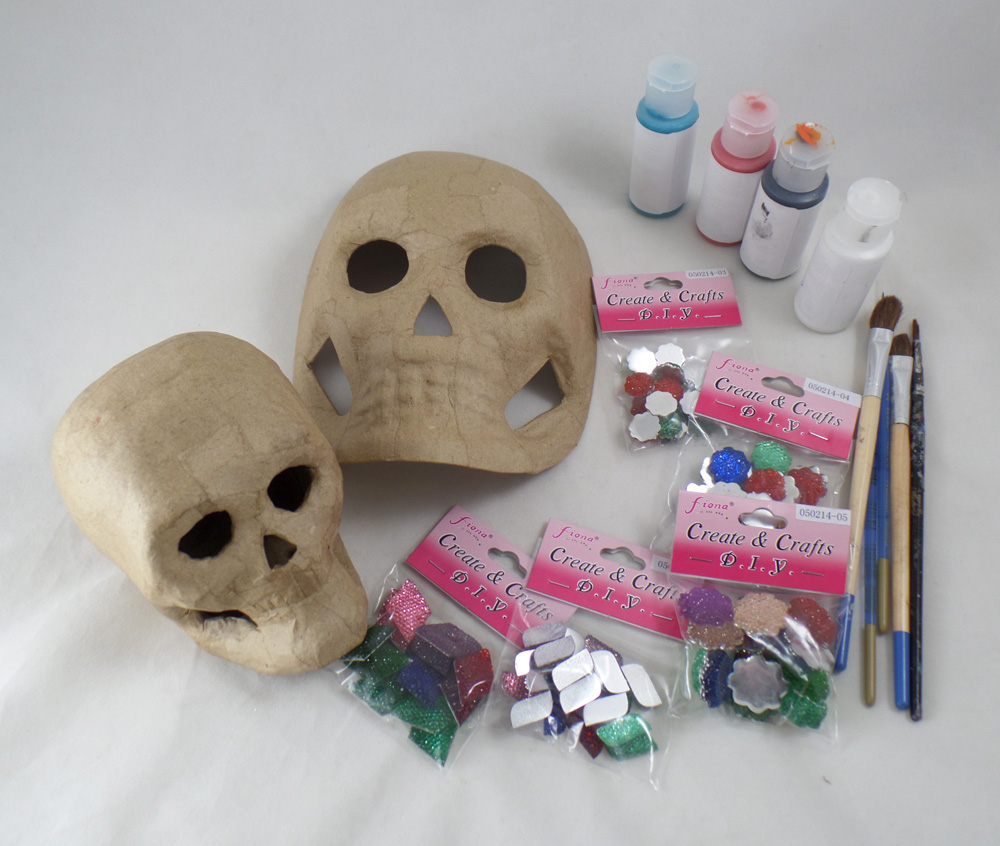
First I gathered all of my supplies, picking colors of paint, acrylic gems, brushes and which papier-mâché pieces I felt would look the best for what I had in mind.
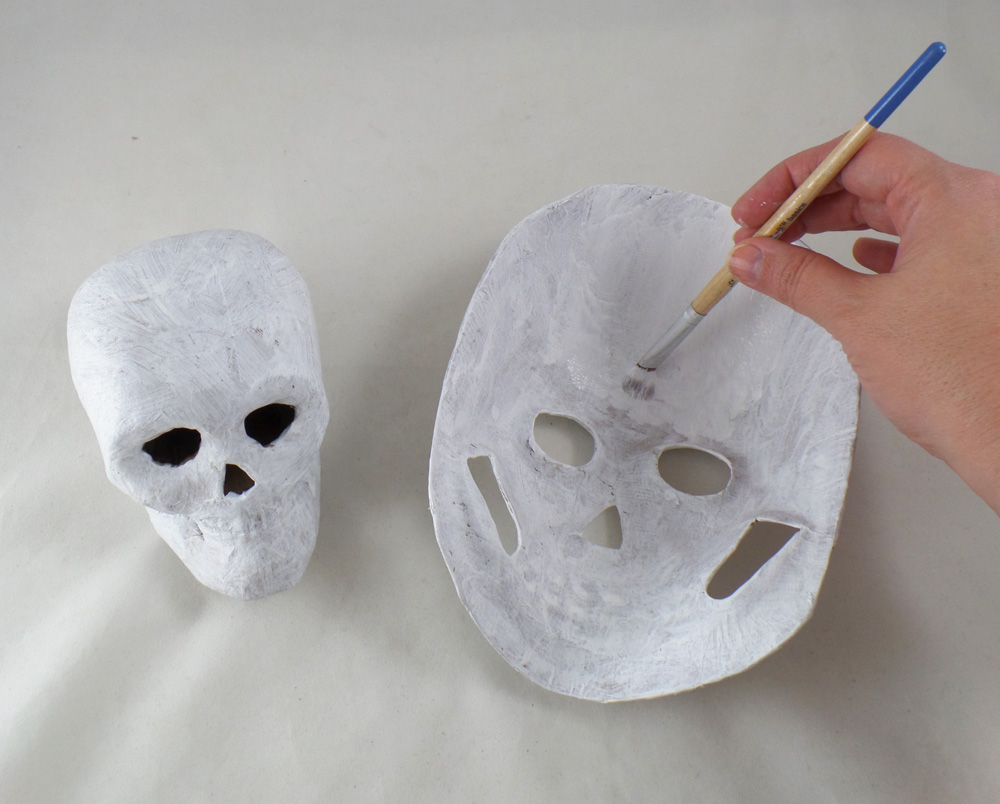
I started by applying white acrylic paint to the entire surface of the papier-mâché skulls. I let each layer of the paint dry completely before adding the next layer to prevent the papier-mâché from getting too wet and losing shape. I noticed that 2-3 coats of paint are normally required to get complete coverage.
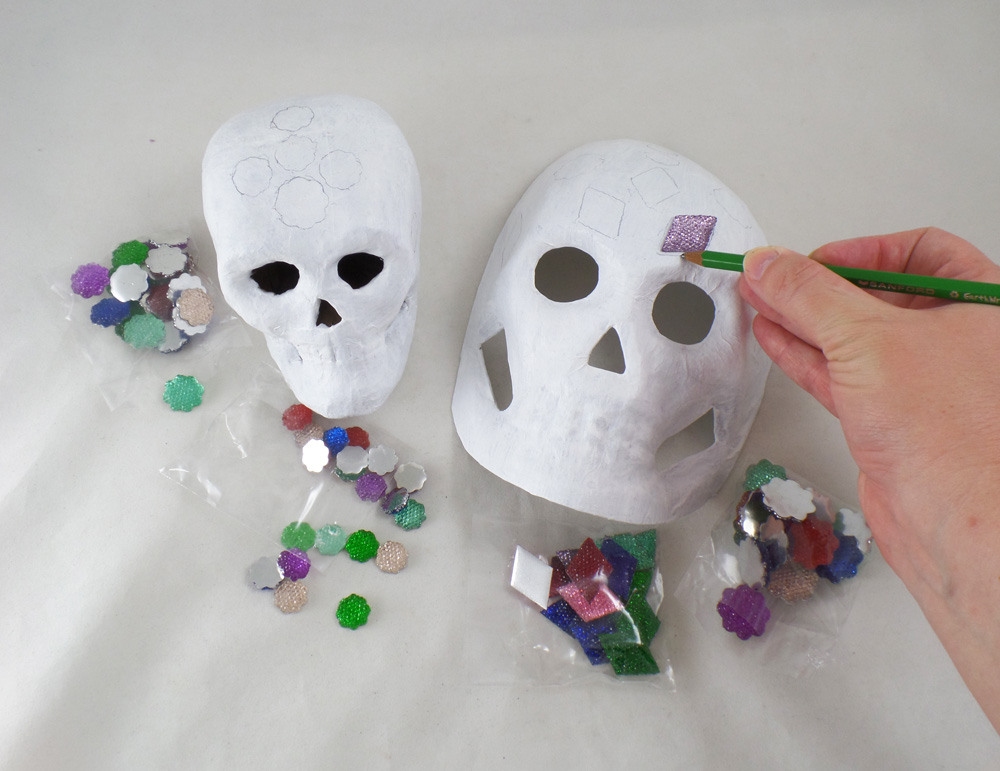
I started to loosely place where I would like the Fiona Accessories Acrylic flat back gems to sit on the papier-mâché and traced outlines in pencil, but I did not glue them on at this point. This would give me outlines to follow and color in with the pens and paint before applying the gems.
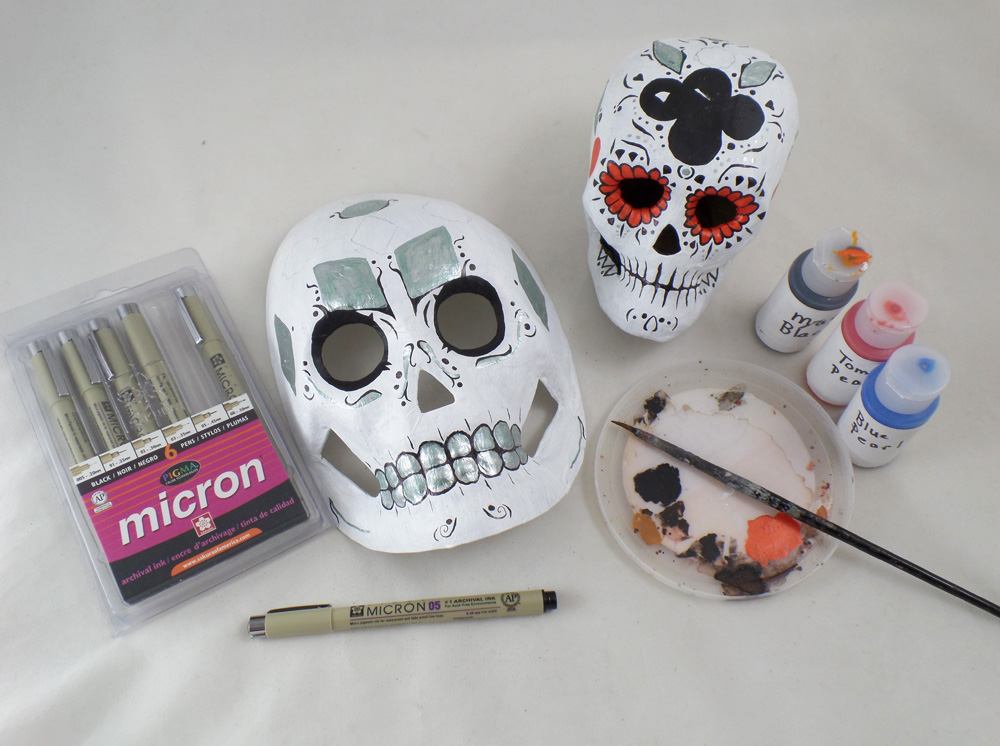
There is no set pattern or design to Day of the Dead masks, as it is a wonderfully free form style of art, allowing the artist to put any variety of shapes, symbols and scroll-work on their pieces. I have a fondness for plant life and organic shapes so I painted flowers, vines and geometric patterns across the pieces in silver, black, red and blue. I outlined key elements with Sakura Pigma Micron pens to make them visually pop more.
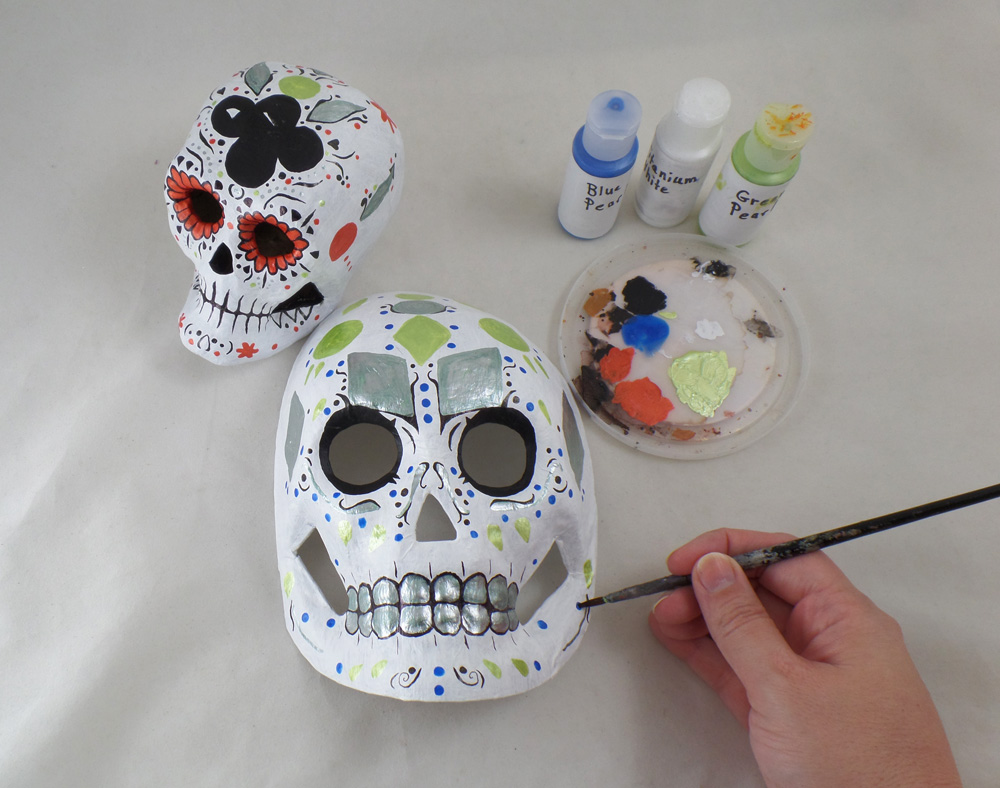
Since I really liked how the silver paint looked I added some leaves and geometric shapes in green pearl paint, along with flowers in red pearl paint. The paint having a slight shimmer would play off the sparkle of the acrylic gems. Applying the paint and drawing with the pens can take some time but I find it rather relaxing and meditative.
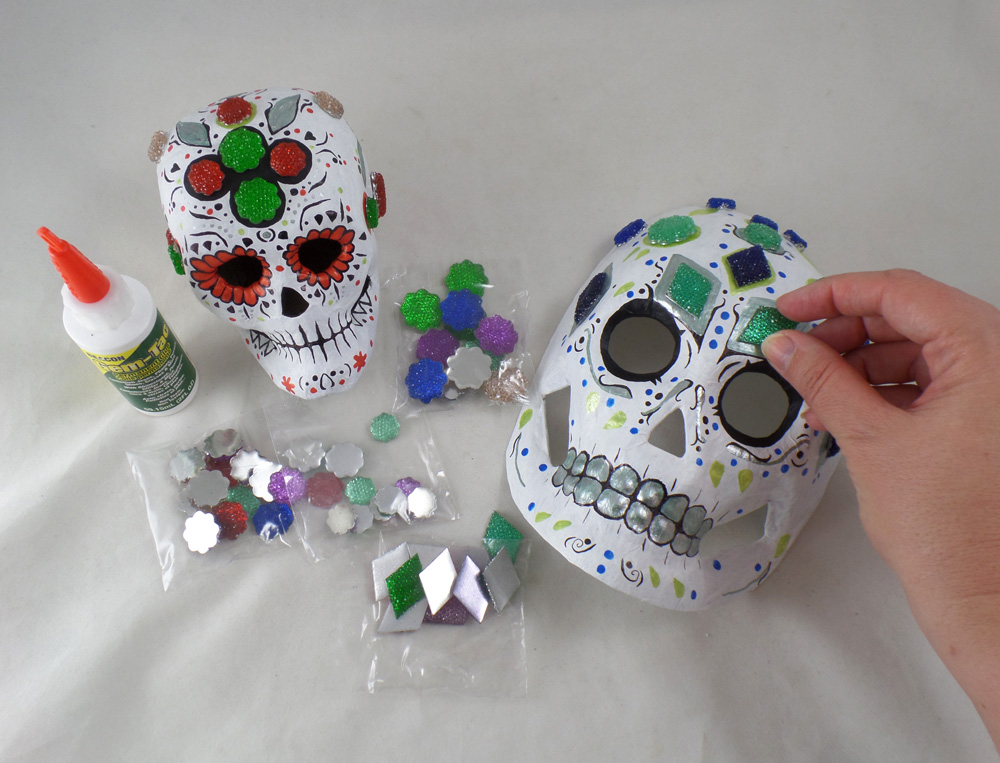
Once the paint was fully dry I applied the Fiona Accessories Acrylic flat back gems to the papier-mâché skulls with Beacon Gem-Tac. A small drop of the Beacon Gem-Tac will go a long way and dry perfectly clear; just holding the gem in place for a few seconds is all that is needed to get the gem to stick to the skulls.
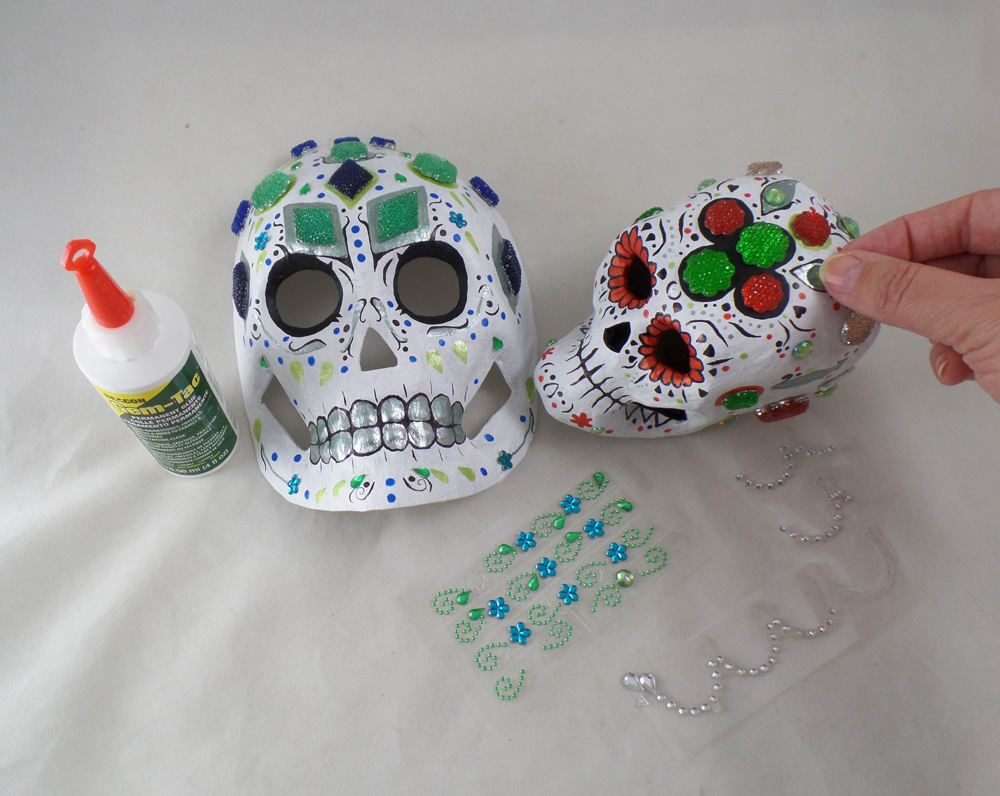
Once all the large acrylic gems were applied to the papier-mâché skulls I filled in the open areas with more paint and pen details, then adding mini acrylic gems with more Beacon Gem-Tac. I let the glue fully dry before going onto the next step.
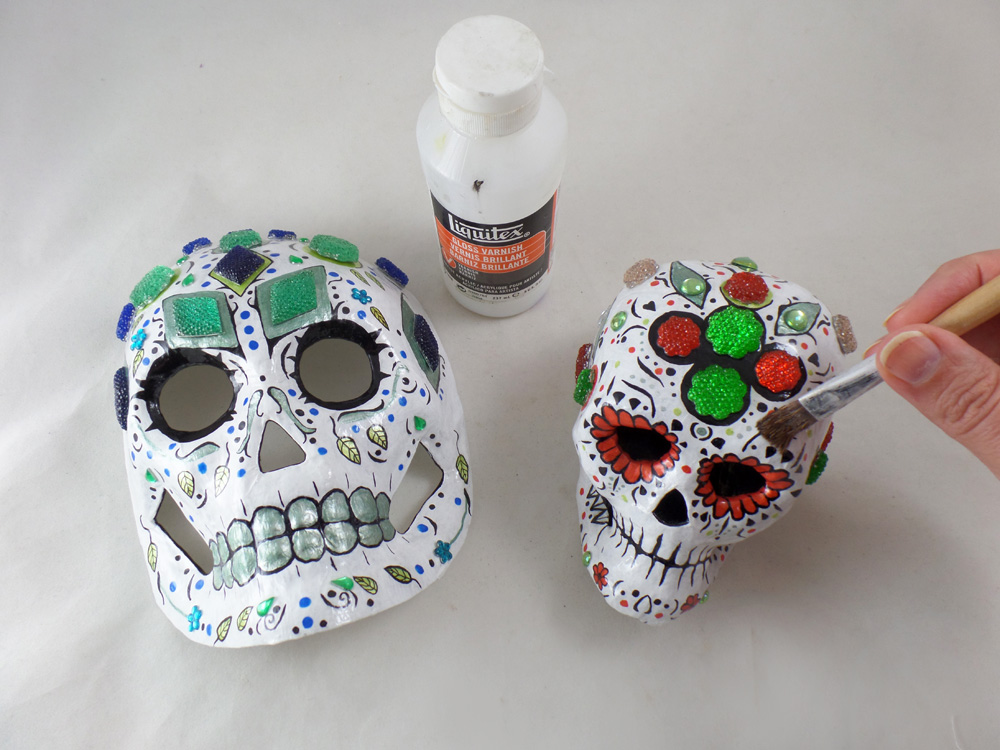
To make sure all of the detail and gems were protected I applied three coats of Liquitex Gloss Varnish to the skulls, letting each layer dry completely before applying the next.
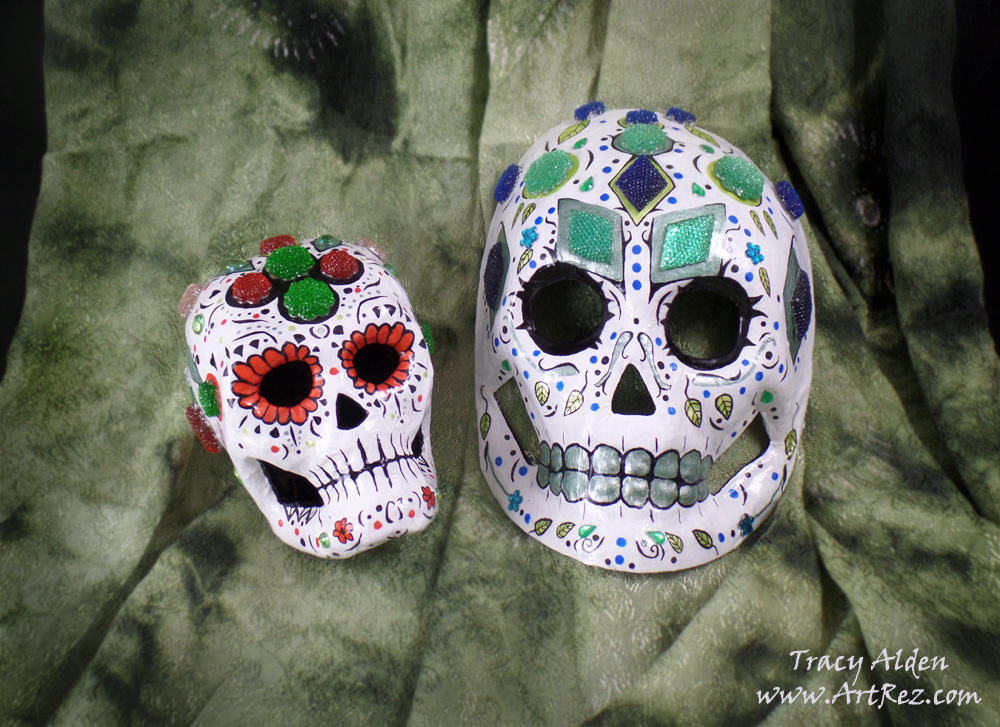
Once the varnish was dry I was able to add them to the rest of my Day of the Dead artwork collection!
Want to share your projects with Fiona Accessories‘s products? Post any projects and ideas on their Facebook Page! 🙂
Until Next Time, Safe Travels!
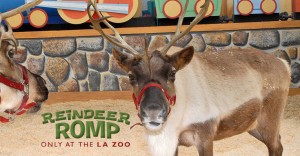
Reindeer Romp at the LA Zoo with the SoCal Chapter of CHA!
Hello and Happy Holidays! So many things have been going on lately; with events, family, arts and crafts December already is zooming by! One of the wonderful events this month is thanks to the Southern California Chapter of the Craft and Hobby Association and the Los Angeles Zoo and Botanical Gardens.
This year the LA Zoo is holding a special seasonal event called Reindeer Romp. From November 28 to January 4 real reindeer have made the L.A. Zoo their home for the holidays! To add to this wonderful experience this weekend of December 13th and 14th, at the Reindeer Romp event there is a special craft area for children to create animal themed ornaments with papercrafting supplies, from 10-4 (or until supplies last)! This special craft area is made possible by the many awesome craft businesses, companies, designers and crafters that make up the SoCal Chapter of the Craft and Hobby Association!
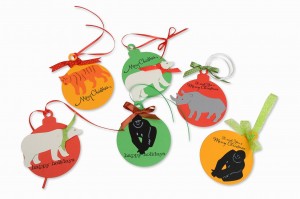
Here is some of the Zoo-rific Ornaments, featuring Ellison’s SureCut Endangered Animals Dies and Sizzix Bigz Ornament Die. With generous donations from Ellison, Stampendous, Cool2Craft, Faber Castell, Aleene’s and Curacao there was enough supplies to create ornaments for 600 children for the two day crafting event!
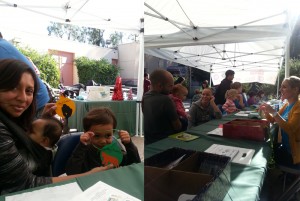
With only the first day of crafting done, already there was so many happy children and familes!
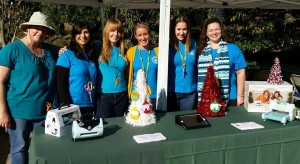
As a proud Steering Committee Member of the Southern California Chapter of the CHA I was happy to volunteer for both days of crafting with other talented and generous members of the Chapter!
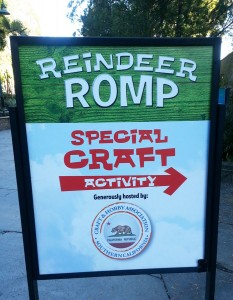
There is still time to bring your wee ones to see the wonderful animals and make holiday crafts on December 14th! Help us promote awareness of endangered animals and have festive fun with cute holiday ornaments!
Until Next Time, Safe Travels!
Temple Rain, a Mixed Media Canvas
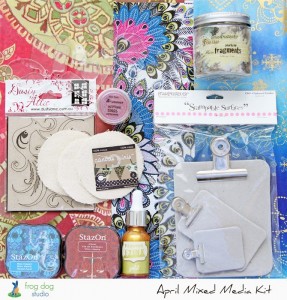
In April I had the great opportunity to receive a Frog Dog Studio kit by being part of the Amazing Crafting Products Design Team. I was so excited when I received the kit; it had so many wonderful goodies, from ink pads, pigment ink, mica, chipboard pieces, tissue paper and more! There was enough supplies to make several projects and still have things left over.
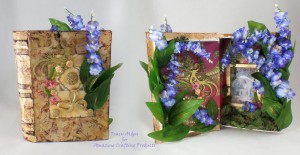
Many of the supplies in the April kit seemed to have a East Asian flair to it. It got me thinking about my trip through Asia and I was inspired to create a Mixed Media hidden story book.
The tutorial for this project can be found here: Mixed Media Book Box
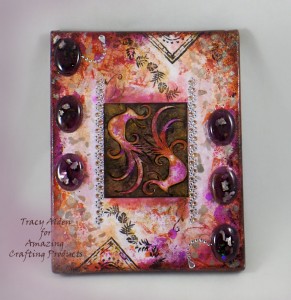
With more of the supplies left over, I created a Mixed Media Canvas piece with wild tropical colors. It was so much fun that I wanted to try making another canvas piece but with a completely different feel, and I still had supplies left over from the Frog Dog Studio kit. Sadly, I got busy with home improvement projects and had to wait until the end of May to start my new canvas.
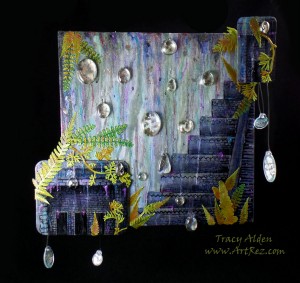
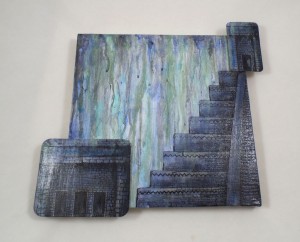
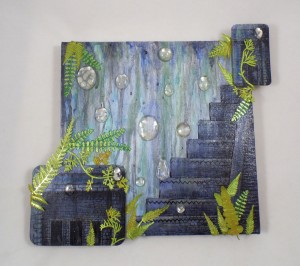
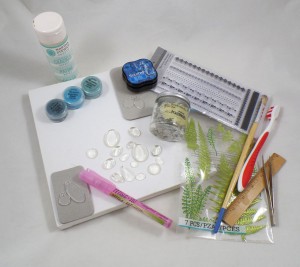 With a portion of the extras from the kit, miscellaneous supplies from my collection and canvas, I started to lay out the project, figuring out which direction to go. I wanted to use the chipboard from the Stampendous Mini Clipboard Canvas pack, the Tim Holtz Clear Fragments and Pearlized Stampendous Mica Fragments. I placed them this way and that on the canvas and suddenly I got an idea. What if I were to try making a abstract ruins in the rain?
Just like with my previous canvas piece, I pulled out what I call my resin “save for later” bin. This bin is populated with all kinds of resin pieces, some finished, uneven pourings or even pieces I just didn’t know what to do with. I picked out resin cabs that had the look of abstract water droplets.
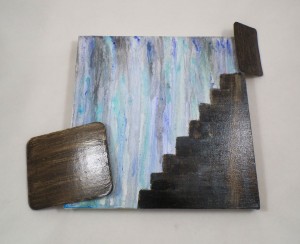 I applied water and acrylic paint to the canvas and tilted it so all the paint and water ran down to the bottom. Once dry, I painted a base dark layer for my ruins. I glued the chipboard pieces to the canvas using Nine Lives Products Glu6 Paste and let dry.
I applied a second layer of water and paint to give a look of rain falling. On went the crackle medium to the dark paint layer and once dry I added a gray-blue paint top layer that then crackled giving it the look of ancient stone. I wasn’t completely happy with the look so using a black permanent marker I drew in small bricks and shading to give detail to the ruins.
Using Nine Lives Products Glu6 Nonporous glue I glued the mica flakes to the back of the resin cabs and while the glue was still wet pressed them onto the canvas. The glue has to dry overnight but it is well worth the wait for a great bond on the resin cabs. I applied little paper leaves to look like plant overgrowth and Liquitex Gloss Varnish to seal the paper leaves and paint in place. I added some acrylic paint in blue and purple as highlights on the ruins and brown on the paper plants to give an earthy hue. A second layer of varnish in drops and dribbles gave the illusion of water to the finished canvas.
I added some acrylic paint in blue and purple as highlights on the ruins and brown on the paper plants to give an earthy hue. A second layer of varnish in drops and dribbles gave the illusion of water to the finished canvas.
Frog Dog Studio’s available kits change every month but the great variety offered in each kit is a great inspiration. What might you make with their next kit?Until next time, safe travels!Craft & Hobby Association Mega Show 2014
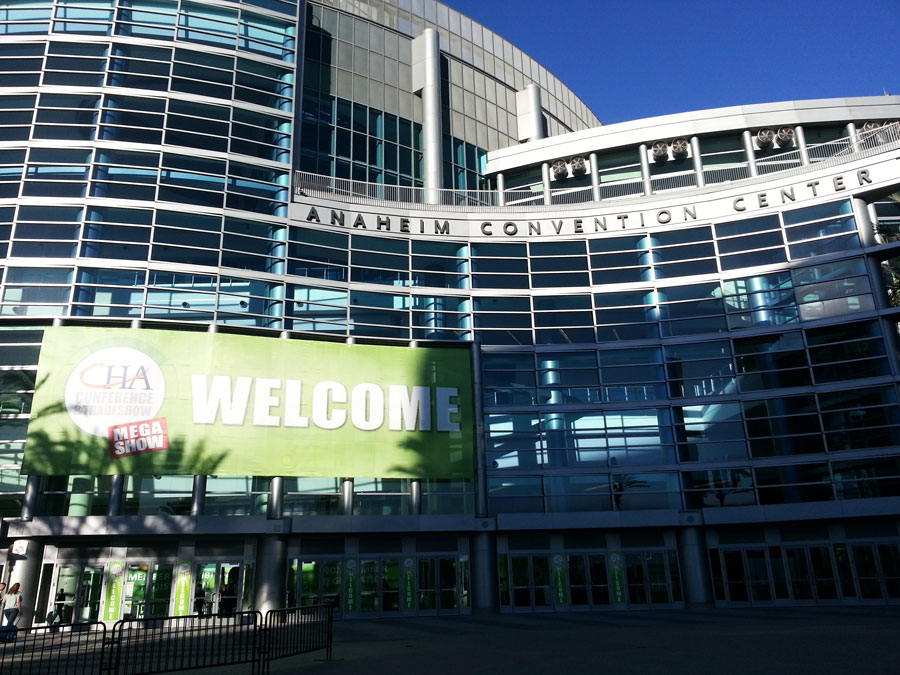
It is that time of year again: my CHA Trade Show recap! CHA, otherwise know as the Craft and Hobby Association, decided to change it a bit this year by not having a Winter and Summer show but one big mega show! There were so many vendors, new products, demos, make n takes and networking opportunities at this show! I had a great time and met so many wonderful talented people but it was a very busy show! While this is not by far covering everything and everyone I saw at CHA, the following is some of the highlights I was able to take photos of.
This year I was asked to do demonstrations at the Amazing Crafting Products/Alumilite Booth, showing people how to make their own Art Themed Lapel Pins. I finally got to meet, in person, some of the other members of the Amazing Crafting Products design team.
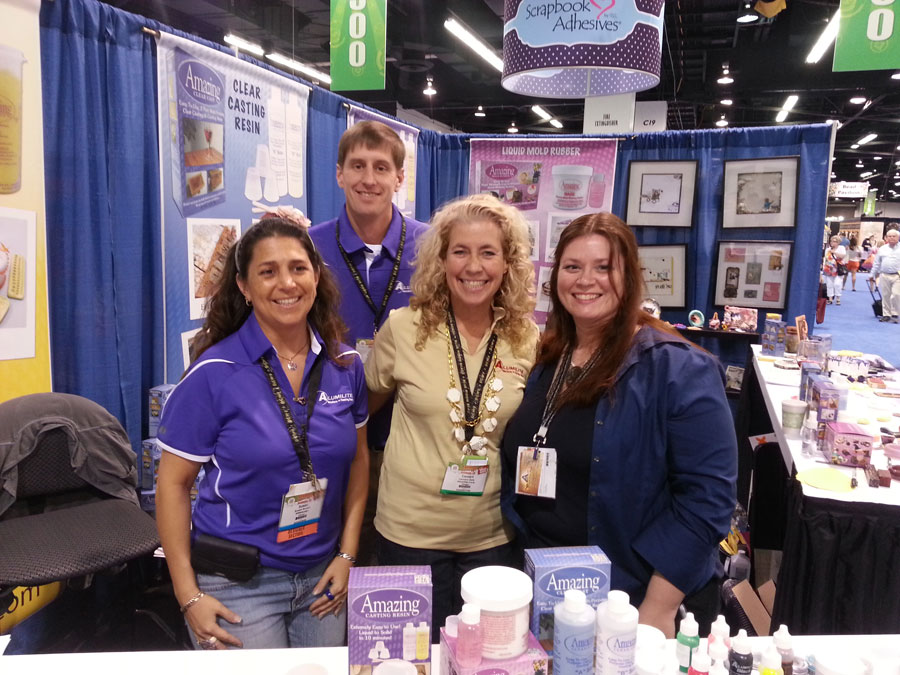
Here is President of Alumilite Mike Faupel, Design Team Leader Susan M. Brown {sbartist}, staff member Carolyn Daly, and I at the Amazing Crafting Products booth.
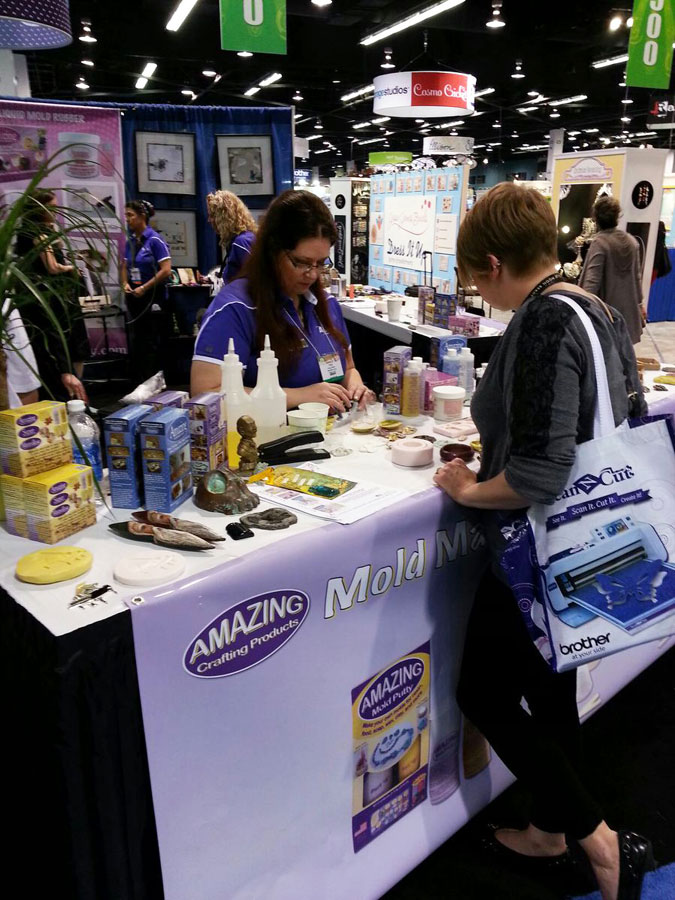
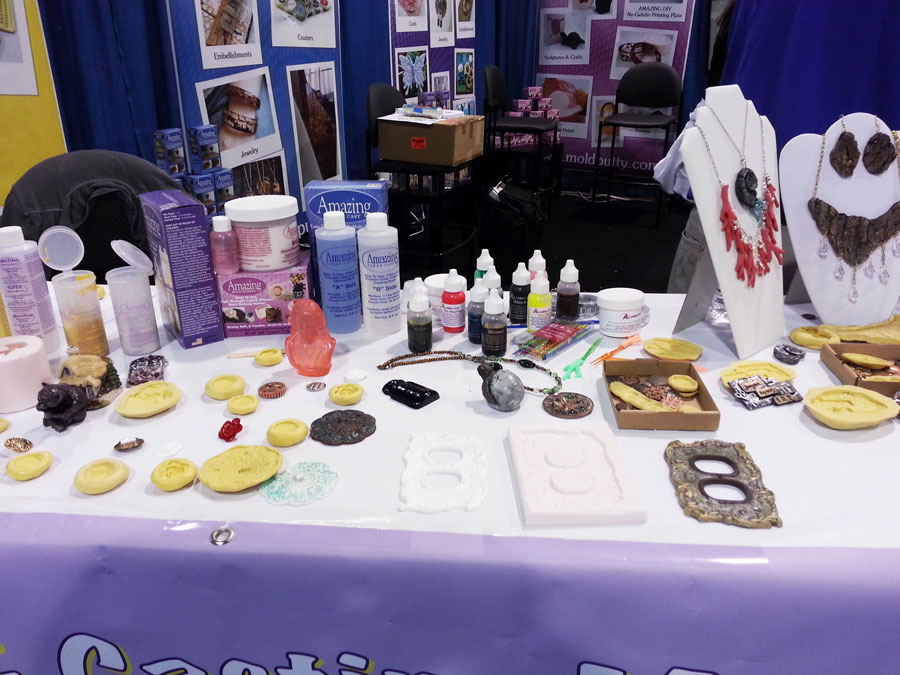
Here I am demoing Amazing Mold Putty. It was wonderful to find so many people with interests in molding and casting their own artwork.
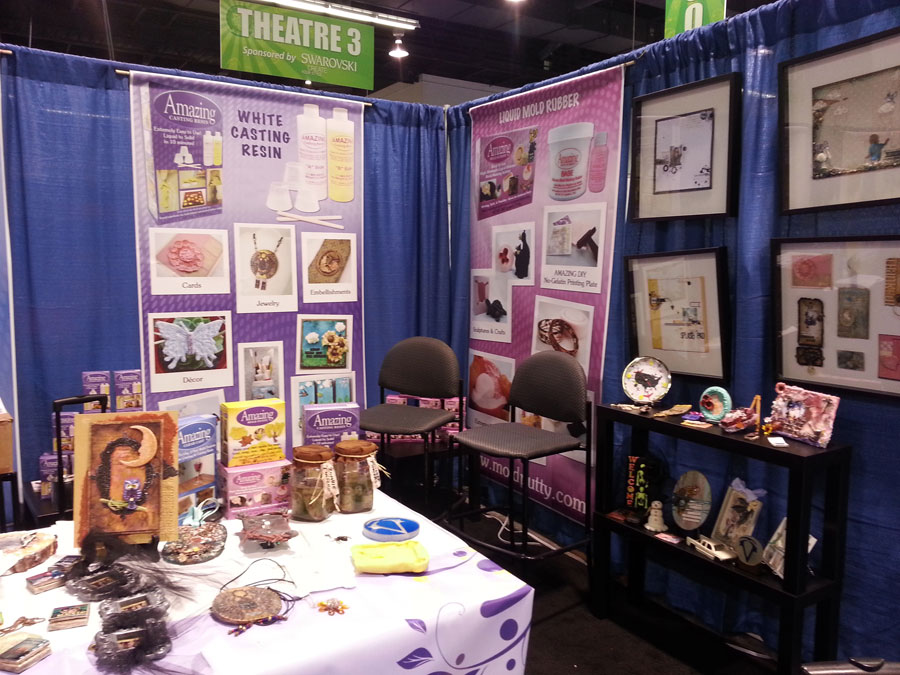
Artwork from the talented design team was on display at the Amazing Crafting Products booth, showcasing the detail and beautiful pieces they were able to make with the products.
Here is one of the demo tables at the Amazing Crafting Products booth, highlighting products and their many uses.
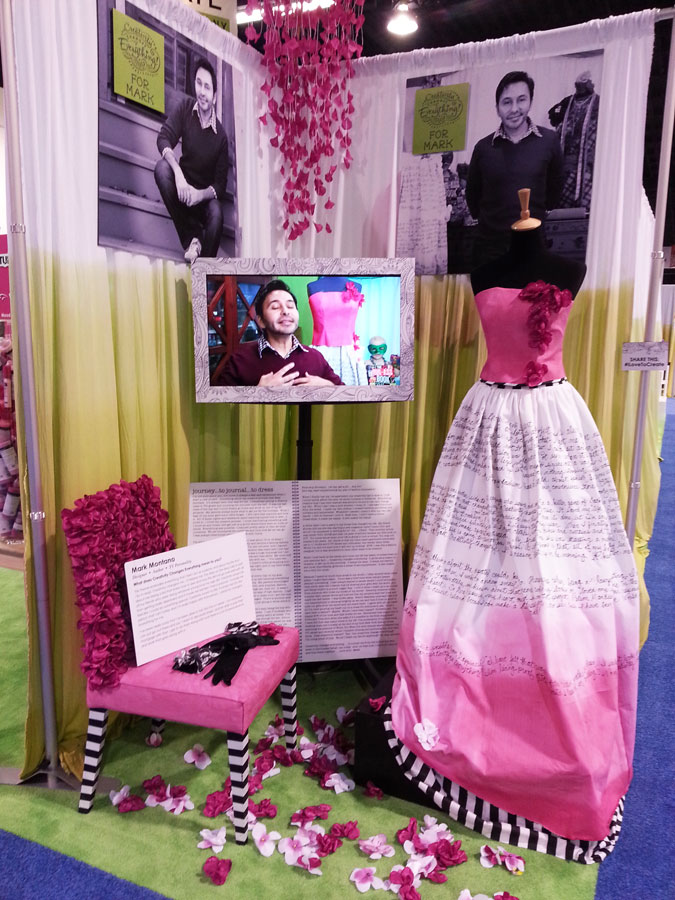
I got to see again the talented and ever gracious Mark Montano. He was signing his book line at the Eclectic Products booth and doing demos of crackle art frames at the DecoArt booth. I now have all of his books!
At the iLoveToCreate booth showcased several artists’ work in “Creativity Changes Everything” display. Mark Montano’s work was part of this display. He had created a lovely vignette, representing his creative career in home decor and fashion, along with a diary about his creative life printed directly on a dip-dyed dress.
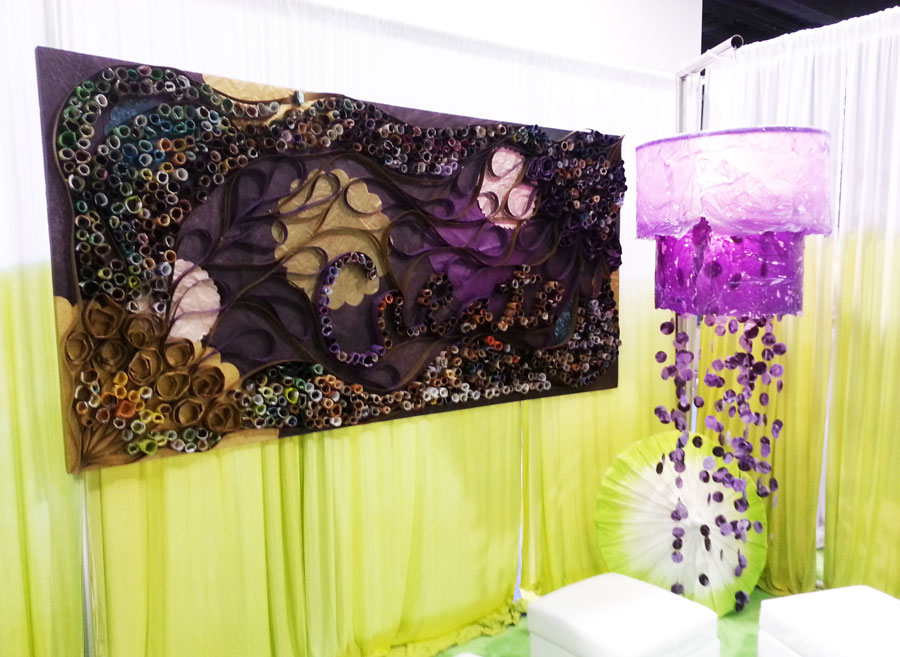
ILoveToCreate booth also had this lovely decopauge piece made from rolled magazines. The lantern was made using Tulip One-Step Tie-Dye, Aleene’s Tacky Glue, and tissue paper!
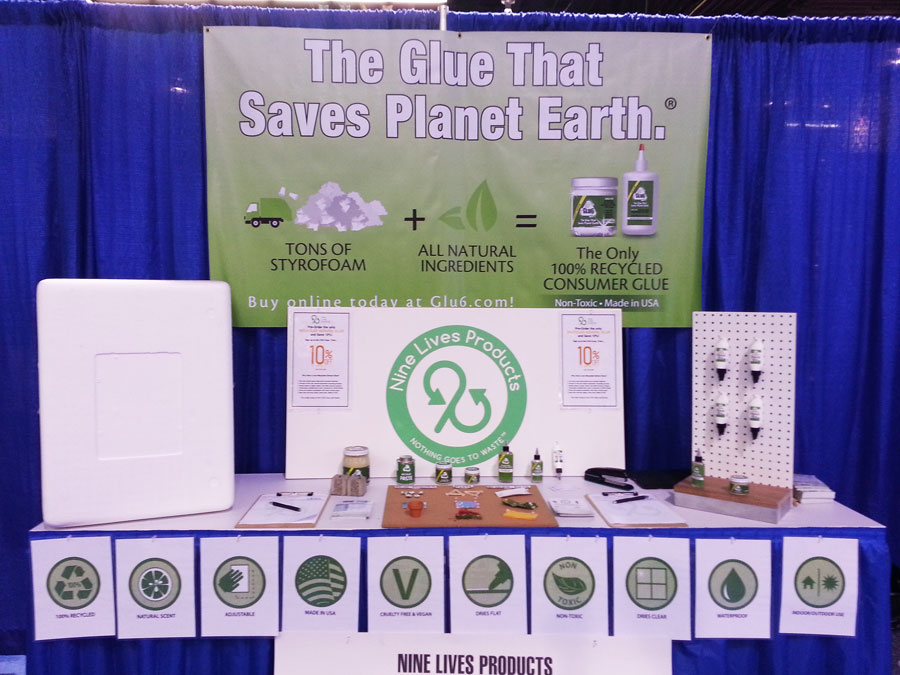
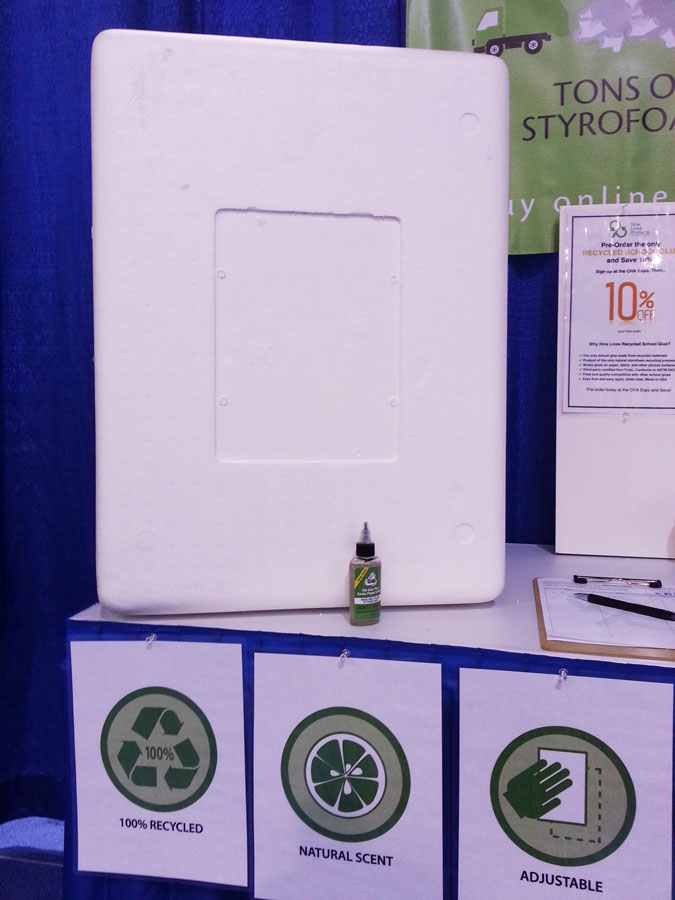
I stumbled across the Nine Lives Products glue booth and was I glad I did! They make glue out of recycling styrofoam waste. They create three types of glue: Glu6 Nonporous, Glu6 Paste and Nine Live School Glue.
The Glu6 Non-Porous Glue is made from all-natural ingredients that non-toxically dissolve styrofoam waste, shrinking it by more than 30x its original size. The goo left over from this process they turn into non-toxic glue! Styrofoam piece shown in the photo is what goes into one tiny bottle of their glue.
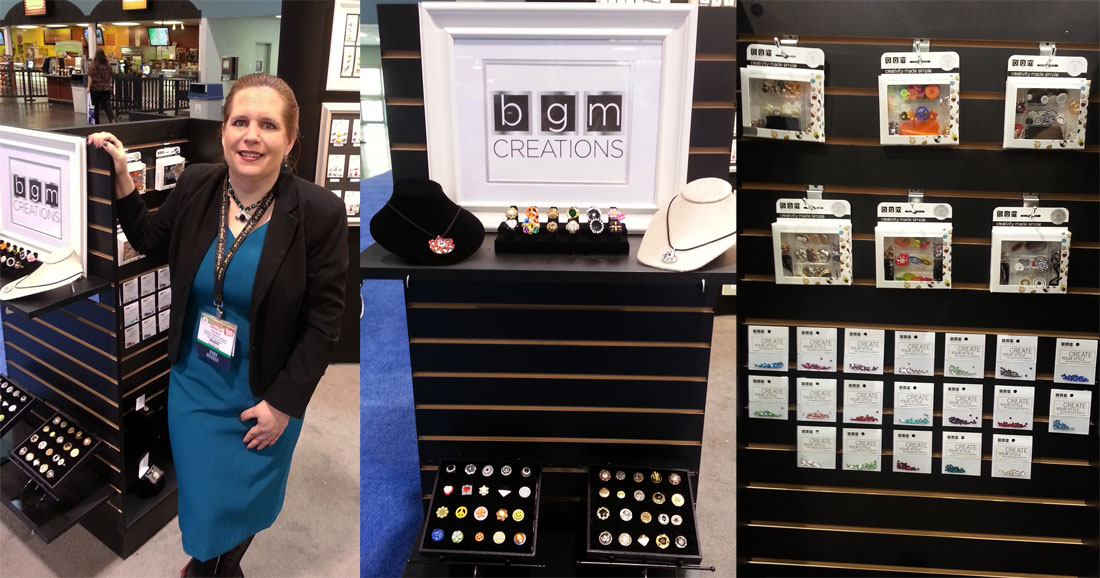
The talented Suzann Sladcik Wilson, book author and CEO of Beadphoria, Inc. was at the Buttons Galore and More booth debuting her beautiful new button jewelry line. Her line of button jewelry kits come in all kinds of different themes, and include everything you need to make lovely rings and pendants.
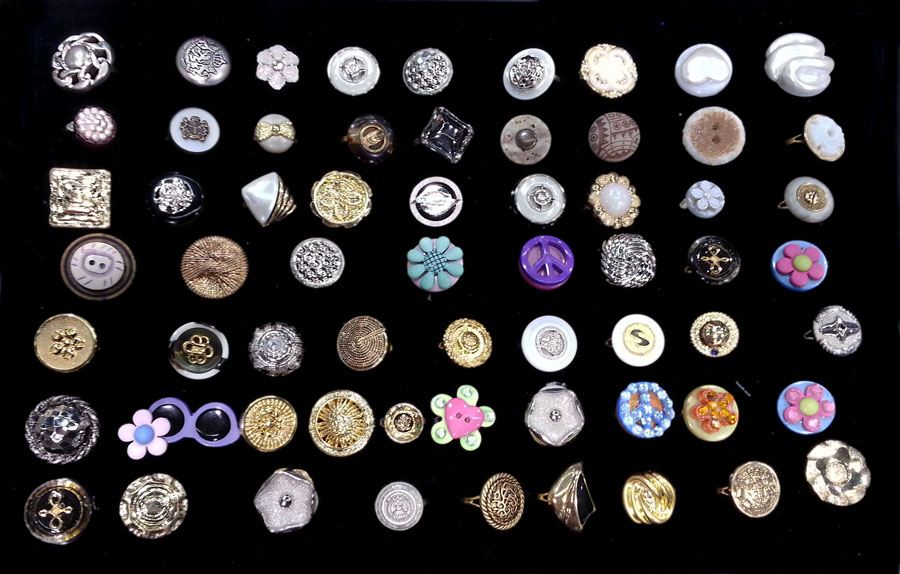
Suzann was doing some demos at the booth. Here is just a small sample of what she made with her wonderful kits.
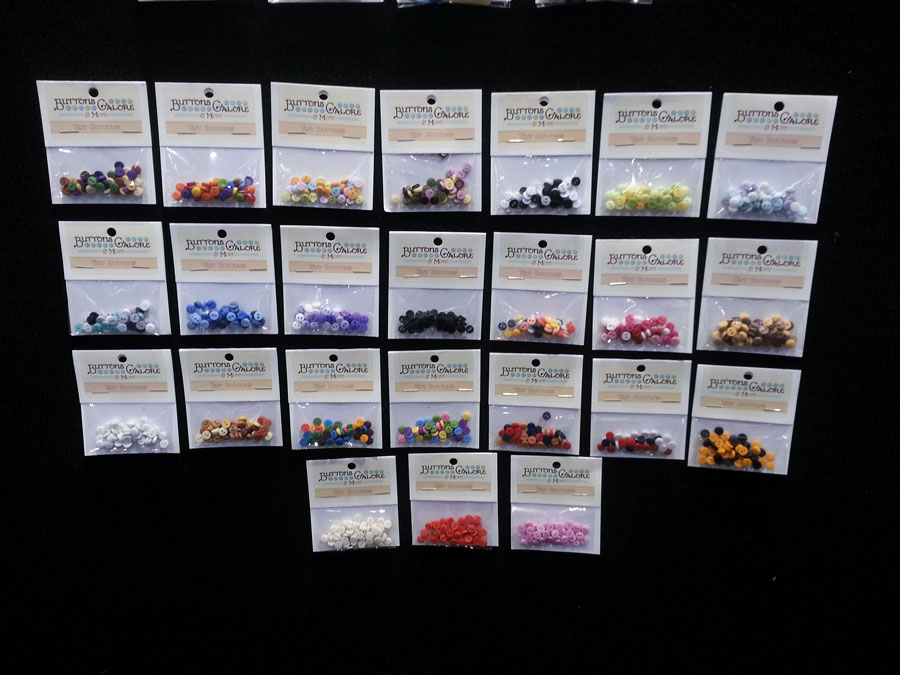
Buttons Galore and More also had a great line of miniature buttons for your mini crafting needs. I just had to buy some samples of to play with!
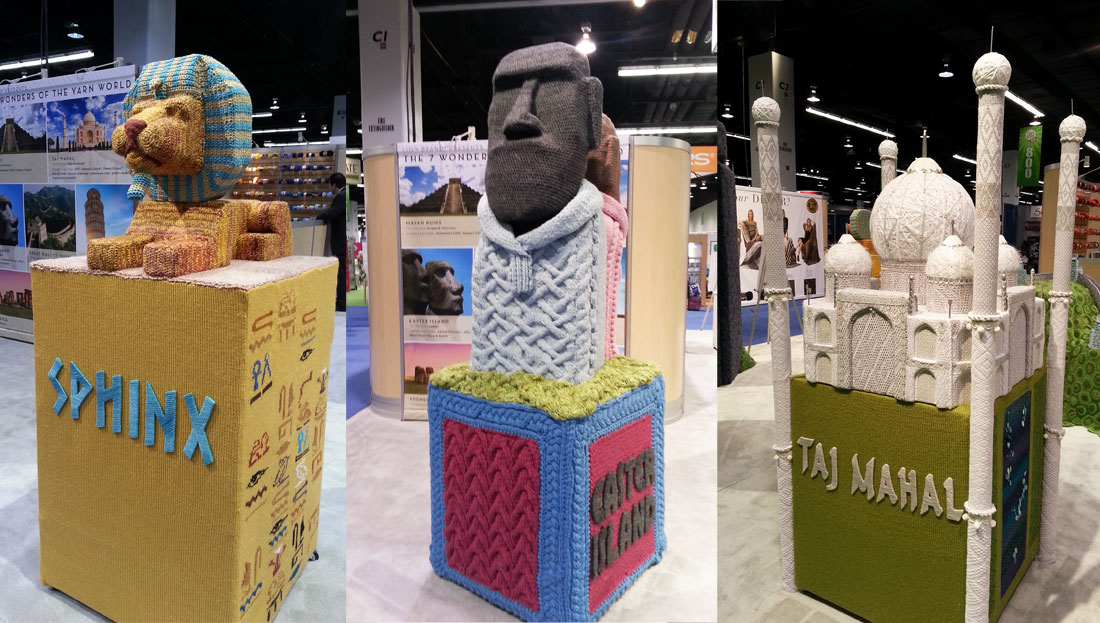
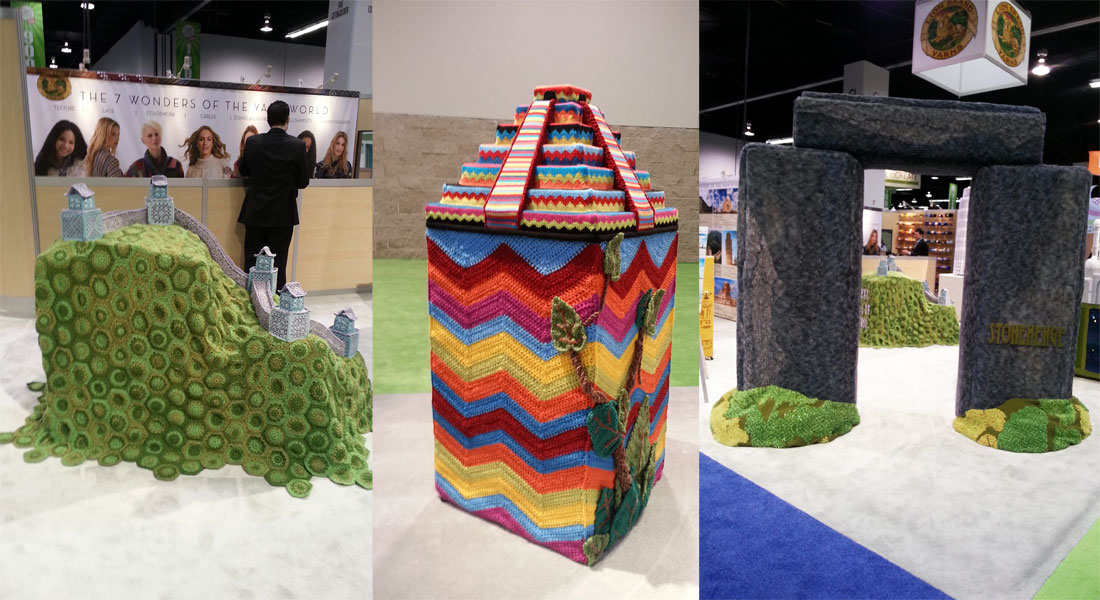
Lion Brand Yarn had a stunning “7 Wonders of the Yarn World” installation created by fiber-artist Nathan Vincent. I only got photos of 6 of the 7 wonders because of the crowds. You can go to the Lion Brand Yarn Blog to see more photos!
The installations that represent the “7 Wonders of the Yarn World” theme stand about 5 feet high or taller!
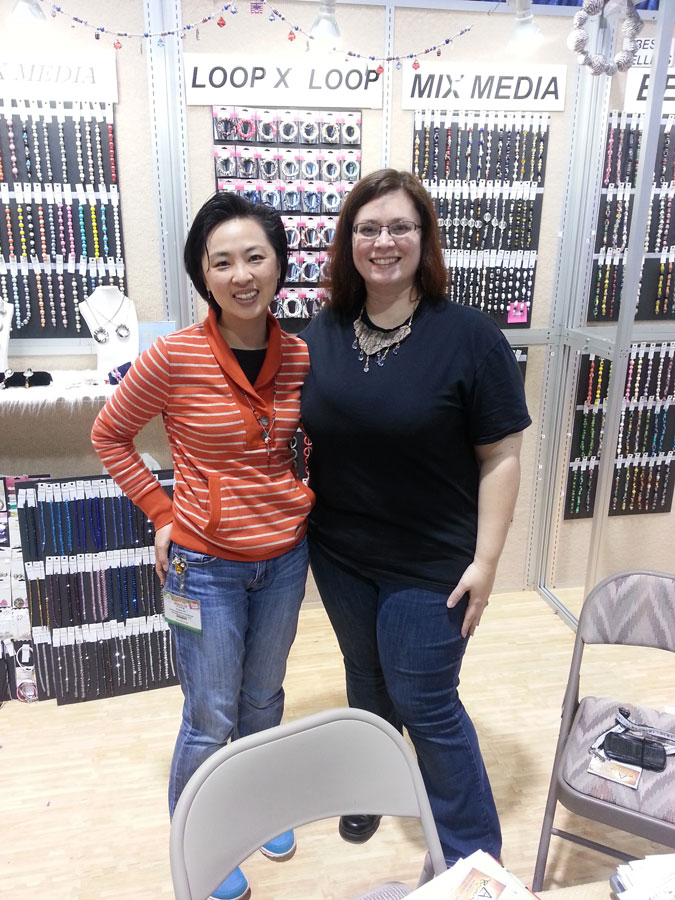
While doing resin demos I met a very nice lady, Fiona Lin of Linpeng International Inc. Her family’s company Fiona Accessories (named after her) had a bead booth with a wide selection of both loose beads and finished beaded accessories. Their specialty line is a series of hand painted beads and bracelets. While they often sell to museums, gift shops and supply beads for craft stores Fiona was more than willing to sell beads to me for my artwork.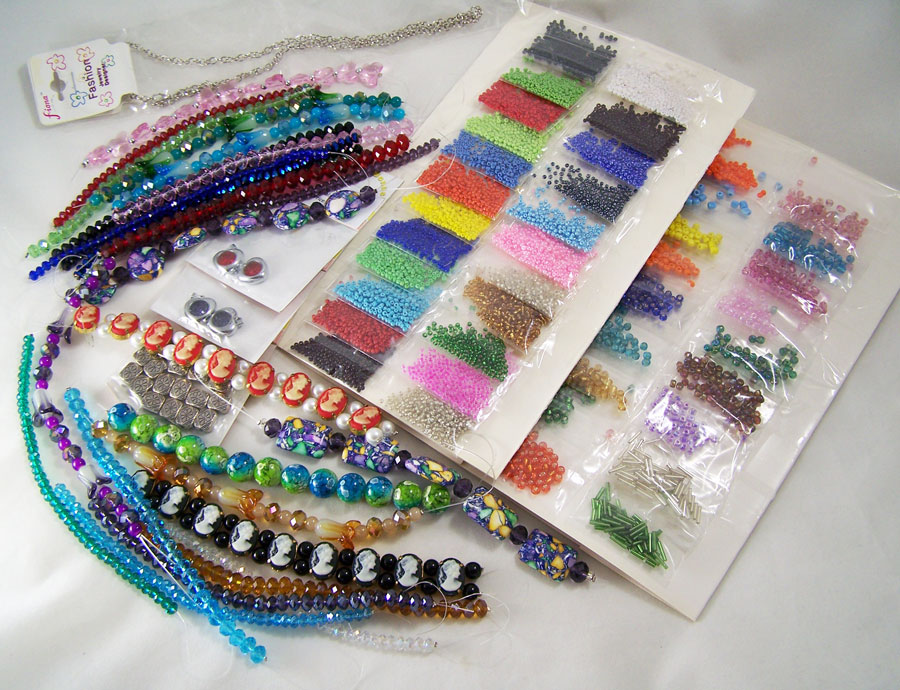
I bought quite few strands of beads from Fiona to make new jewelry with. They had a wide variety of shapes, patterns and cuts of beads I had not seen elsewhere.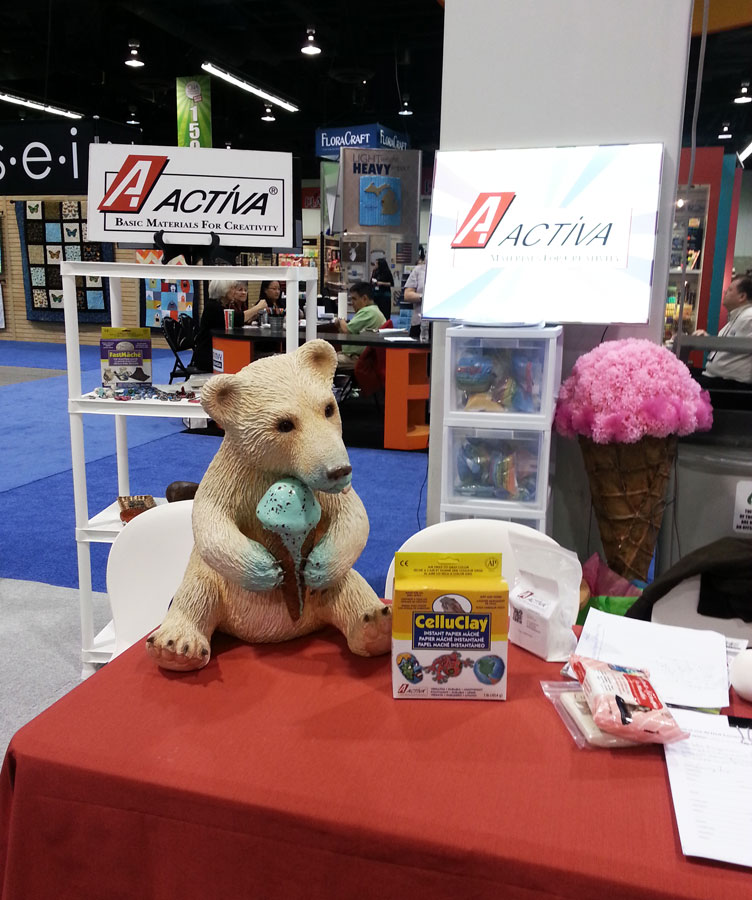
While wandering around the CHA show floor I came across this darling polar bear sculpture at the Activa booth. While they had this sculpture displayed at past shows I never got a chance to stop and see the detail. I was glad I did and I found out about all the different clay and sculpting materials they carry. I even ended up realizing I had been using some of their products while in college and had no idea! When they heard I did sculpture and mold work they gave me samples of Hearty, a non toxic air dry modeling clay and CelluClay, a non-toxic papier mache recycled paper medium to try out.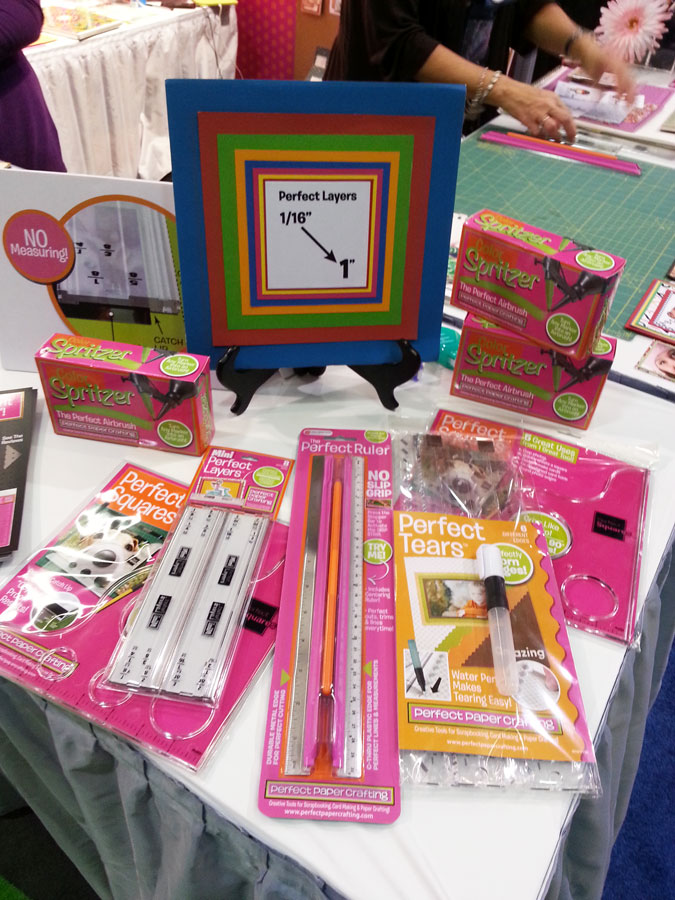
Seeing demos of making perfectly torn paper for paper crafting made me stop by the Perfect Paper Crafting booth. While marketed mostly towards paper crafting I see their tools having wonderful uses in mixed media art. My two favorite tools they carry is the Perfect Airbrush, that turns almost any marker into an airbrush and the Perfect Tears, that helps you make controlled, beautiful, soft, torn-paper-edges.I saw so much more that I didn’t get to photograph but in the next few months I hope to test out and show you all the new products I found.
Until next time, safe travels!
Craft & Hobby Association Create & Connect Conference and Trade Show
Another Craft and Hobby Association Summer show has come and gone! This year it was called the Create & Connect Conference and Trade Show and was held in Las Vegas. While this was by far a much smaller show than the Winter CHA yearly show, it was still a great show to attend. There were better opportunities to talk and network with vendors and designers. There was also plenty of new products and artwork to see! I got there a day late due to health concerns and forgot my camera so I had to take photos with my phone but here is a few of the booths that I just loved and have to share with you.
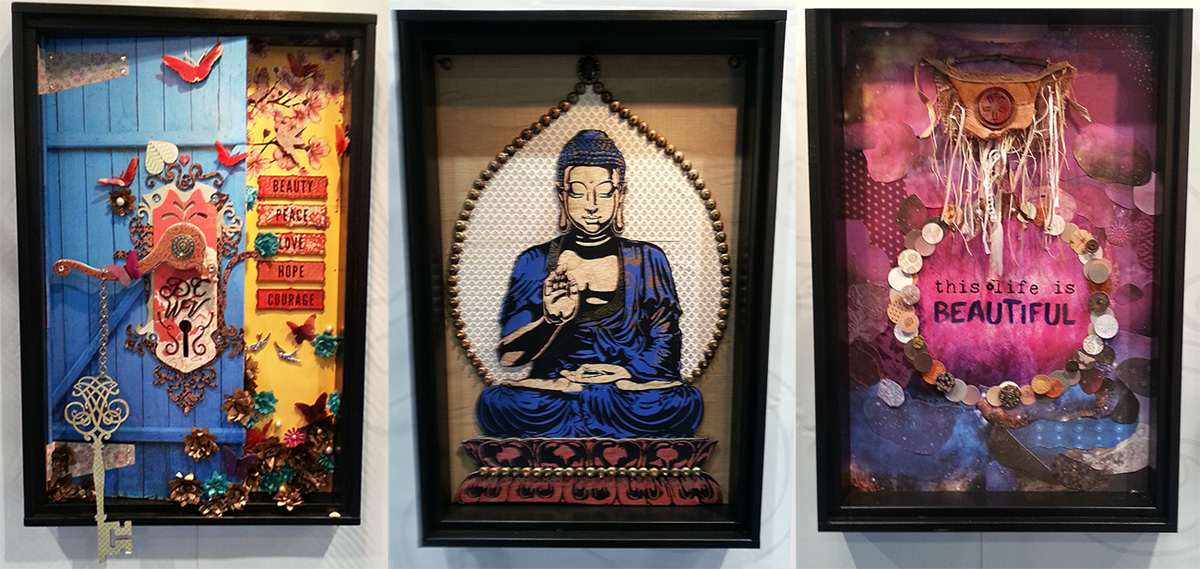
As per normal Die Cuts With a View (otherwise known as DCWV) had a stunning display of papers, bead, embellishments and artwork! These three lovely shadow boxes were attached to the outside of their booth showcasing some of their products and talented designers.
DCWV had both their Summer and Winter collections up and were doing wonderful make-n-take canvas and necklace art.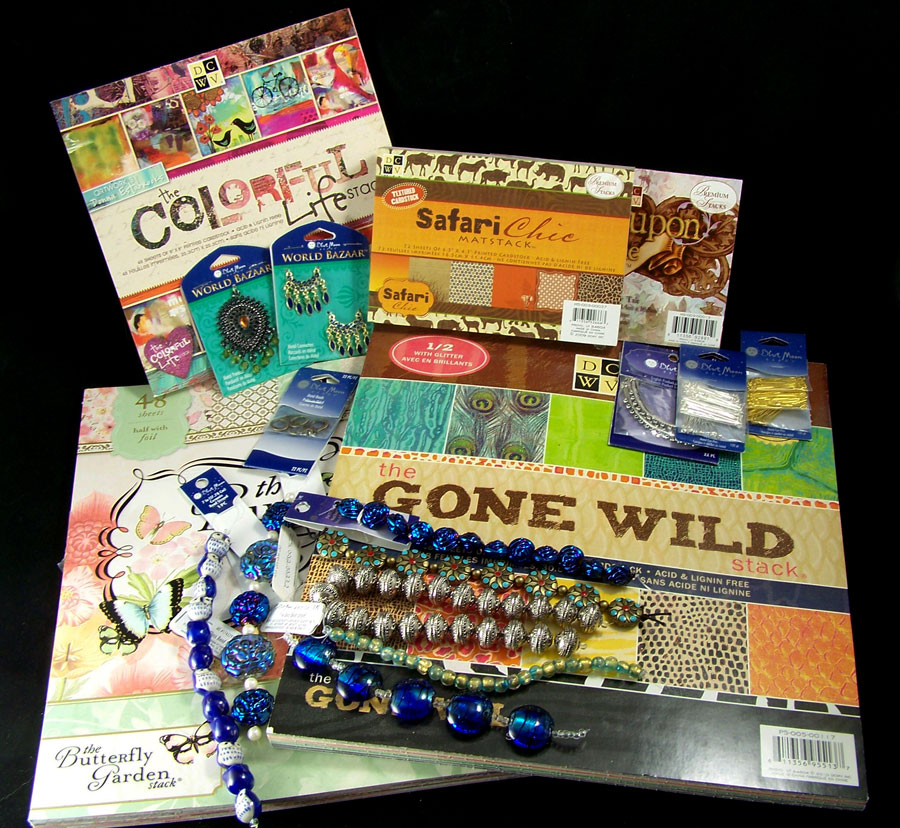
Those lucky enough to be there the last day of the trade show and the last few hours had the chance to buyDCWV papers and Blue Moon Beads. Here is some of the items I was able to purchase from them the last hour. 🙂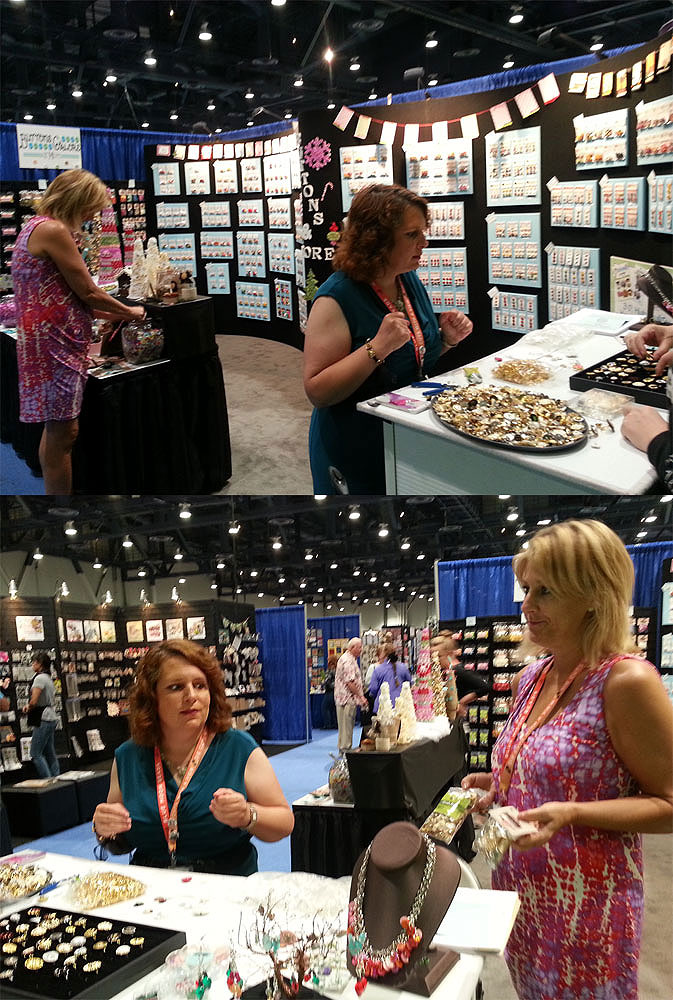
The talented Suzann Sladcik Wilson, book author and CEO of Beadphoria, Inc. was at the Buttons Galore and More booth doing demos on how to turn their whimsical line of buttons into wearable art!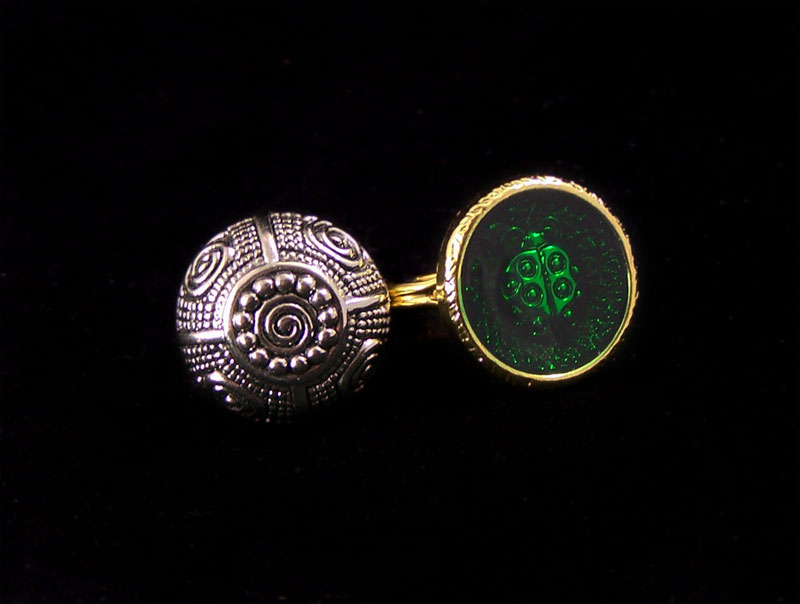
Here is some of the Buttons Galore and More buttons turned into rings!They have so many designs and styles of buttons that could be used as embellishments in many art forms.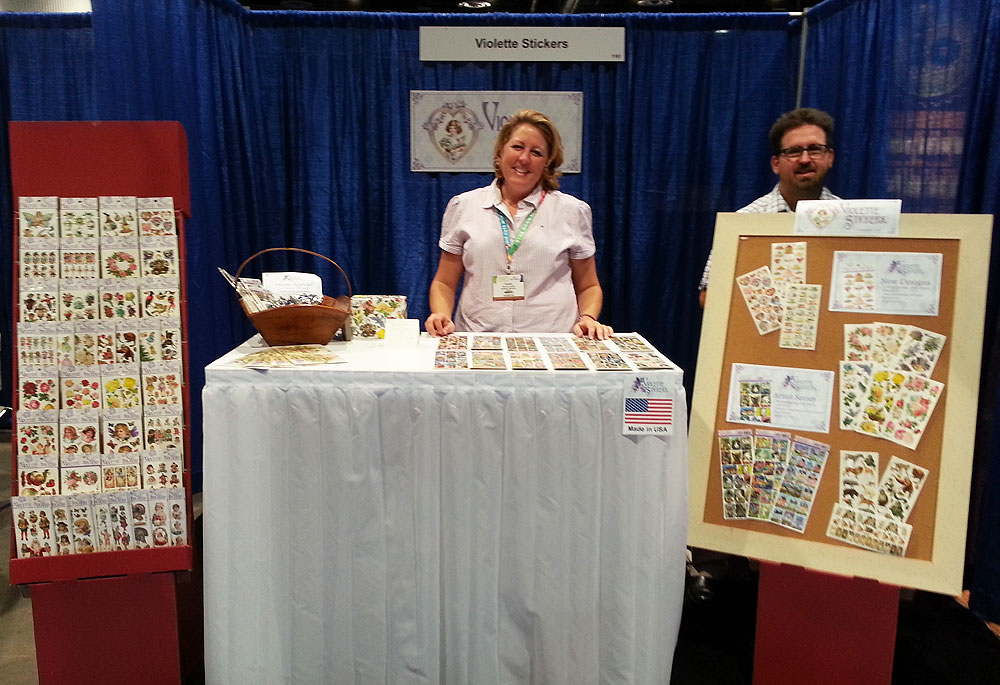
Next we have the awesome Violette Stickers, a small but growing sticker company with some of the most beautiful stickers. They were at the Winter CHA this year but I somehow didn’t see them. I am glad I got a chance to really look at their stickers this time! They have lovely reproduction Victorian art stickers and fun and funky modern art stickers.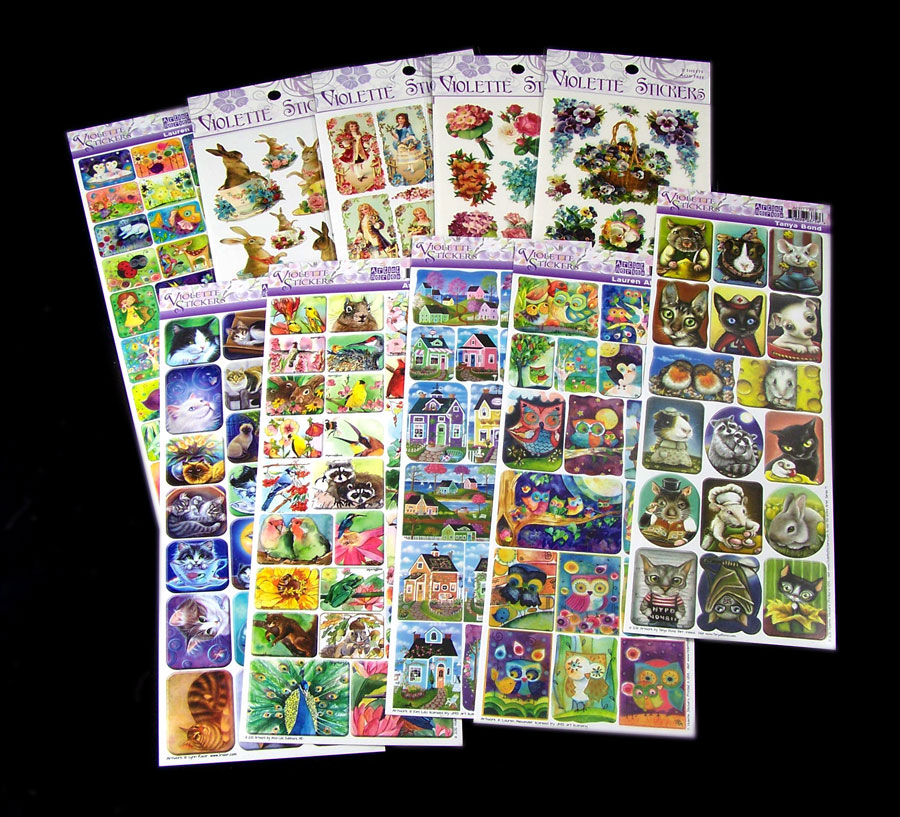
Here is some of their sticker selection I bought. The photo does not do them justice. They have vivid colors, sharp detail and some of their lines of stickers have clear backing making them perfect for layering in resin!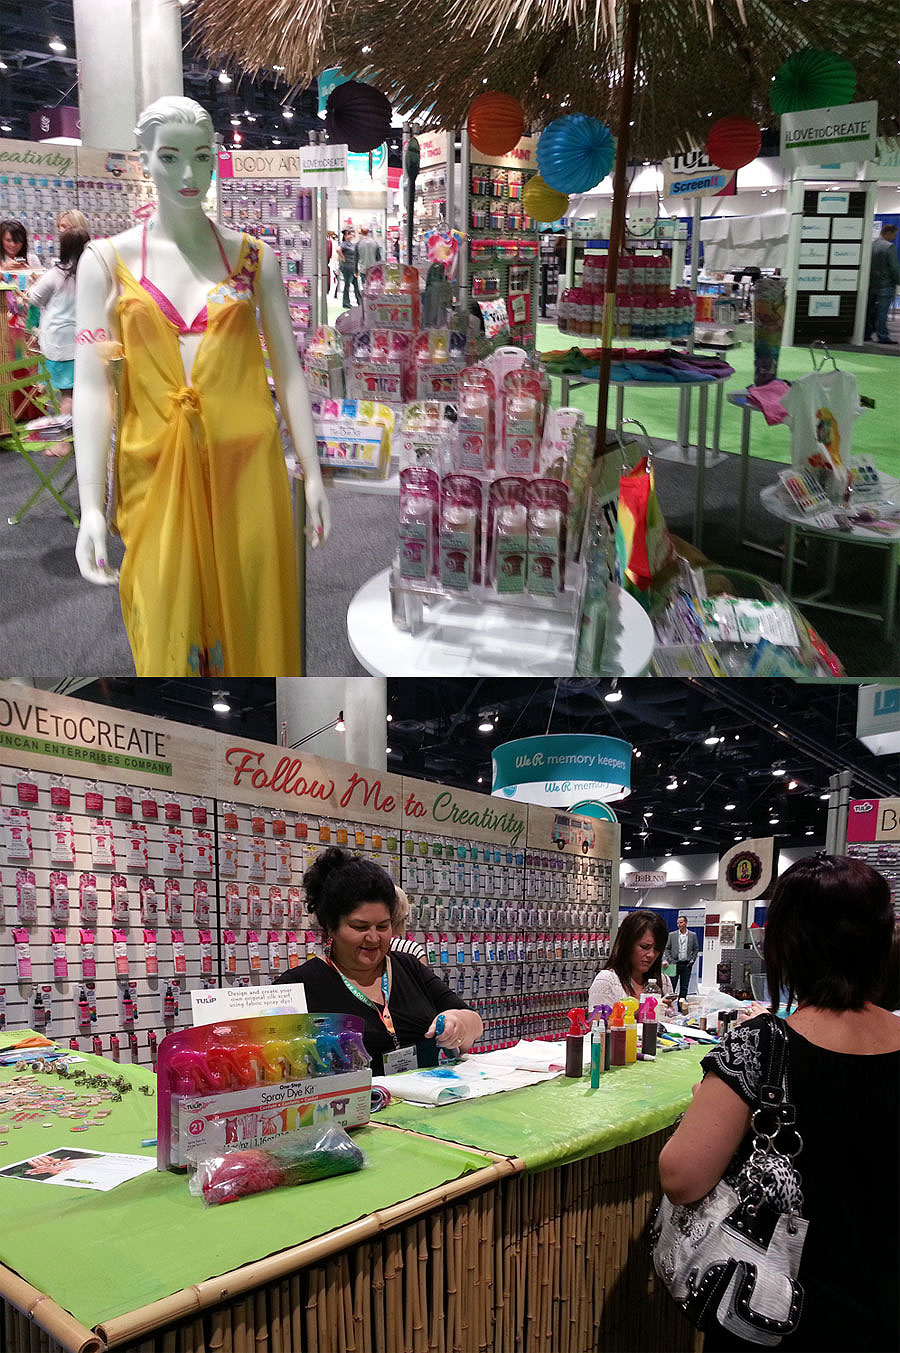
I love to Create booth had a wonderful collection of Summer themed art using their line of products. The talented Kathy Cano-Murillo founder of CraftyChica.com was doing demos at their booth of all kinds of wearable art! The Tulip One-Step Spray Dye Kit they are now selling is a no fuss way of dying fabrics. I love the ease of use and vibrancy of the colors!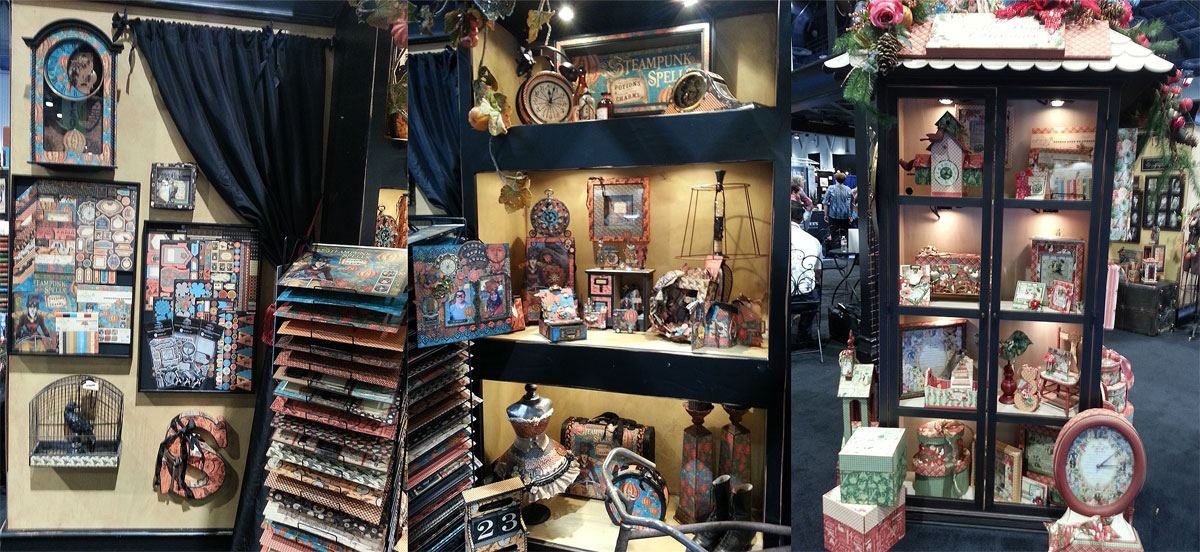
The ever popular Graphic 45 had a gorgeous booth full of Steampunk and vintage print papers and embellishments. The display of finished art using their products was just beautiful and I love that they are doing more home decor tutorials using their products!In the next few months I will be using all of the wonderful products I got at the show in new artwork. 🙂
Until next time safe travels!

