A #Cre8time voyage to find Pirate Treasure!
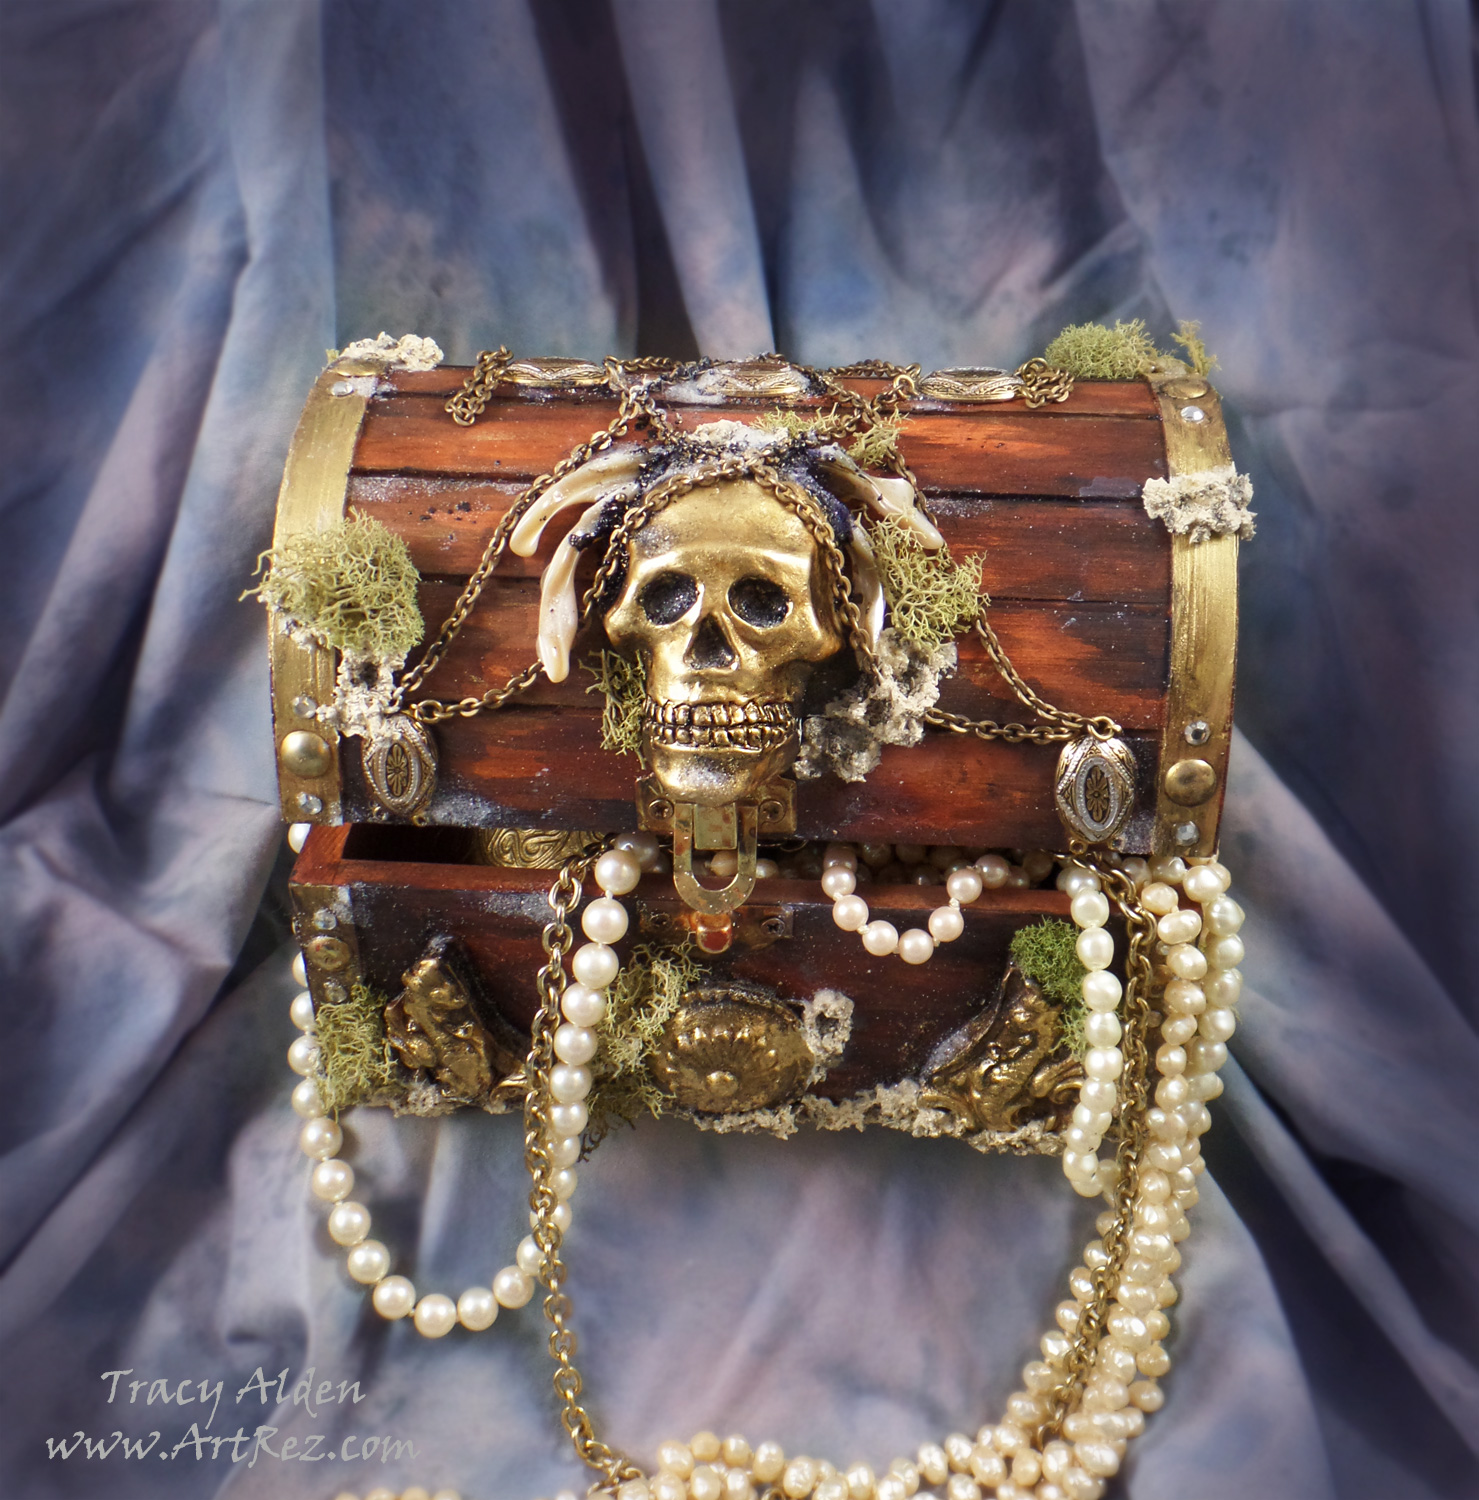
With Fall fast approaching, I am once again looking at new ways to jump start my creativity. I finally decided to order pieces from Relics & Artifacts® by Sandra Evertson to try out. The line has been catching my interest for a few years every time I see them at craft and hobby trade shows and on social media. Locally no stores currently carry their product line however it is rather easy to order the Matte Resin Craft Blanks from their website (they ship VERY quickly and package the art supplies wonderfully!). The resin blanks were larger than I expected, had a nice weight, tooth to the surface (great for paint application) and fine detail.
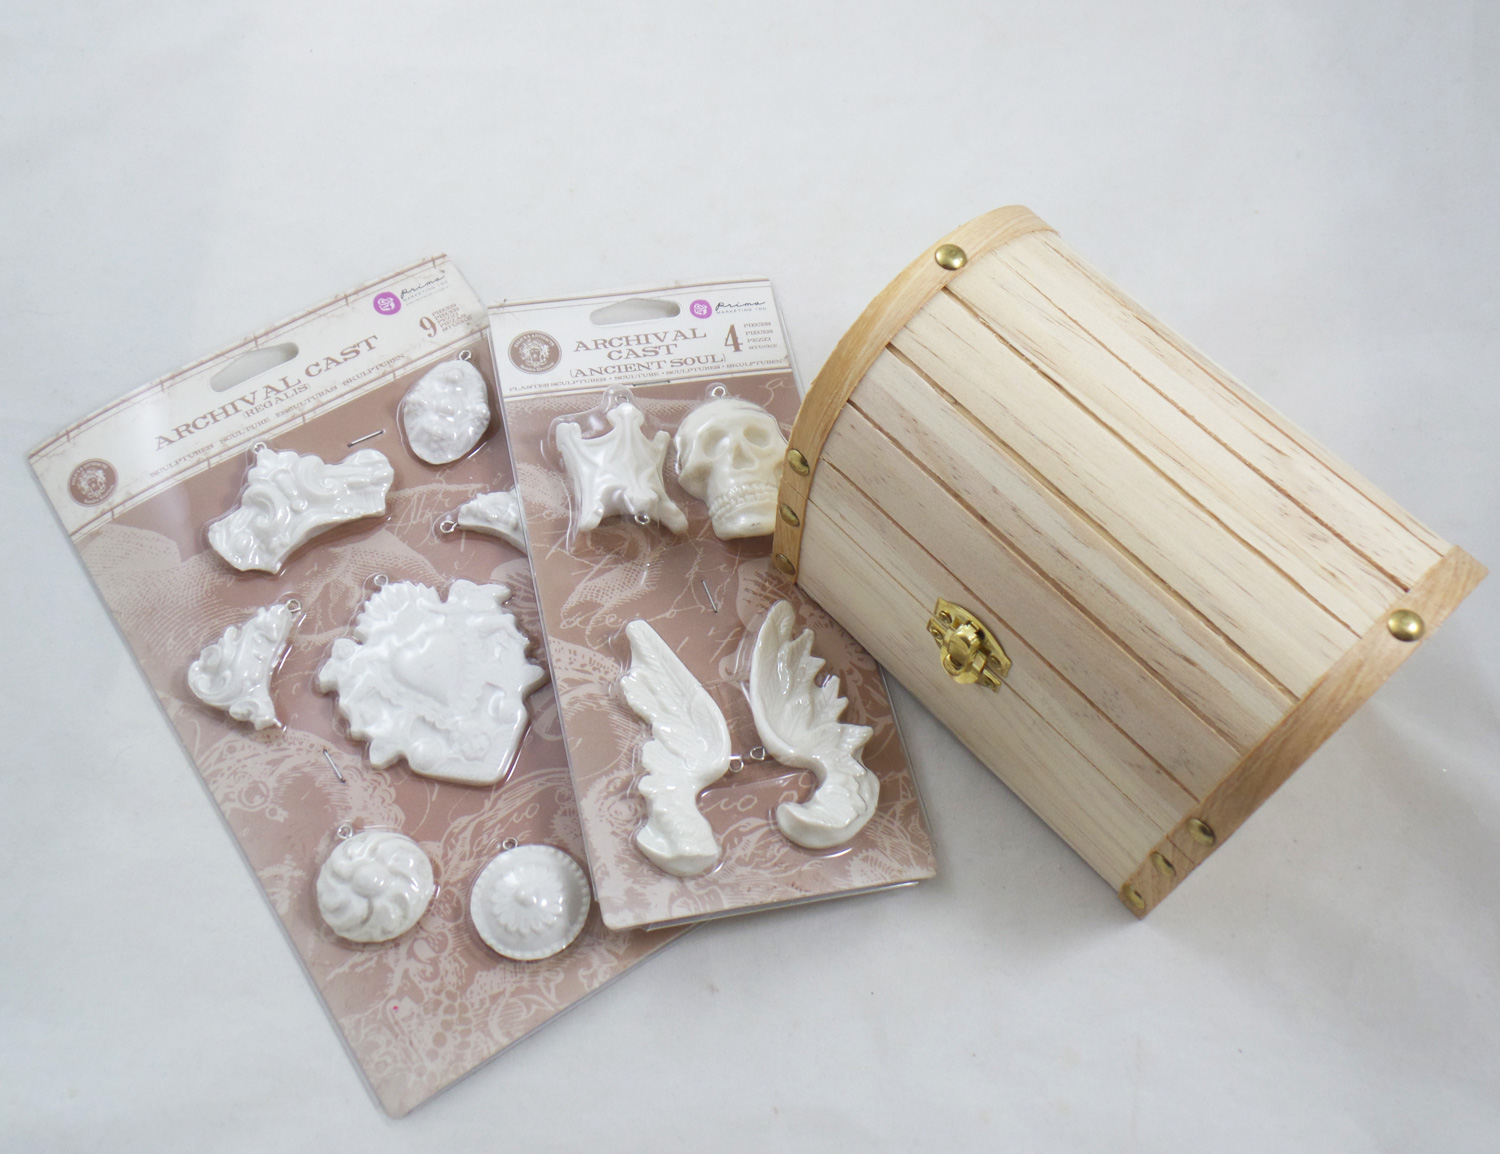
I bought 4 sets but the pieces in the Ancient Soul and Regalis sets got my mind whirling immediately. The skull focal in the Ancient Soul set had me thinking of a Jolly Roger and a sunken treasure chest. I collected some vintage jewelry supplies and started my craft voyage into uncharted seas….
Supplies:
Unfinished Wood Trinket Box (I found one at Jo-Ann)
Relics & Artifacts® Ancient Soul and Regalis Matte Resin Craft Blanks
Alumilite Metallic Powder Gold
Liquitex Gloss Varnish
Beacon Gem-Tac Adhesive
Stampendous Crystal Snow White Glitter, Ultra Fine
Paint Brushes
Acrylic Paint in Metallic Light Gold, Black, Burnt Umber, Terra Cotta, White and Yellow Ocher
Baking Parchment Paper (as a work surface)
2 Flat head jewelry pliers
1 Broken bracelet, chain necklace, shell beads and flat backed rhinestones 4mm, jumprings
4 used and dried tea bags
Dried Green Moss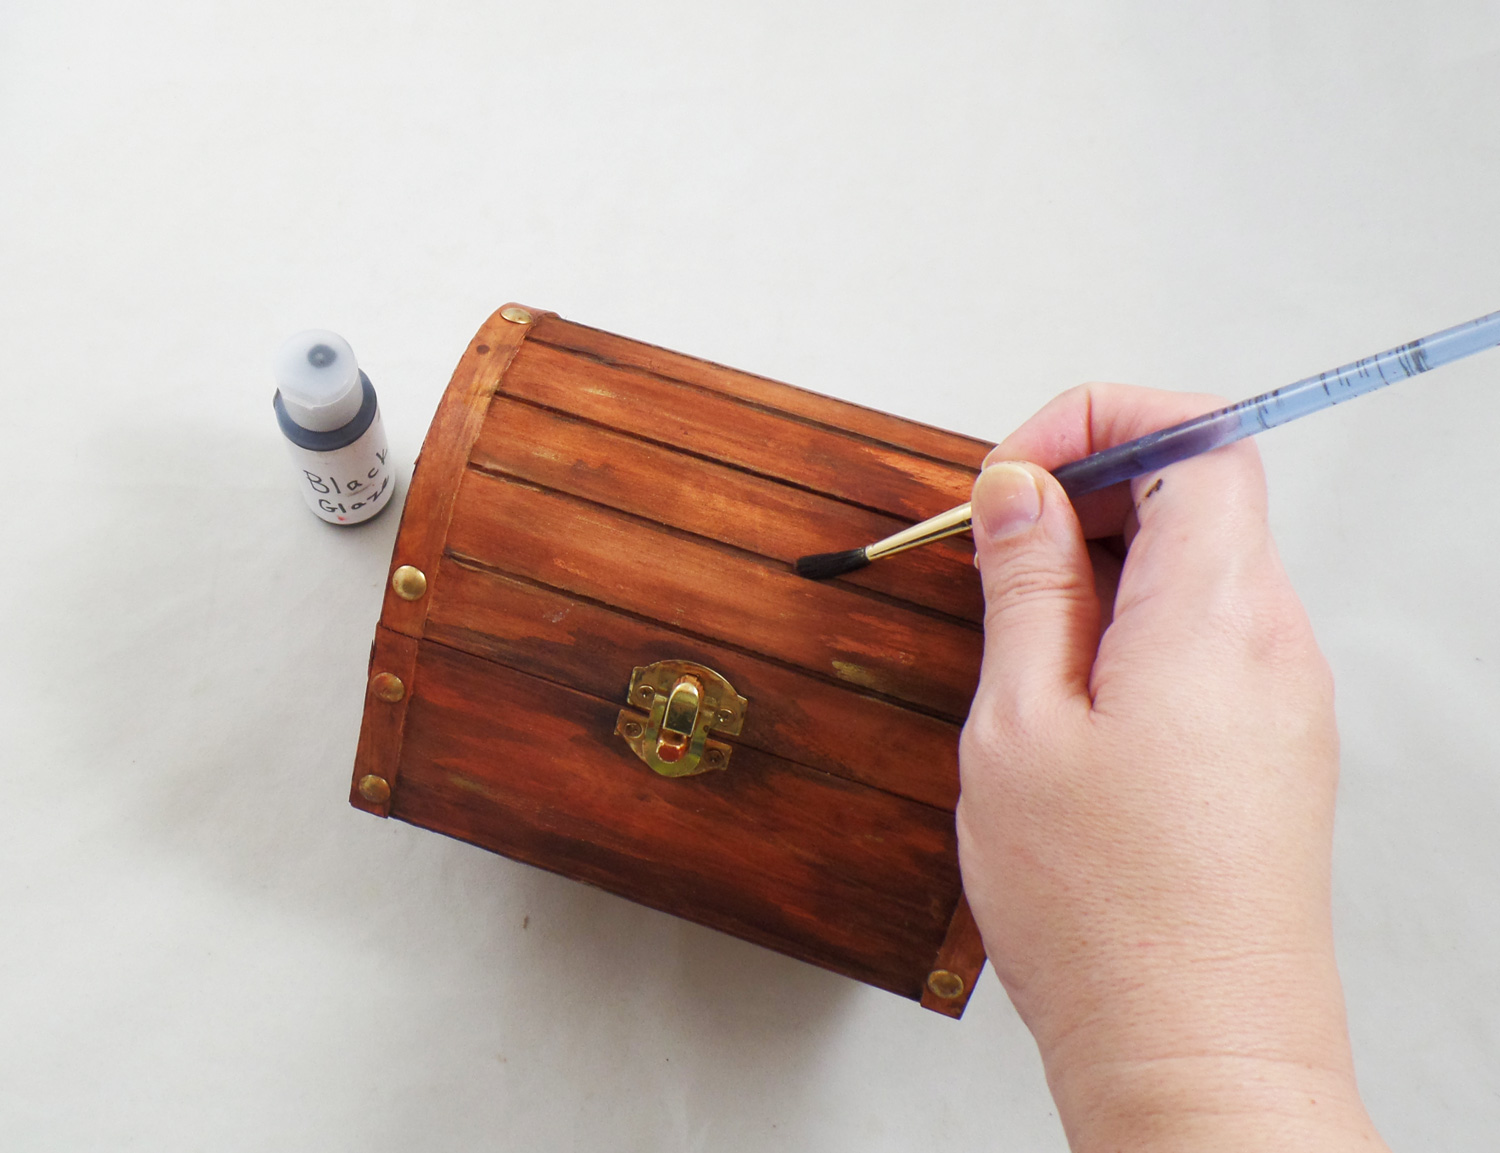
I started by painting the inside and outside of the unfinished wood box. I diluted the paint with water to create a color wash that would stain the wood but still leave the wood grain visible. First coat of diluted paints was the Terra Cotta, then the Burnt Umber and finally the Black in the nooks and crannies.
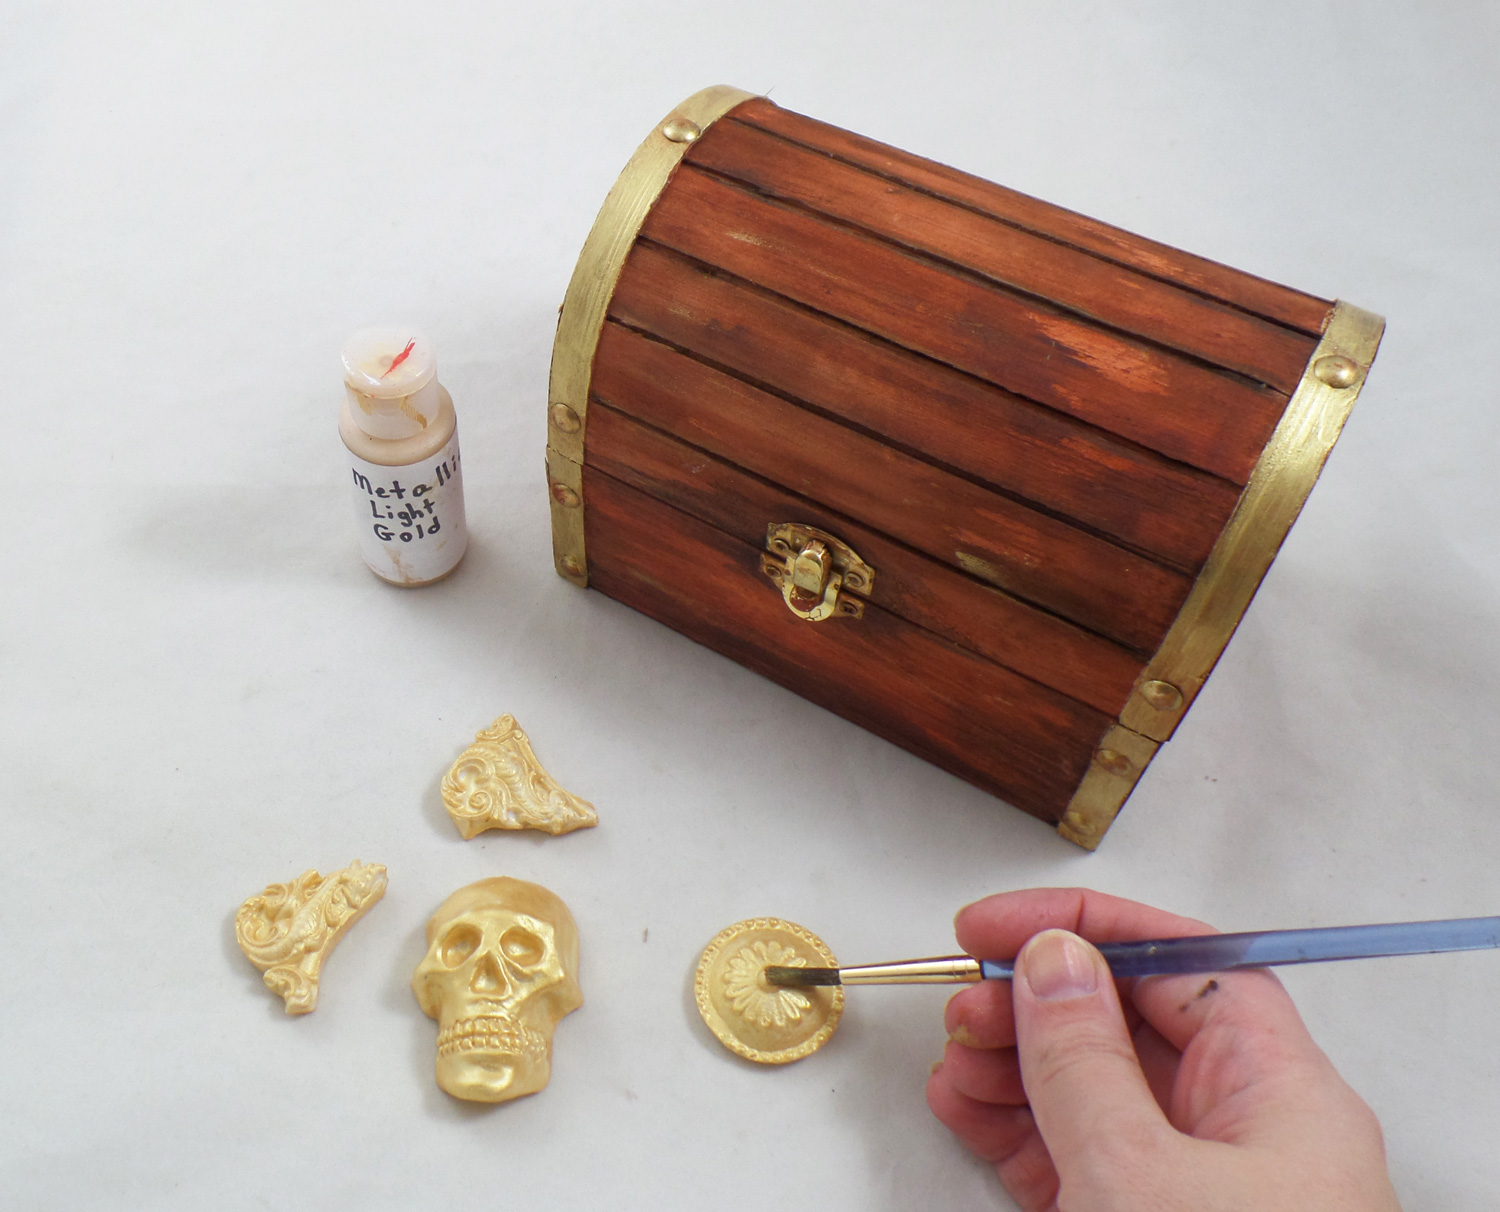
While I let the wooden box dry I removed the eye pins carefully with pliers that are put into Relics & Artifacts® pieces by the manufacturer, since I wasn’t going to make them into jewelry. I painted the pieces and the trim on the box with Metallic Light Gold paint. They needed two coats because most metallic paints need several coats for full coverage. The resin pieces were easy to paint and I didn’t have a single issues with the paint beading up or sliding off like with other resin blanks on the market!
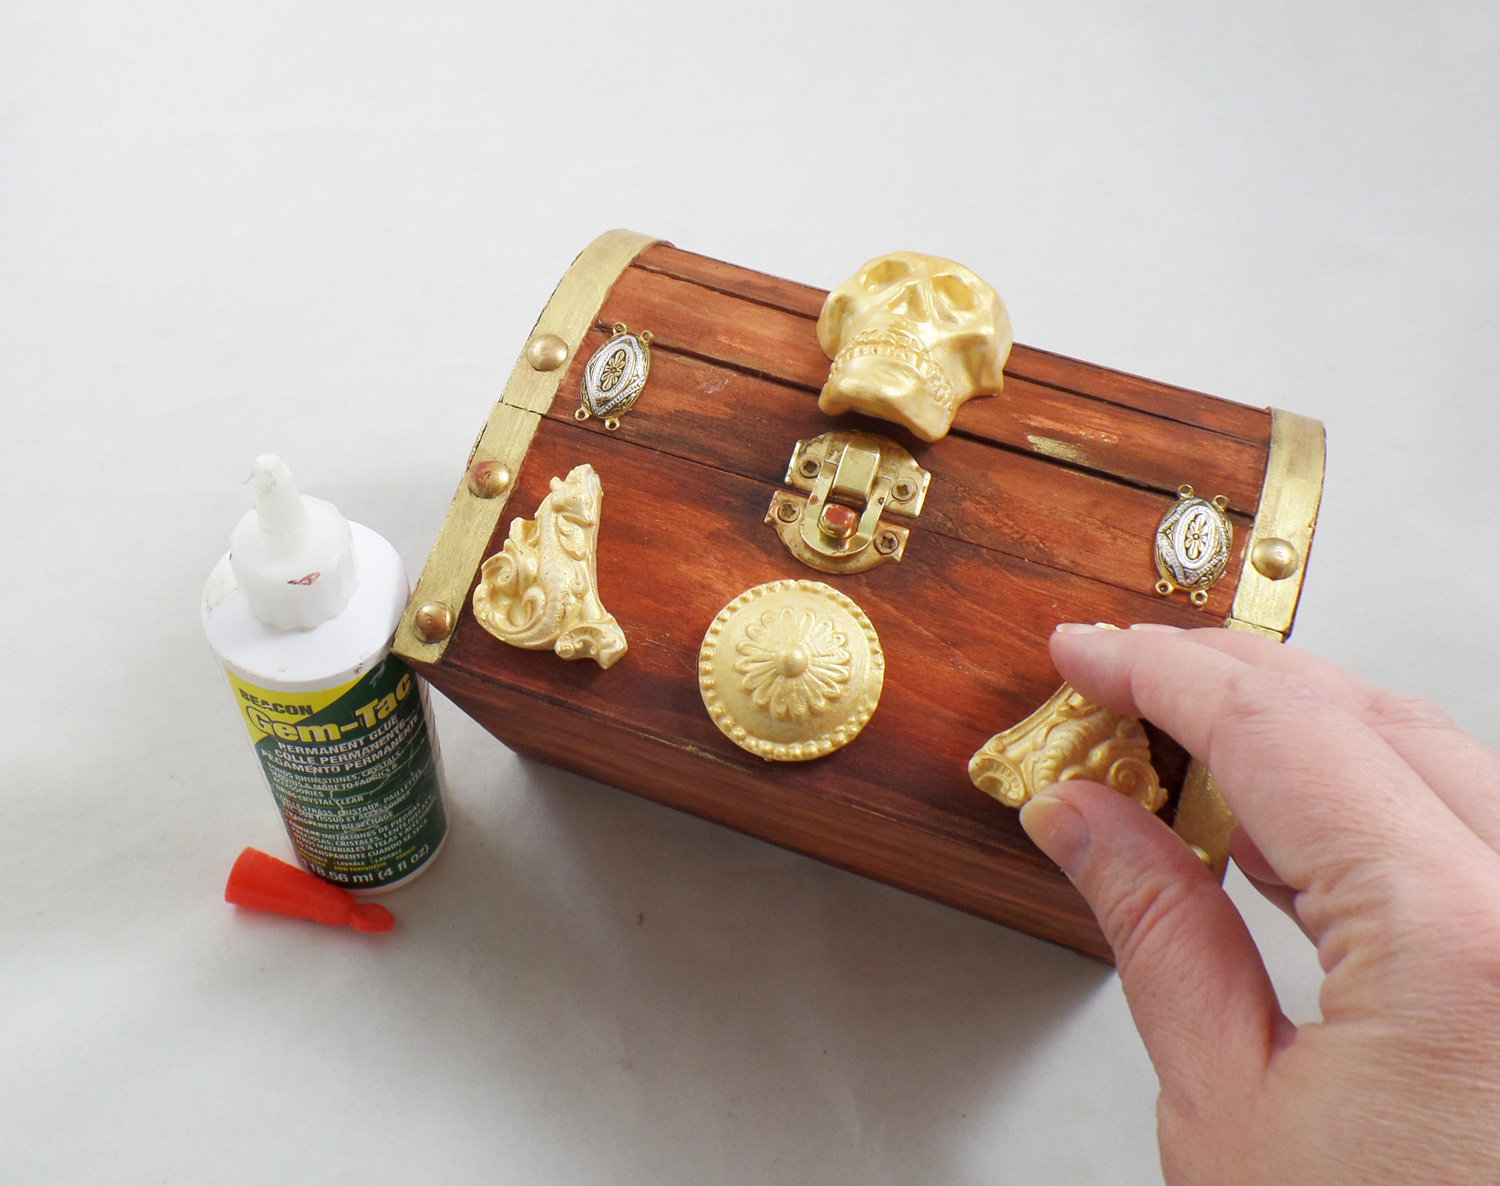
Once all the pieces were dry I applied them to the wood box with Beacon Gem-Tac Adhesive. A broken bracelet with beautiful metal spacers I took apart and glued the spacers to the box to give the illusion of metal brackets bolted to the box. Once the glue was dry I did another color wash of the Burnt Umber and Black acrylic paints all over the box and glued on embellishments to give them an aged appearance. I attached broken chain from an old necklace to the bracelet spacers, glued onto the box, with jumprings.
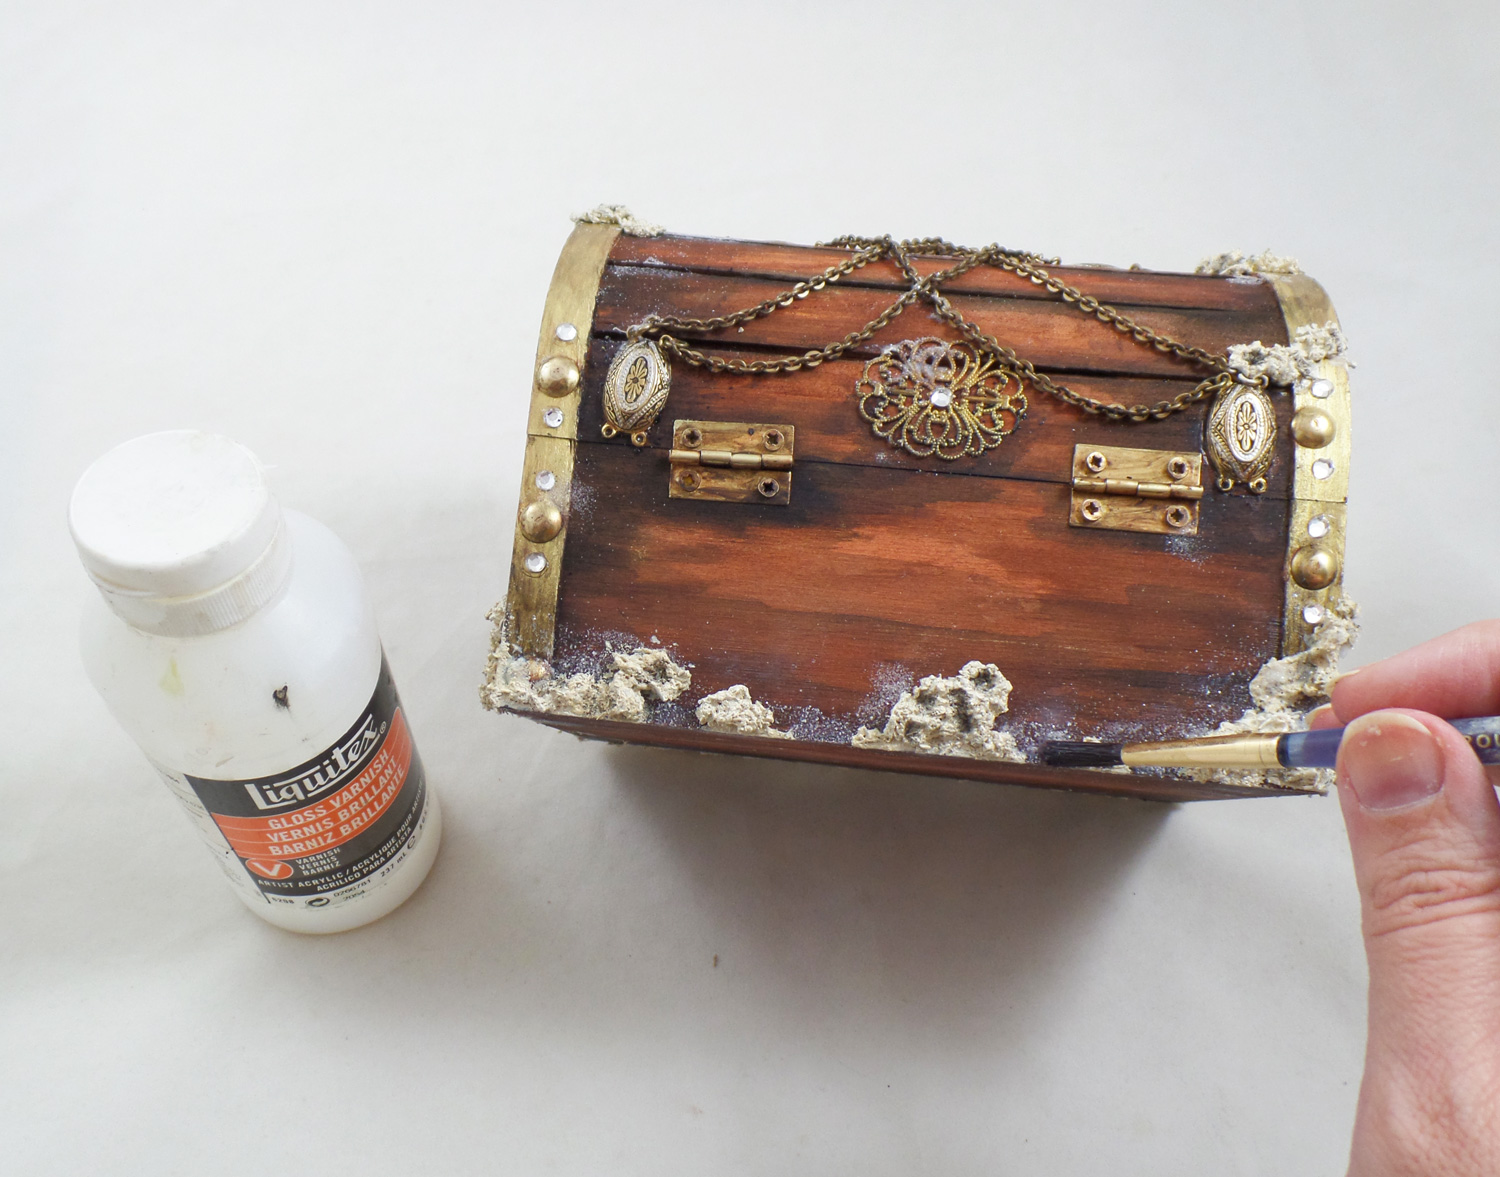
In a small cup I mixed up some White and Yellow Ocher acrylic paint with dried tea leaves and a little Beacon Gem-Tac Adhesive. I applied it around the bottom and sides of the box in small clumps to give the illusion that barnacles had started to grow around this long forgotten treasure. Once the faux barnacles were dry I did a Black acrylic paint wash to give them detail. I added some Liquitex Gloss Varnish over and around the edges of the barnacles and sprinkled on Stampendous Crystal Snow White Glitter. Once dry it looked like salt deposits from sea water.
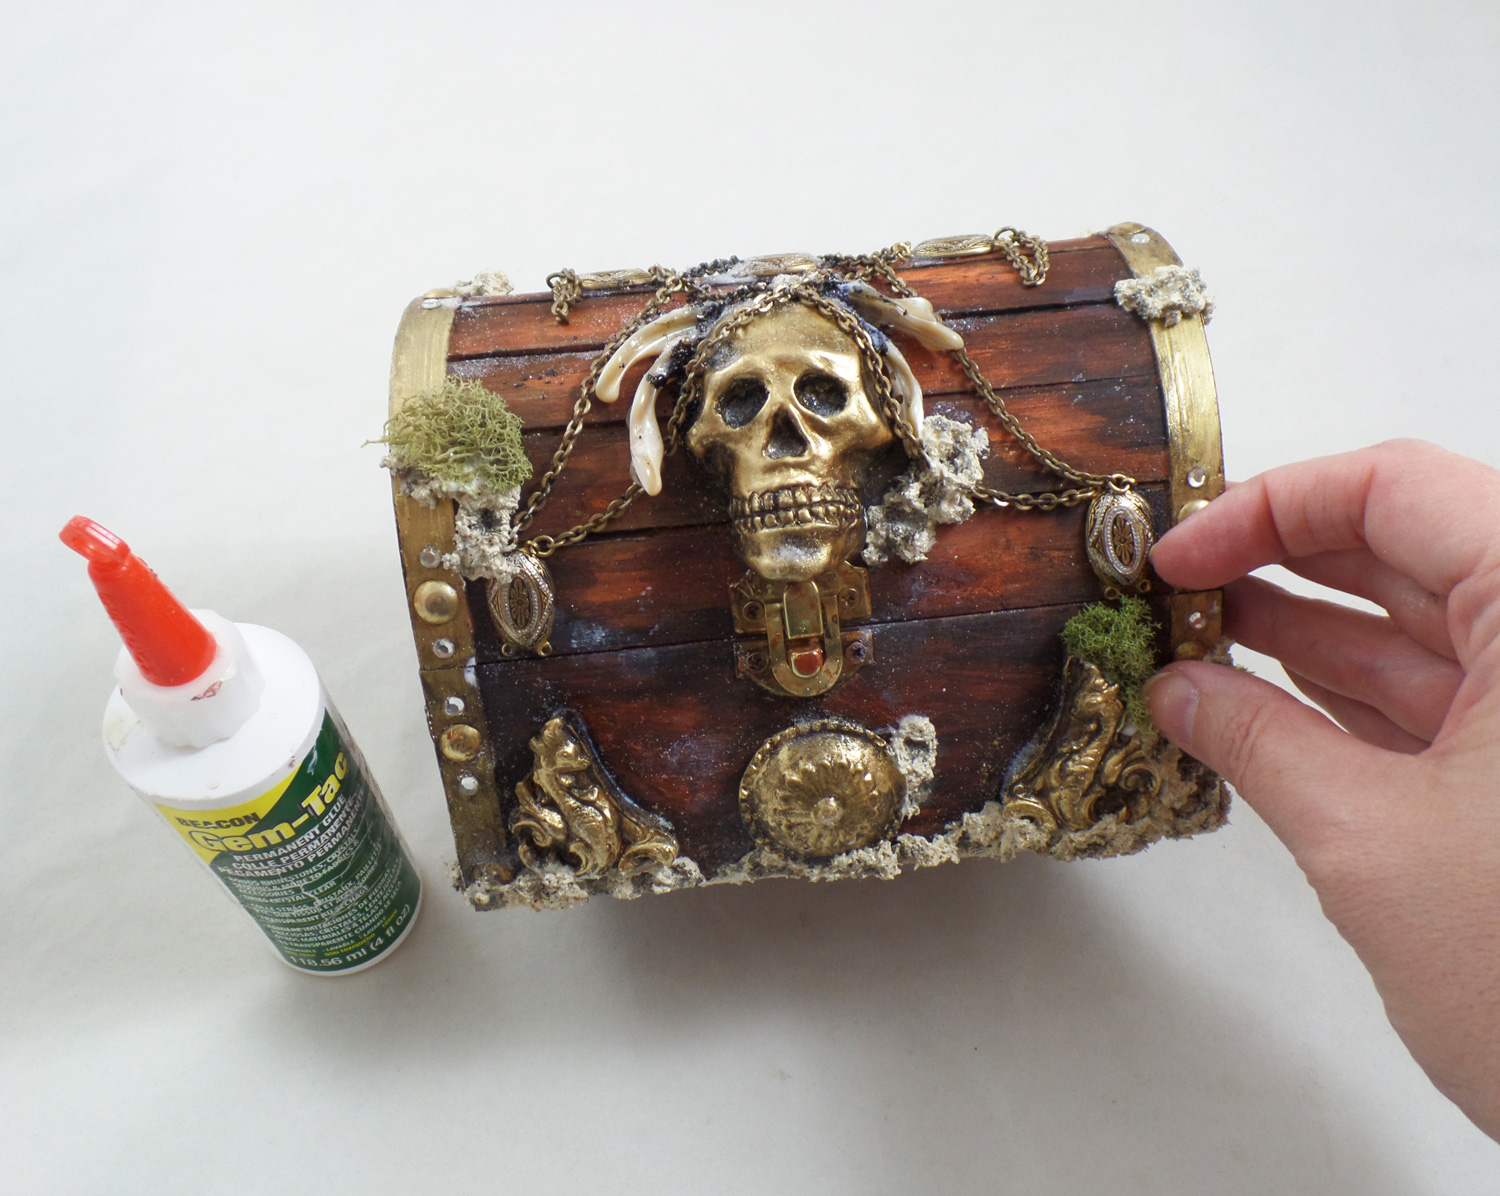
I randomly applied more spots of varnish and glitter to give a grungy, salty appearance to the treasure chest. I glued on tiny bits of moss on the box along the edges and embellishments.
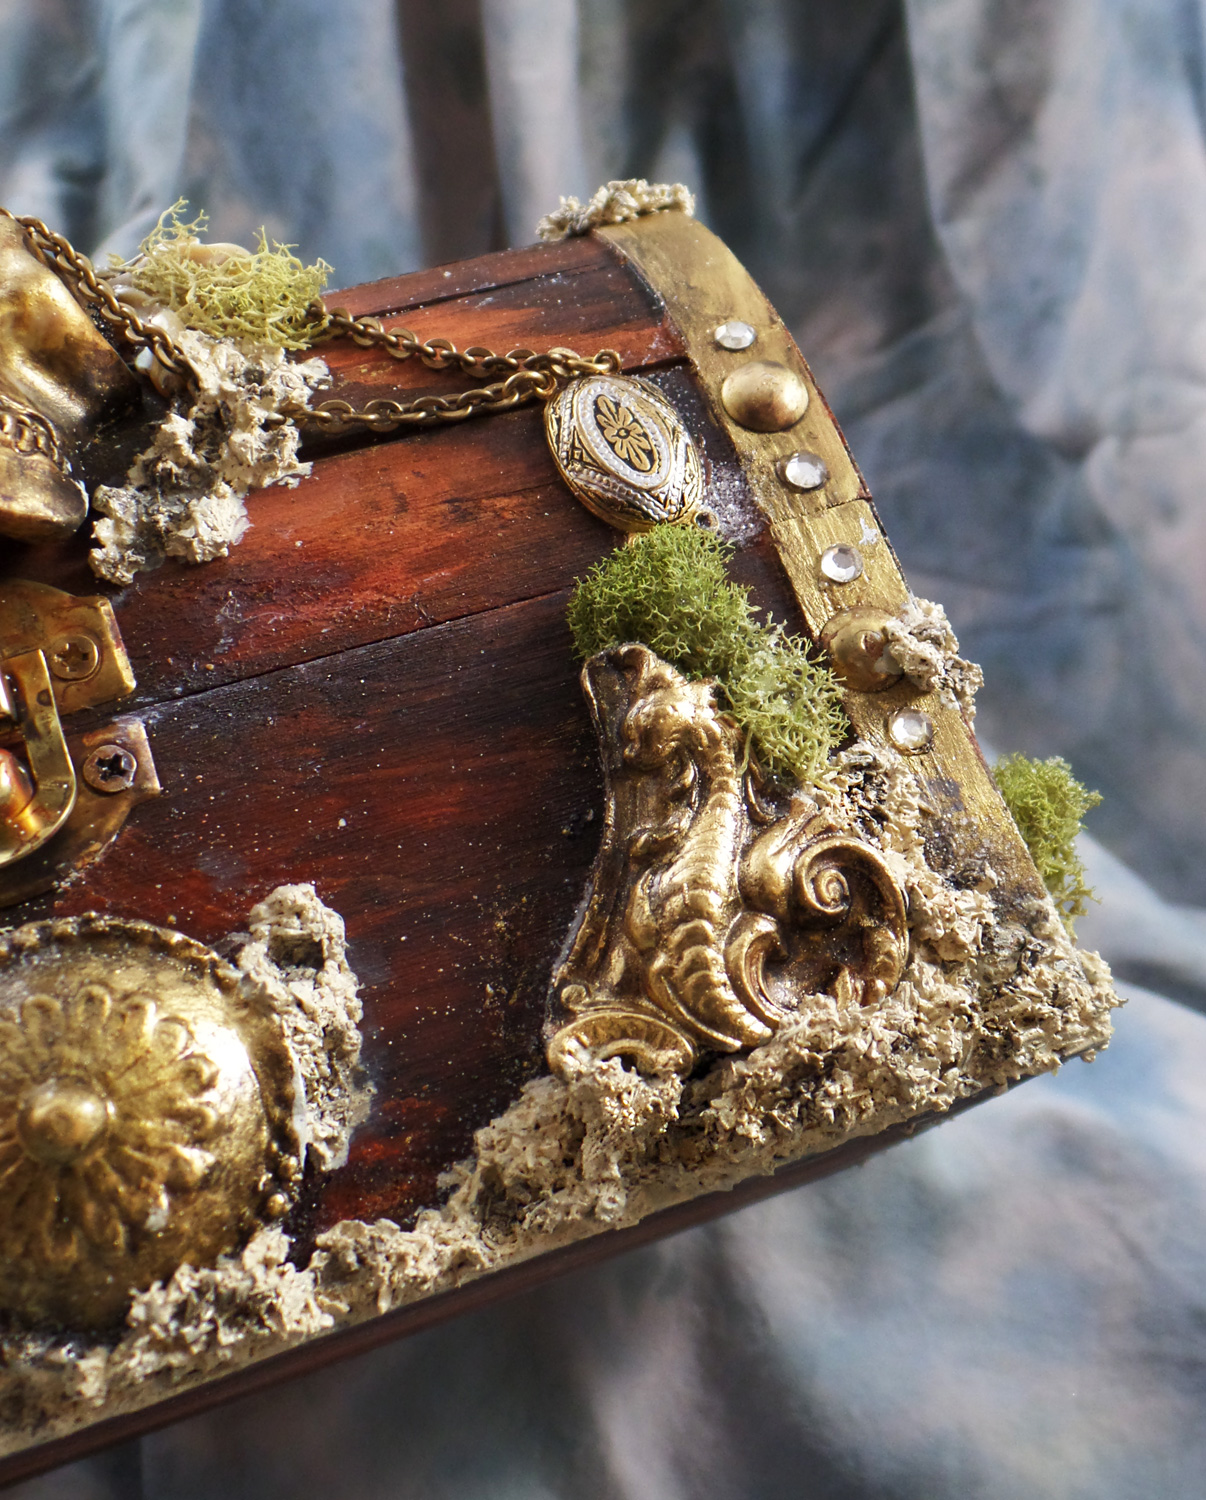
When applying the faux barnacle mixture to the box I was sure to press it against the resin pieces and edges of the box for a good bond. To make it look like the barnacles had grown haphazardly I pushed the back end of a paint brush here and there into the tea leaves and paint mixture.
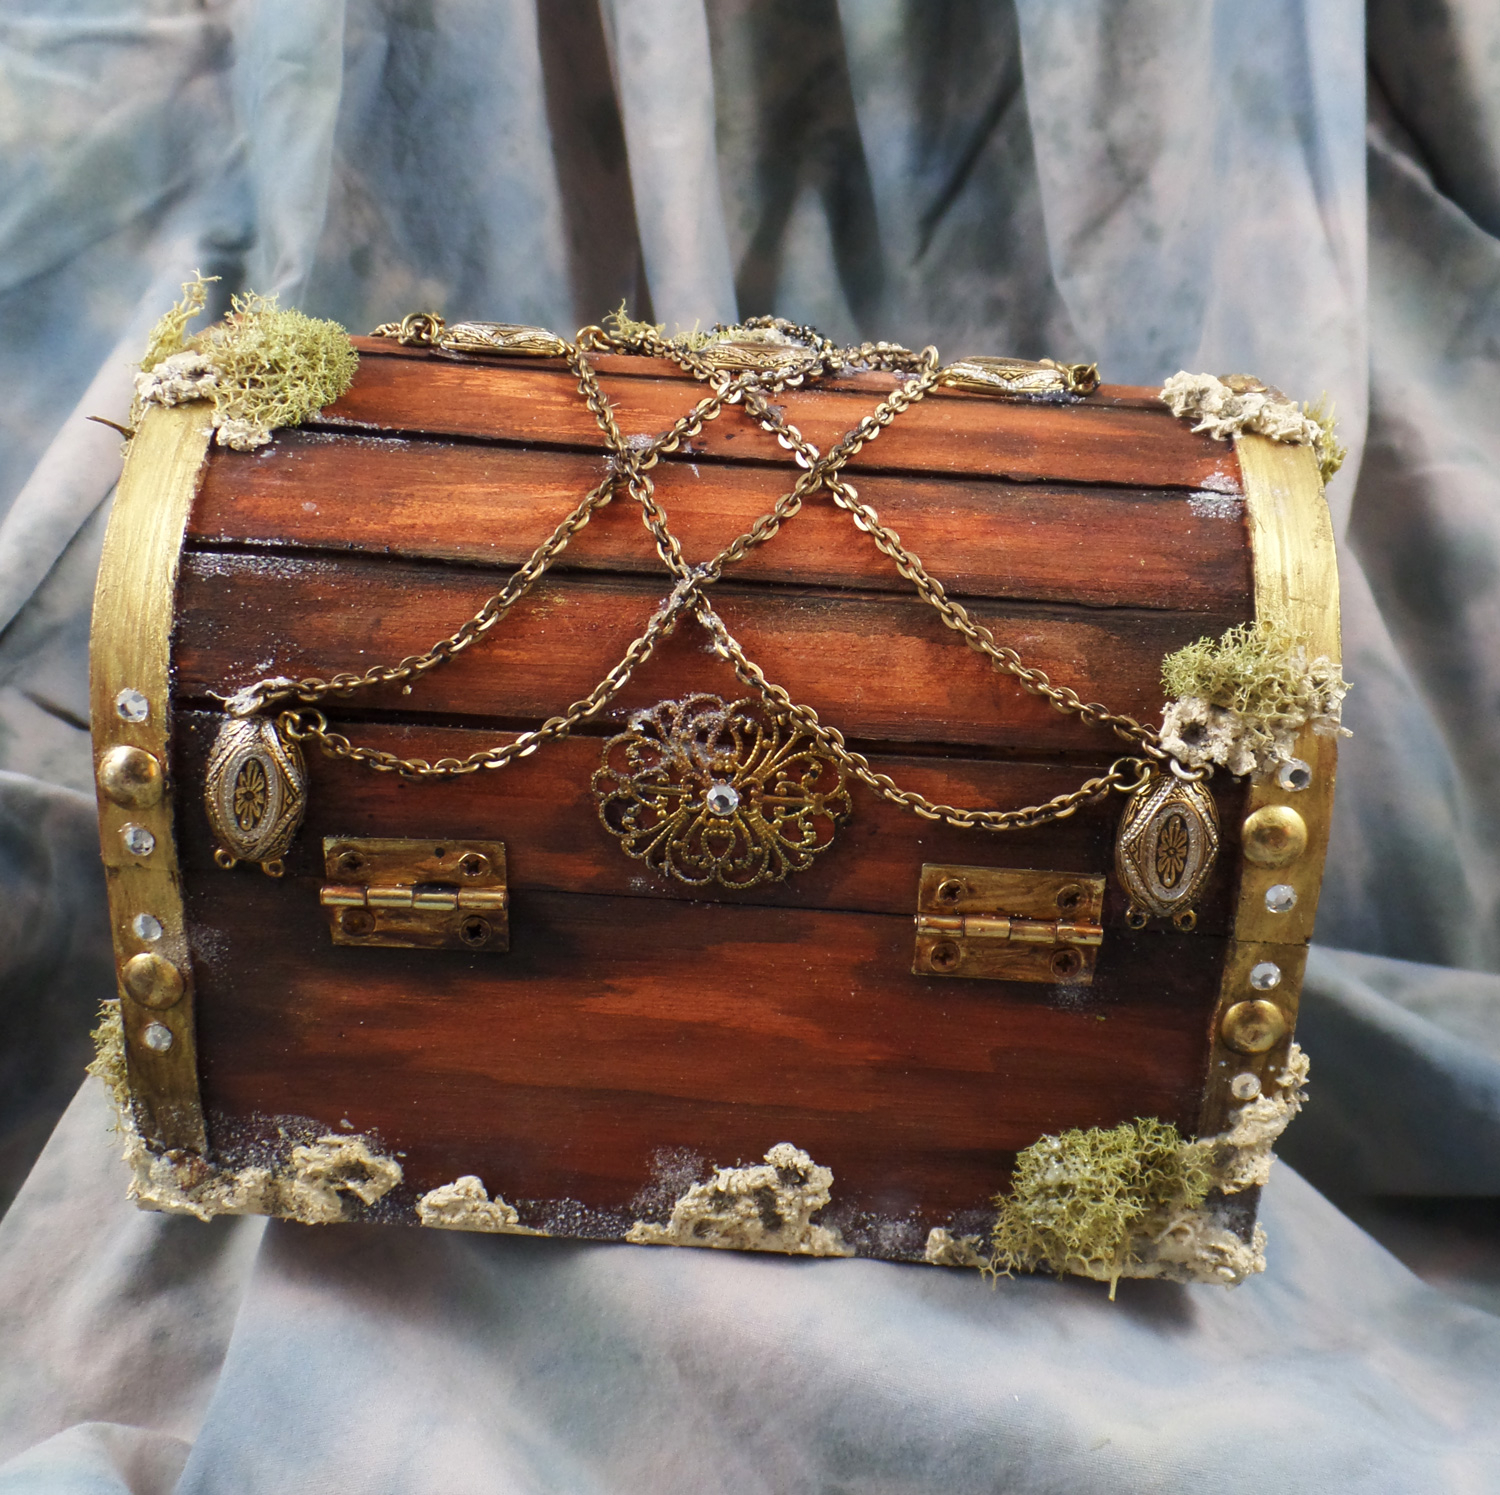
Not forgetting the back of the treasure chest, I had glued on more bracelet pieces, metal embellishments and tiny vintage glass rhinestones. With the chain linked into the bracelet spacers, draped back to front on the chest, my Pirate Treasure Chest was complete!
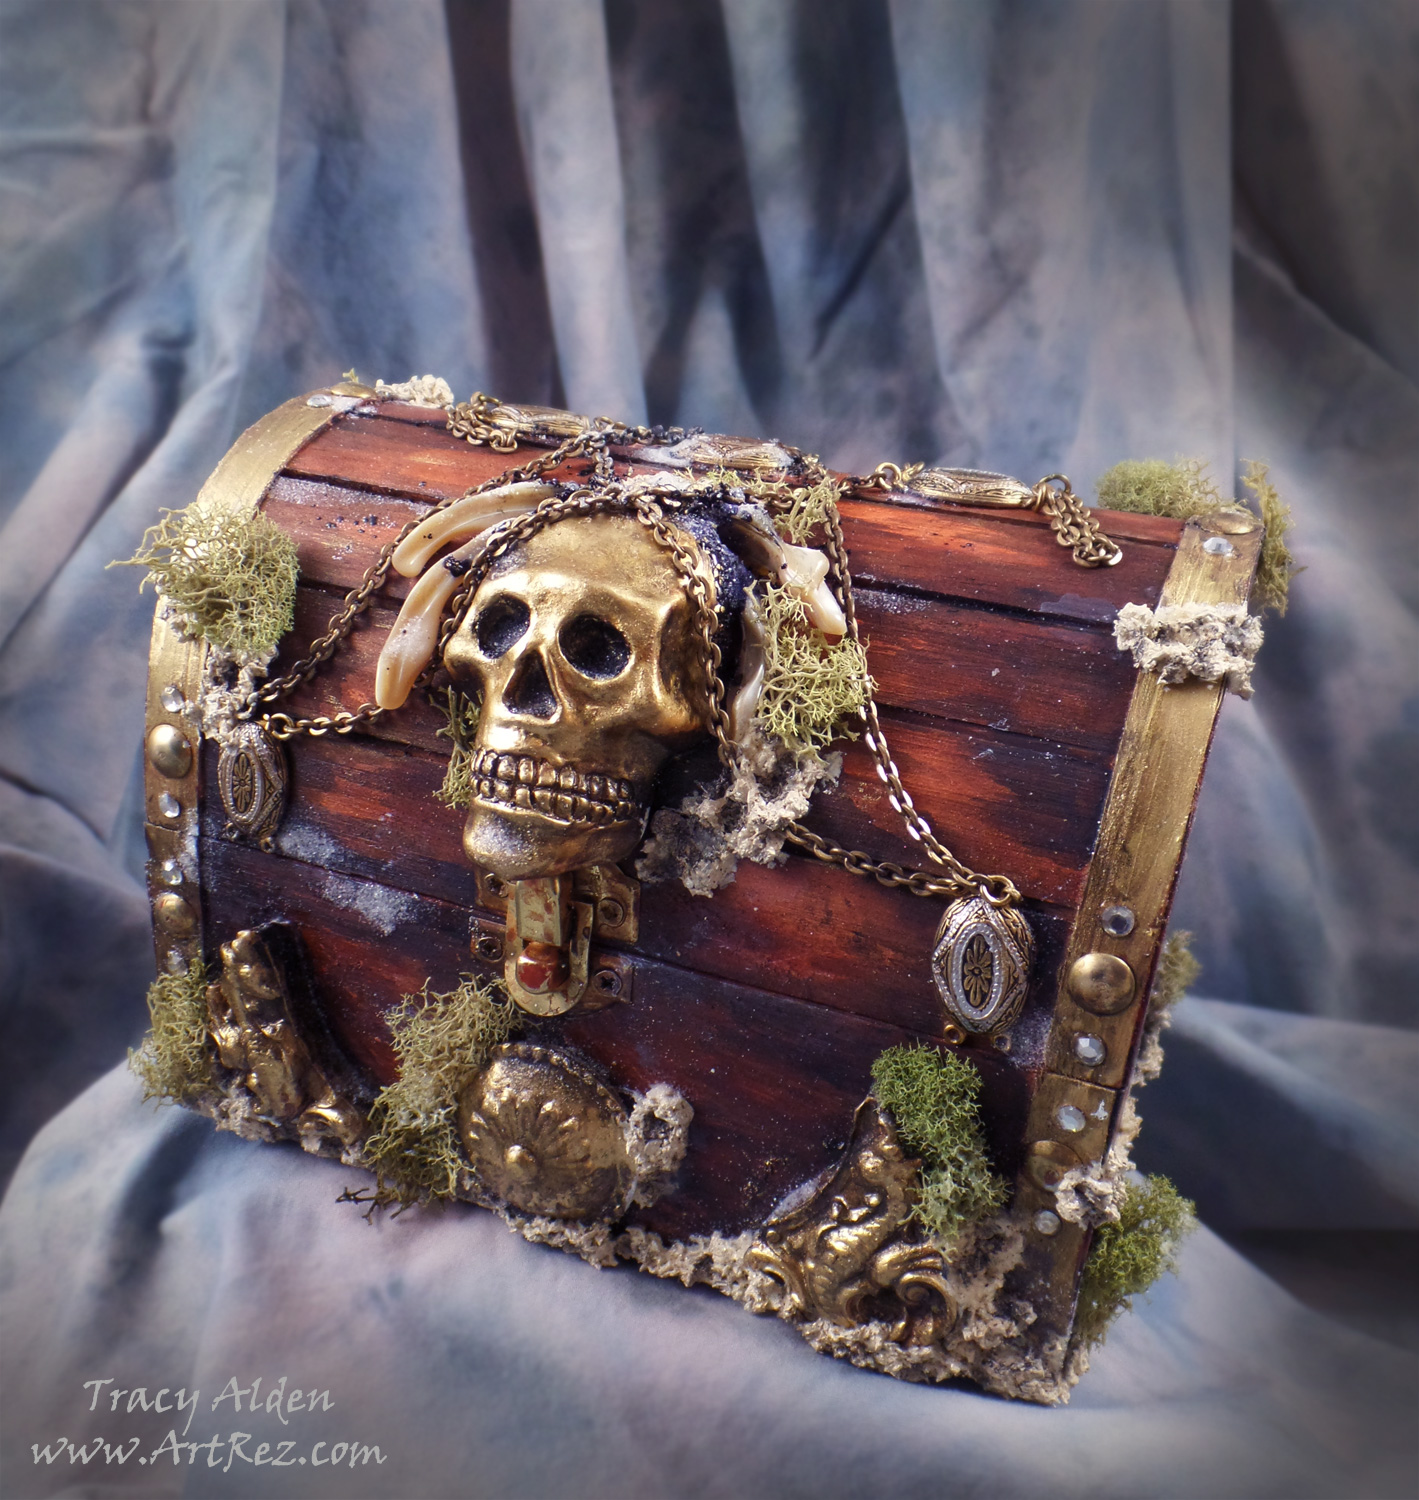
I really love how this piece came out and can’t wait to try out more of the Relics & Artifacts® line with future art projects.
What lovely mixed media treasures will you create?
Until Next Time, Safe Travels!
Crafty Recuperating Recap!
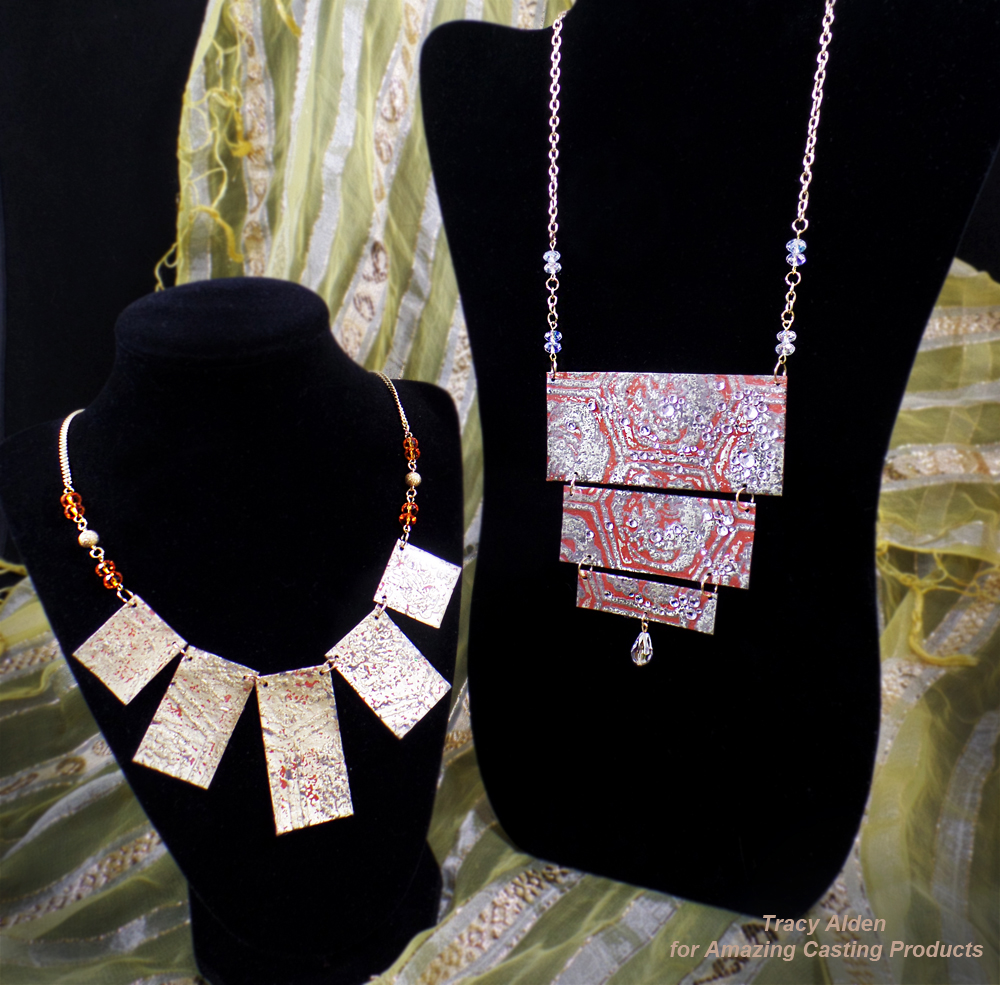
Hello! I am finally back after having to take a unwanted break thanks to getting the flu, then pneumonia which caused a partial lung collapse. Now that I am in better health it’s time to share all the projects I have been making for Amazing Casting Products while I have been recuperating and getting back on track with arts and crafting goodness!
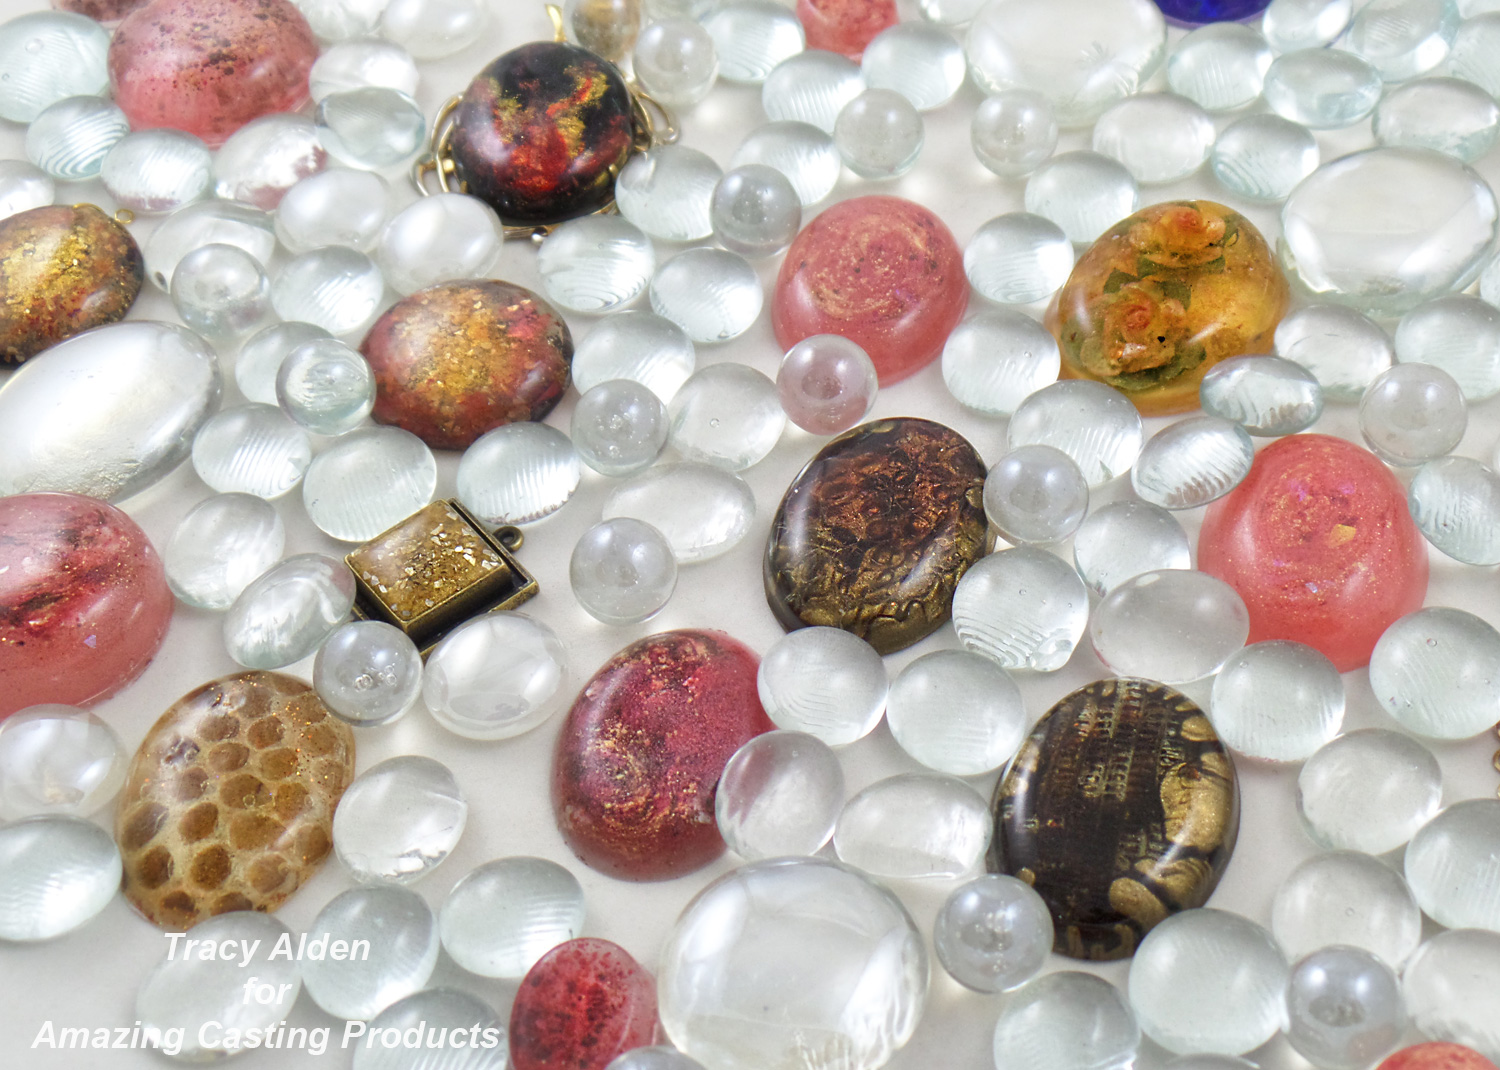
Starting with the photo above I tried my hand at Resin Paper Jewelry, using imported papers from India. They were simple to make, highlighted the beautifully textured paper and became rather sturdy with the coating of resin.
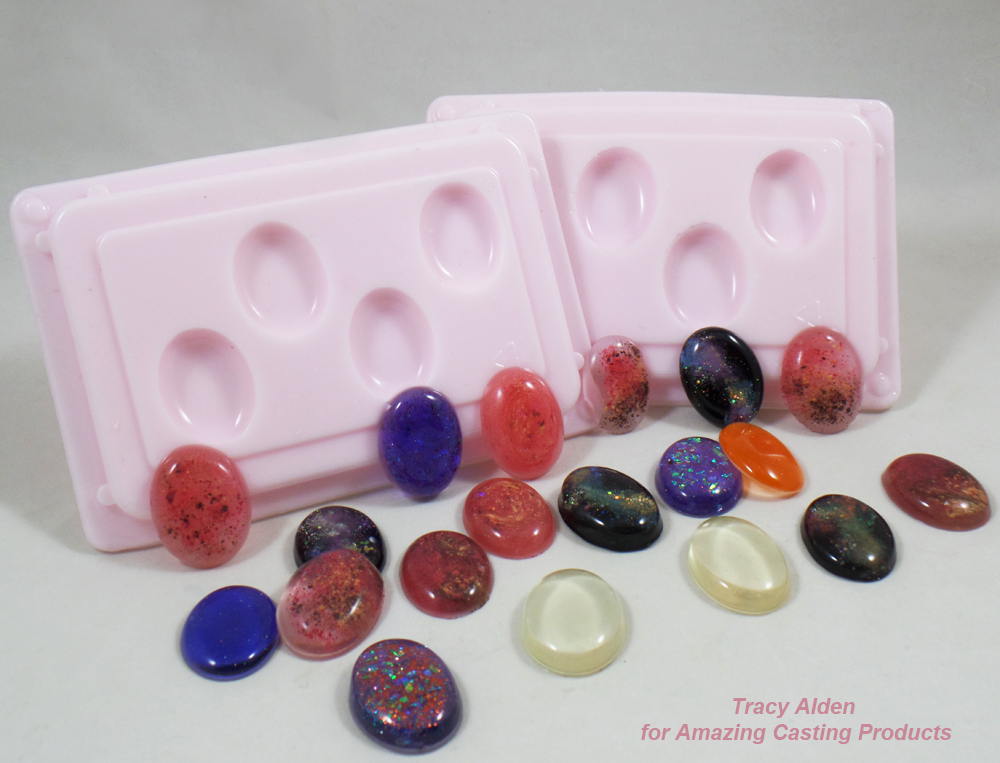
My next project was born out of necessity. I have a collection of polyurethane Cabochon molds my mother had bought and used 45+ years ago. I now use them regularly to create many of my cabochon pieces. However when the molds get old and used a lot they can slowly become brittle. Well, brittle molds don’t take too well to being flexed and I shattered two of my best cabochon molds. See how I created new Cabochon Molds!
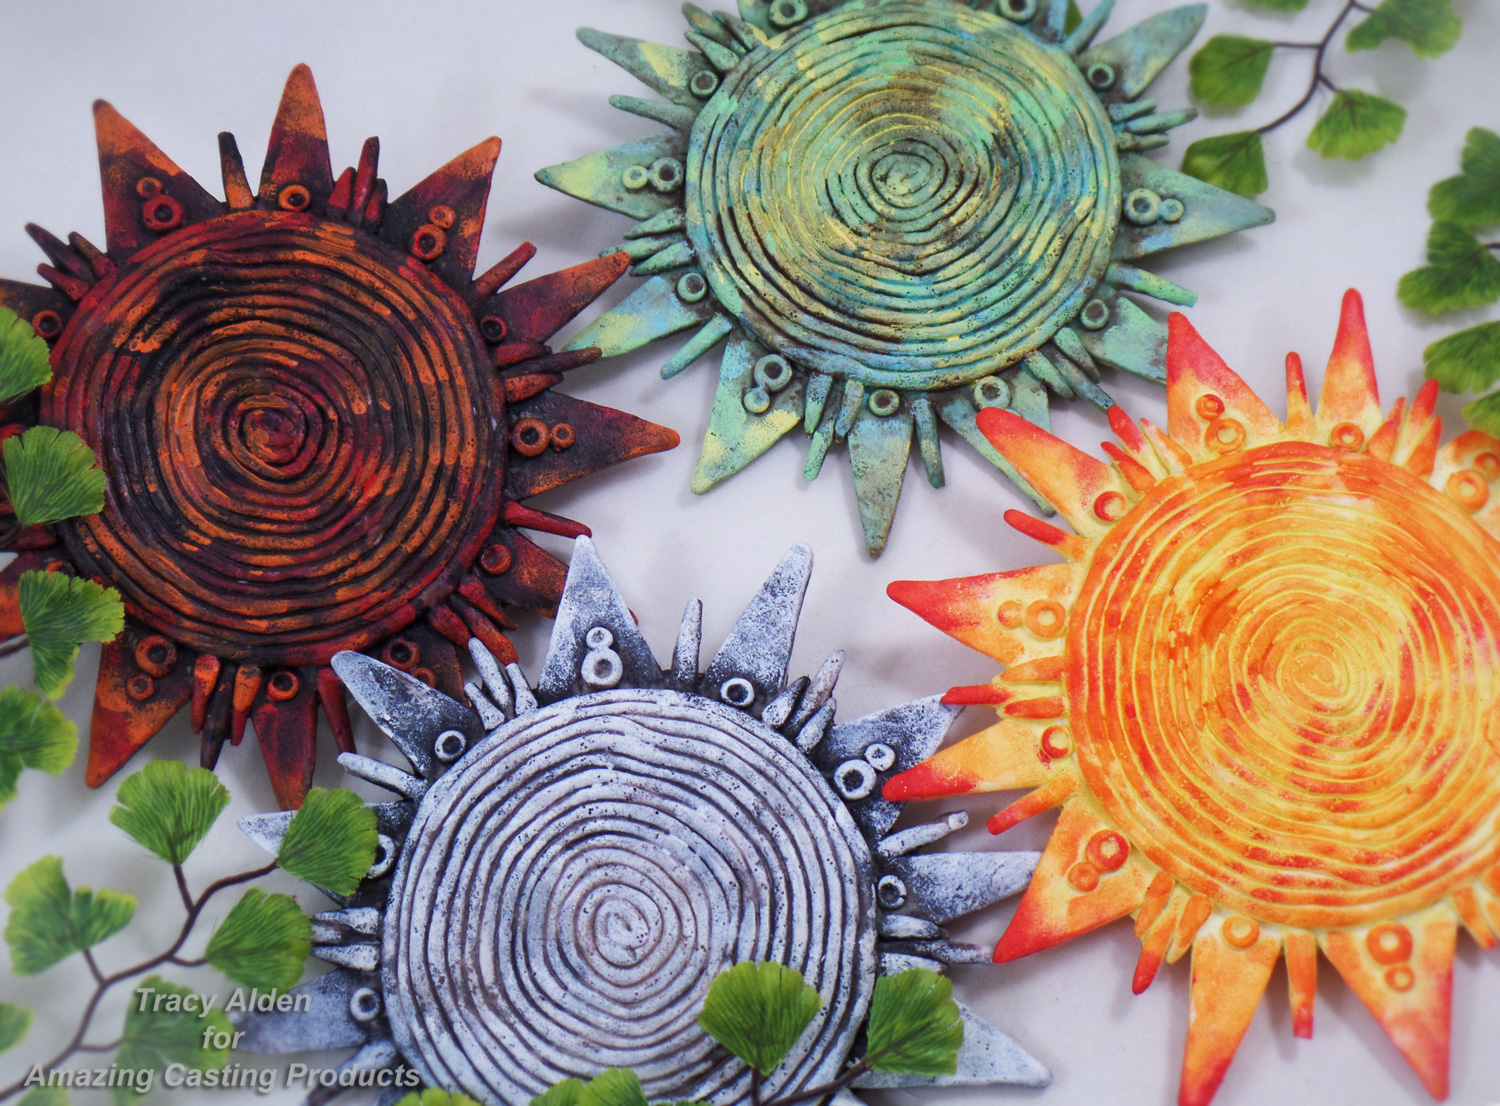
Since I have a fondness for Southwestern art and Celestial patterns, I wanted to try making my own Sun Disk Wall Plaques for my garden.
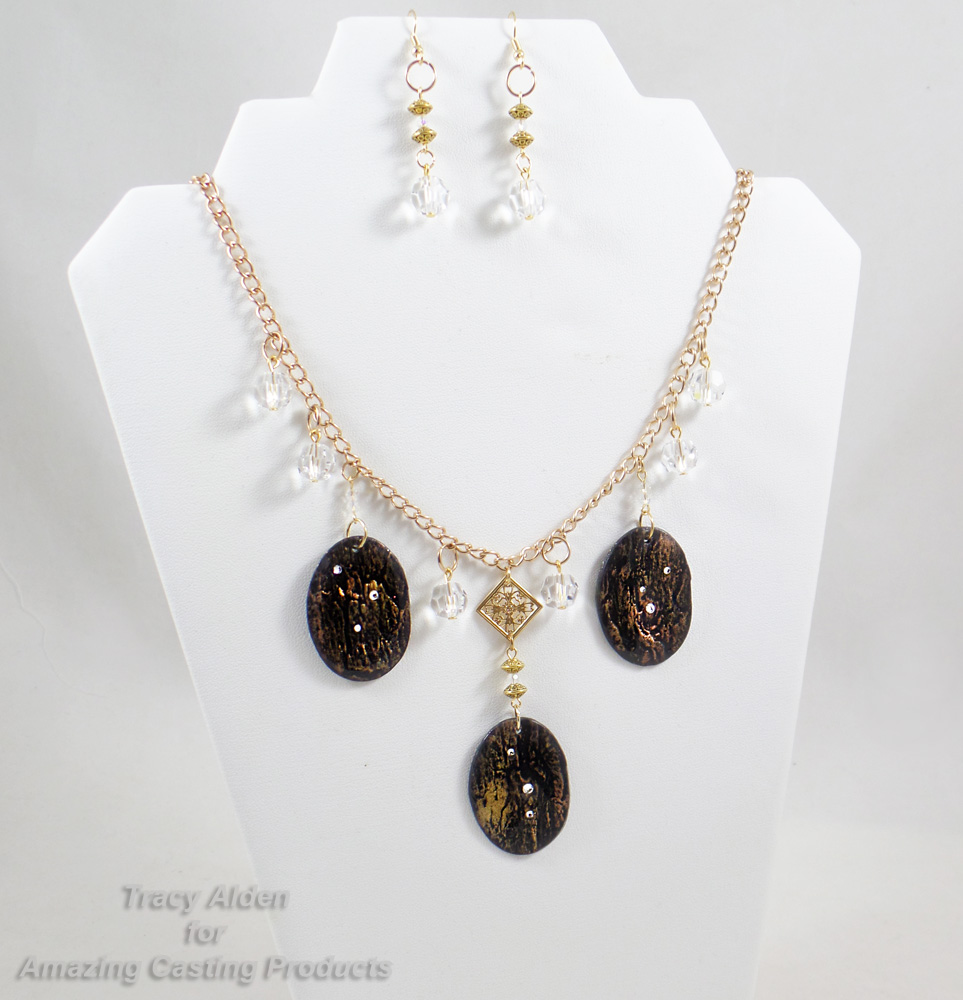
I had fun with a Tree Bark Texture Plate I made years ago but this time I created polymer clay pendants coated in resin and embellished with crystals in this Tree Bark Jewels Necklace.
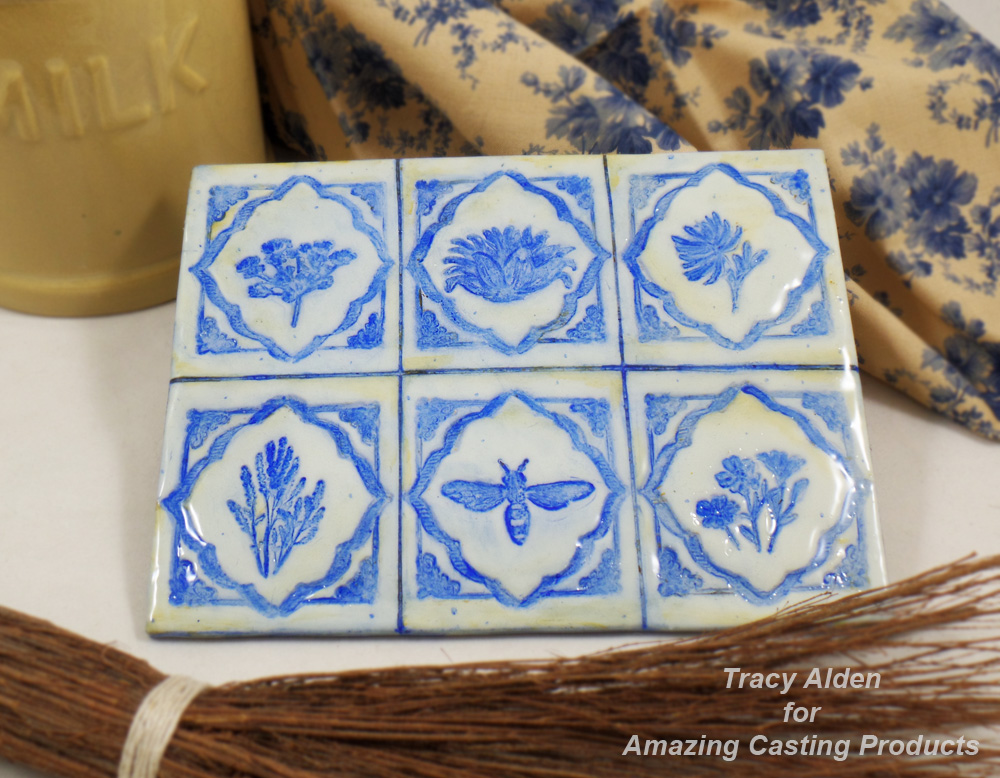
Seeing the new home decor trend of blue and white country tiles and pottery, I wondered if I could attempt my own version with everyday craft supplies and without the need of a kiln! My Faux Delft Tile Decor ended up being a fun and new way to use acrylic paint, polymer clay and resin.
I spend a lot of time working out ideas and testing out craft supplies to see what might be possible with future projects. Some don’t work out, some are happy accidents and others a success. Here is a few of my Resin Tips and Tricks.
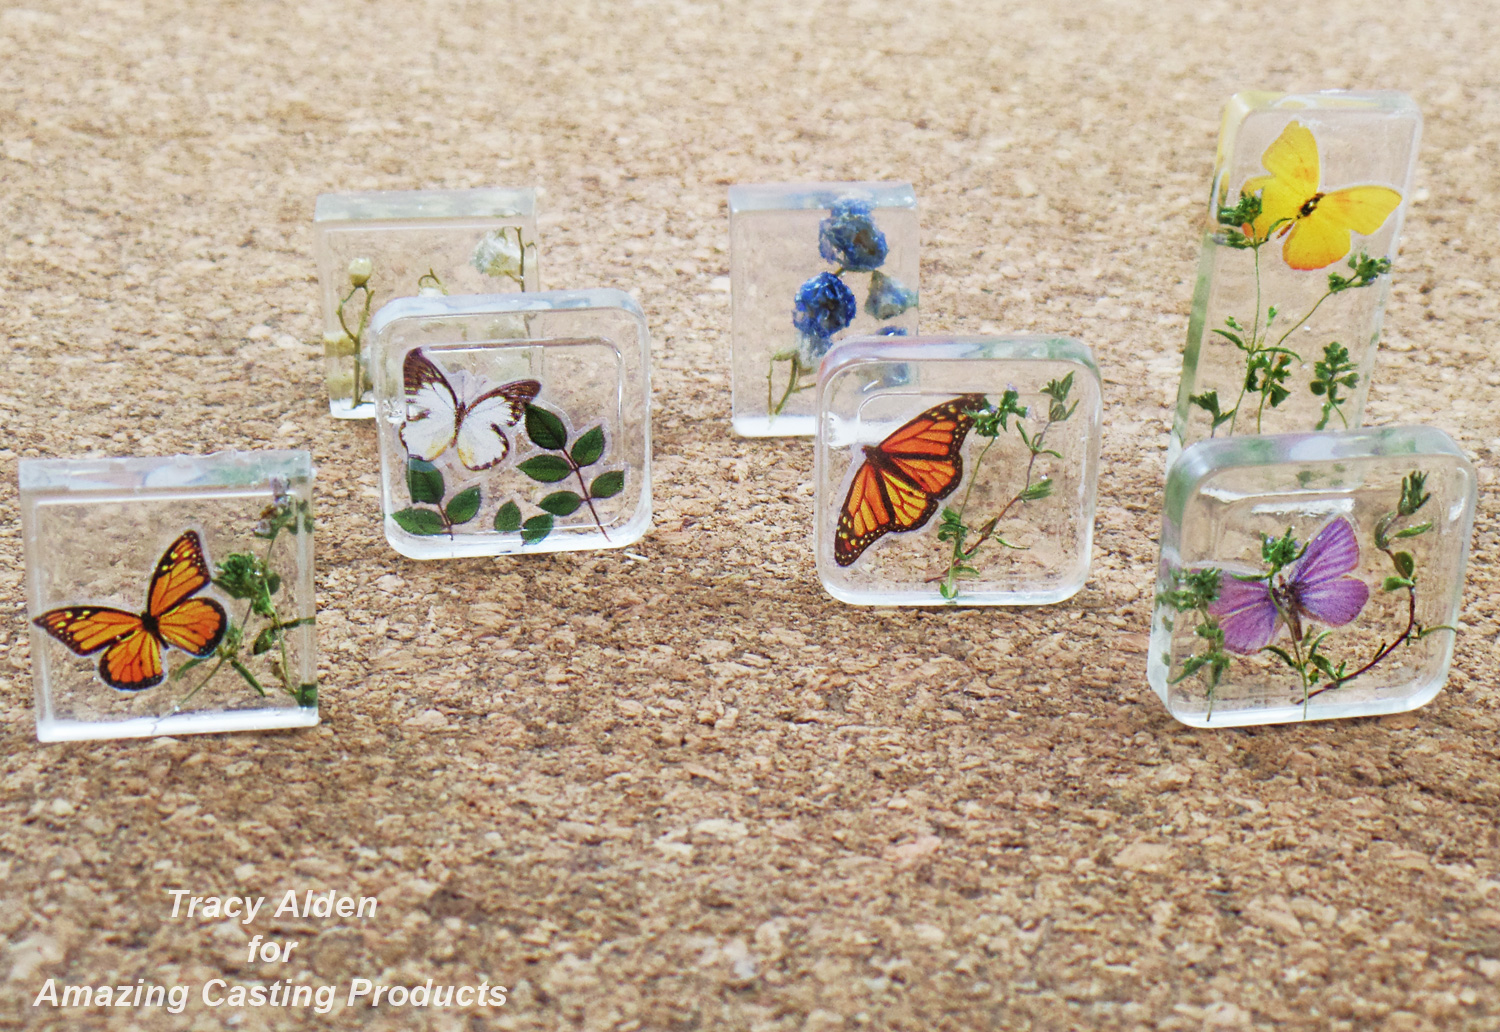
In the process of sorting my beads recently I noticed the hard plastic containers many small beads come in have perfectly smooth and glossy lids. I was able to make new resin pendant molds and create a selection of Springtime Pendants with dried plants, stickers and resin!
I hope these projects keep you inspired and Until Next Time, Safe Travels!
Craft & Hobby Association Mega Show 2016 part 1
Time for my Craft & Hobby Association Mega Show 2016 recap, part 1! CHA, otherwise know as the Craft and Hobby Association, has a Mega Trade Show once a year, full of arts and crafts manufacturers, new products, tech, demos, classes, designer showcases, new trends and networking galore.
In this part of the recap I will be focusing on the Amazing Casting Products/Alumilite Corp booth at CHA. The Amazing Casting Products Design Team, of which I am proud member of, was asked to submit some of our best projects to be showcased at their booth and to do demos. I took loads of photos of the booth so lets take a tour of the booth, see the artwork and meet the artists showcased!
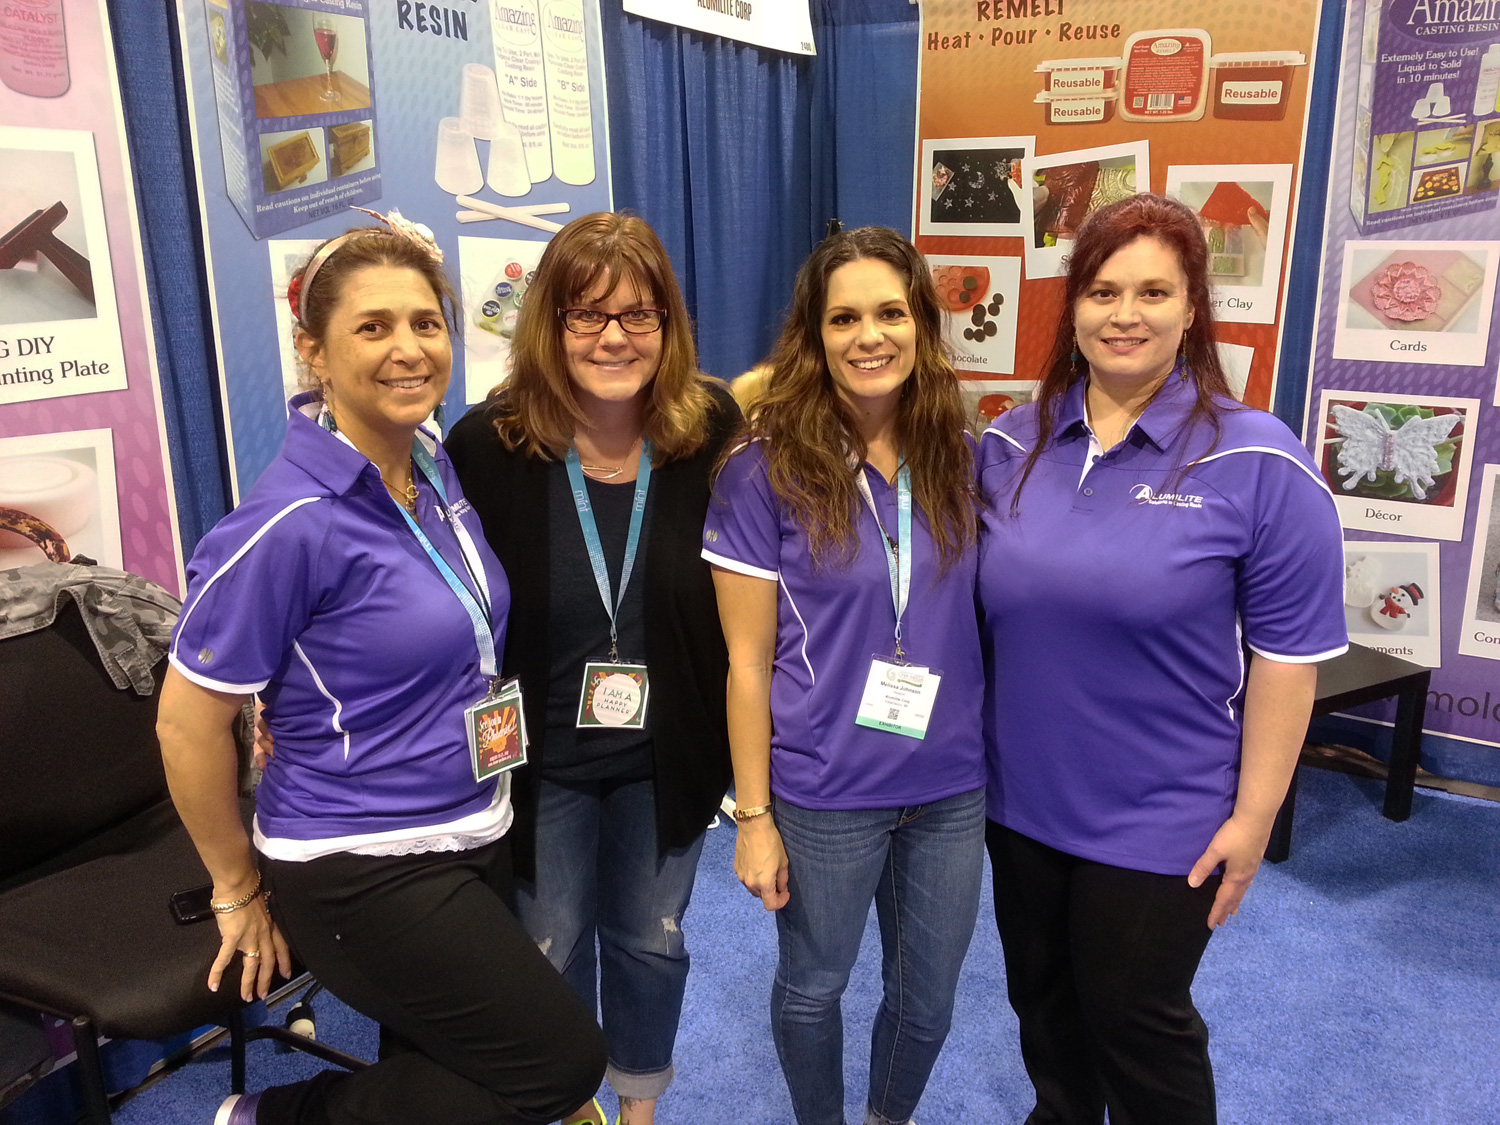
First day of artists doing demos at the booth, Design Team Leader Susan M. Brown, Tina Walker, Melissa Johnson and I. It was so wonderful to see Susan again and finally meet Tina and Melissa in person!
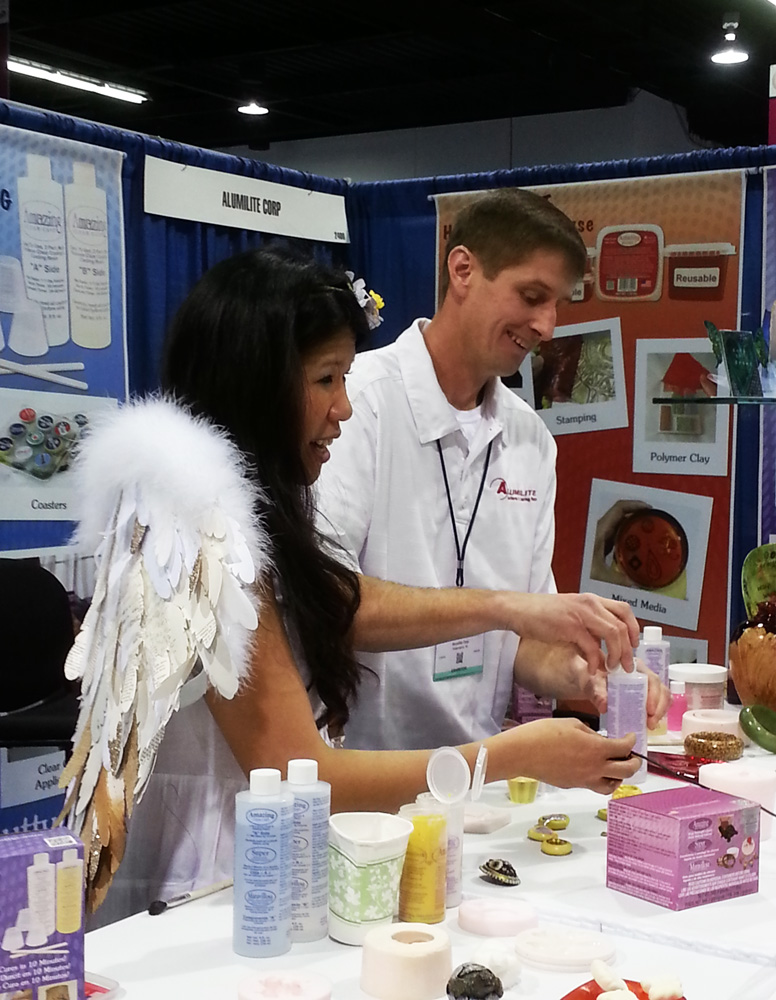
Elena Lai Etcheverry of Charity Wings stopped by the booth to talk to President of Alumilite, Mike Faupel, about all of the crafty applications and products of the amazing Casting Products line!
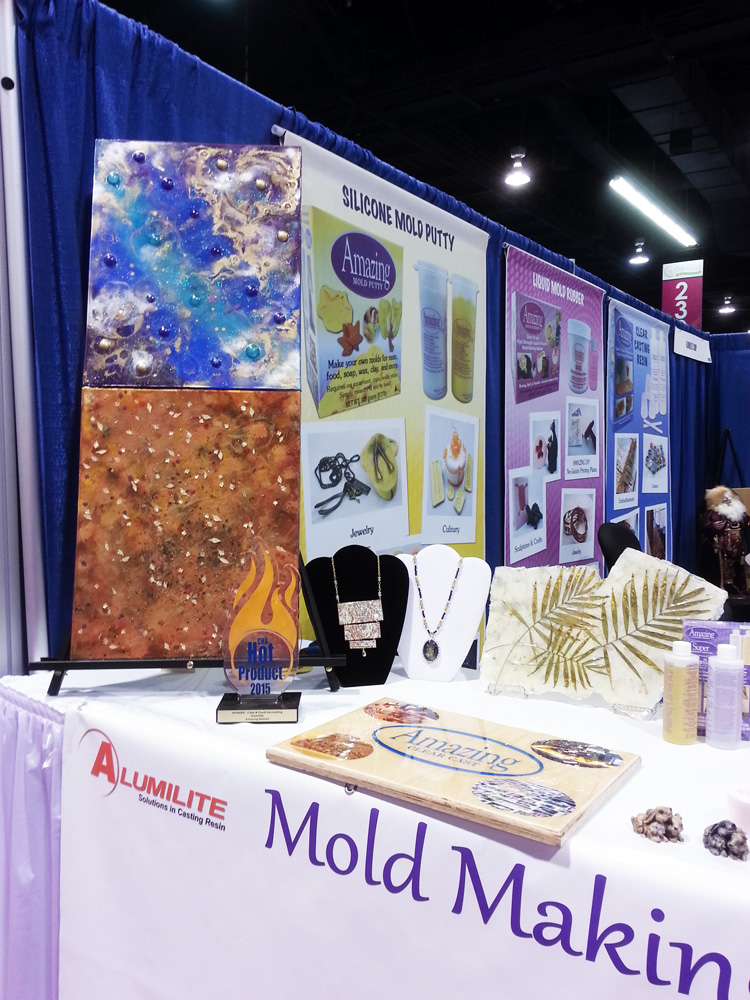
This year I decided to create some booth samples showing not just traditional uses for resin but how Amazing Clear Cast can be applied to paper, canvas and dried plant life.
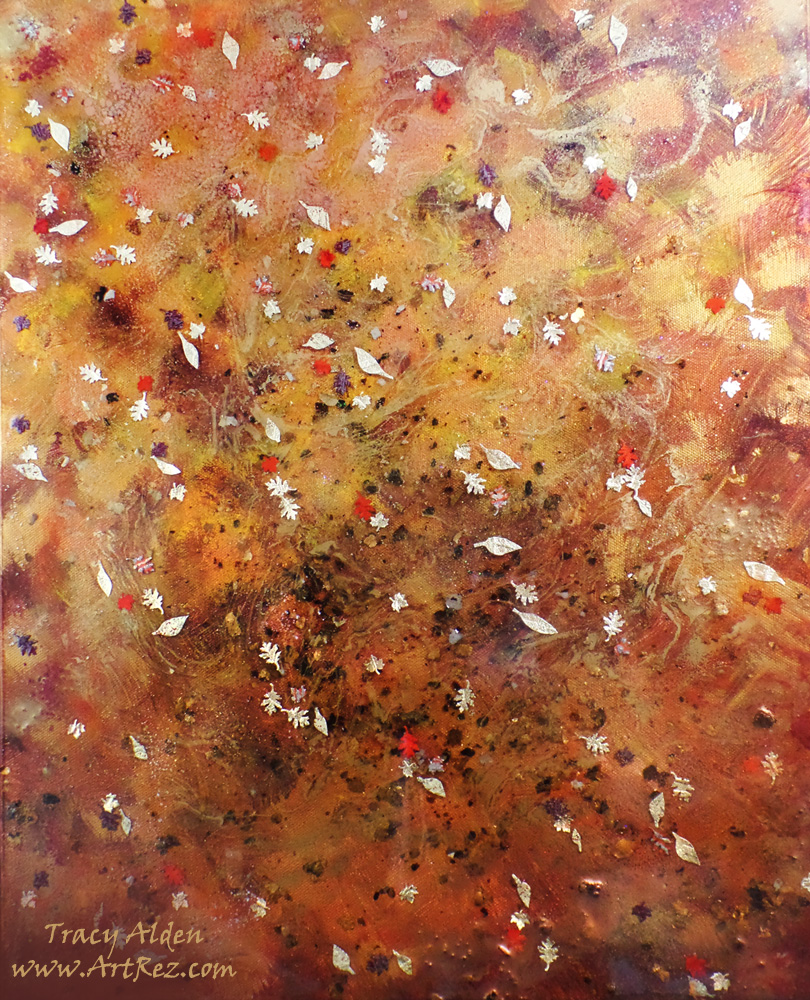
Here is a close up of my 16X20 Autumn canvas, I wanted to show how simple papercrafting supplies could create a lovely home decor piece. The base layer is canvas painted with acrylic paint, with a thin layer of Amazing Clear Cast, some glitter and tiny gold beads. To the second layer of resin I added Alumidust powders, more glitter, mica flakes and tiny paper leaves. The third and final layer had a base of glitter and top layer of resin to seal all of the embellishments in.
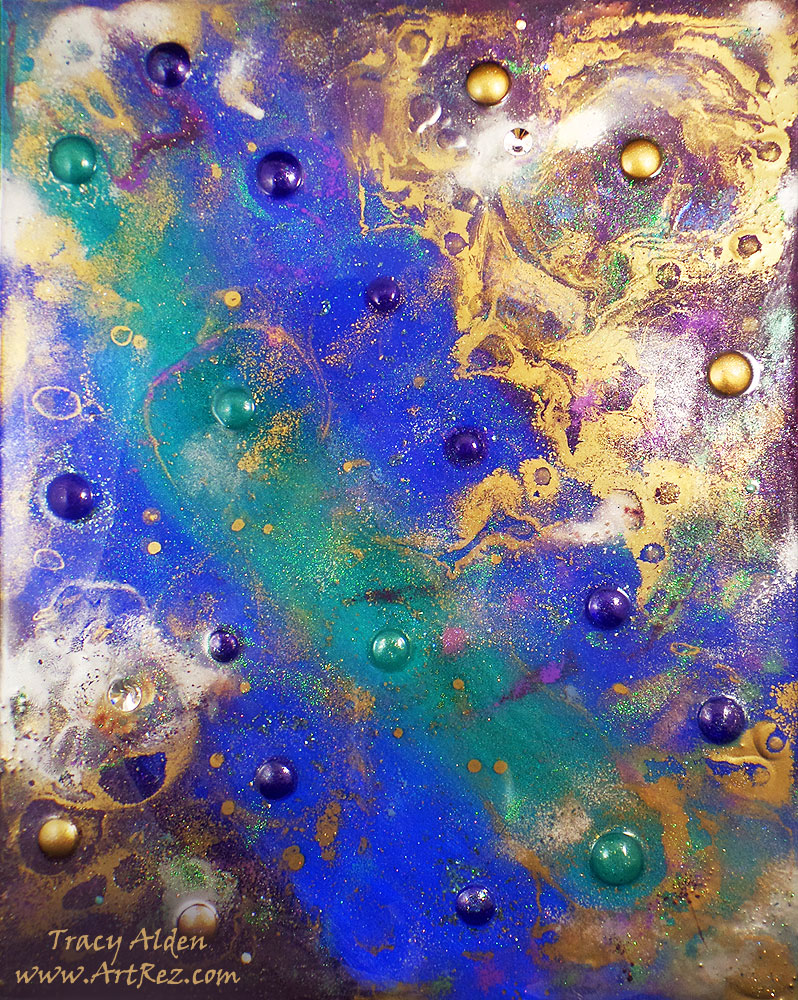
Here is my 16X20 Abstract canvas, which reminds me of a Nebula. I started by casting some cabochons in Amazing Casting Resin and Amazing Clear Cast tinted with Alumilite’s Dyes and metallic powders. I painted the canvas with acrylic paint and poured a layer of clear resin, placing the cabochons on the canvas, along with different glitters and small beads. The next two layers were applied in a manner similar to the Autumn canvas.
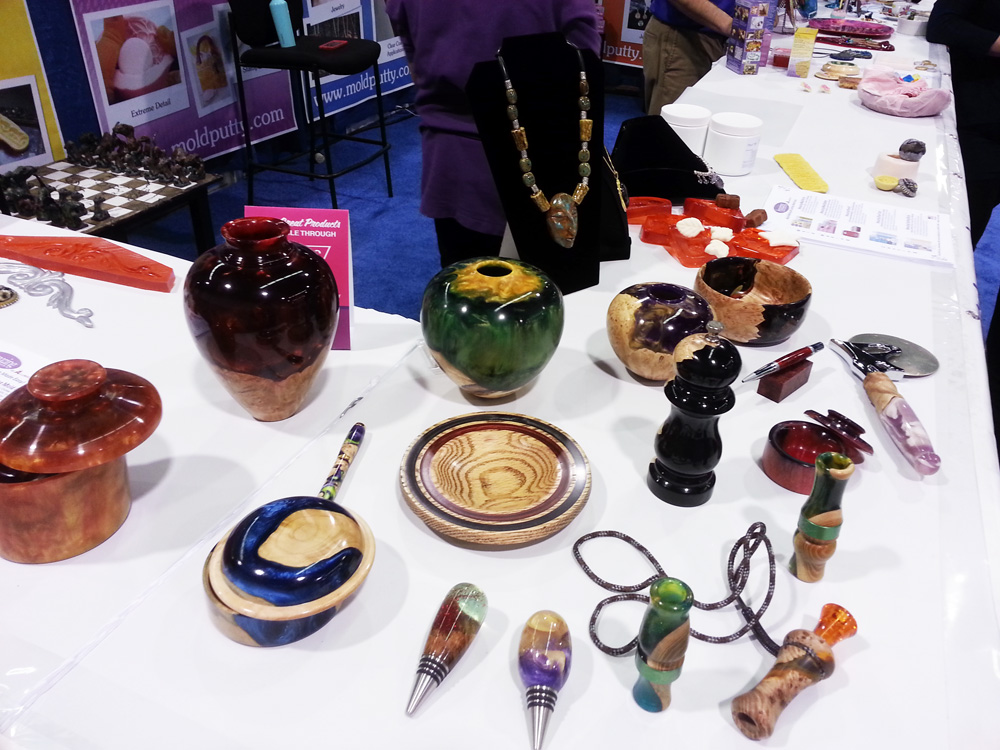
Mike Faupel commissioned these stunning wood and dyed resin pieces from an artist in Michigan. They were created by pouring Amazing Clear Cast over wood and carved on a wood lathe.
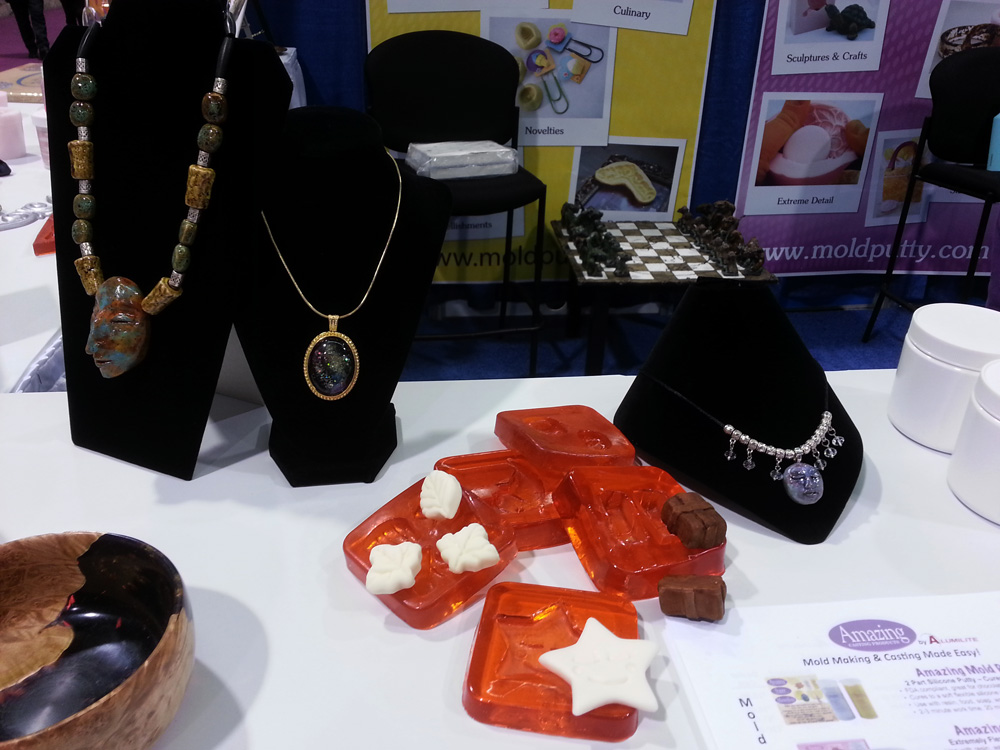
More of my jewelry and Remelt samples on display at the booth. The Mesoamerican necklace tutorial can be found here.
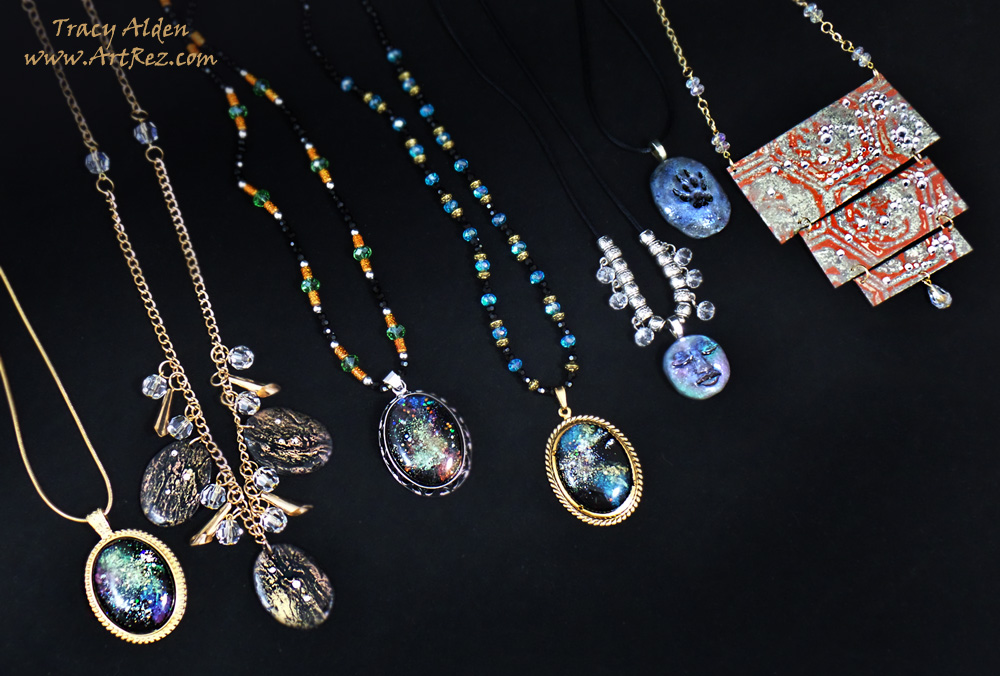
Here is a close up of some of the new resin jewelry pieces I made as booth samples for this year’s CHA show.
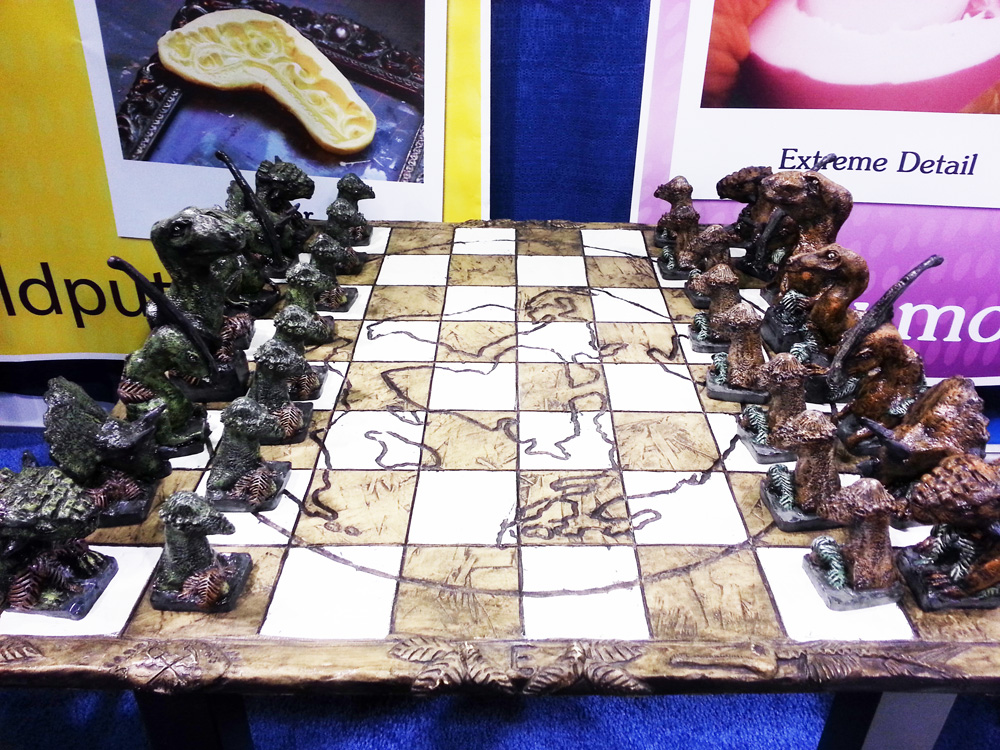
An associate of Mike Faupel created this wonderful and rather fun Pangaea chess set. It’s all made out of Amazing Casting Resin and molds made of Amazing Mold Rubber. The artist who created the set made sure each dinosaur had a different facial expression and were all hand painted!
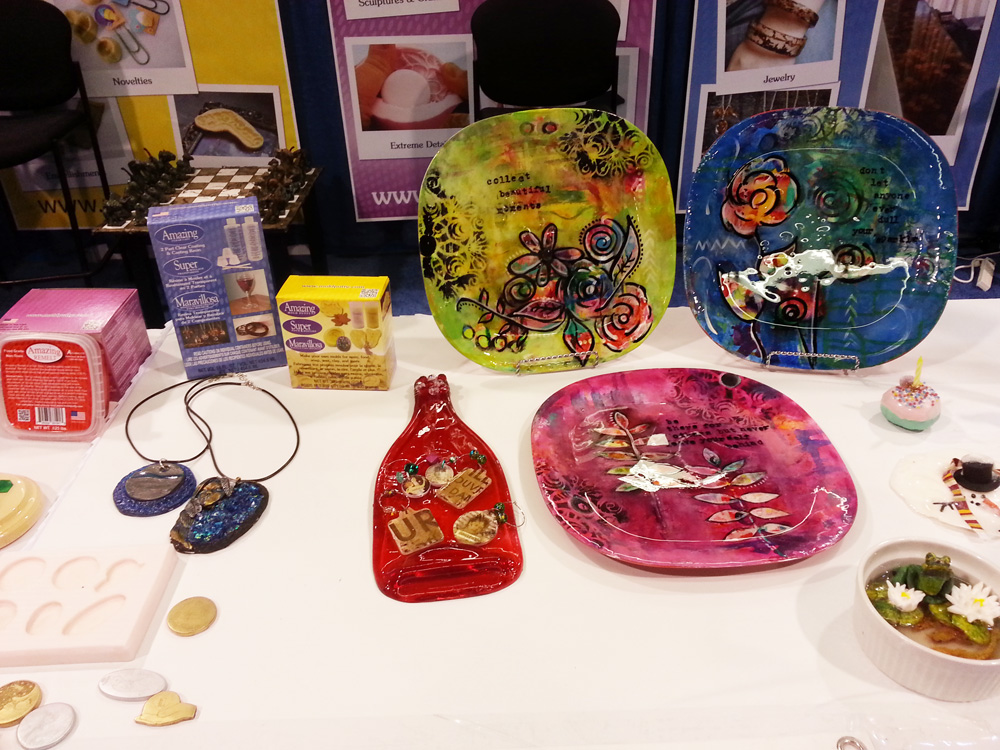
Melissa Johnson‘s beautiful food safe hand painted resin plates were just lovely in person. You can see one of Brenda Burfeind‘s wine bottle shaped resin cheese platters next to the plates, to the left one of Lyn Gill‘s polymer and resin pendants, and on the right you can see one of Sandra Strait‘s hand painted mini fish ponds.
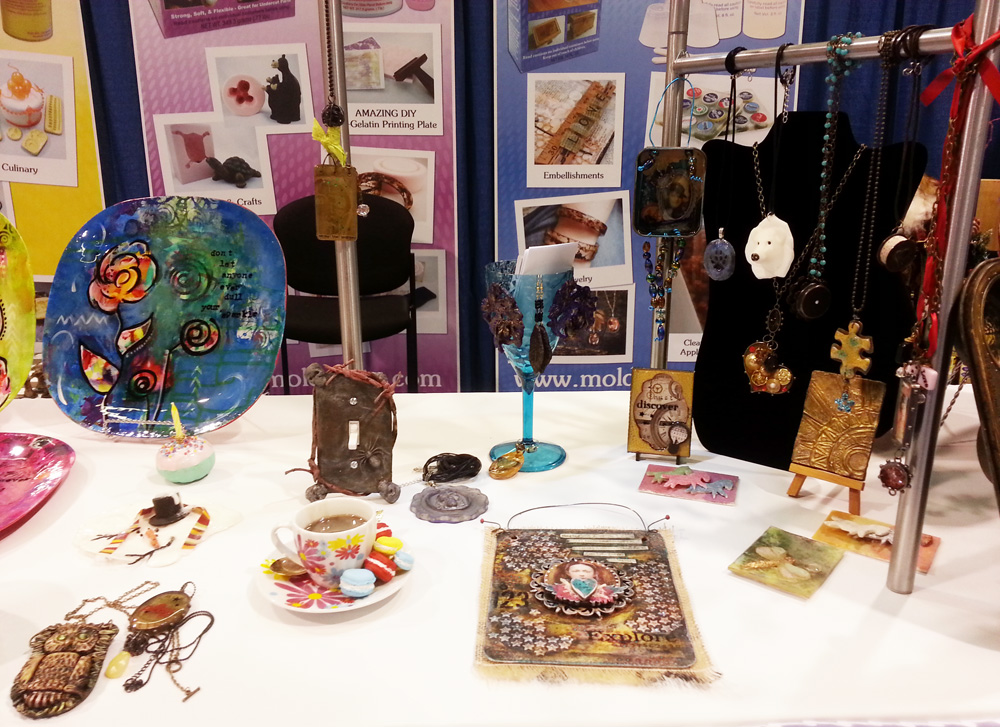
The booth was just full of beautiful Design Team artwork, from Susan M. Brown, Melissa Johnson, Lyn Gill, Maria Soto, Rachel Whetzel and more, along with pieces made by Cat Kerr; my photo doesn’t do her work justice so please make sure to hope over to her blog to see her work!
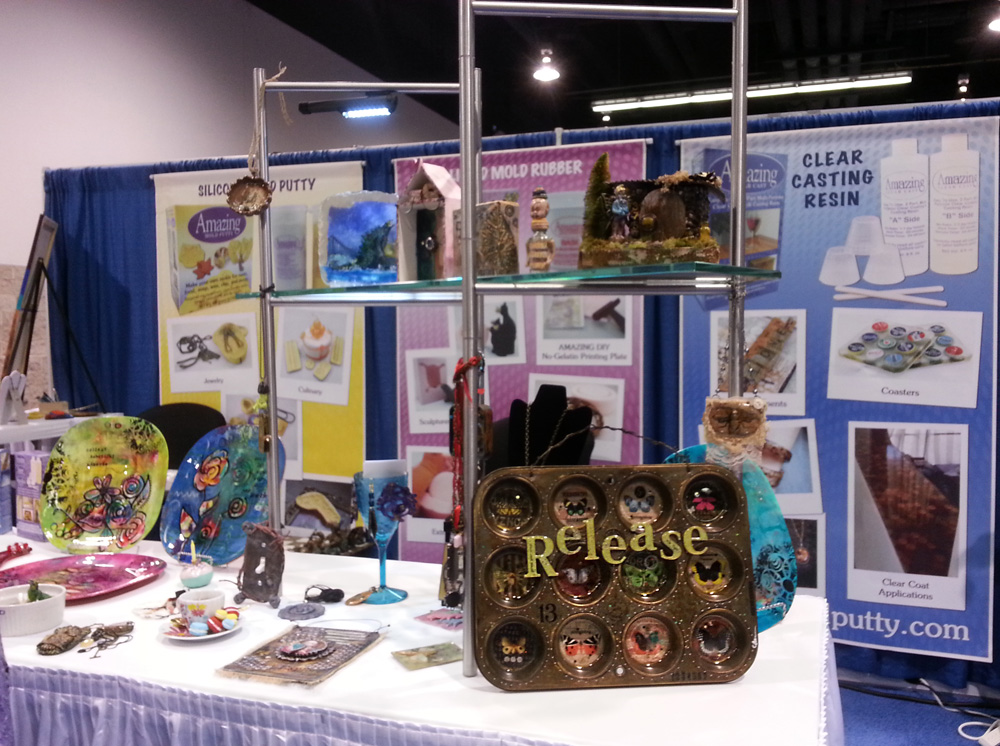
There was even more amazing work from Cat Kerr, Tina Walker, Sandra Strait, and Aimée Wheaton.
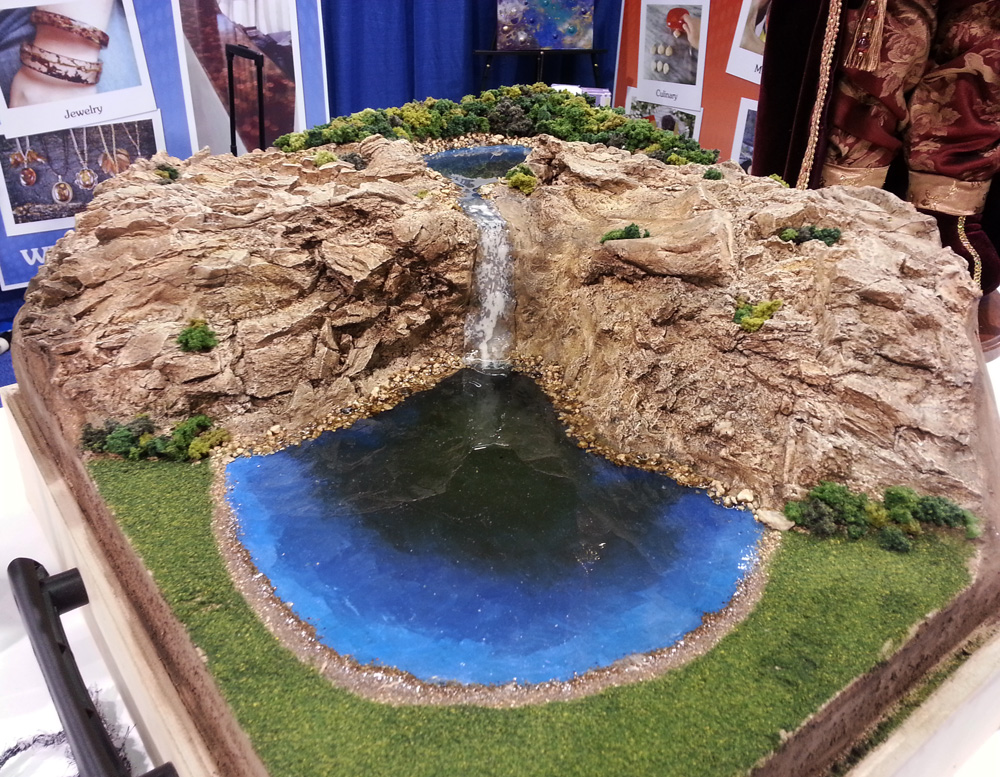
This beautiful model miniature was made of out Amazing Casting Products, from the rocks, water and inner core by the very talented Lloyd’s Layouts. Their use of resin and mold making products to create realistic miniature scenes is outstanding!
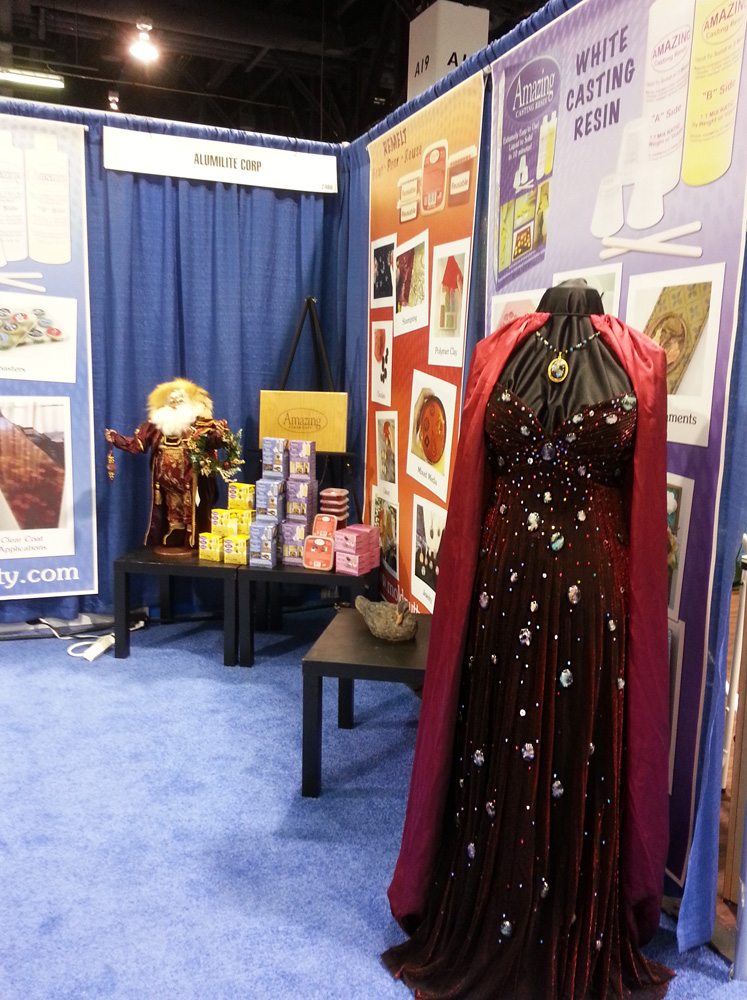
The handsome Santa in the background was made with Amazing Casting Resin and my “Cosmic Radiation” gown was on on display again at the booth
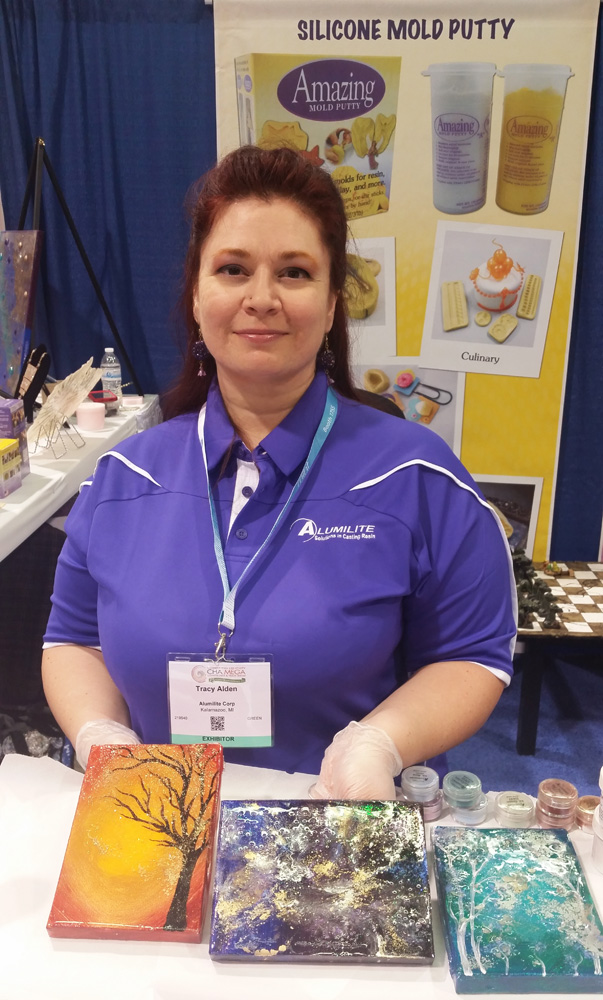
For demos at CHA I decided to show how to apply resin, powders, glitters and beads to acrylic painted mini 5X7 canvases. Each day of the show I showed to apply a new layer of resin with embellishments. People responded so well the demos I already have two orders for the mini canvas art!
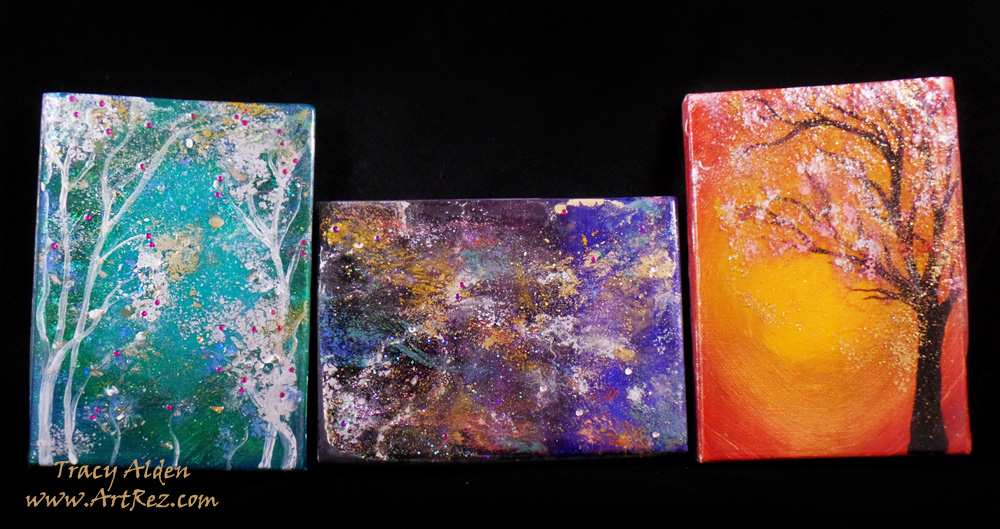
Once home I sanded the edges of the canvases and prepared them for the final coat of resin. I can’t wait to make more.
Come back later for Craft & Hobby Association Mega Show 2016 post, part 2!
Until Next Time, Safe Travels!
- Amazing Casting Products, Beads, Fiona Accessories, Halloween, Home Decor, Jewelry, Mixed Media, Paint, Recycling, Resin
An Artistic Halloween Haunting Recap!
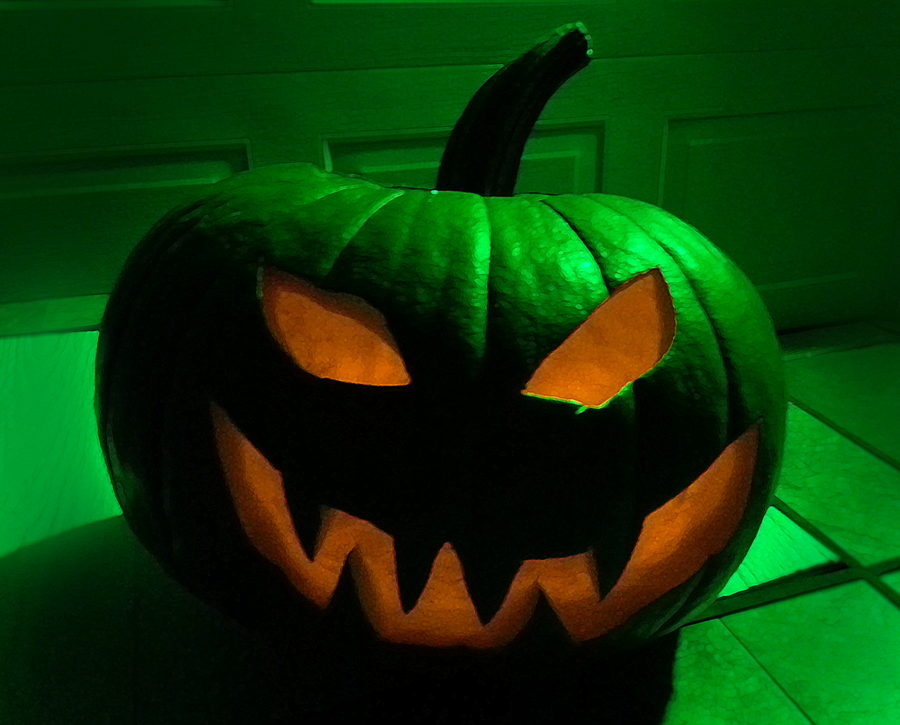
Welcome to my Artistic Halloween Haunting Recap! The month of October and all of the Halloween goodness flew by so fast, but I wanted to share some of my ghoulish crafting fun before Halloween is just a faint promise of next year.
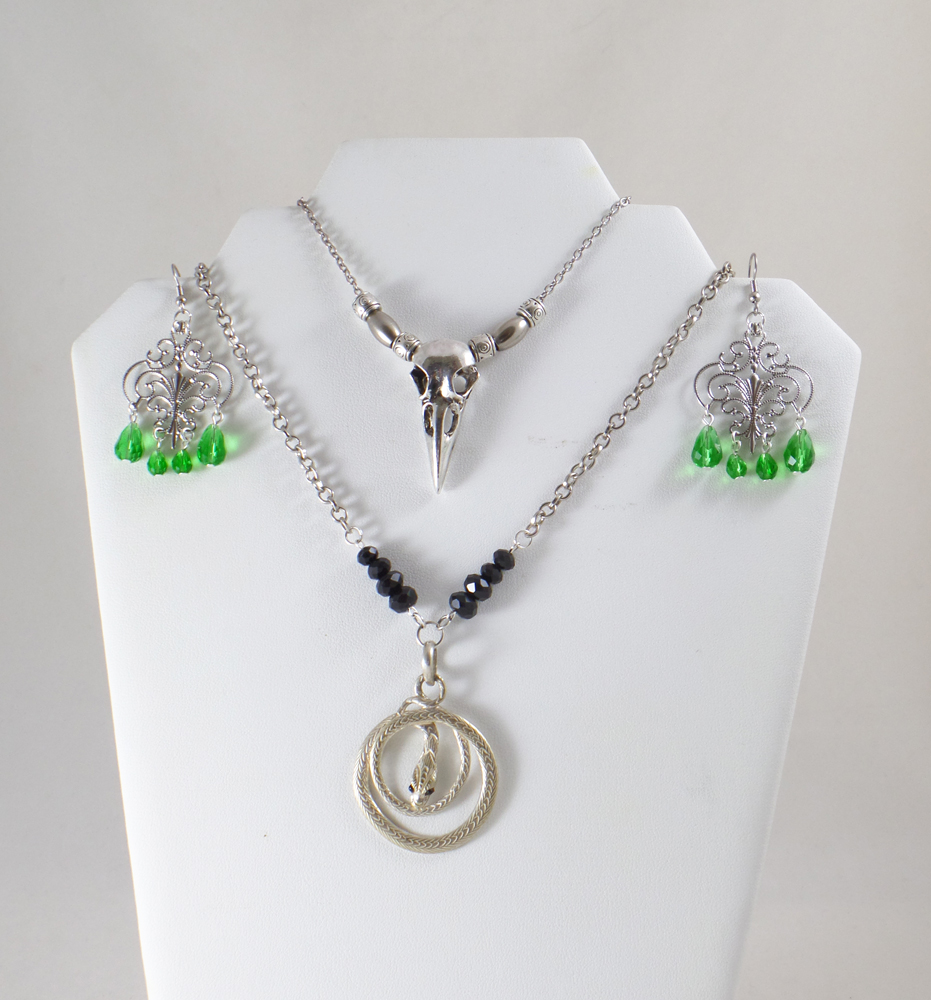
Using some wonderful chains, crystals and beads from Fiona Accessories I created this jewelry assemble for my spellbinding costume of a Gothic witch. The sterling silver snake pendant was hand crafted in Nepal and really played well with the raven skull I had bought recently.
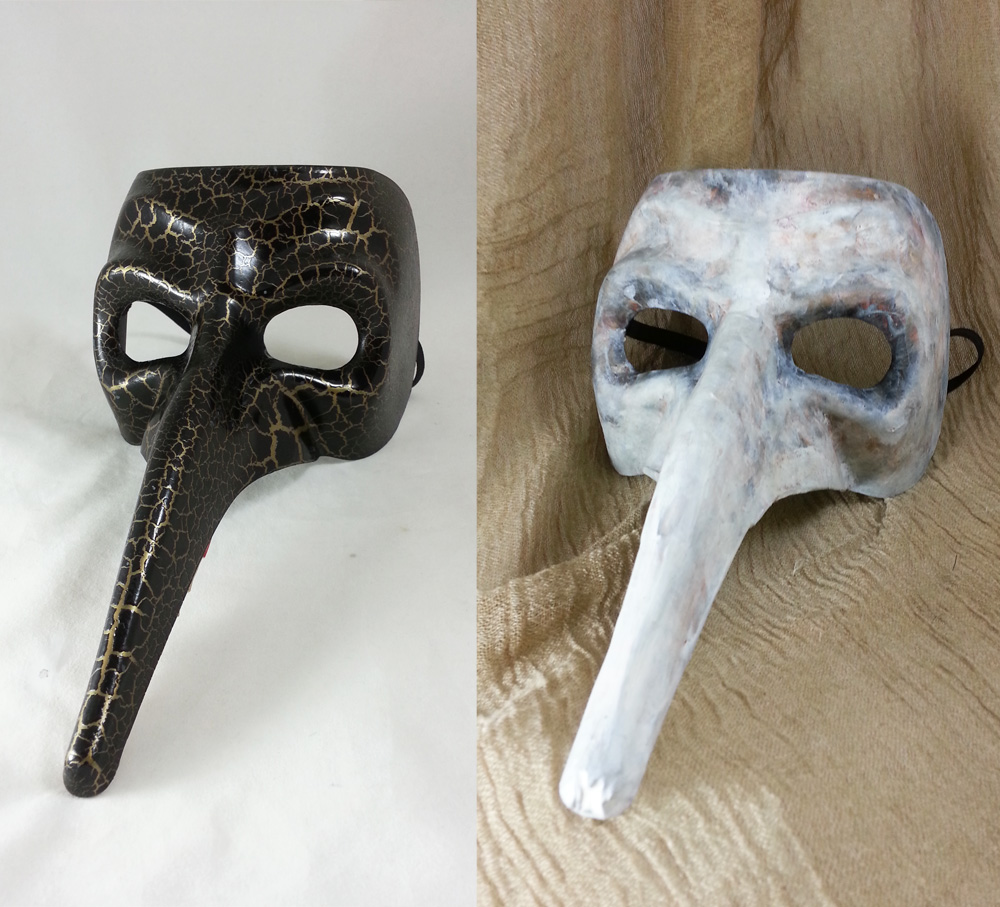
I transformed this plastic Italian Carnival mask into a Plague Doctor mask using paper mache, paint and Liquitex Matte Varnish. However I wasn’t finished there and created the rest of the look:
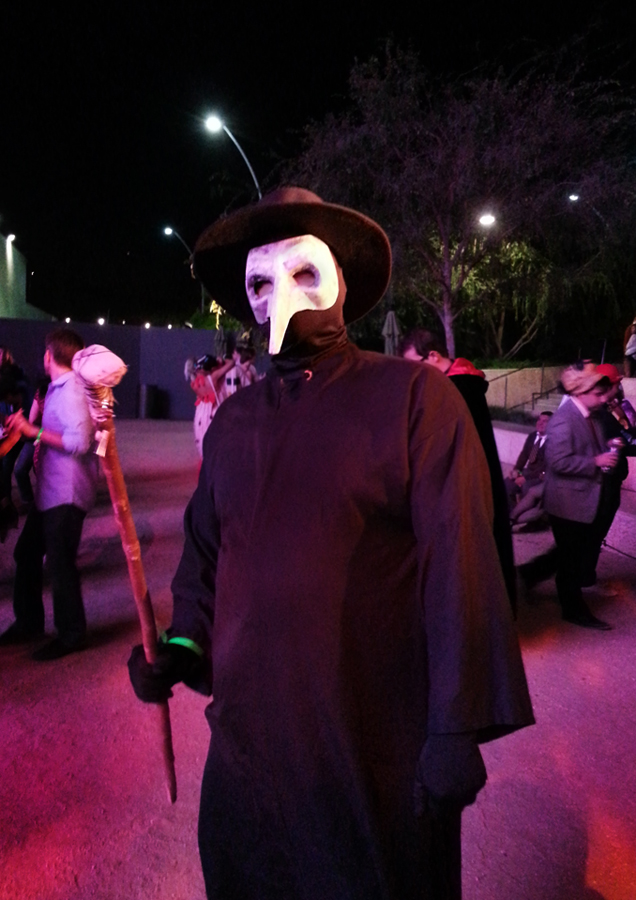
With the addition of a black heavy weight line robe, hood, gloves, hat and walking stick it made a perfectly frightening Plague Doctor costume for my husband.
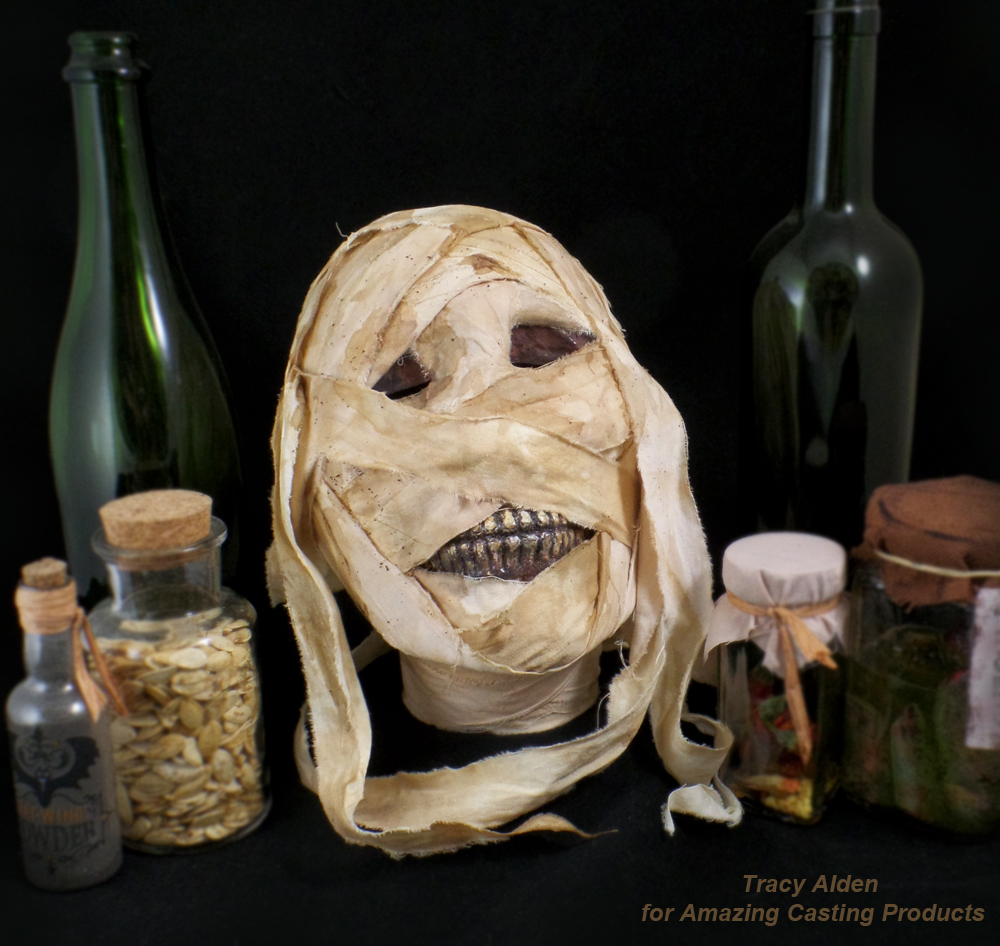
I created a replica mummy head using a plastic Halloween skull and the help of Amazing Casting Products. Clicj HERE for this Upcycled Mummy’s Curse!
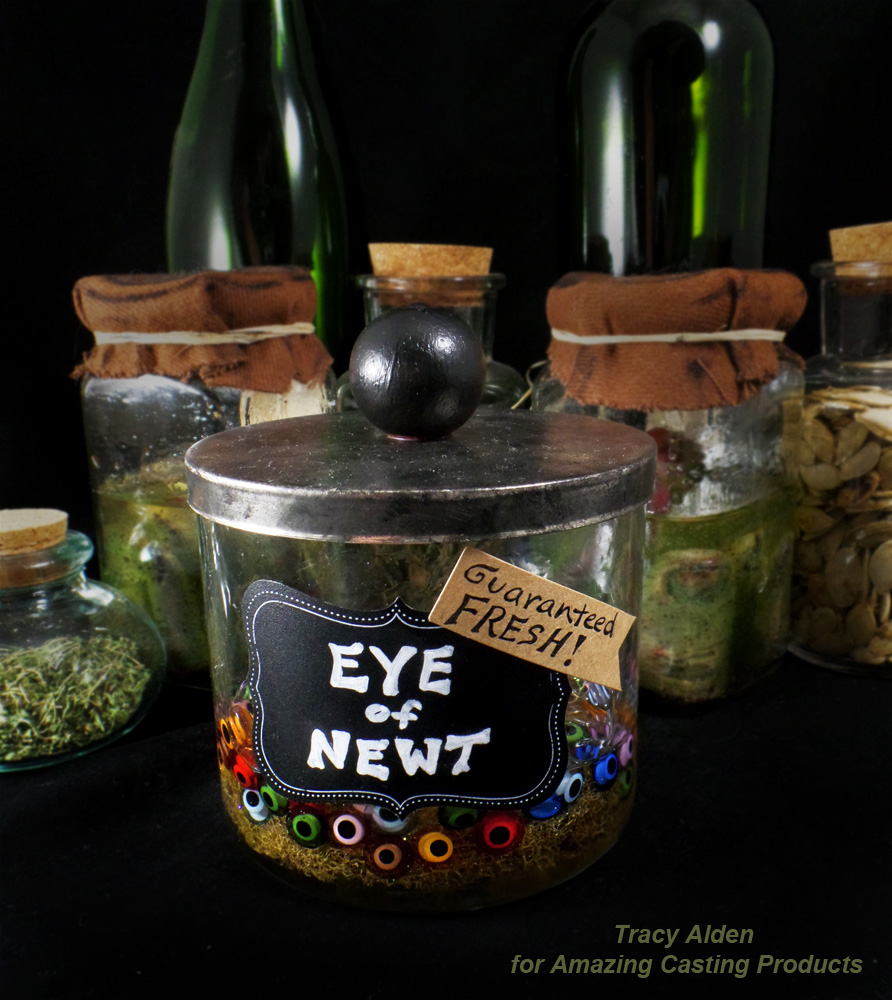
Taking inspiration from one of William Shakespeare’s most famous plays, Macbeth, I created a Eye of Newt Apothecary Jar, spooky enough to keep any monster happy!
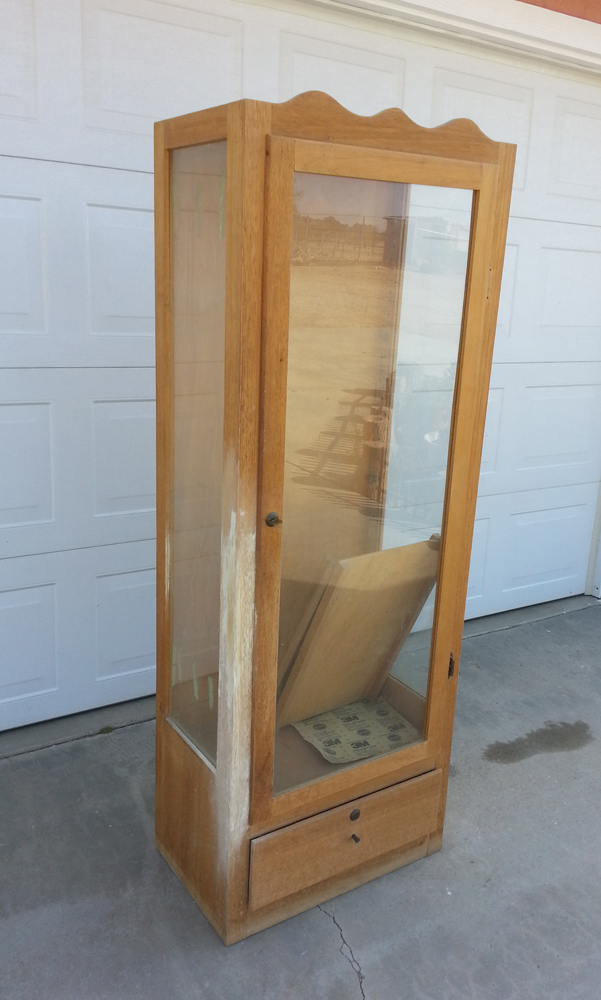
Last but not least my husband and I finally took the time to refinish a old cabinet that had been in the family longer than me. After patching, sanding, staining and varnish it was ready to become a Halloween curio cabinet!
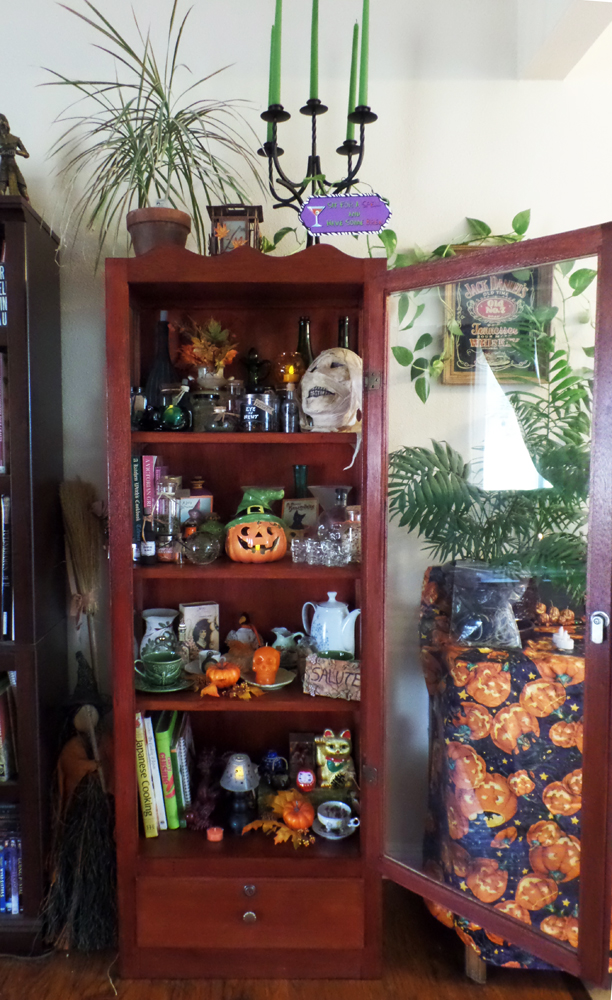
Not bad for our first attempt at giving new life to an old piece. Once filled with fun holiday decor it made a perfectly frightening Halloween decoration. With Halloween gone and past now I can fill it with with antiques and little curios befitting of Fall.Now to start on art projects for Fall and the coming Winter!
Until Next Time, Safe Travels!
A Crafty Halloween Throwback Thursday
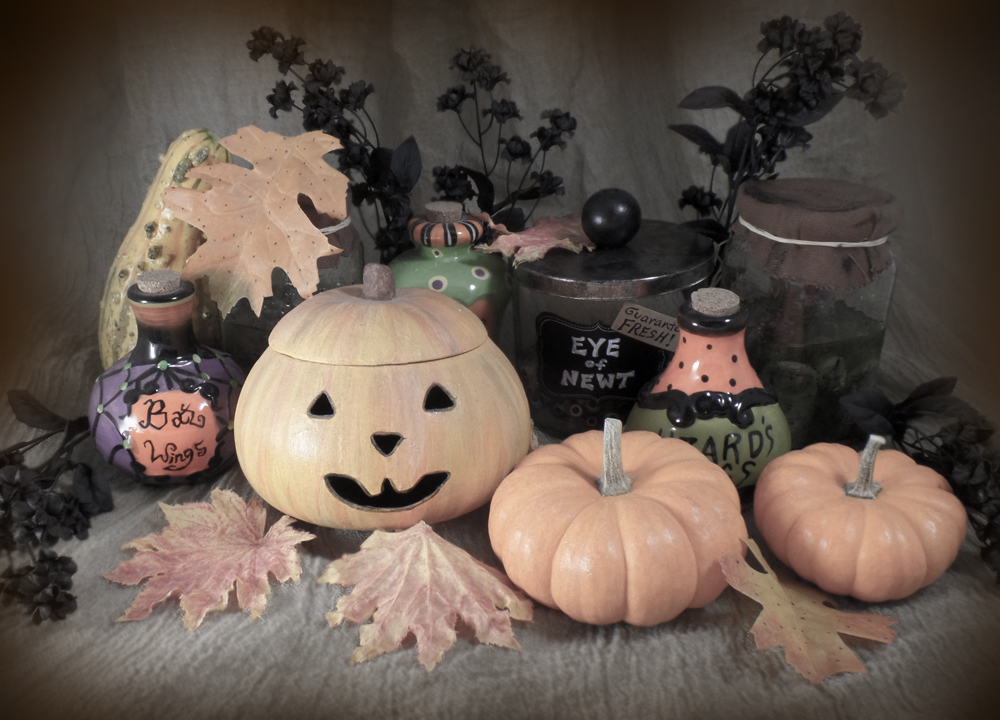
Welcome to my Halloween Throwback Thursday! Halloween as I have often noted is one of my favorite holidays, I just love making all kinds of spooky and fun art. This week I was able to start unpacking all of my plastic tote bins filled to brim with ghoulish decor. I was reminded of my Halloween projects I have created for Amazing Casting Products and I wanted to share a few of my favorites!
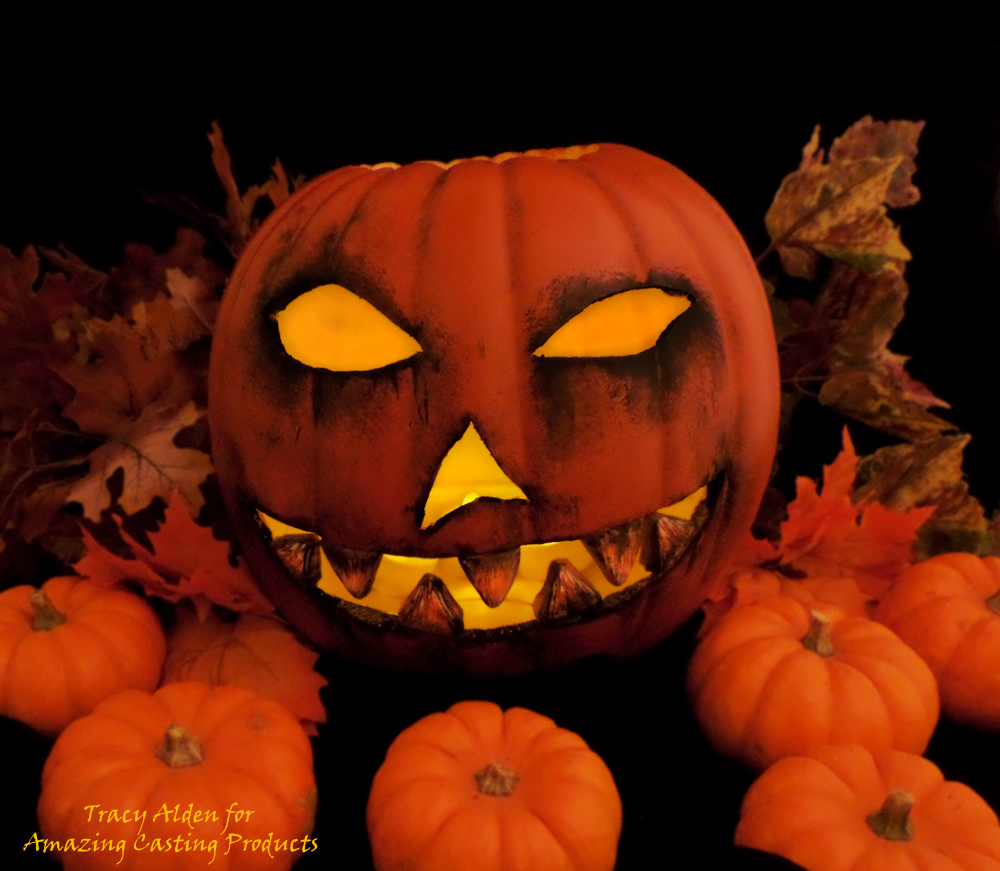
How to enhance a Pumpkin’s Smile with resin teeth using Amazing Casting Resin and Mold Putty.
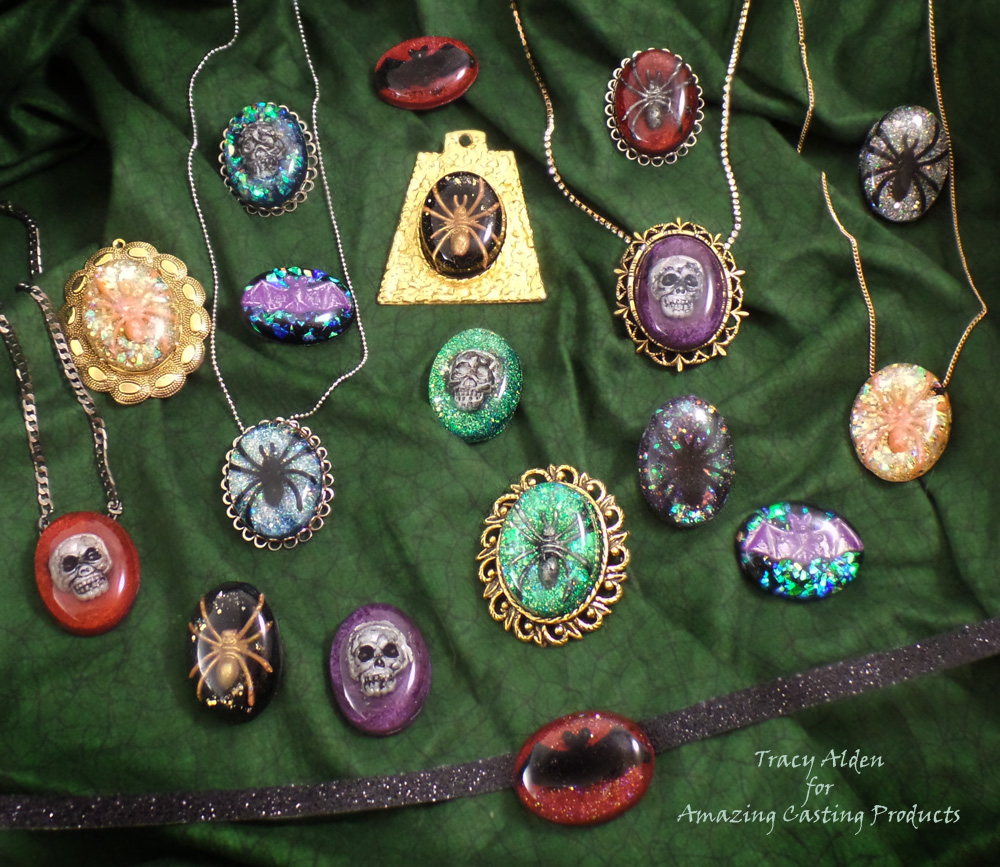
How to make Halloween party favors go from groan to glam with Resin Cabochons made with Amazing Clear Cast.
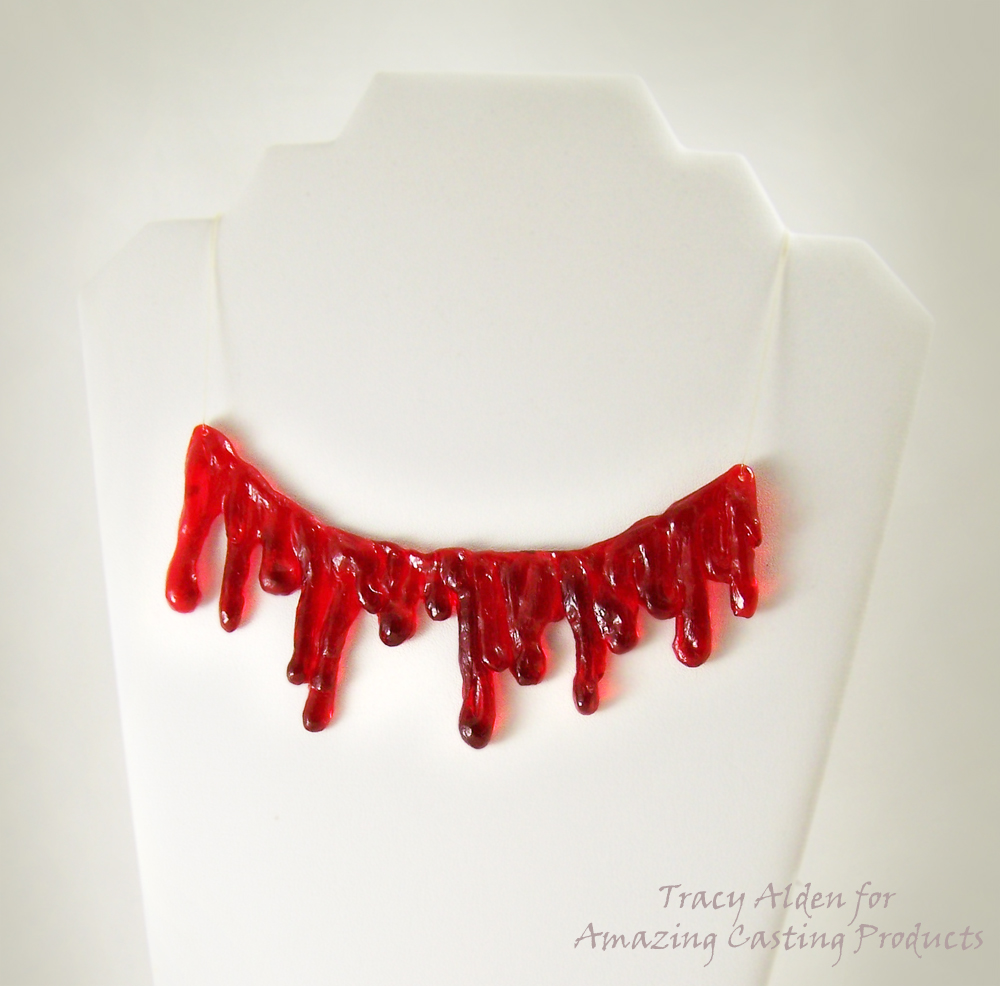
Running out of time on what Halloween costume to wear…. take a look at a Resin Blood Drip Necklace using Amazing Mold Rubber.
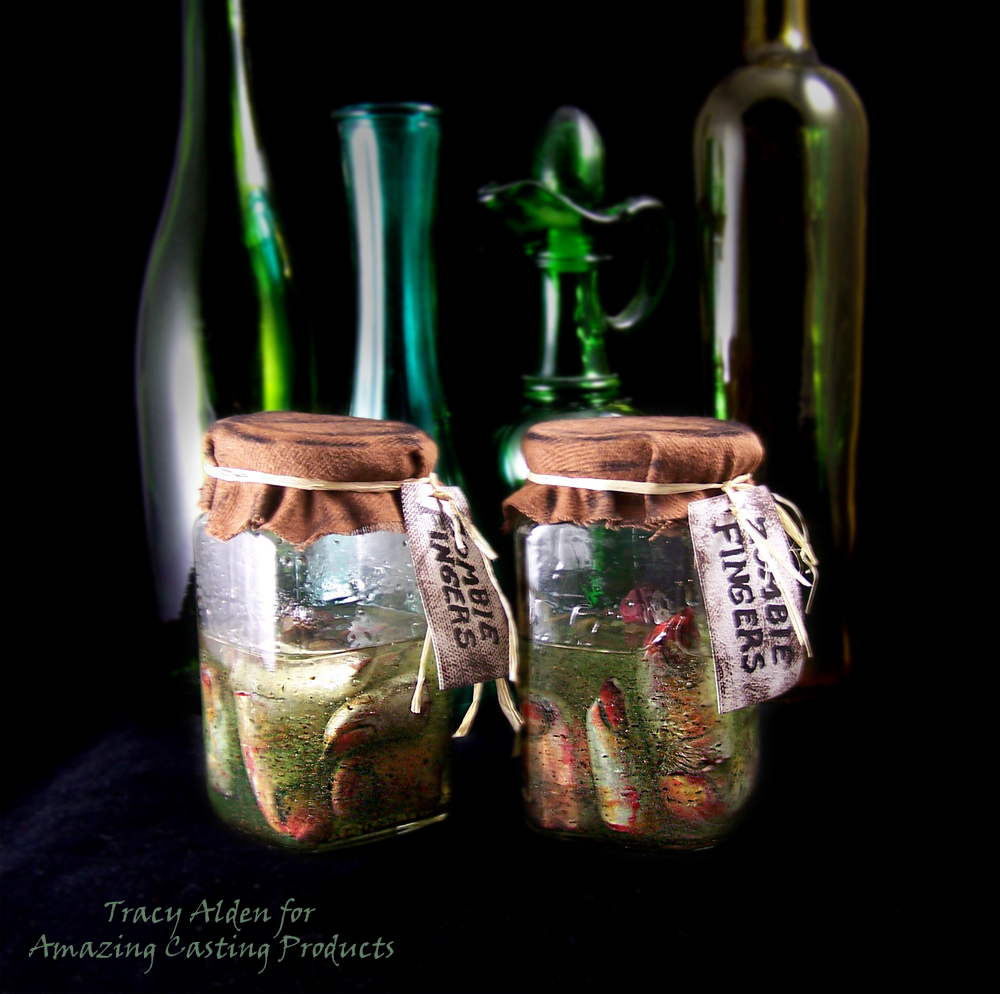
Need that perfect addition to a spooky apothecary? Try you hand at a upcycled Zombie Finger Apothecary Jar using Amazing Casting Products.
I hope sharing some of these projects has you mind a whirl with some Halloween craft project inspiration!
Until Next Time, Safe Travels!

