- Acrylic, Association For Creative Industries, Chalk Paint, Contests, Convention, Diamond Art, FaveCrafts, History Inspired, Home Decor, Mixed Media, Mod Podge, Throwback Thursday
#TBT Traveling a Forgotten Path, with Diamond Art
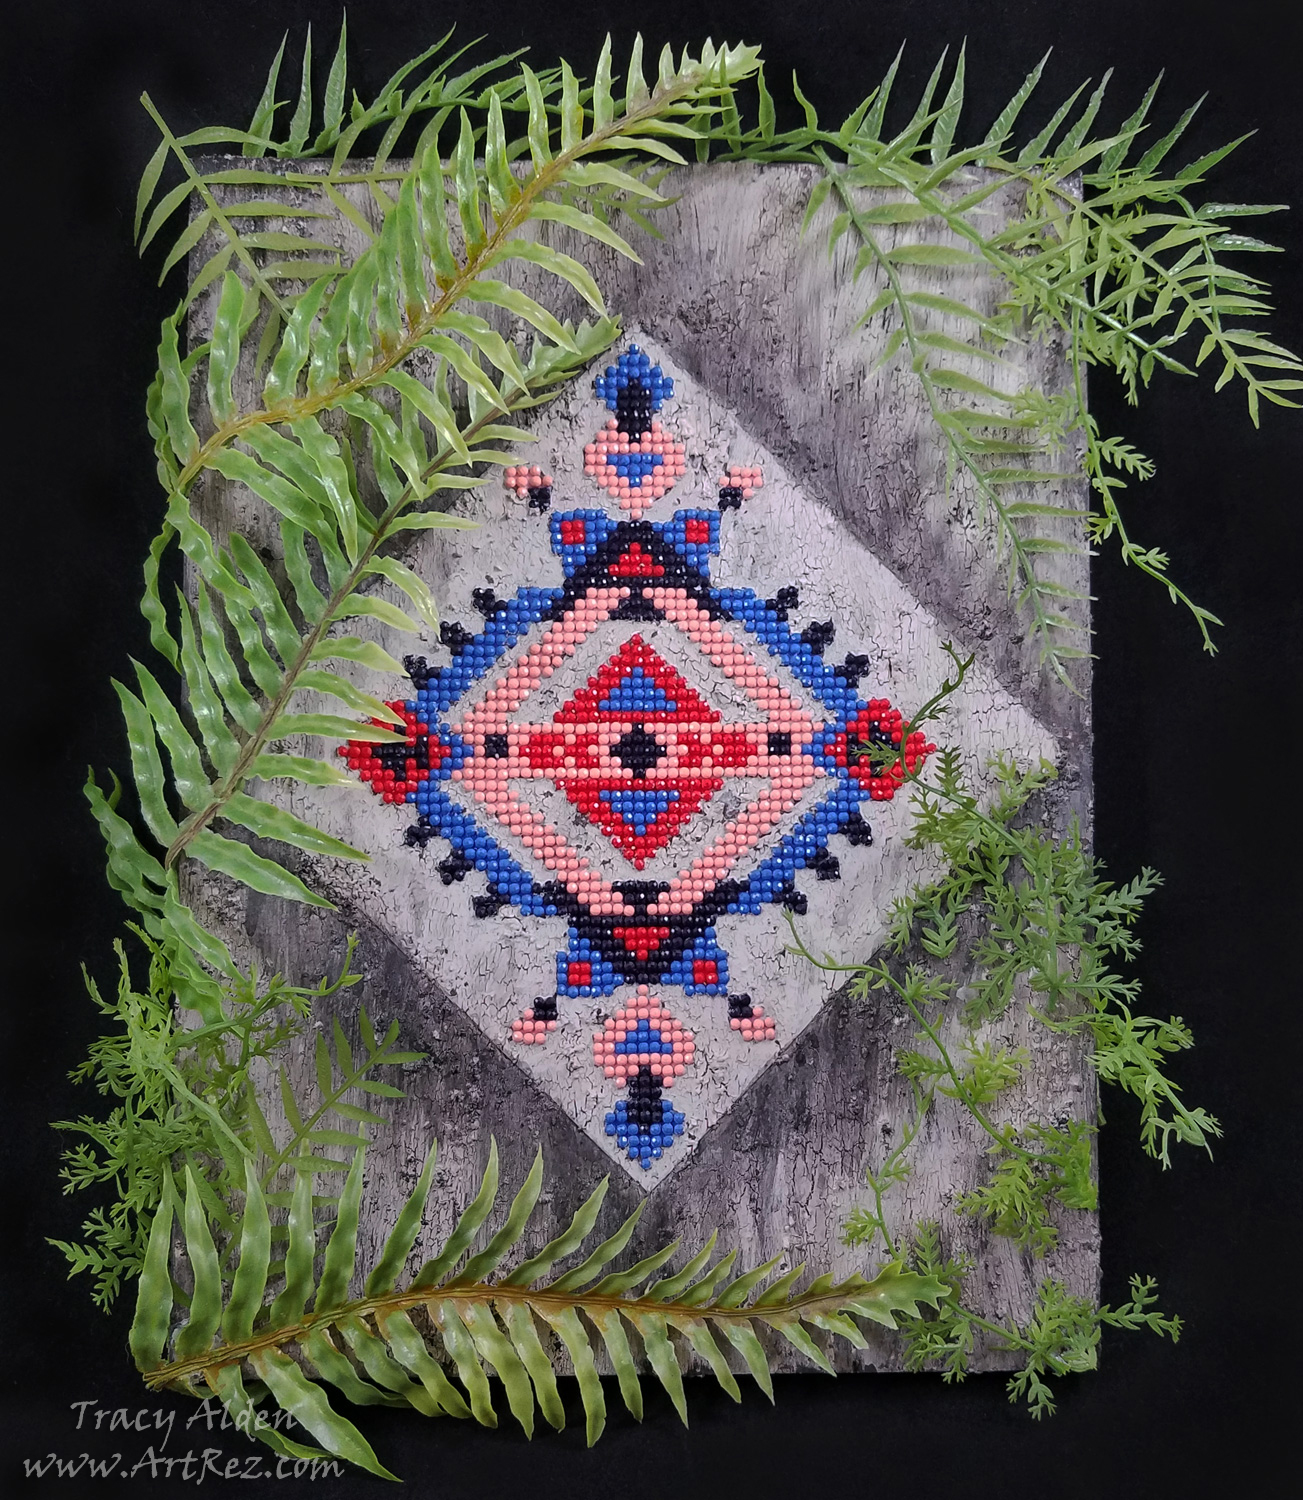
Hello! Continuing my Throwback Thursday posts, this time only going back to January, when I once again traveled to the Creativation Trade show, in Phoenix, Arizona. Held by Association For Creative Industries or AFCI, during the show I was honored to once again be invited to the 7th annual Prime Networking Event. This event gives bloggers, designers, authors and brands in the craft industry a chance to come together to network, make new partnerships, and learn about new product information. The event was fun, informative, and free product samples were provided by this year’s sponsors. After the event attendees were encouraged to try out and create art for the Favecrafts Best Blogger Craft Event. This year I won runner up in the Best Blogger Contest 2019 for my project!
For my entry I decided to use products from these sponsors: Diamond Art by Leisure Arts, Tribe Design, Mod Podge Ultra Matte Spray, FolkArt Crackle Medium and Home Decor™ Chalk Paint along with supplies from my personal collection of art supplies.
Supplies:
Diamond Art by Leisure Arts Diamond Painting Kit – Tribe Design
Mod Podge ® Ultra Matte Spray
FolkArt ® Mediums – Crackle Medium
FolkArt ® Home Decor™ Chalk Paint in Java, Parisian Grey, White Adirondack and Black
Liquid Fusion ® Clear Urethane Glue
9 inch x 12 inch Cradled Wood Board
Assortment of artificial tropical plants
1 Flat Paint Brush
1 Round Paint Brush
Scissors
Ruler
Pencil
Cotton swabs
Isopropyl alcohol
Used and dried coffee groundsSince it took a few hours to finish the Diamond Art kit by Leisure Arts, I had time to consider the pattern. In my mind it needed something more than to just be framed. It reminded me of patterns of old, and FolkArt Chalk Paint would help me with that. To have it look like a wall fragment I would need it to be on a board, Mod Podge Spray would help apply the canvas. For water damaged cracks, I would need a Crackle Medium.
Maybe it could be a forgotten image, now found once again? Slowly a story formed in my mind…..
After traveling many miles, you start seeing the remnants of a once mighty city, now taken over by nature. Slowly walking through the dense forest a fragment of a patterned wall slowly appears. What ancient artist created this image and who was it intended for?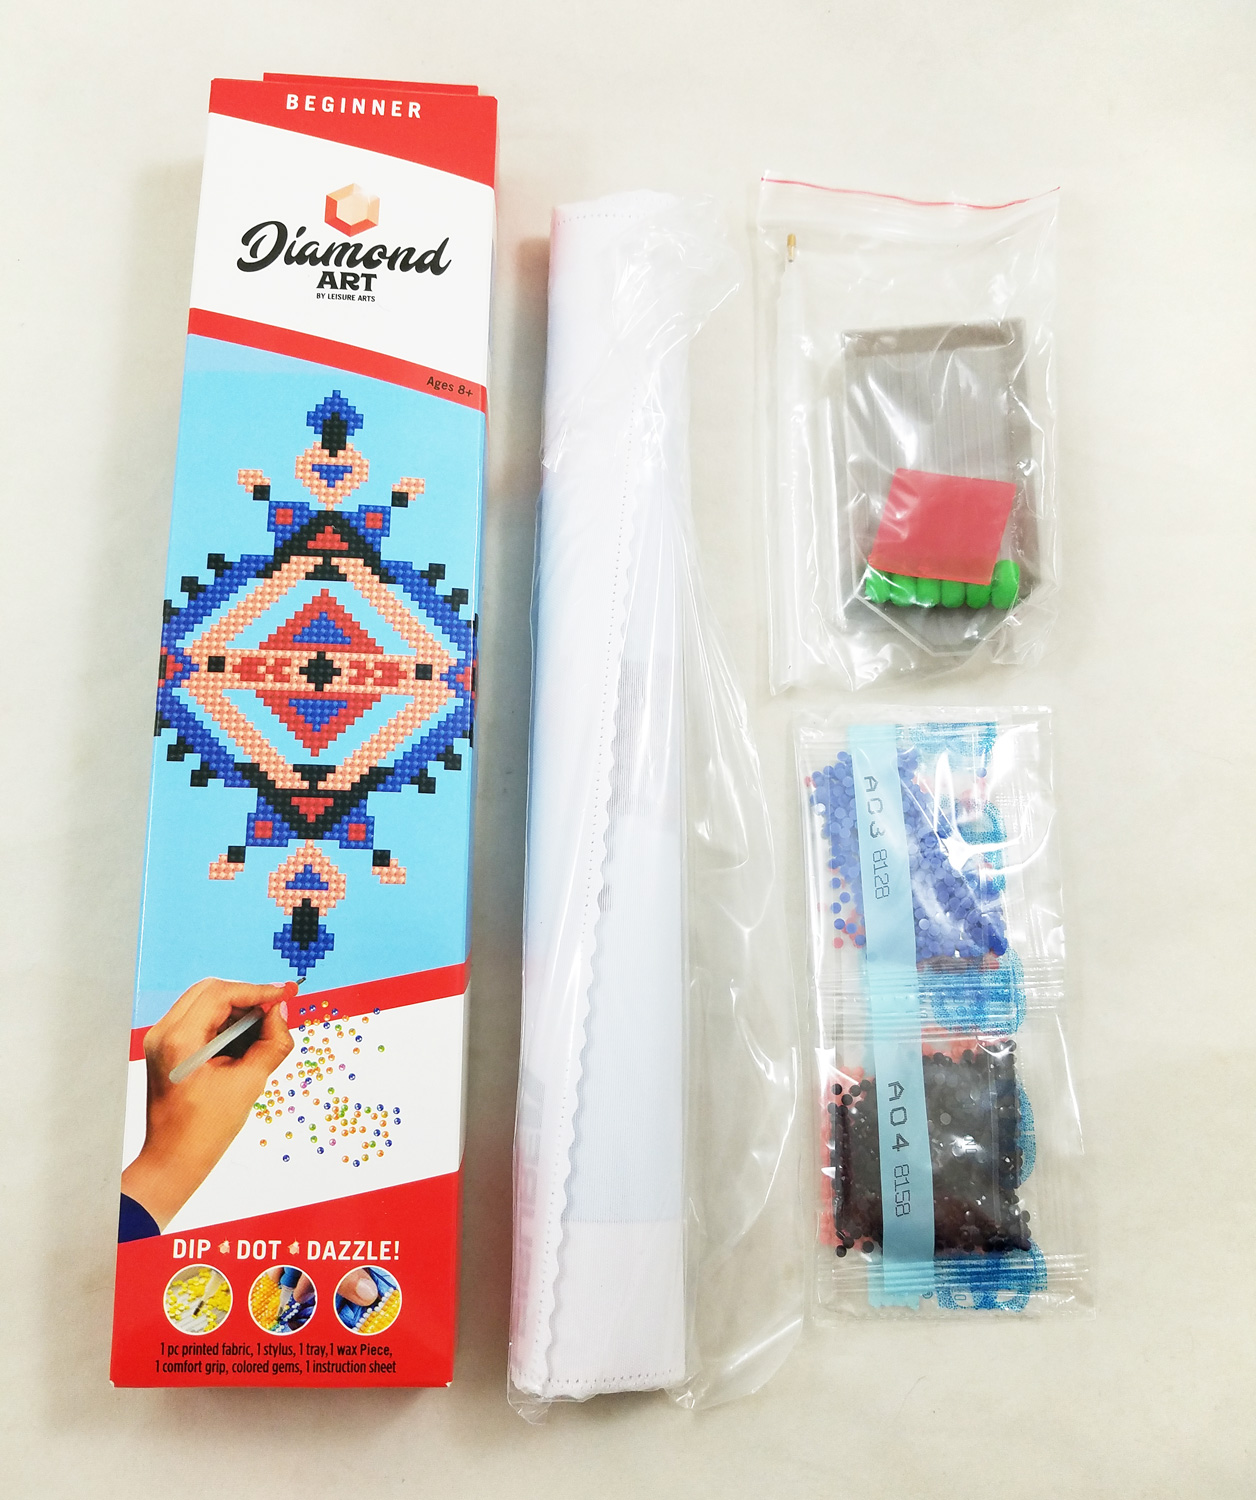
I opened up my Leisure Arts Diamond Painting Kit and made sure I had all of the required parts. The printed canvas needed to be flattened a bit before I started so making sure to leave the sticky film cover on the canvas, I placed a book on top of my canvas for a few hours before starting.
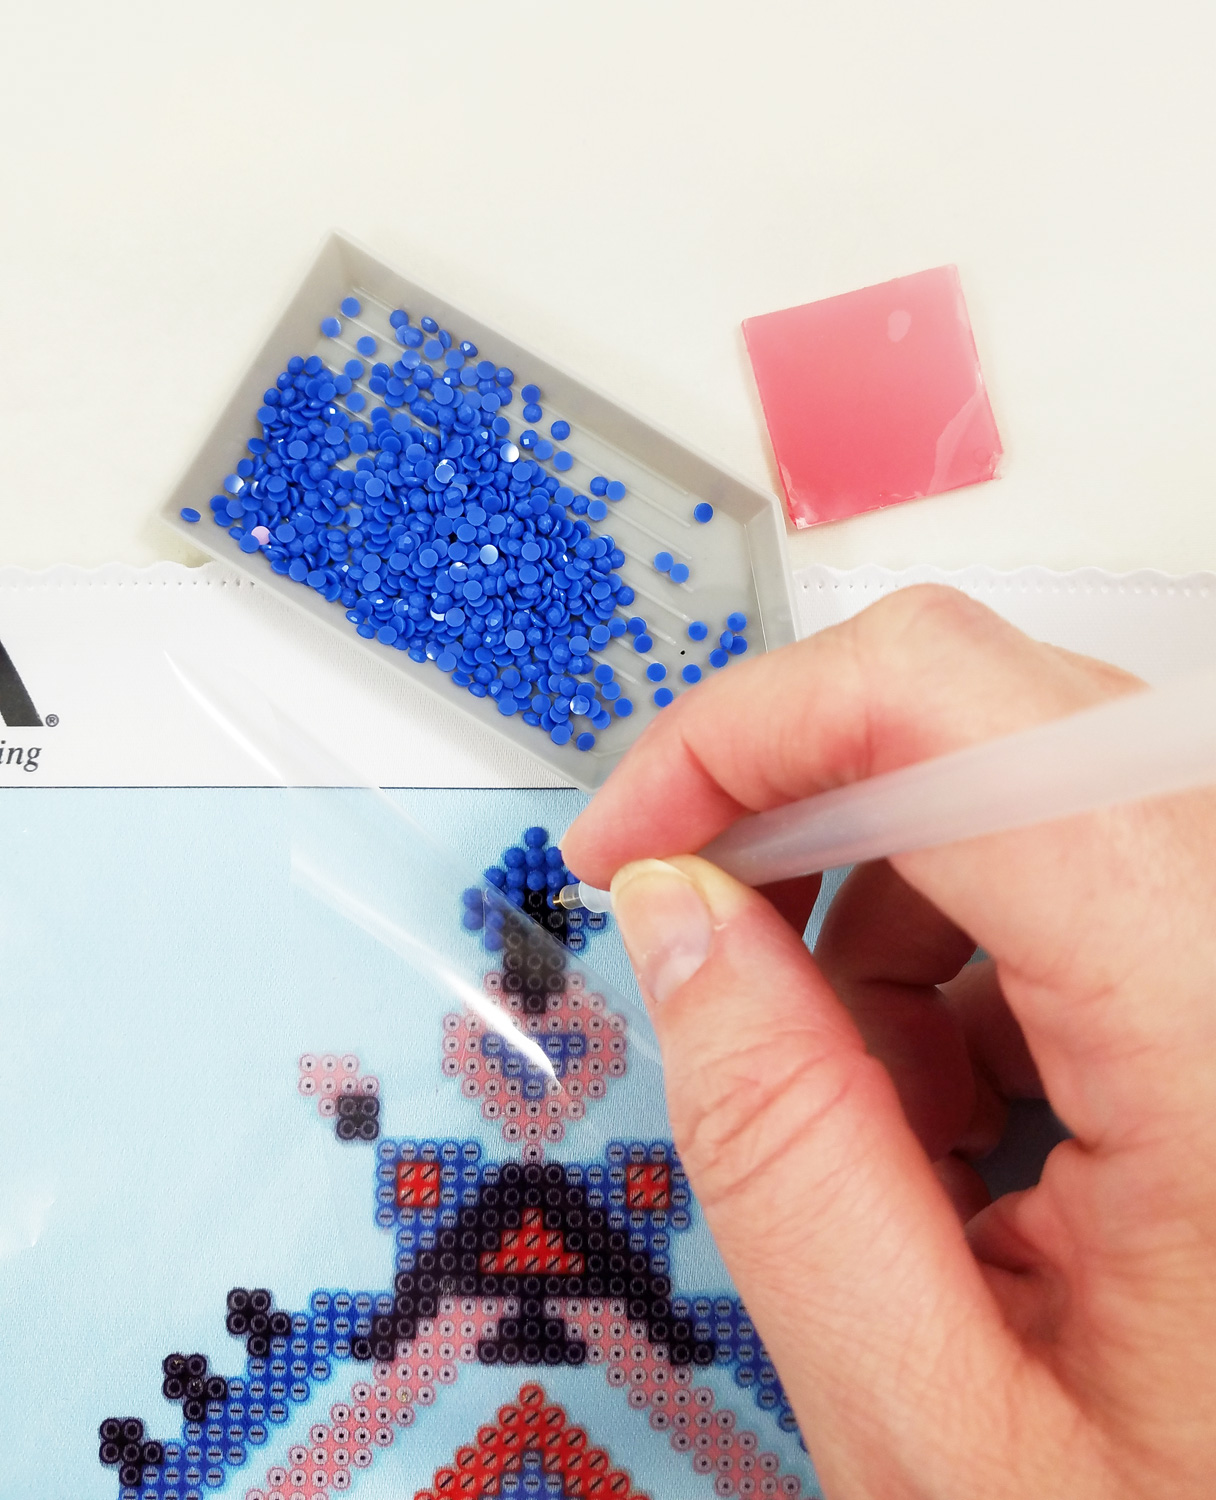
Following the instructions included with the Diamond Art I applied all of the flat backed diamonds to the canvas. It took me only a few hours to complete.
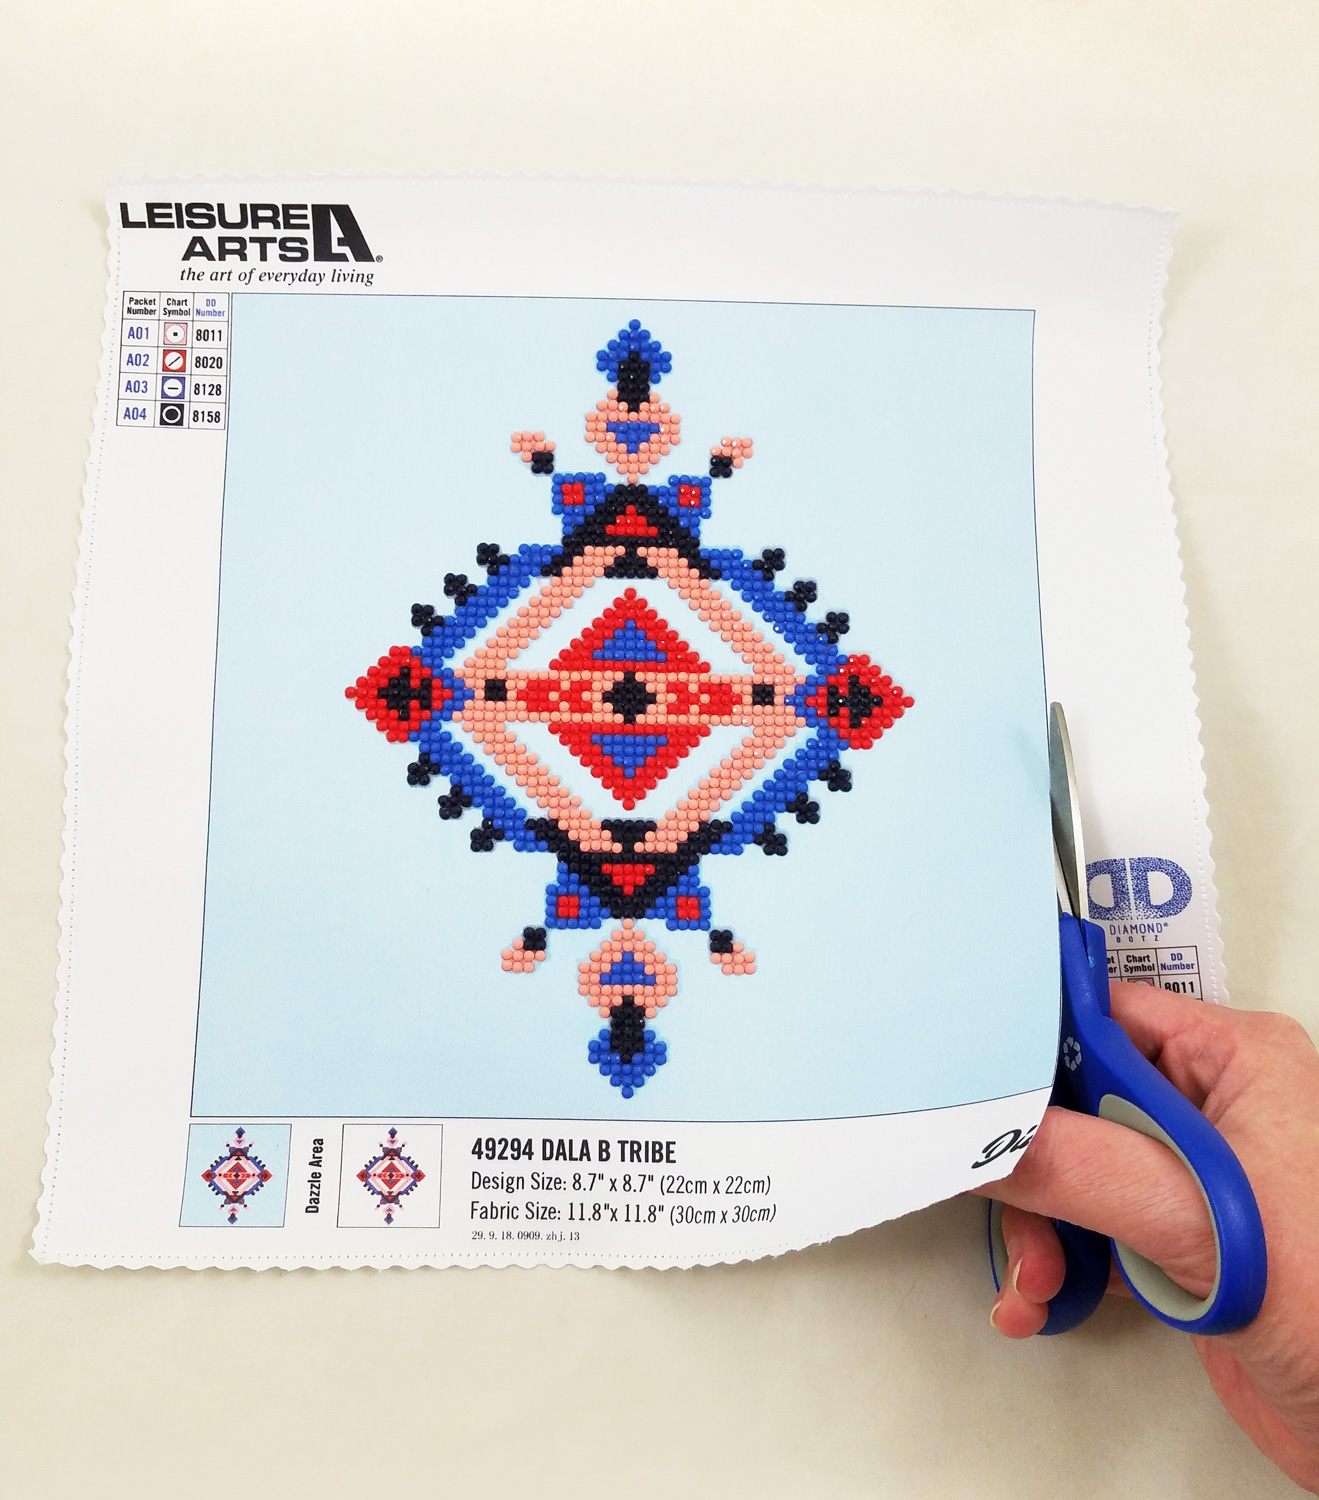
Next I trimmed the Diamond Art canvas to the very edge of the blue background with a pair of sharp scissors.
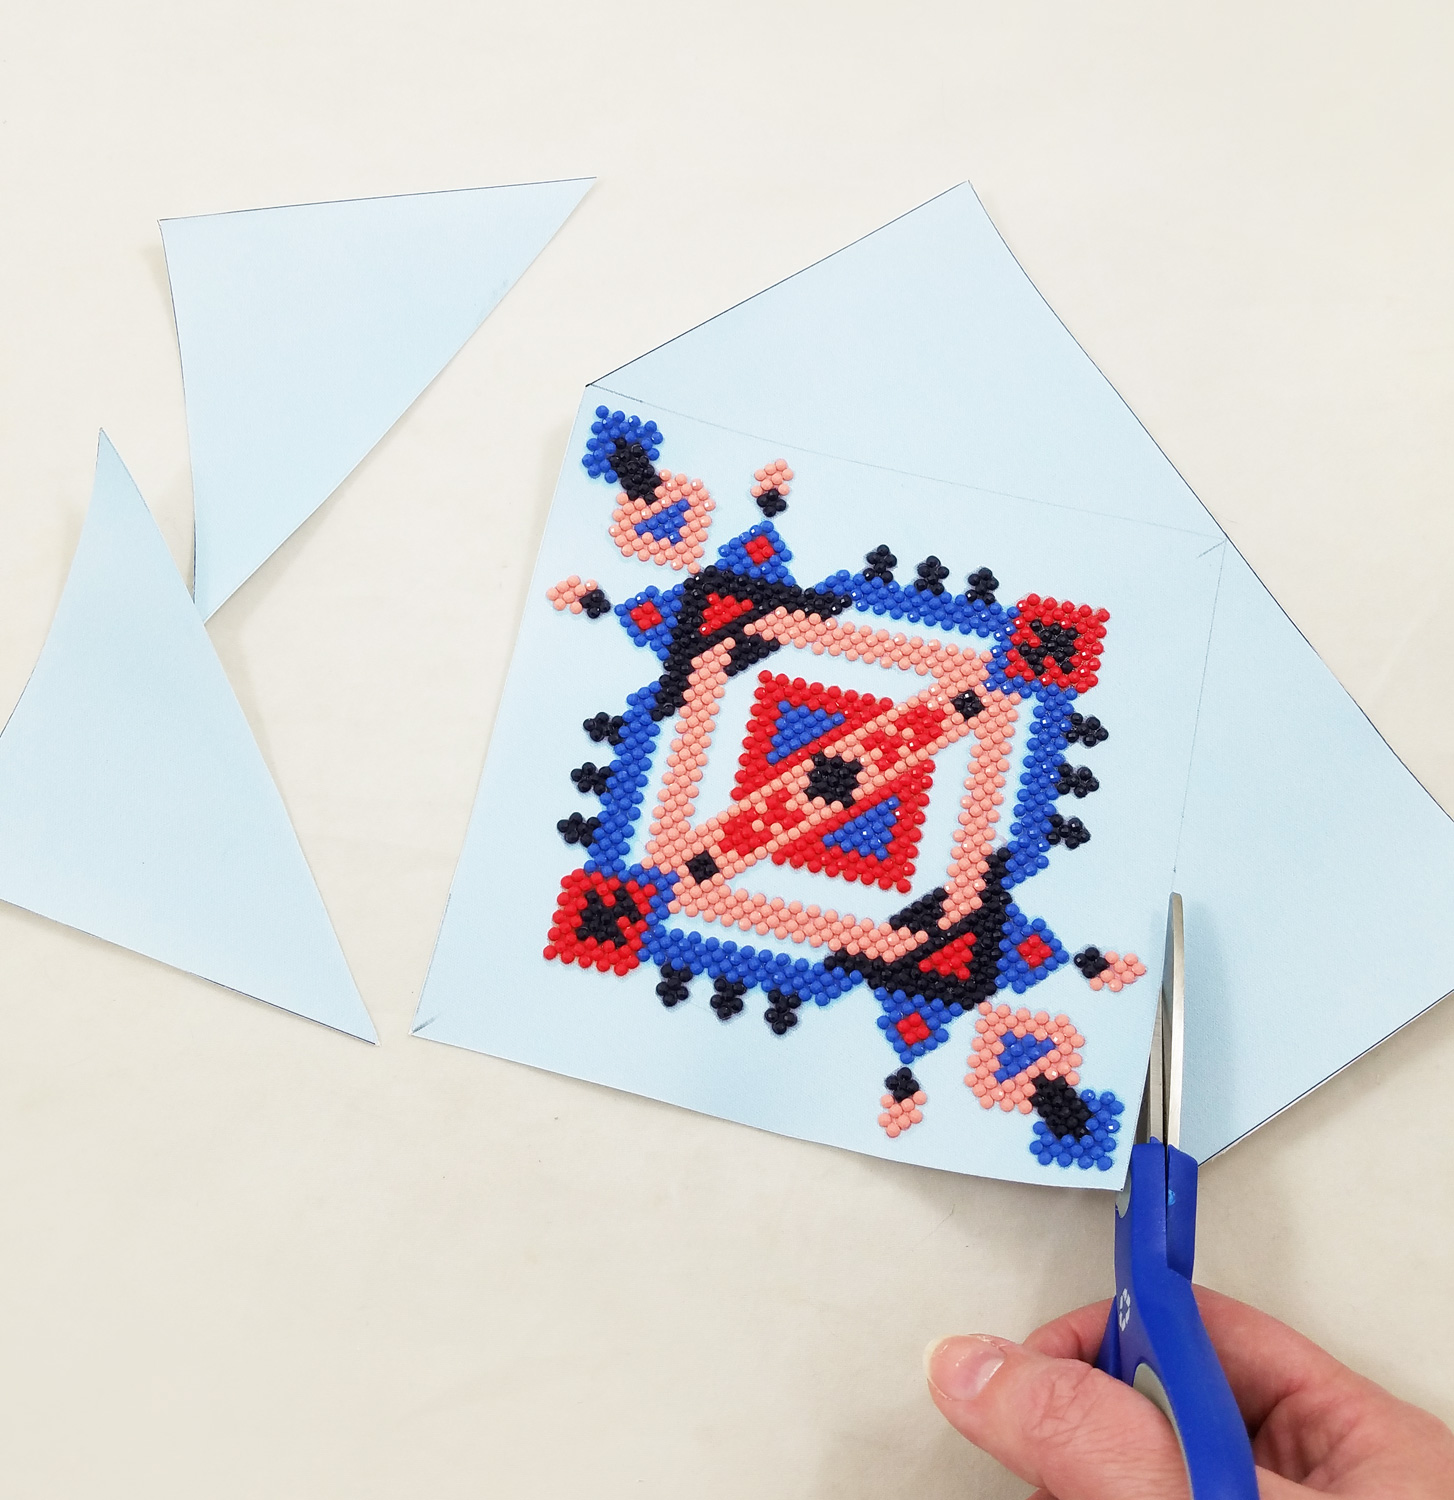
I carefully used a pencil and ruler to mark as close as possible to the Tribe Design pattern, creating a slightly elongated diamond outline. I then trimmed the canvas further with the scissors, using my pencil lines as my guide.
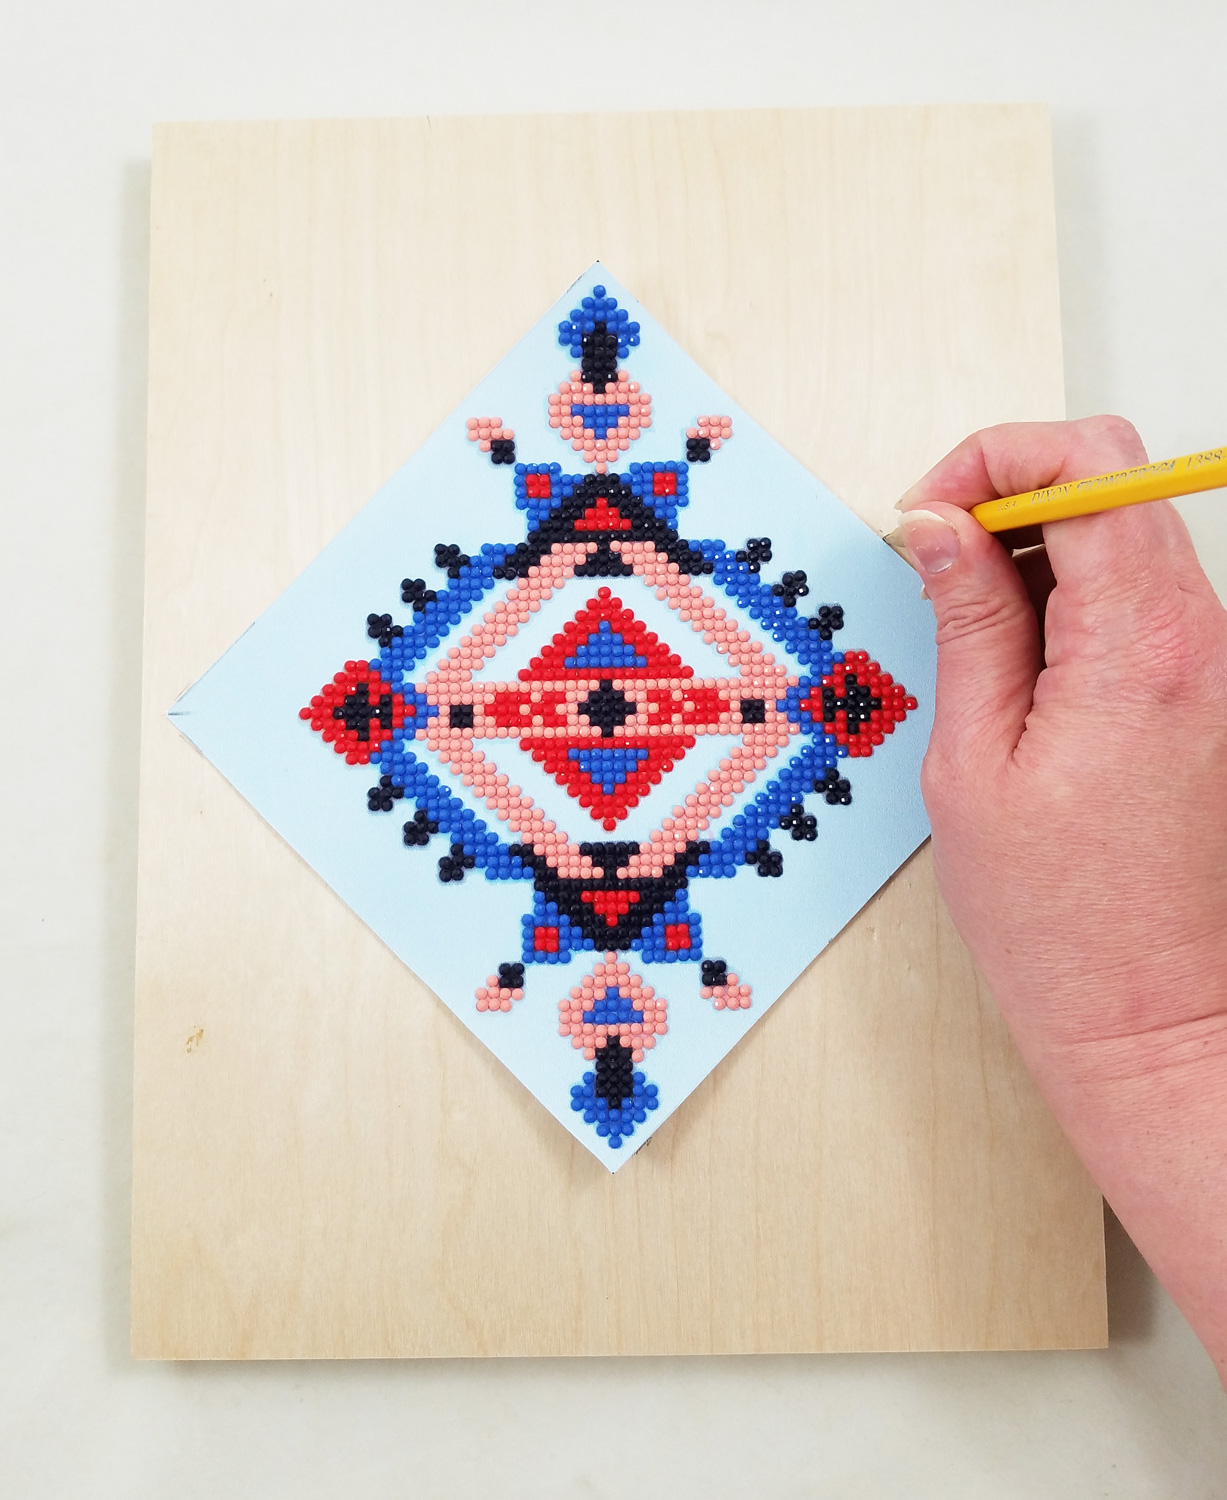
Now that the Diamond Art canvas was cut to size, it fit neatly on the wood board I wanted to attach it to. Once again, I used my pencil to mark out the exact placement of my canvas on the wood board.
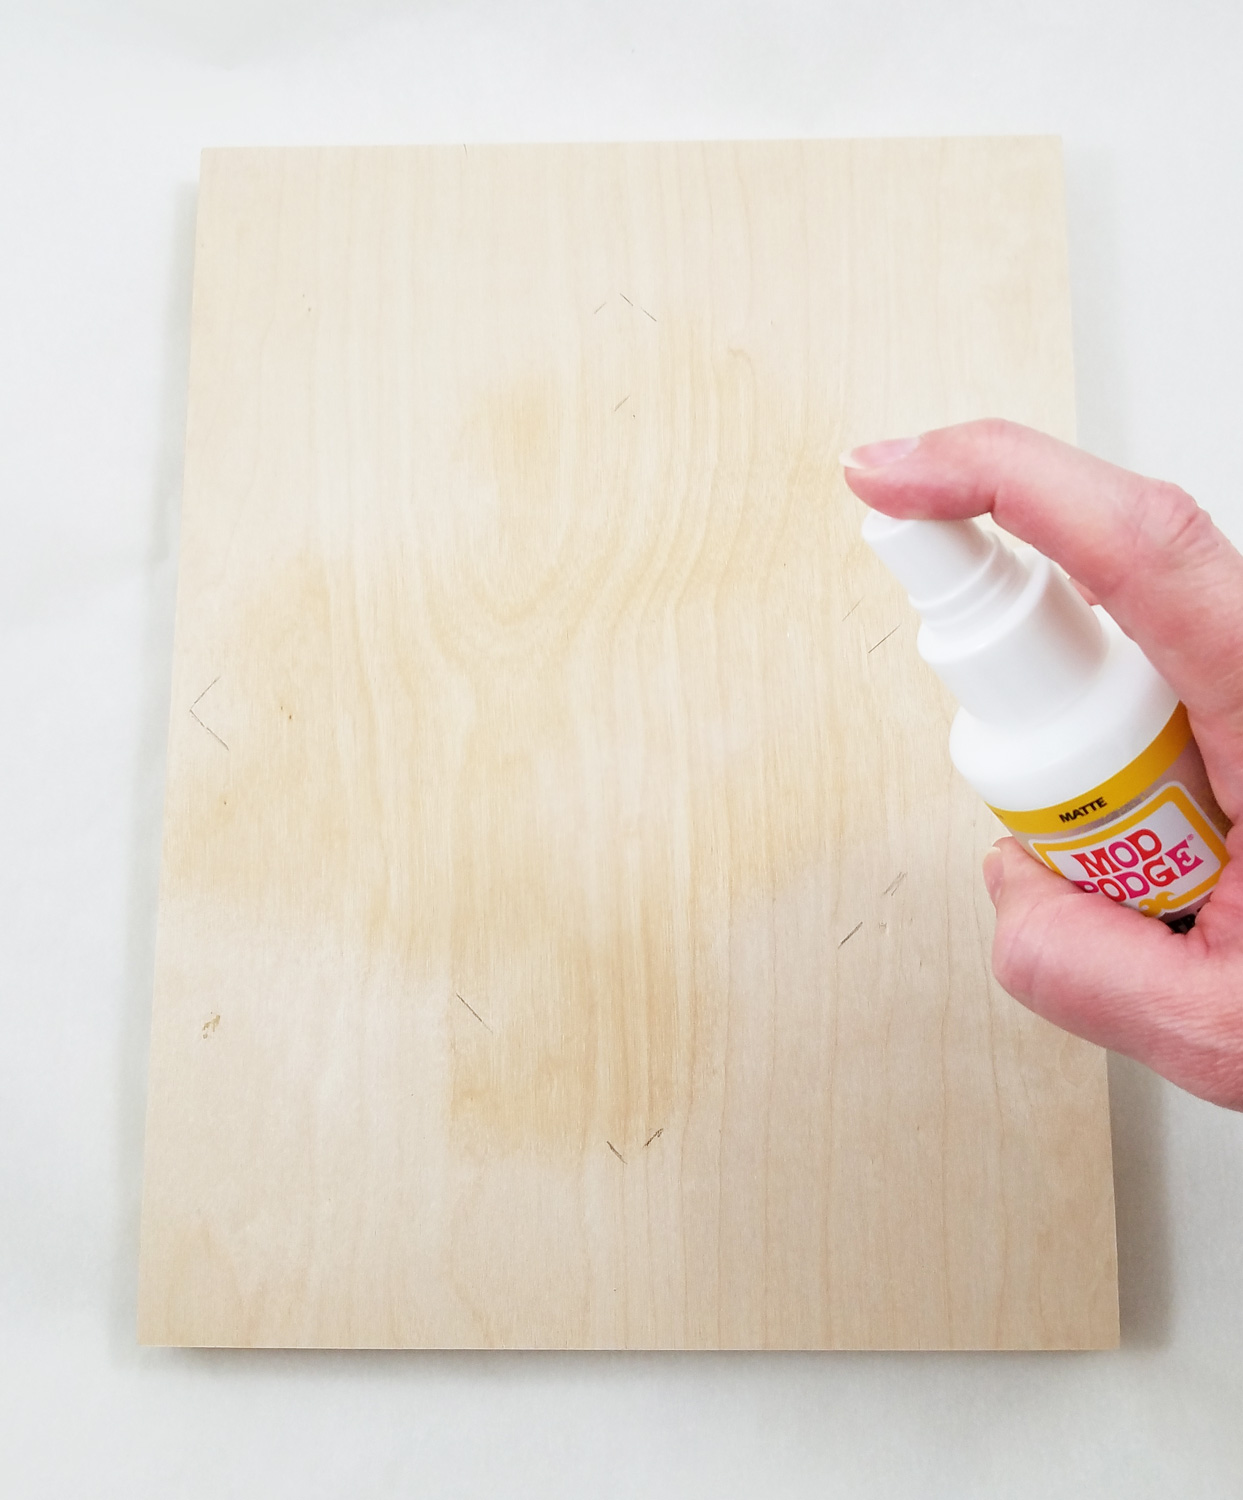
Making sure my wood board was clean of dust or particles I sprayed it with Mod Podge Ultra Matte in the pencil outline of the diamond.
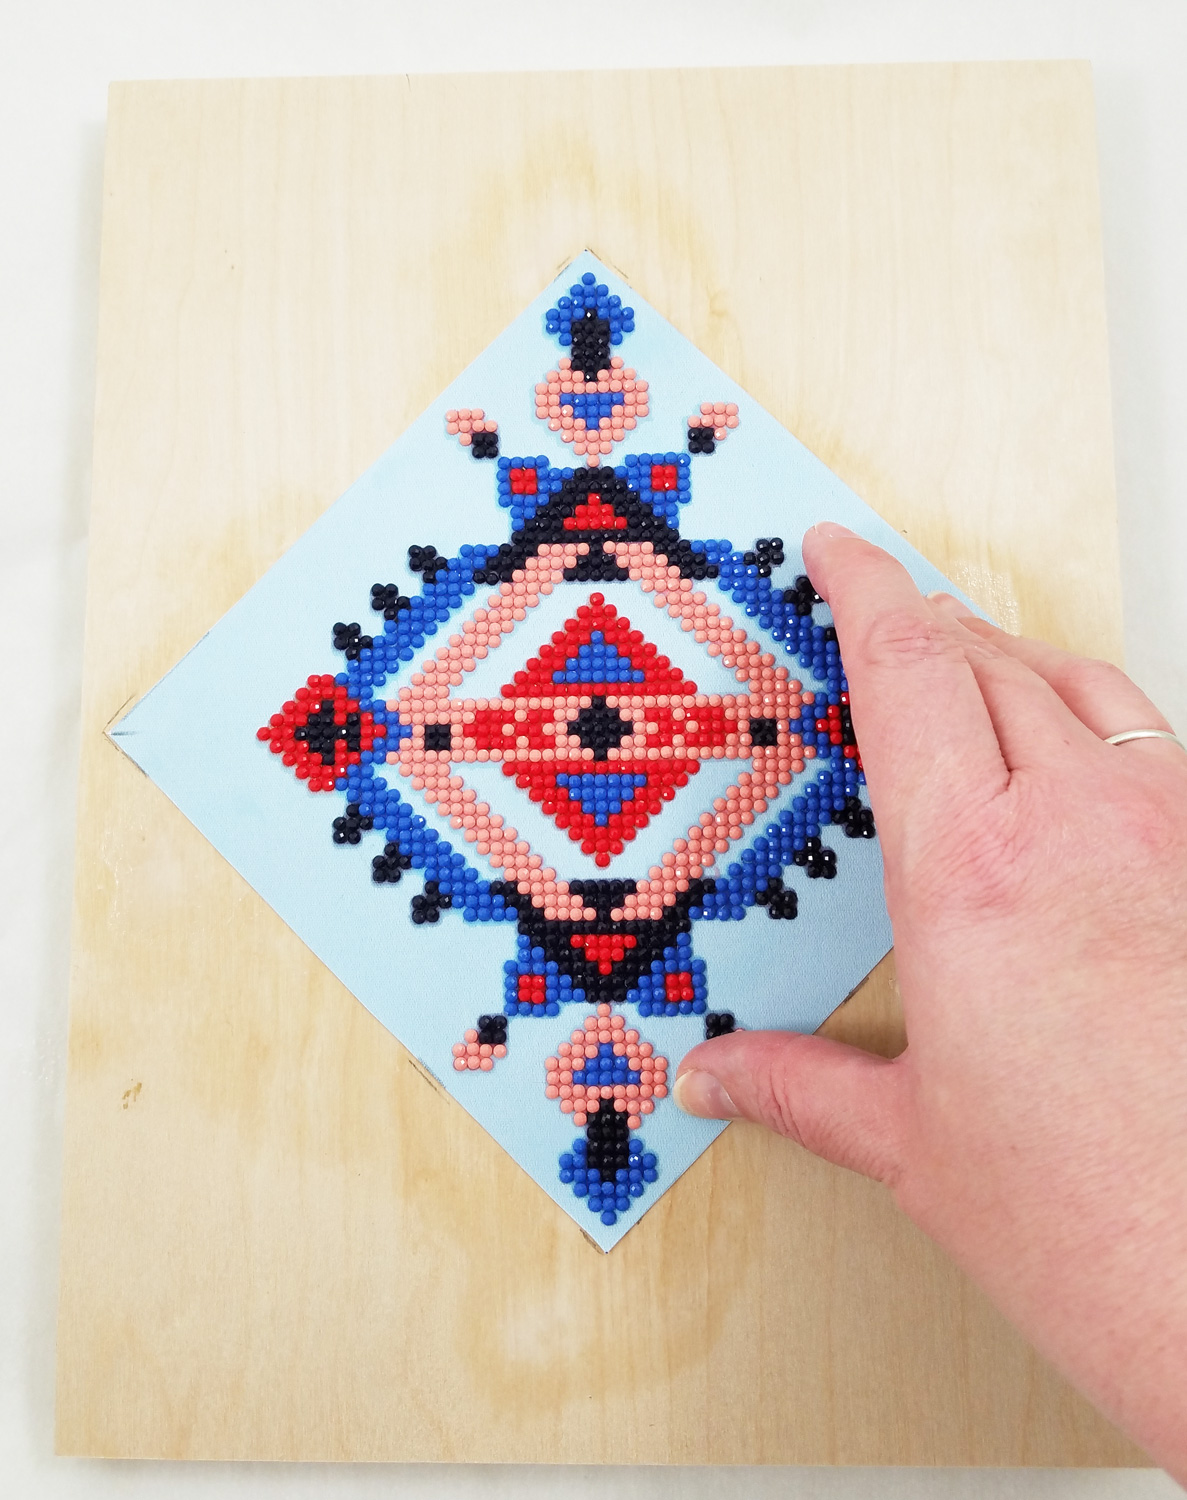
Quickly and carefully I applied the diamond canvas to the coated wood board. I applied firm pressure to the canvas. The spray version of Mod Podge Matte makes it much easier to apply fabric without a worry of oversaturation or bubbles forming. I let the Mod Podge fully dry.
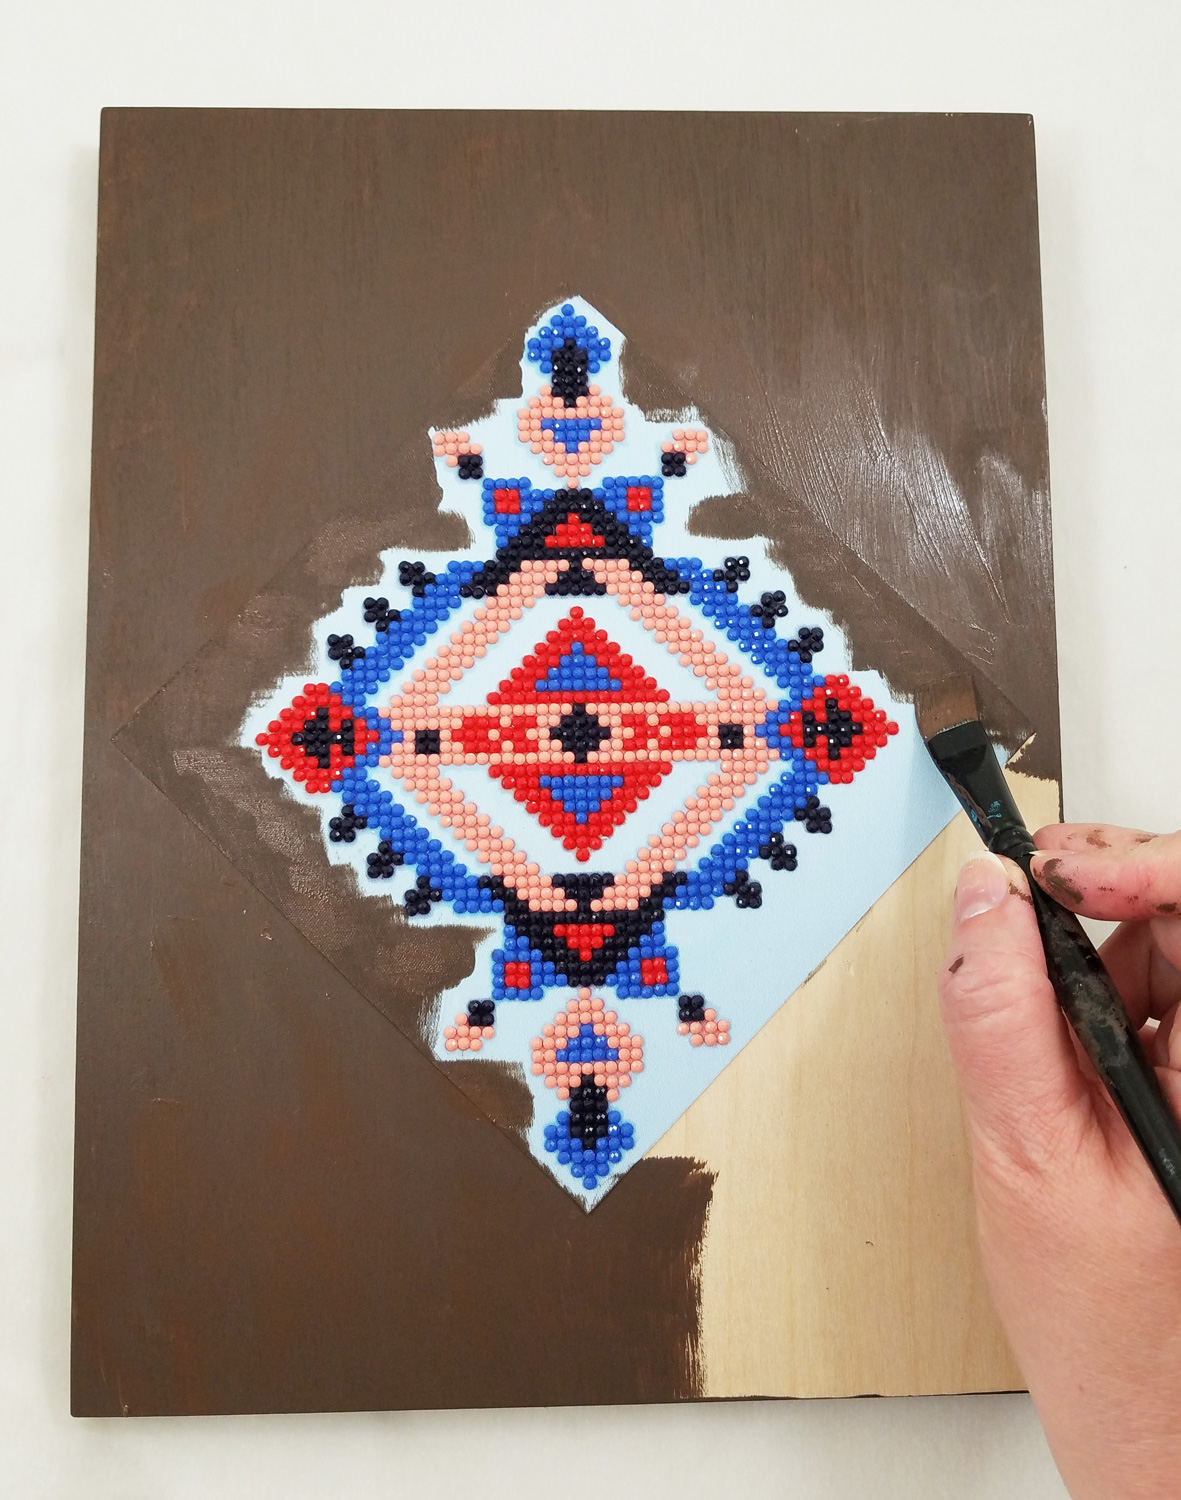
Making sure to cover the sides and front of the wood board I applied on FolkArt Home Deco Chalk Paint in Java. Using the flat paint brush to apply paint to the open sections of the wood board and the round brush for the detailed sections around the diamonds. The Tribe Design canvas had a tendency to soak up more paint, so I applied a bit more paint to make sure there was even coverage.
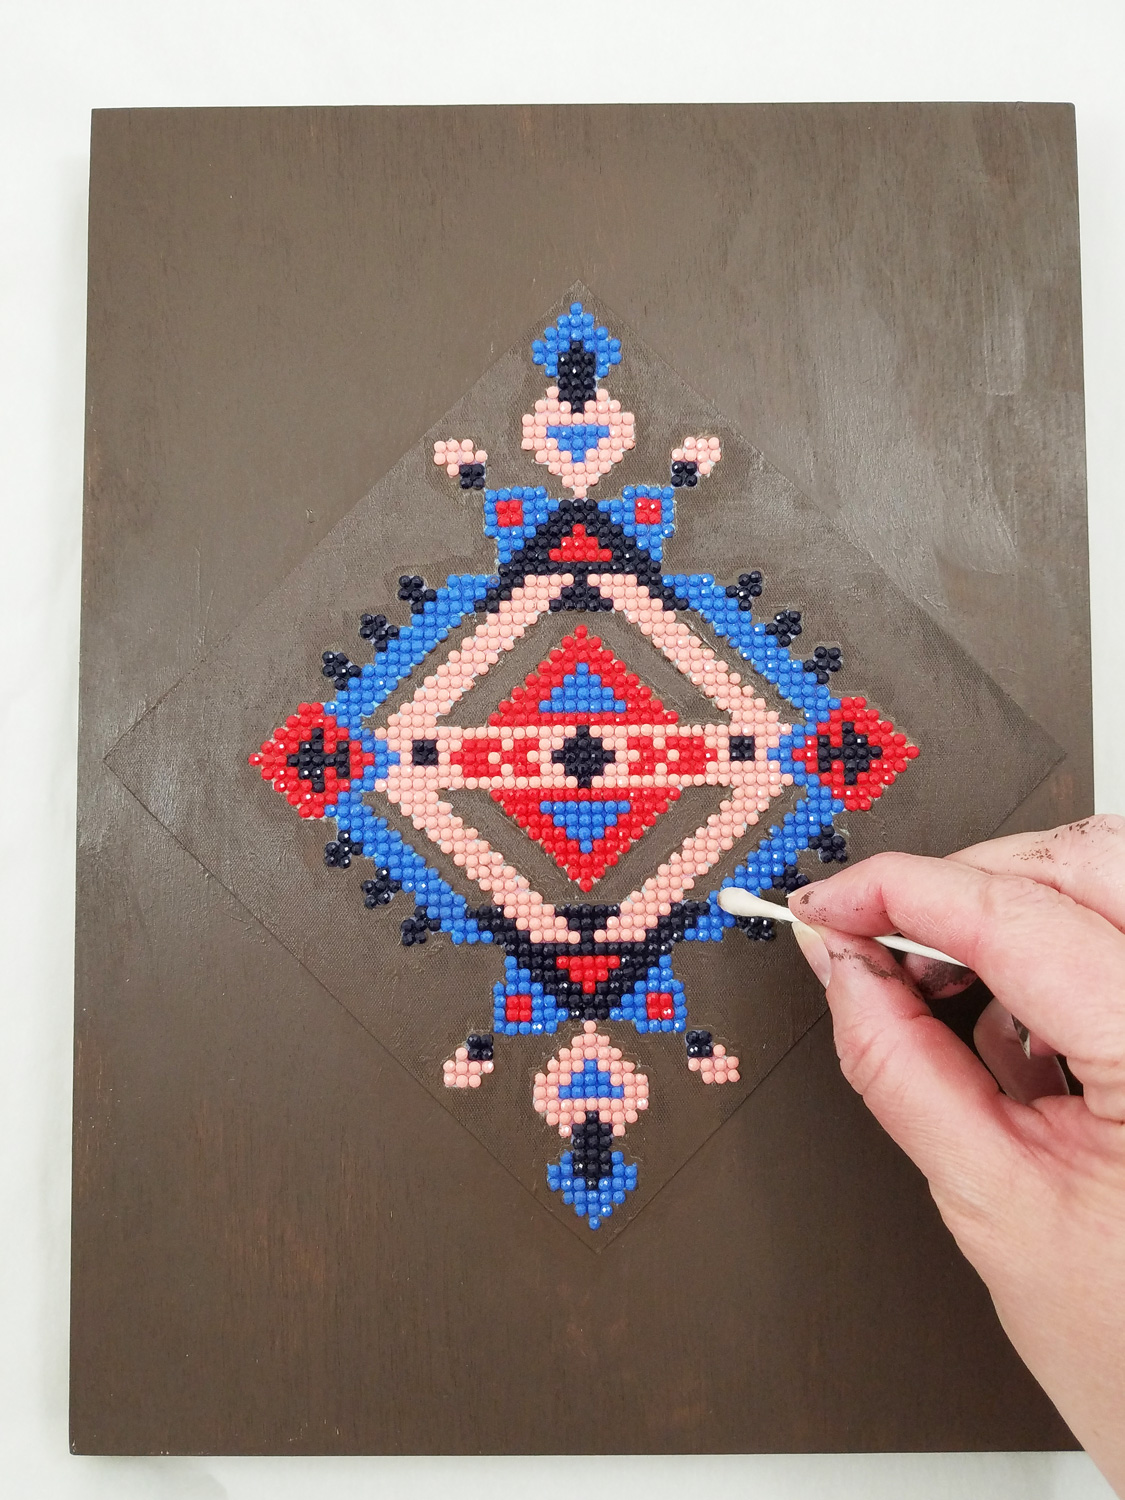
Before the paint fully cured I used cotton swabs dipped in isopropyl alcohol to remove any paint that accidently covered the diamonds. I then let the paint fully cure before the next step.
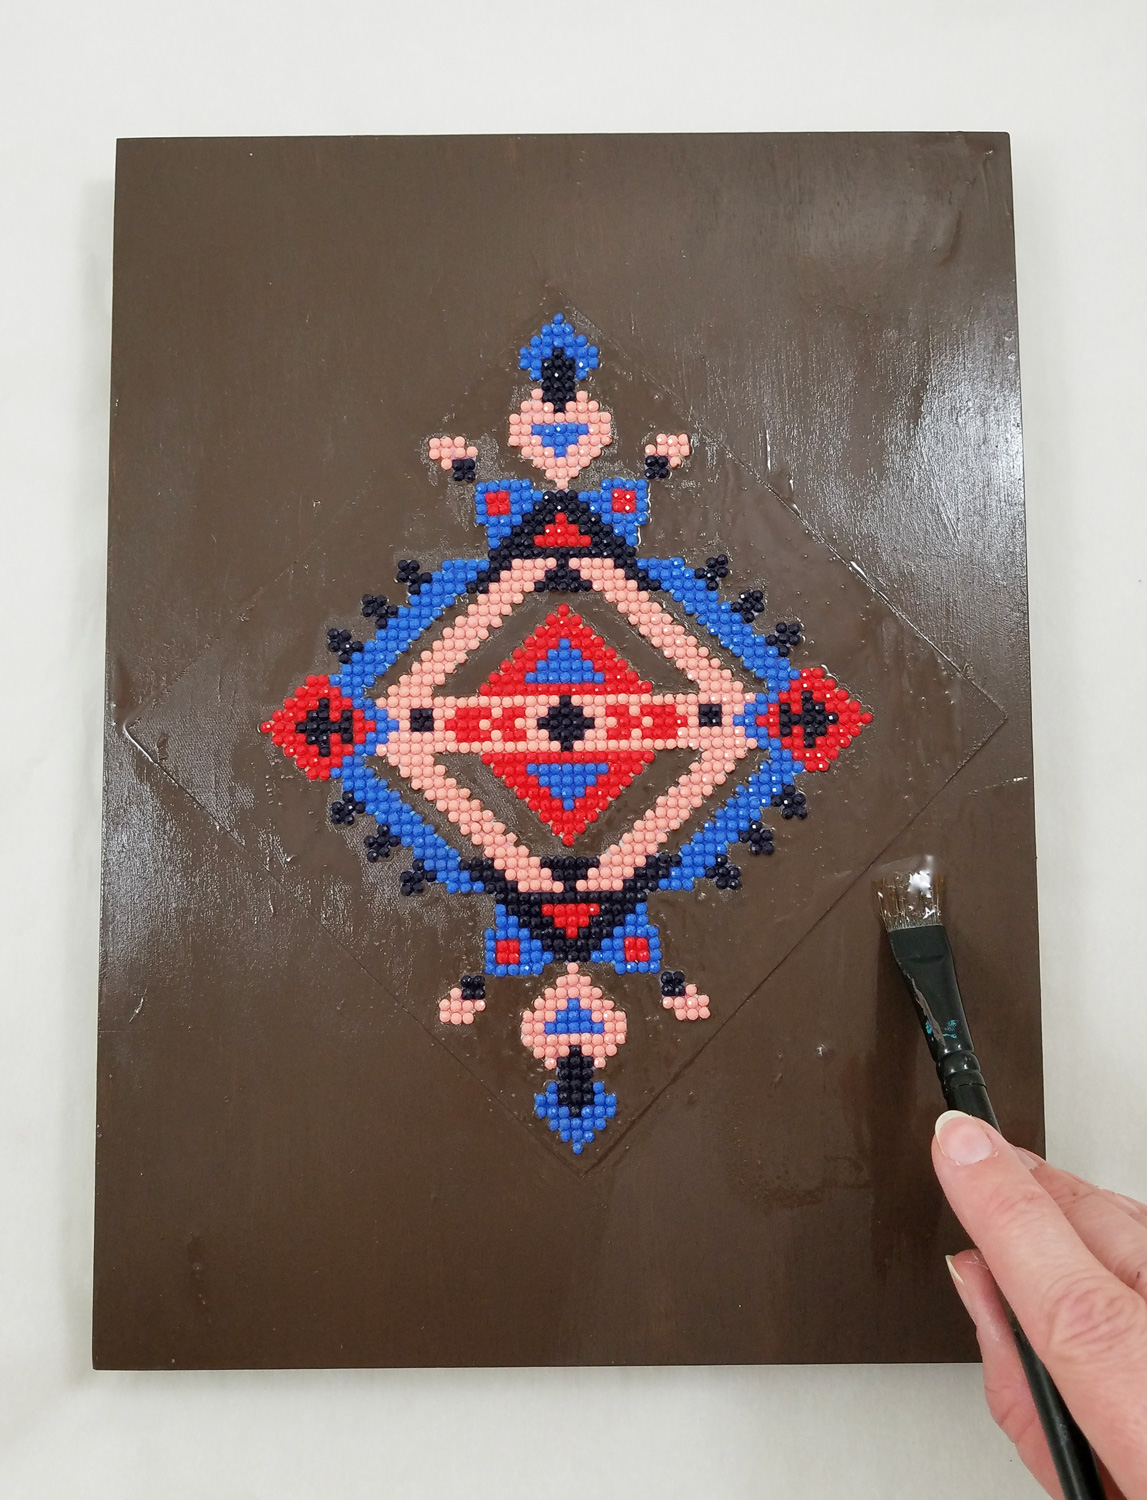
On the now dry paint I applied FolkArt Crackle Medium, careful to not over brush and to only apply the medium in one direction. This would ensure a better crackle formation later on. I let this layer fully dry.
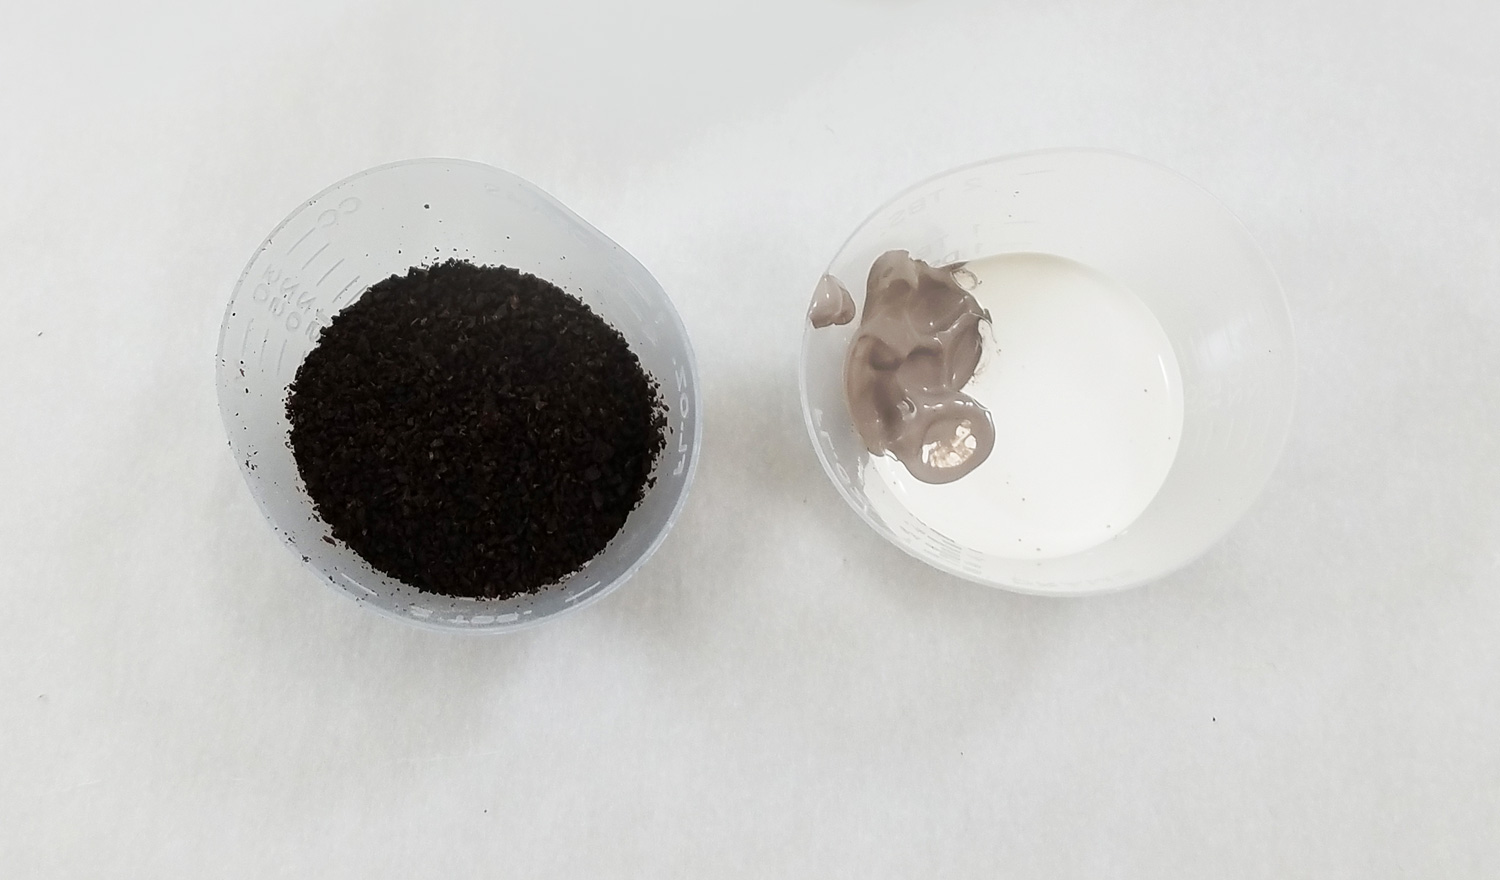
To create a highly textured topcoat I mixed a tablespoon of used and dried coffee grounds in a small cup, with 4 parts FolkArt Home Decor Chalk Paint in White Adirondack, with 1 part Parisian Grey.
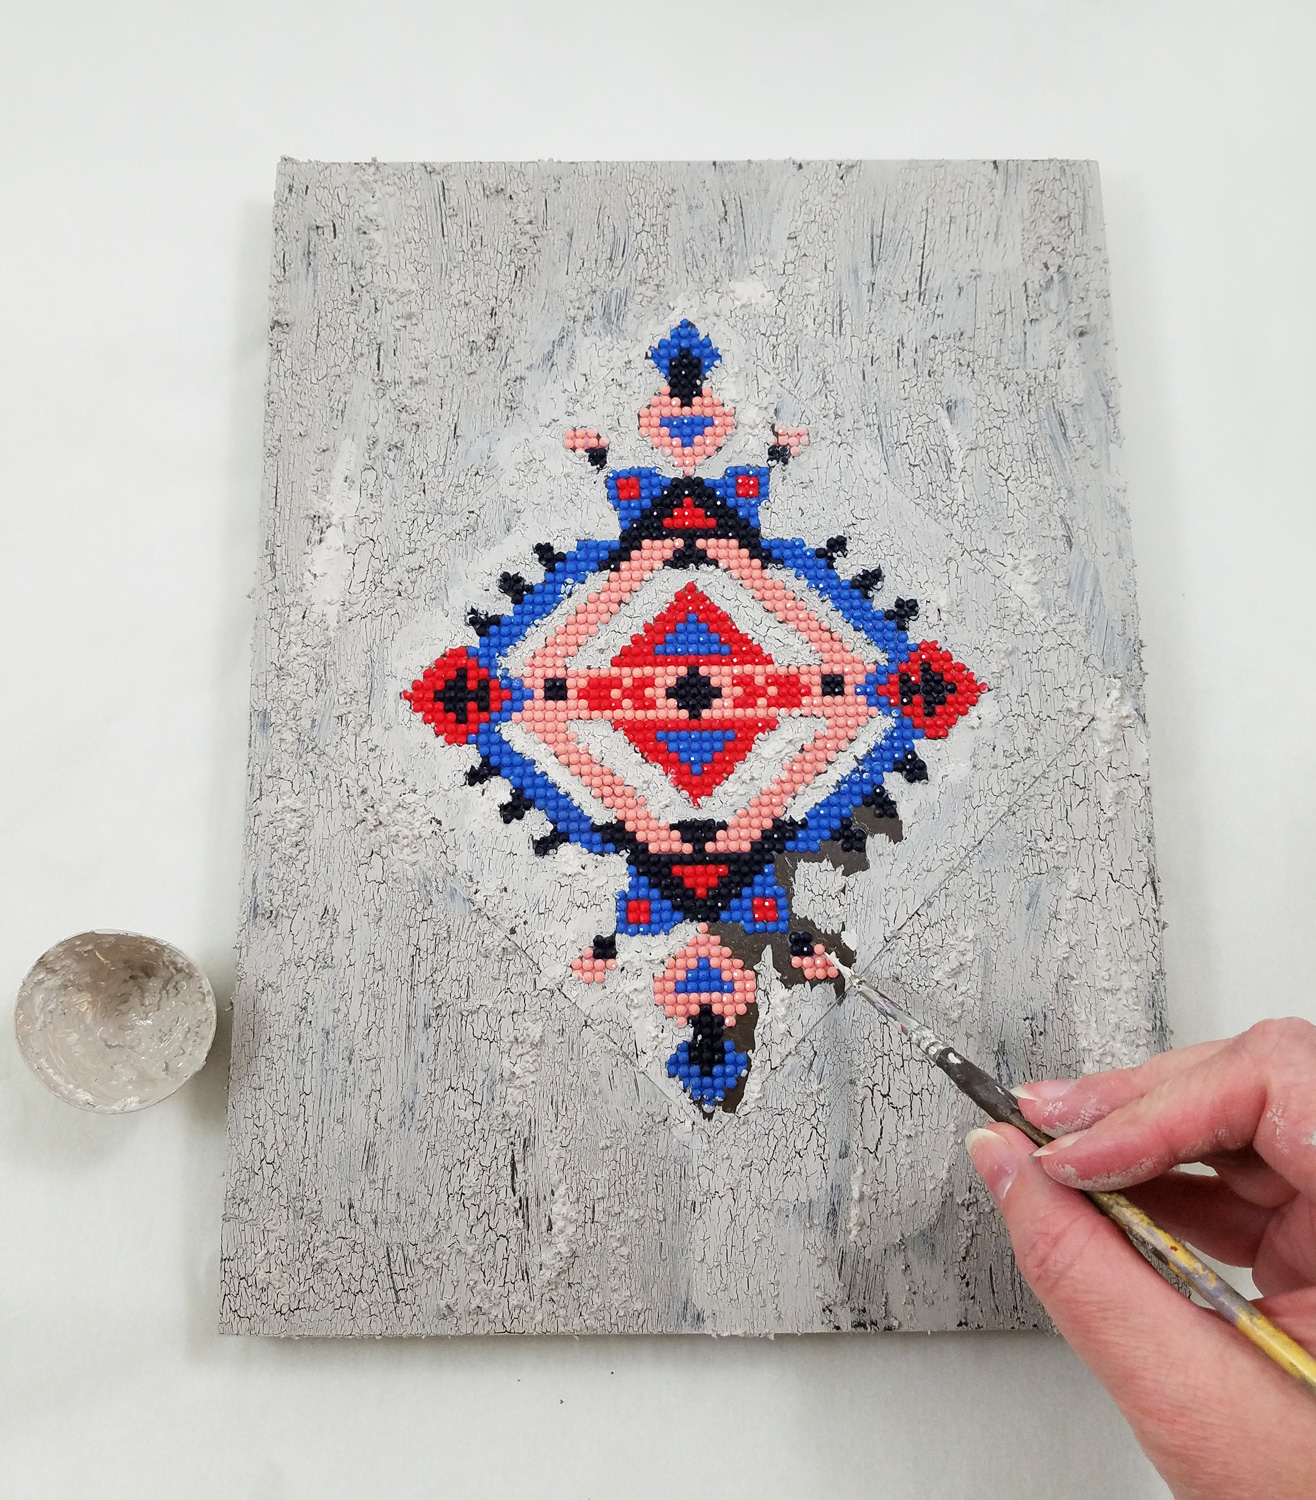
I quickly applied my textured topcoat to the crackle layer, making sure once again to not over paint, and for the most part, go only one direction with the brush strokes. Any time the paint built up too much on the brush I cleaned the paint brush with a paper towel and then reapplied fresh paint mixture to the brush.
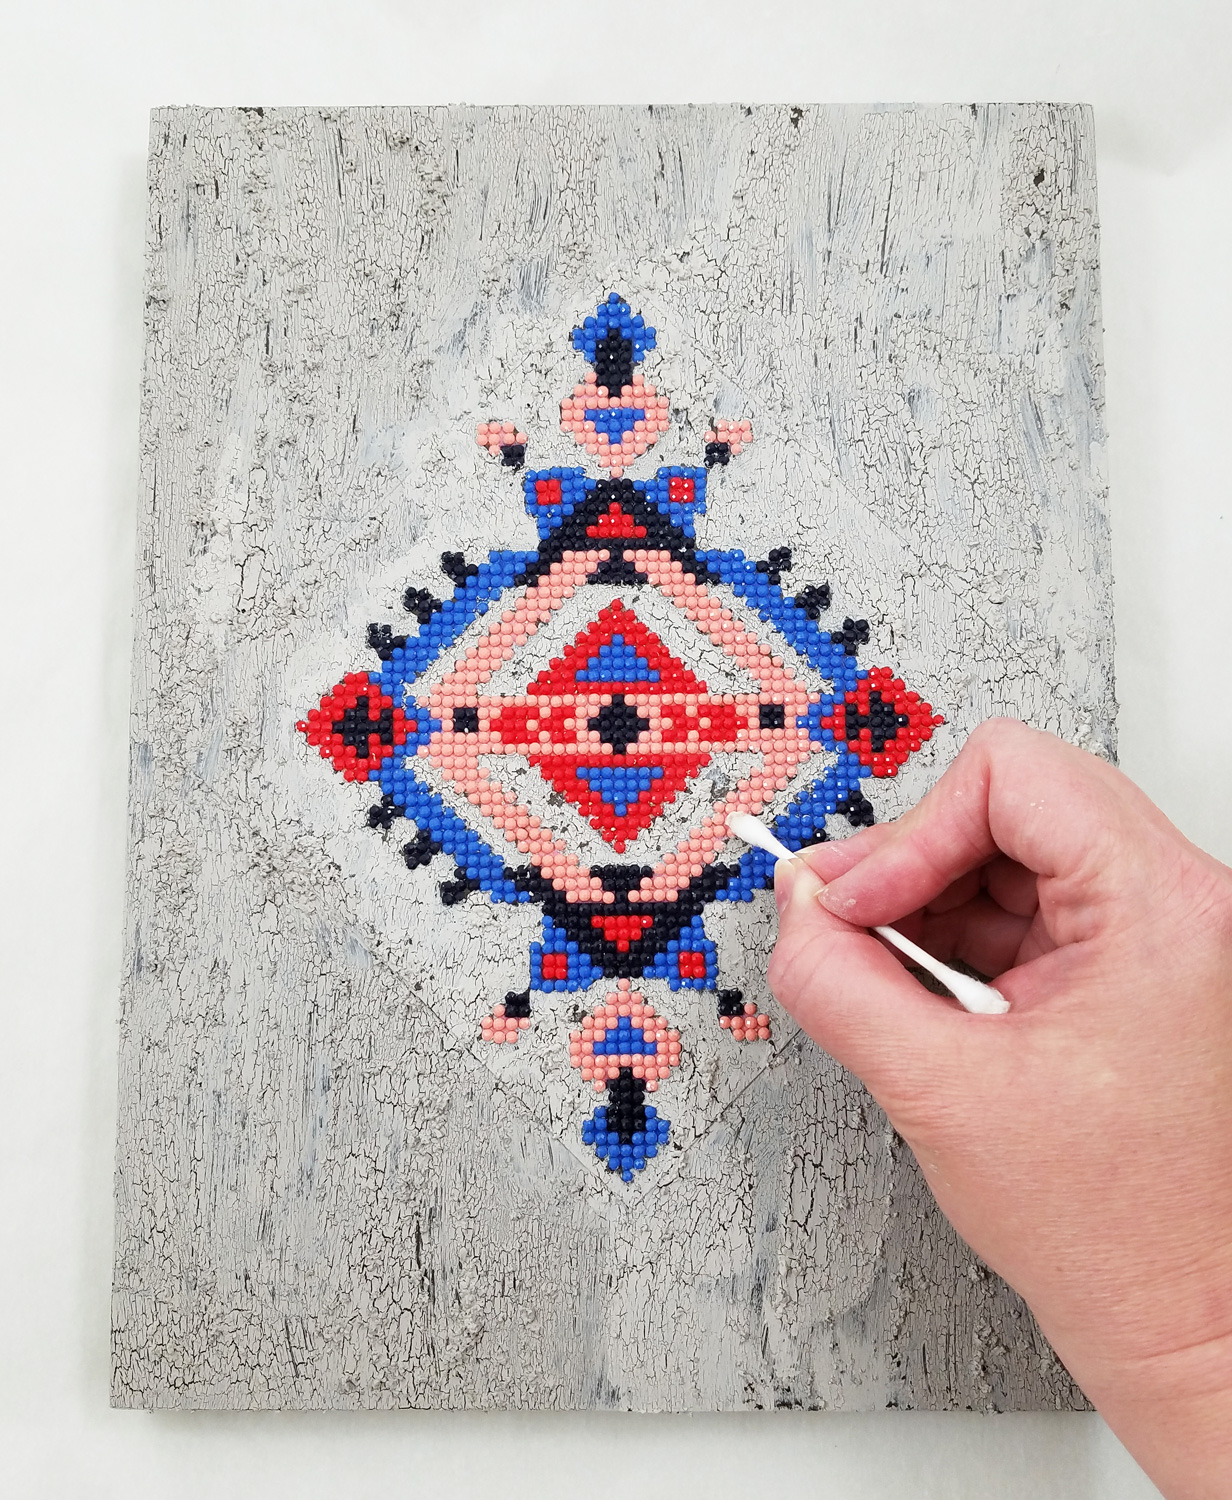
Once again before the paint fully cured I used cotton swabs dipped in isopropyl alcohol to remove any paint that accidentally covered the diamonds. I then let the paint fully cure before the next step.
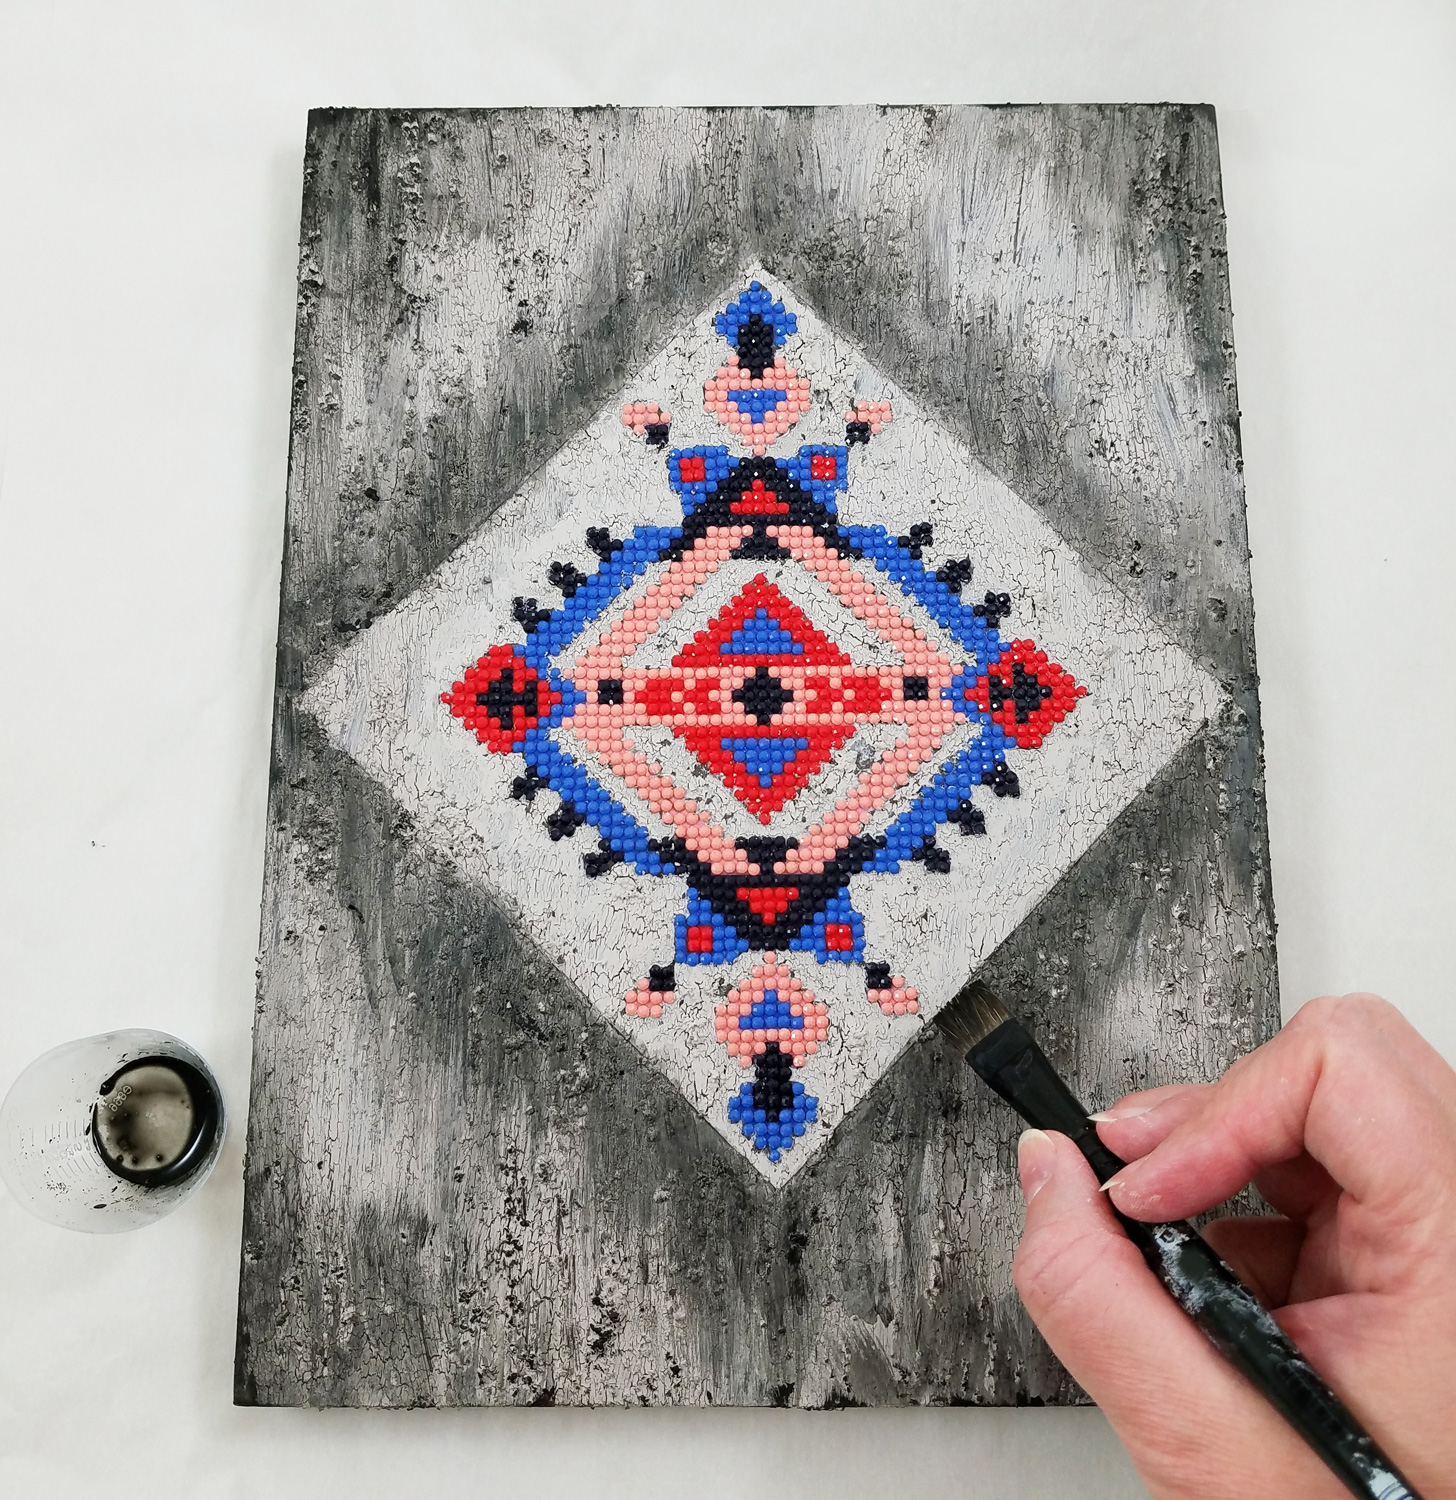
In a small cup I heavily diluted some Black FolkArt Home Decor Chalk Paint with some water and applied it to the cracks, textured elements and raised portions of the wood board, careful to avoid the flat backed diamond pattern. I left the paint to fully dry.
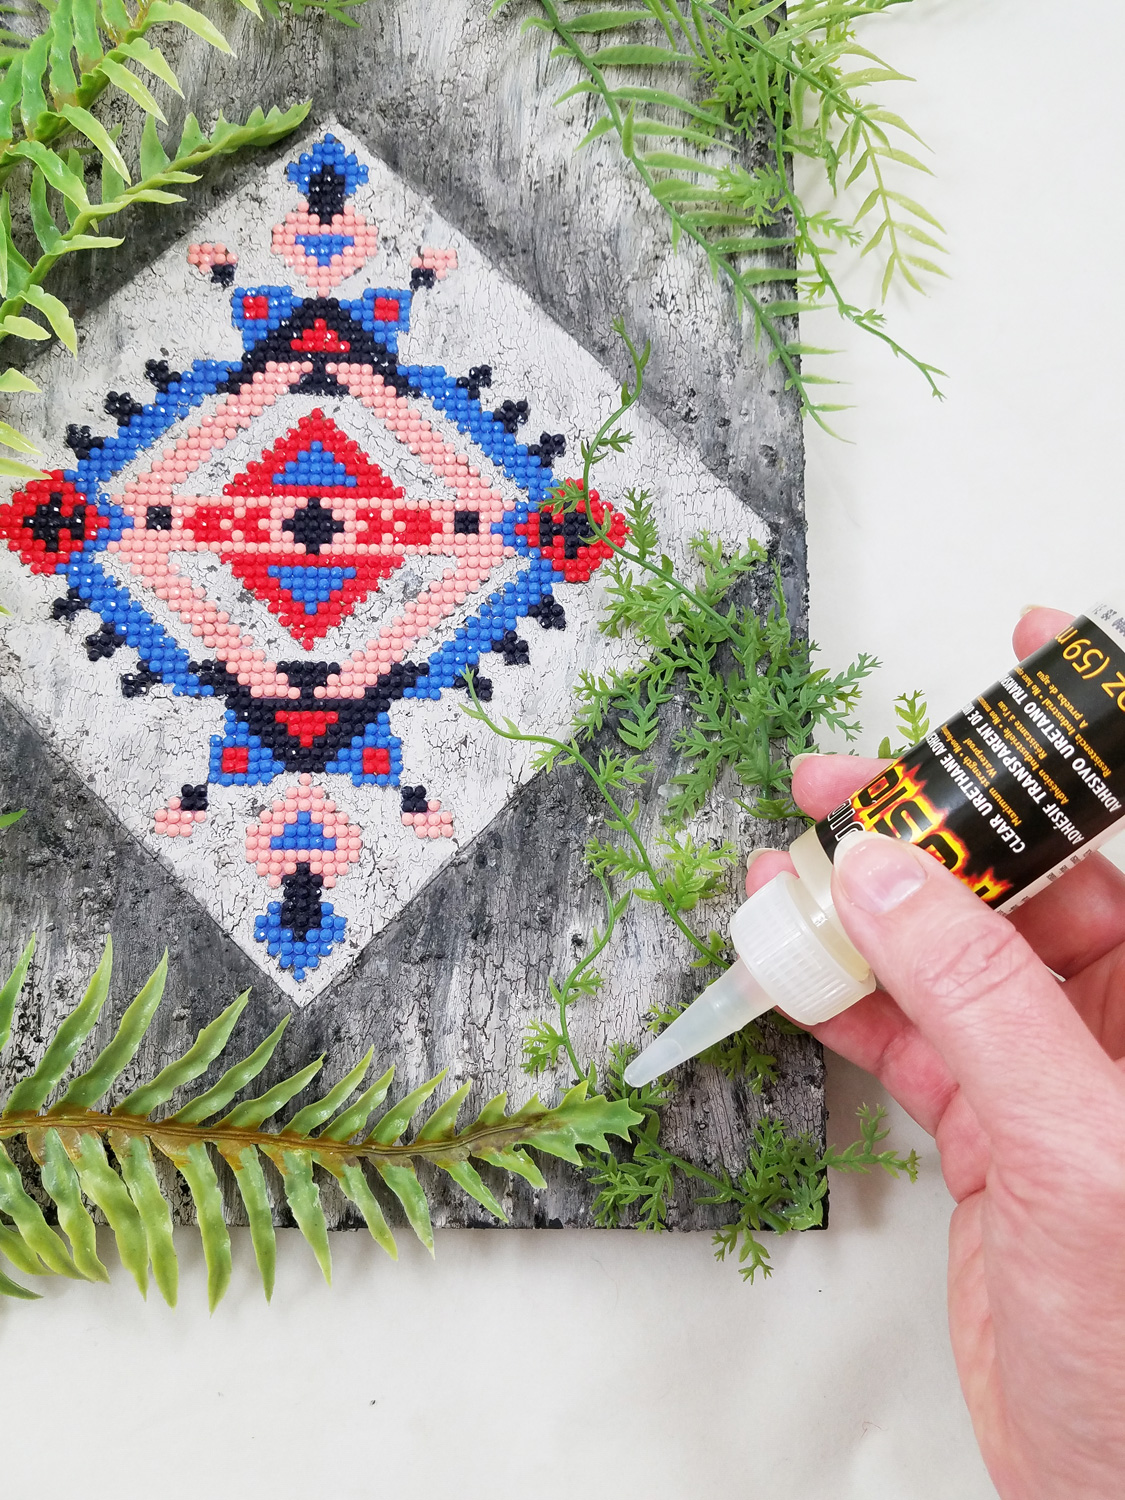
I cut and placed the artificial tropical plants on the board, finding the placement I liked best, gluing the plants in place with Liquid Fusion Clear Urethane Glue. Once the glue was fully cured my pieces was ready to be displayed.
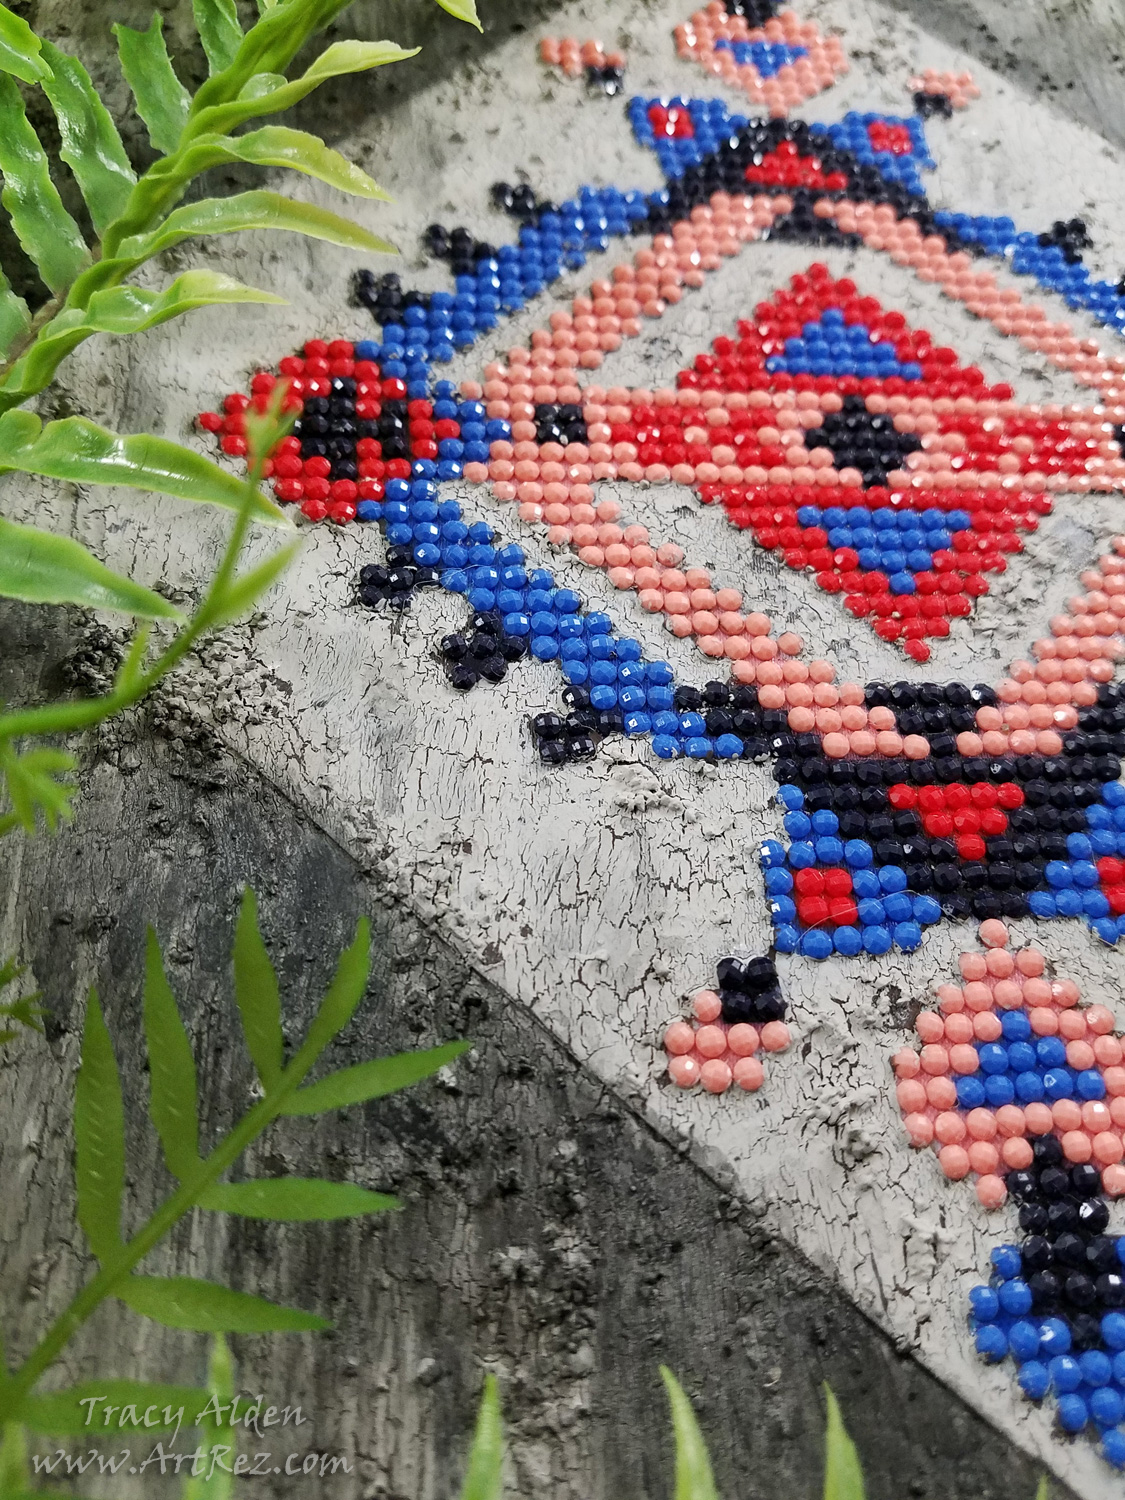
Until next time, safe travels!
*This is an affiliate post, which means I received an assortment of products as a compensation for the creation of art. To read my full disclosure, click here. Crafty Adventures with Resin and Orchids
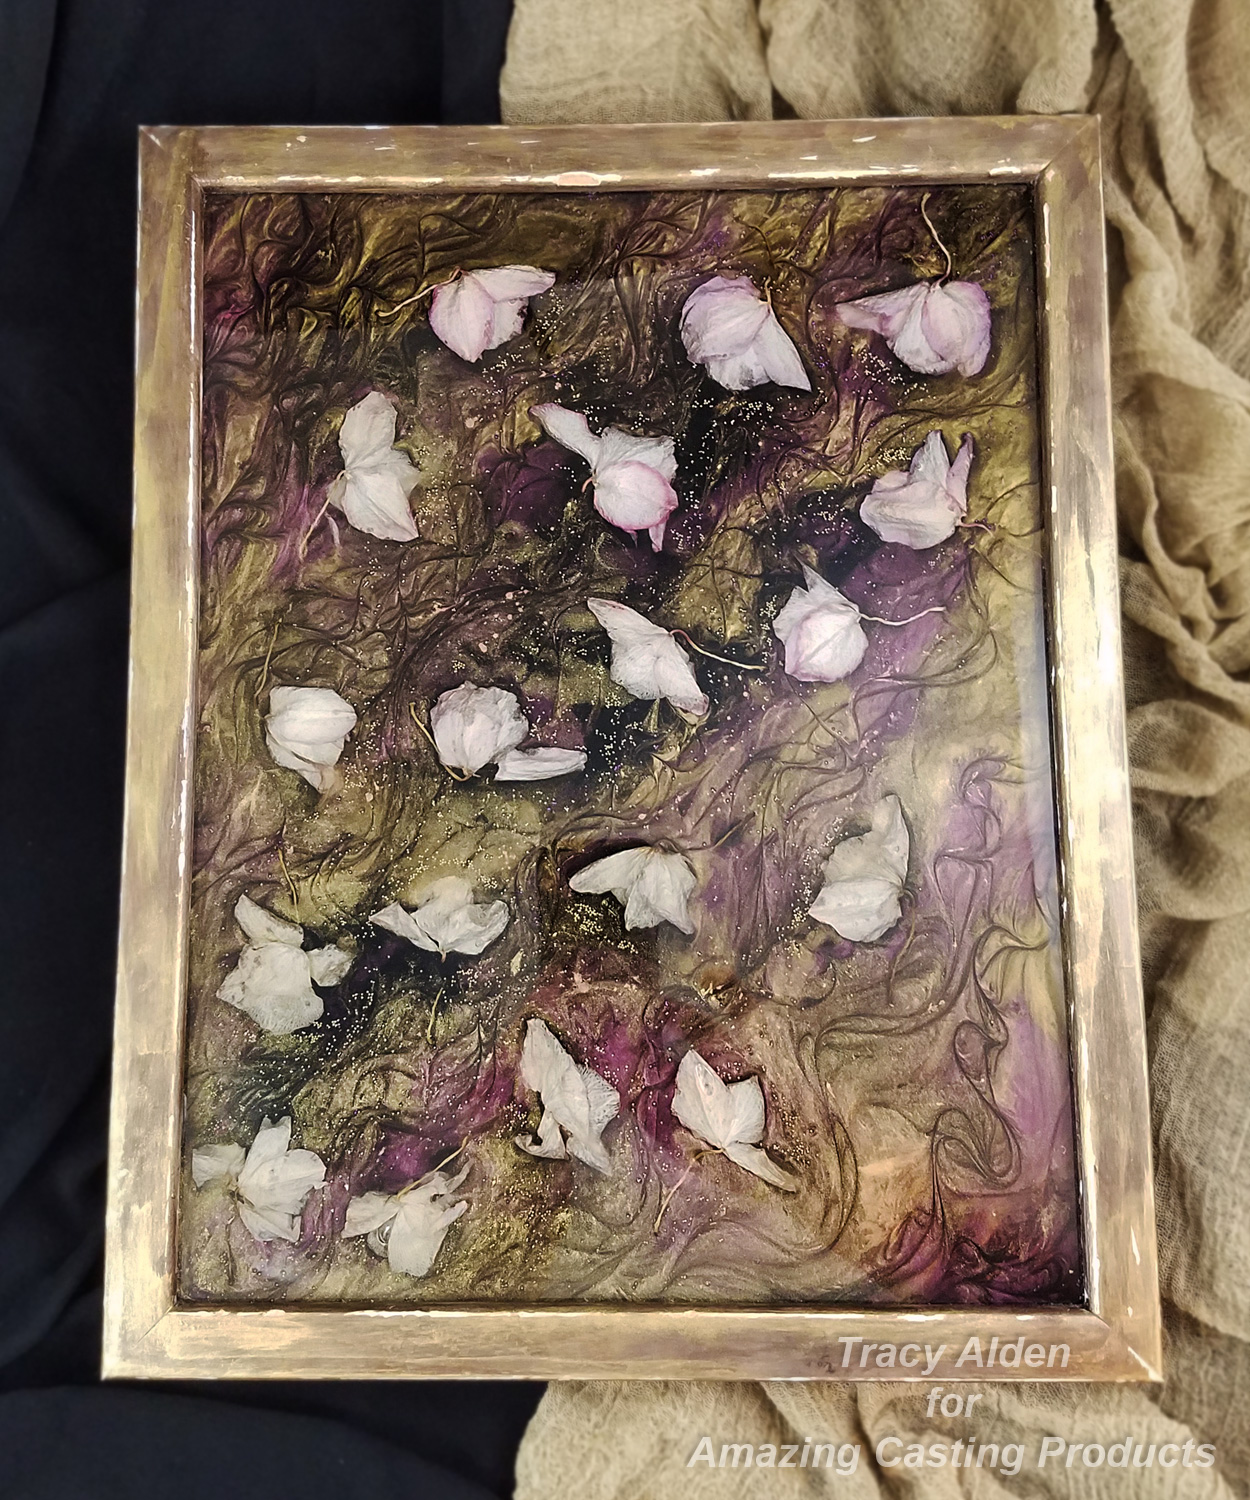
Many of my art projects are tests of both art products and my ability to create. I can collect supplies, start working on something, even get a basic idea of what I would like to do, and end up making something completely different. Being able to adapt and still make a complete project that I can be happy with is my ideal goal, and thankfully this one ended up that way.
Starting with a small collection of orchid blooms that I had dried, I wanted to try to preserve in resin. Dried orchid blooms are very delicate, easily crumbling if mishandled. I decided a frame was the best choice to display the dried orchids and be able to hold the resin in place.
Supplies:
Amazing Clear Cast Resin
Black Alumilite Dye
Alumidust powders Light Pink, Interference Red, Yellow Gold and Brown
Liquitex Gloss Varnish
Dried Flowers
Toothpicks
Stir Sticks
Paint Brush
Acrylic Paint
Picture Frame
Micro Hole-less Glass Beads in Gold and Purple
Measuring Cups
Parchment Paper (Found in the Baking section of most stores) to protect work surfaces
Glue
Baby Wipes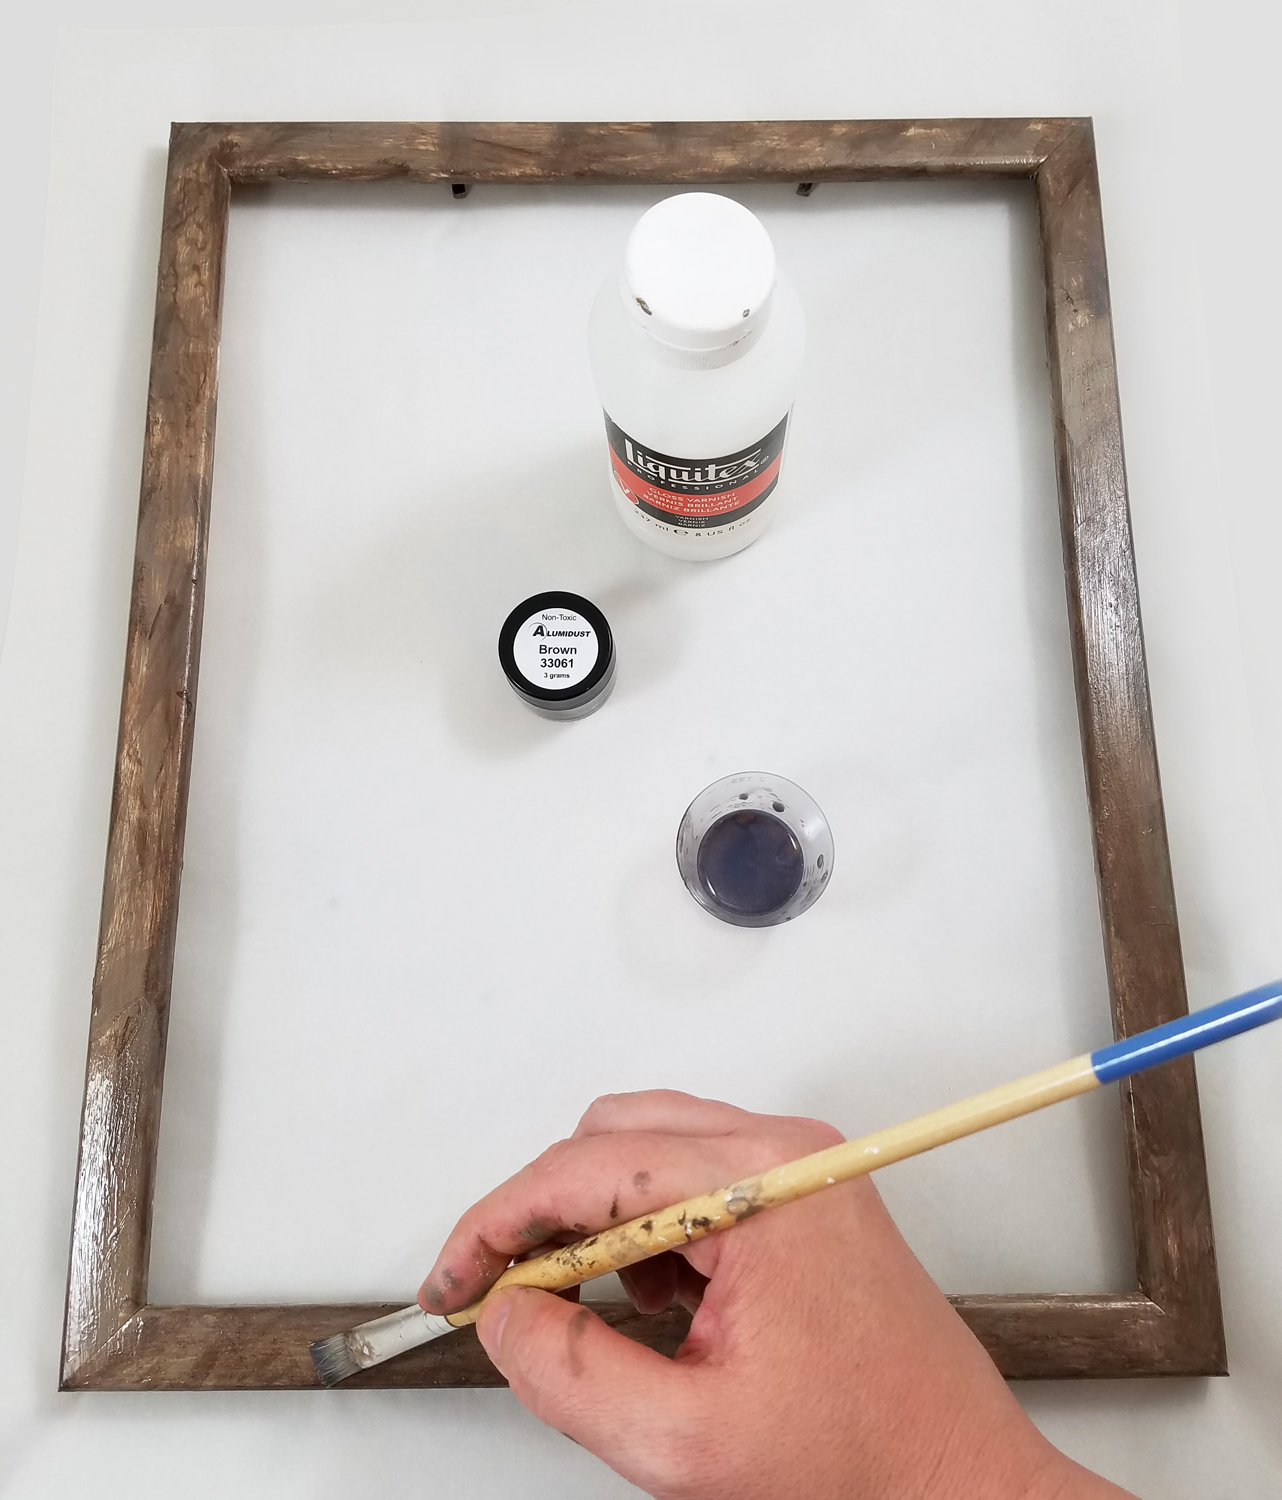
I started with removing the glass and back panel of an old frame. I scrubbed the frame clean and painted the back and front of the frame with 2 coats of paint. I mixed some Brown Alumidust powder with Liquitex Gloss Varnish, as a protective varnish layer over the paint. I let the varnish dry overnight.
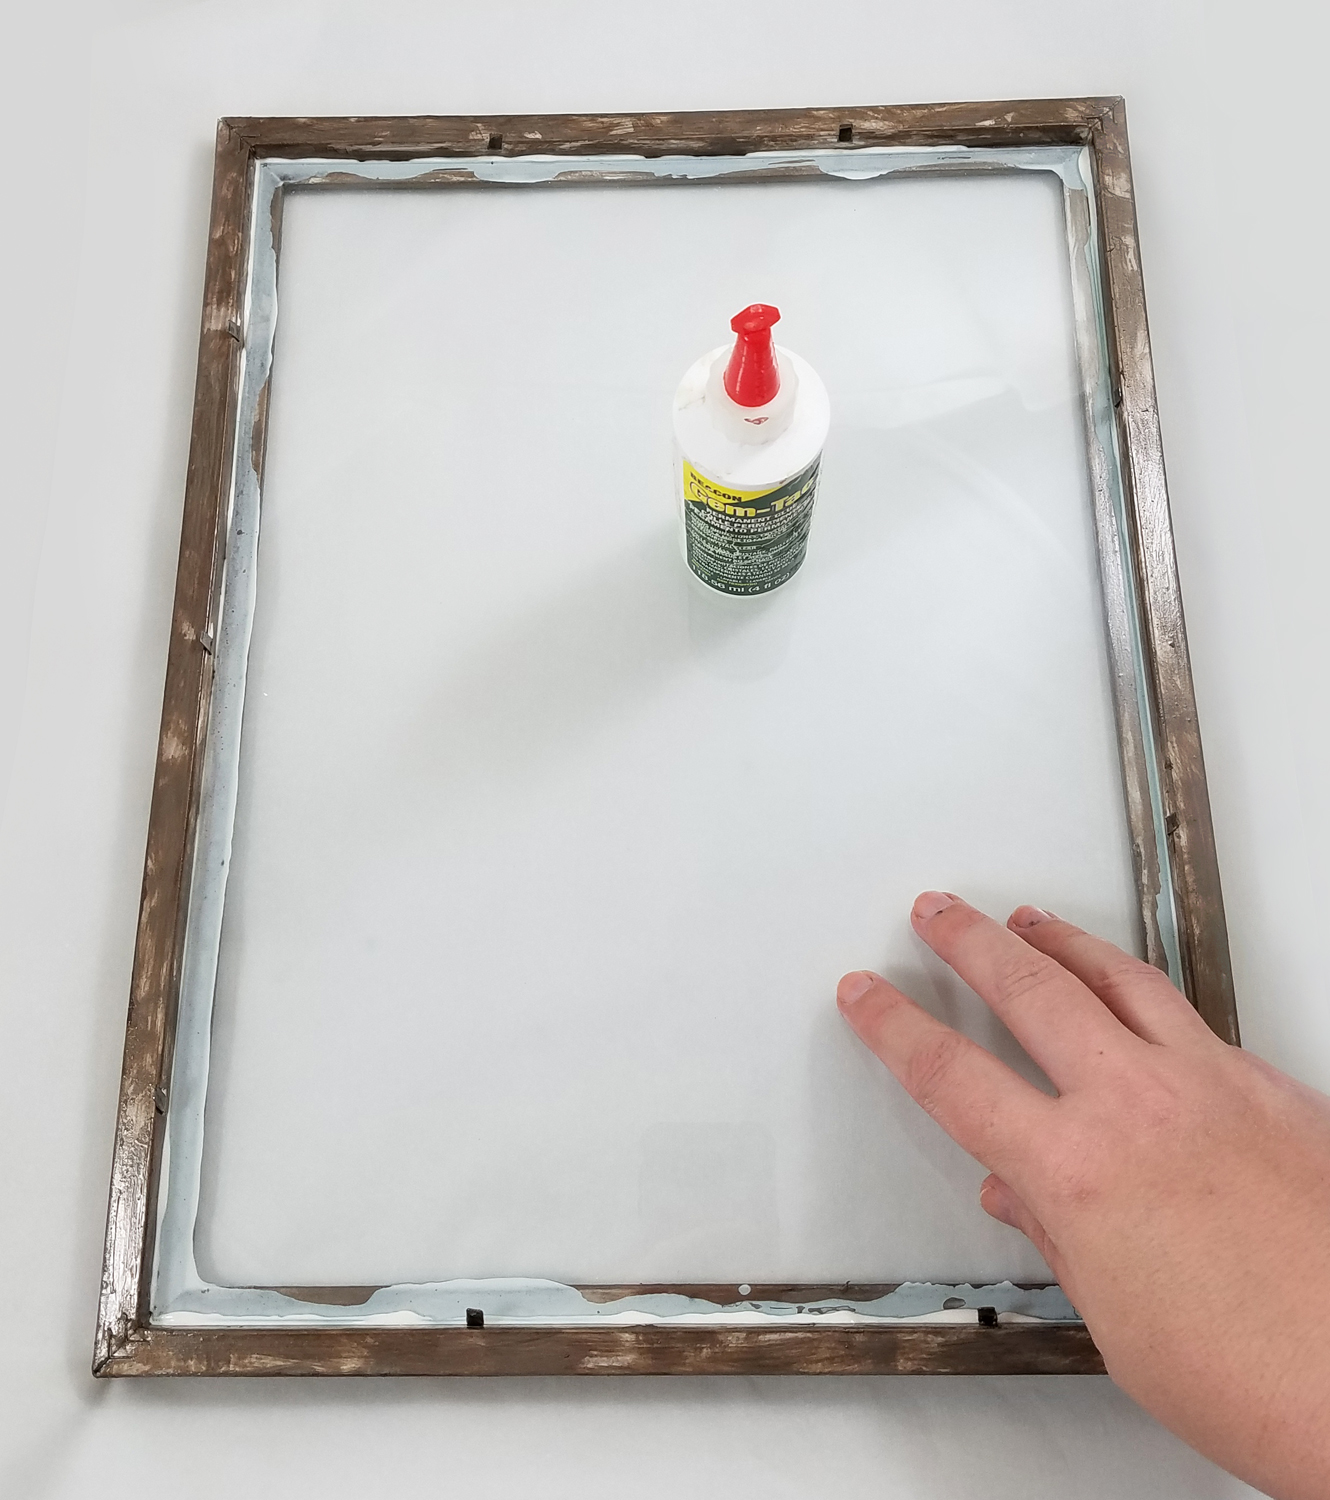
I cleaned the glass panel and put it back into the frame. I glued the glass in place to make sure it wouldn’t shift while I worked on it and so resin wouldn’t leak around the edges later. I was careful to have a solid line of glue all the way around the frame and let it dry completely.
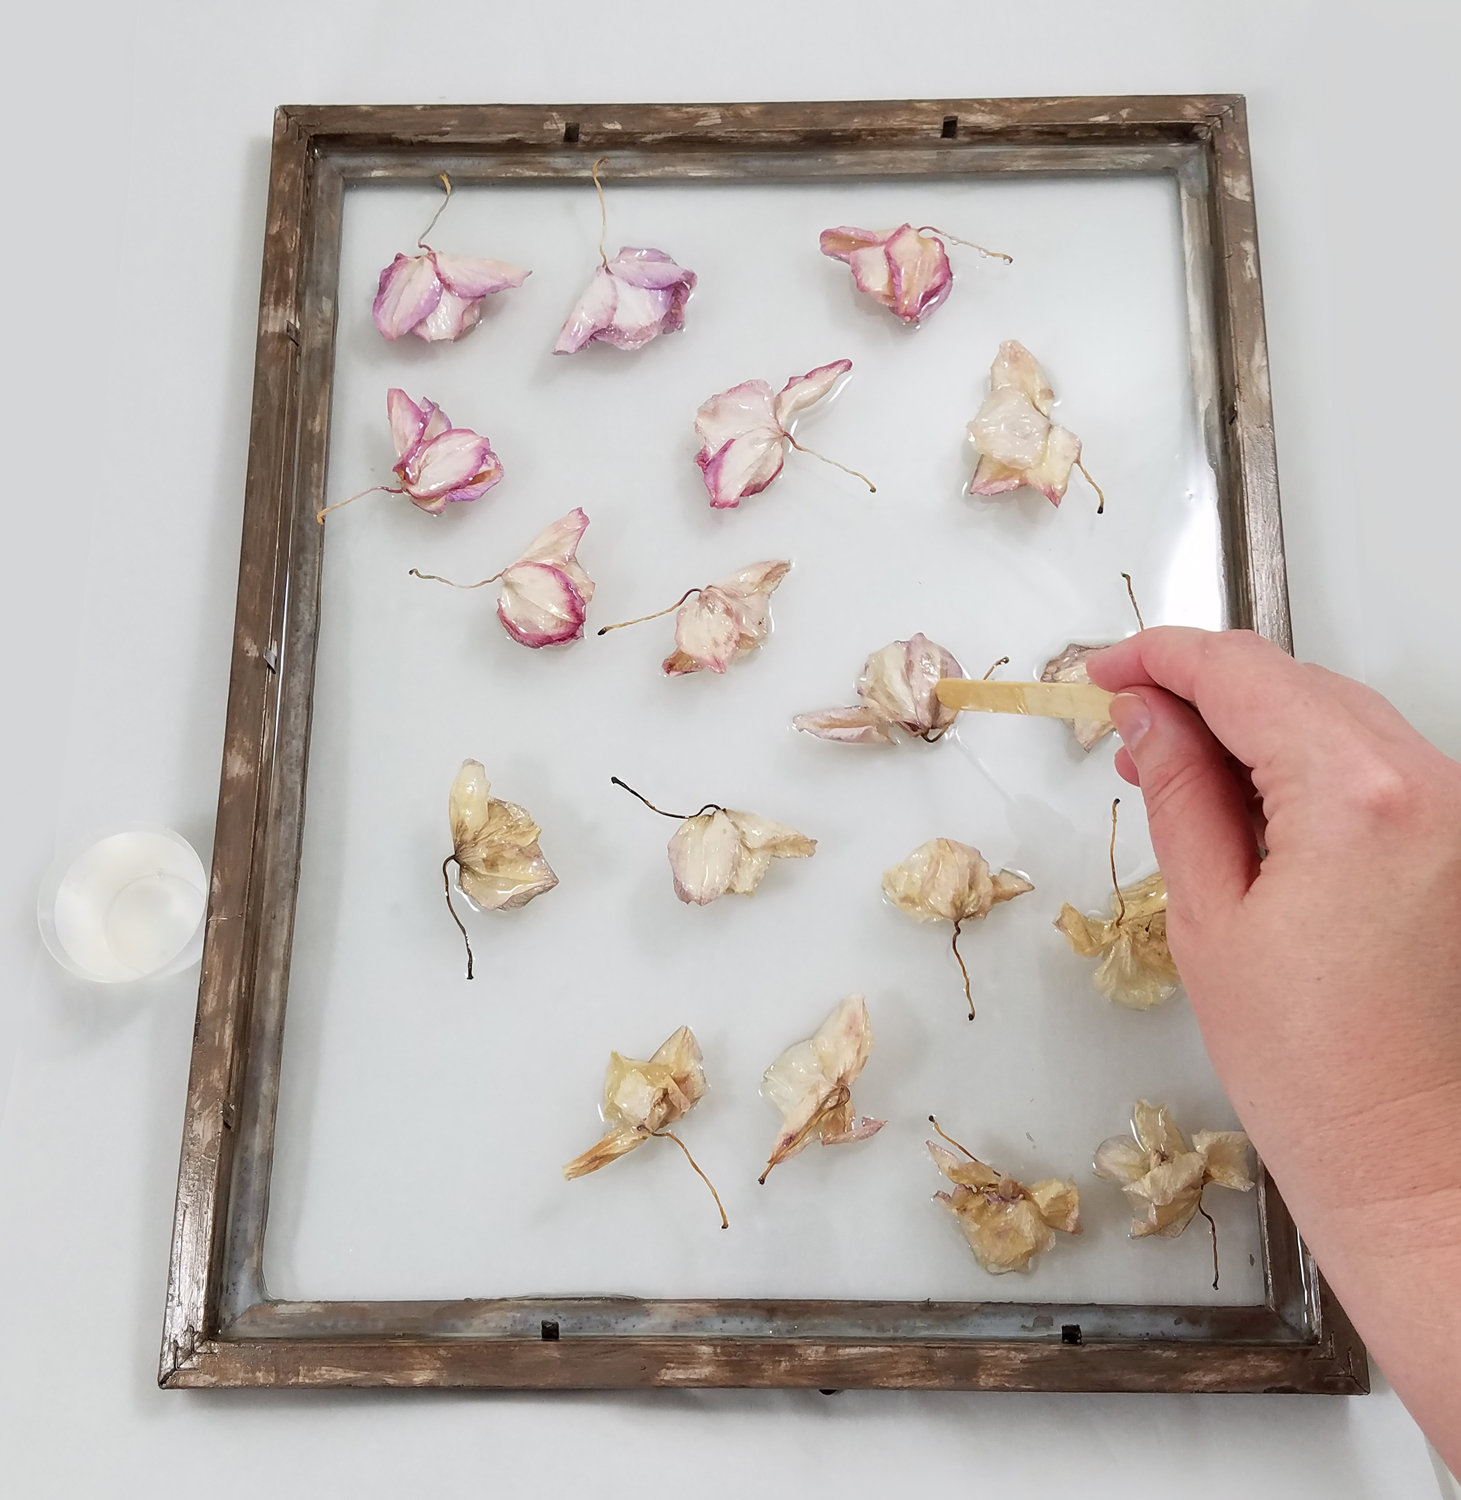
I mixed up some Amazing Clear Cast Resin, making sure to slowly stir to reduce air bubbles and let it sit for 5 minutes. I poured the resin into the frame and carefully placed the dried orchid blooms into the uncured resin. I found that with the first layer of Amazing Clear Cast Resin the orchid blooms had a tendency to shift in the resin. So the first layer of resin had to be a thin pour and I let that cure to a tacky set.
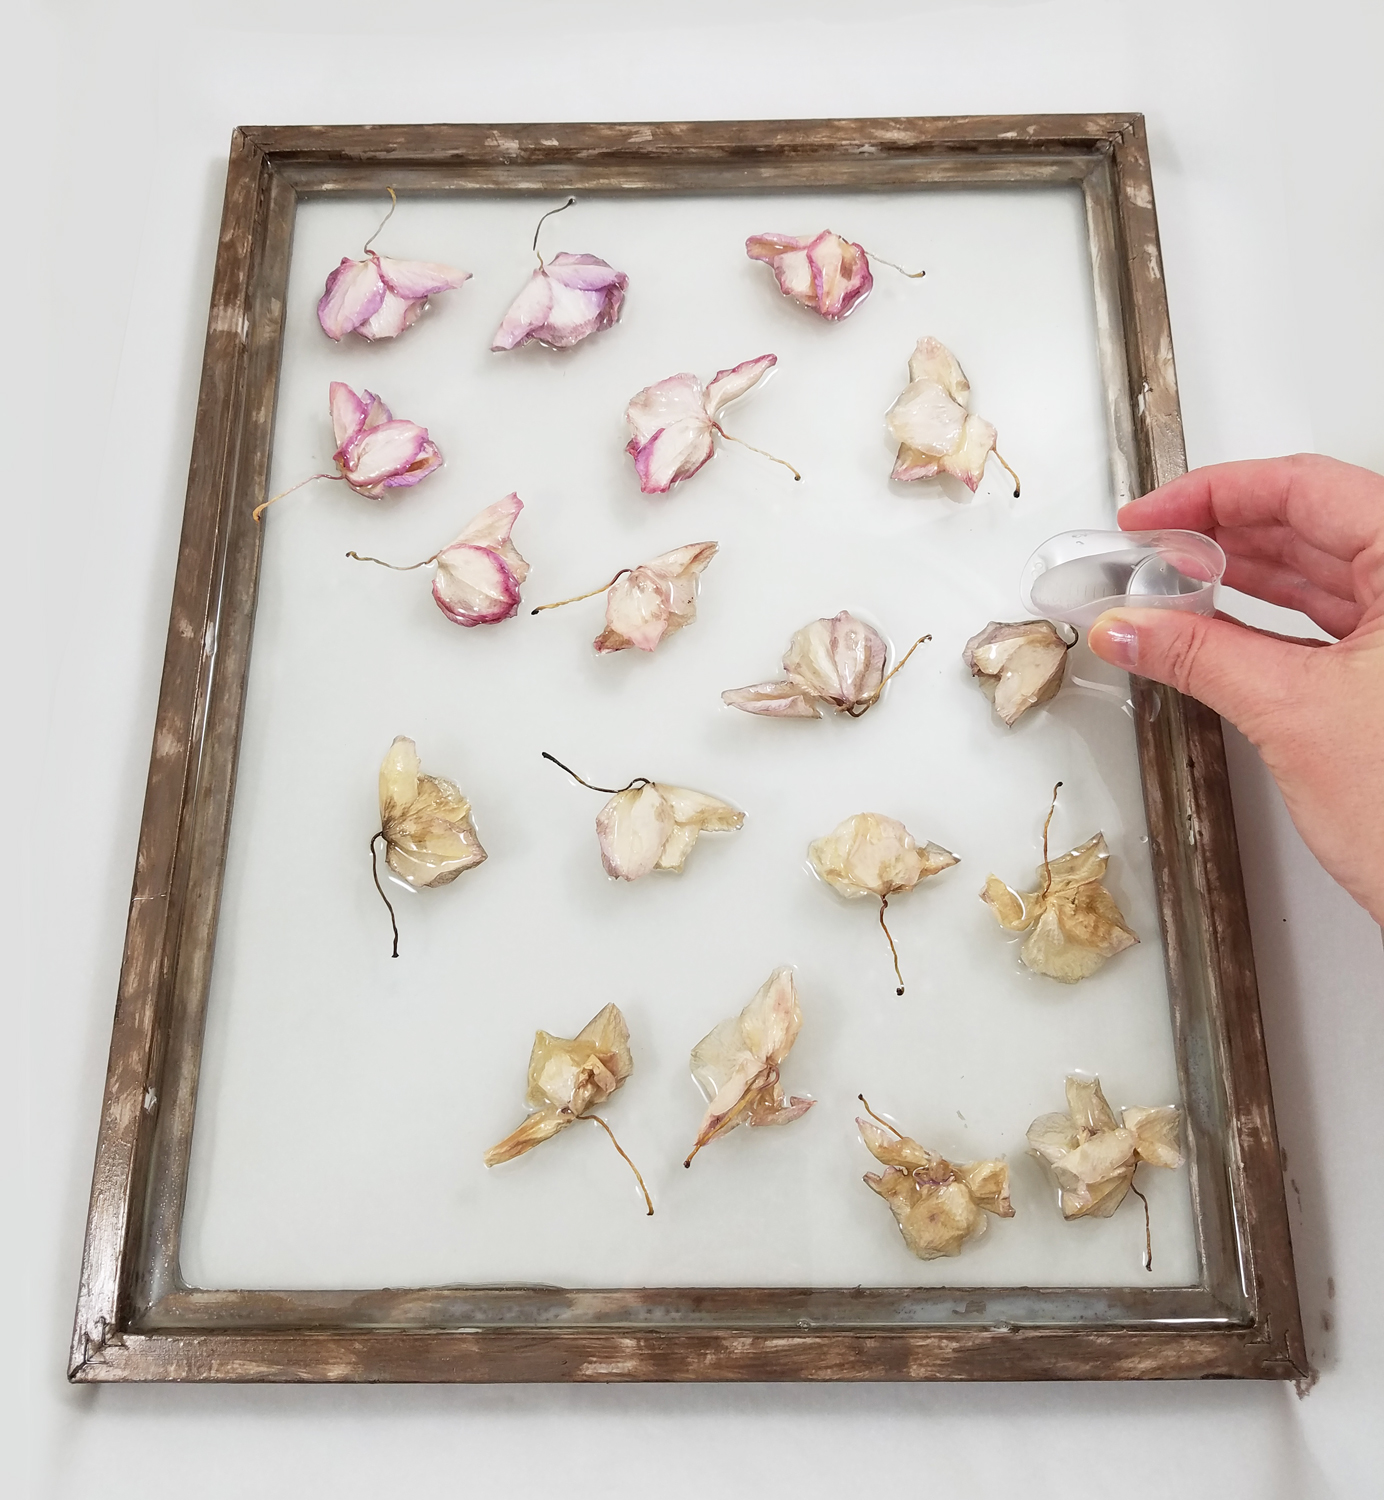
I added a second clear layer of Amazing Clear Cast Resin, to cover and protect the orchids. To make sure the resin completely encapsulated the orchids I would push some of the uncured resin around with a stir stick, moving the resin in and around the blooms. I let this layer of resin cure completely.
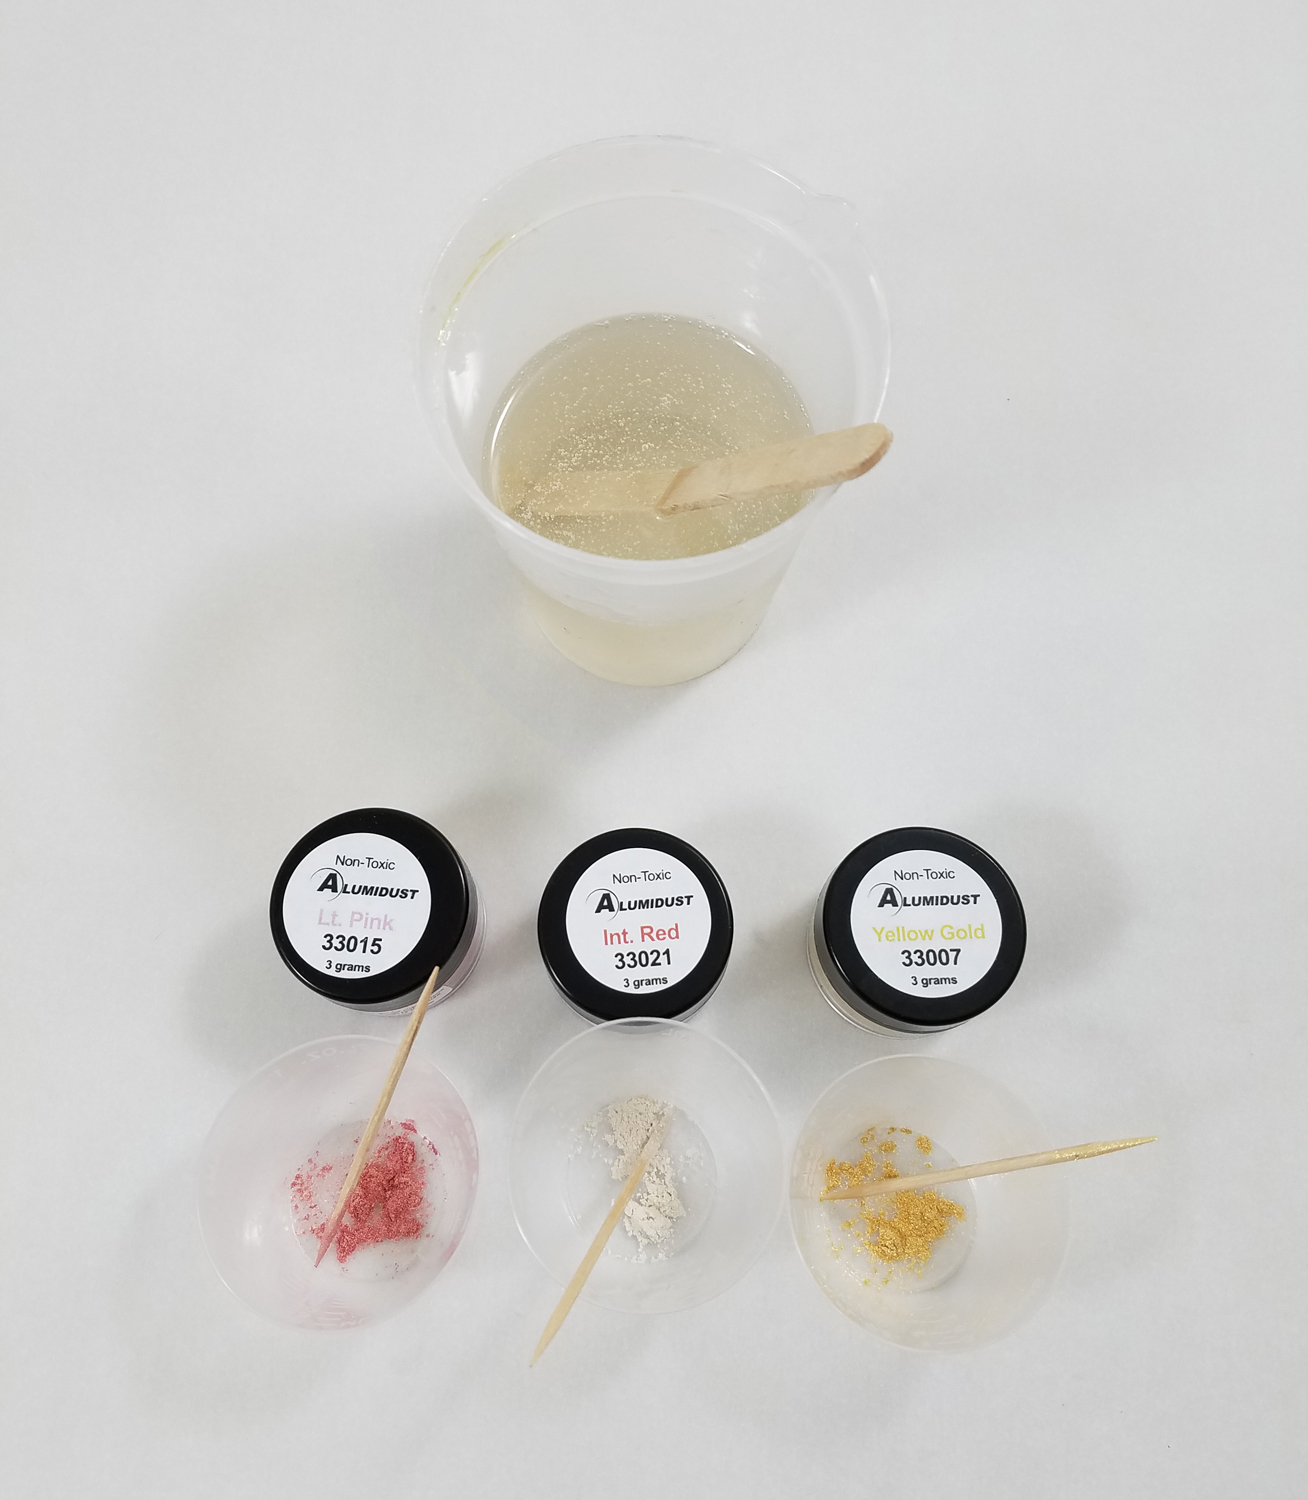
Mixing up a new batch of Amazing Clear Cast Resin, I put a pinch of Light Pink, Interference Red and Yellow Gold Alumidust in separate small measuring cups. I then carefully added the liquid resin into each cup carefully stirring with toothpicks to fully mix in the powders.
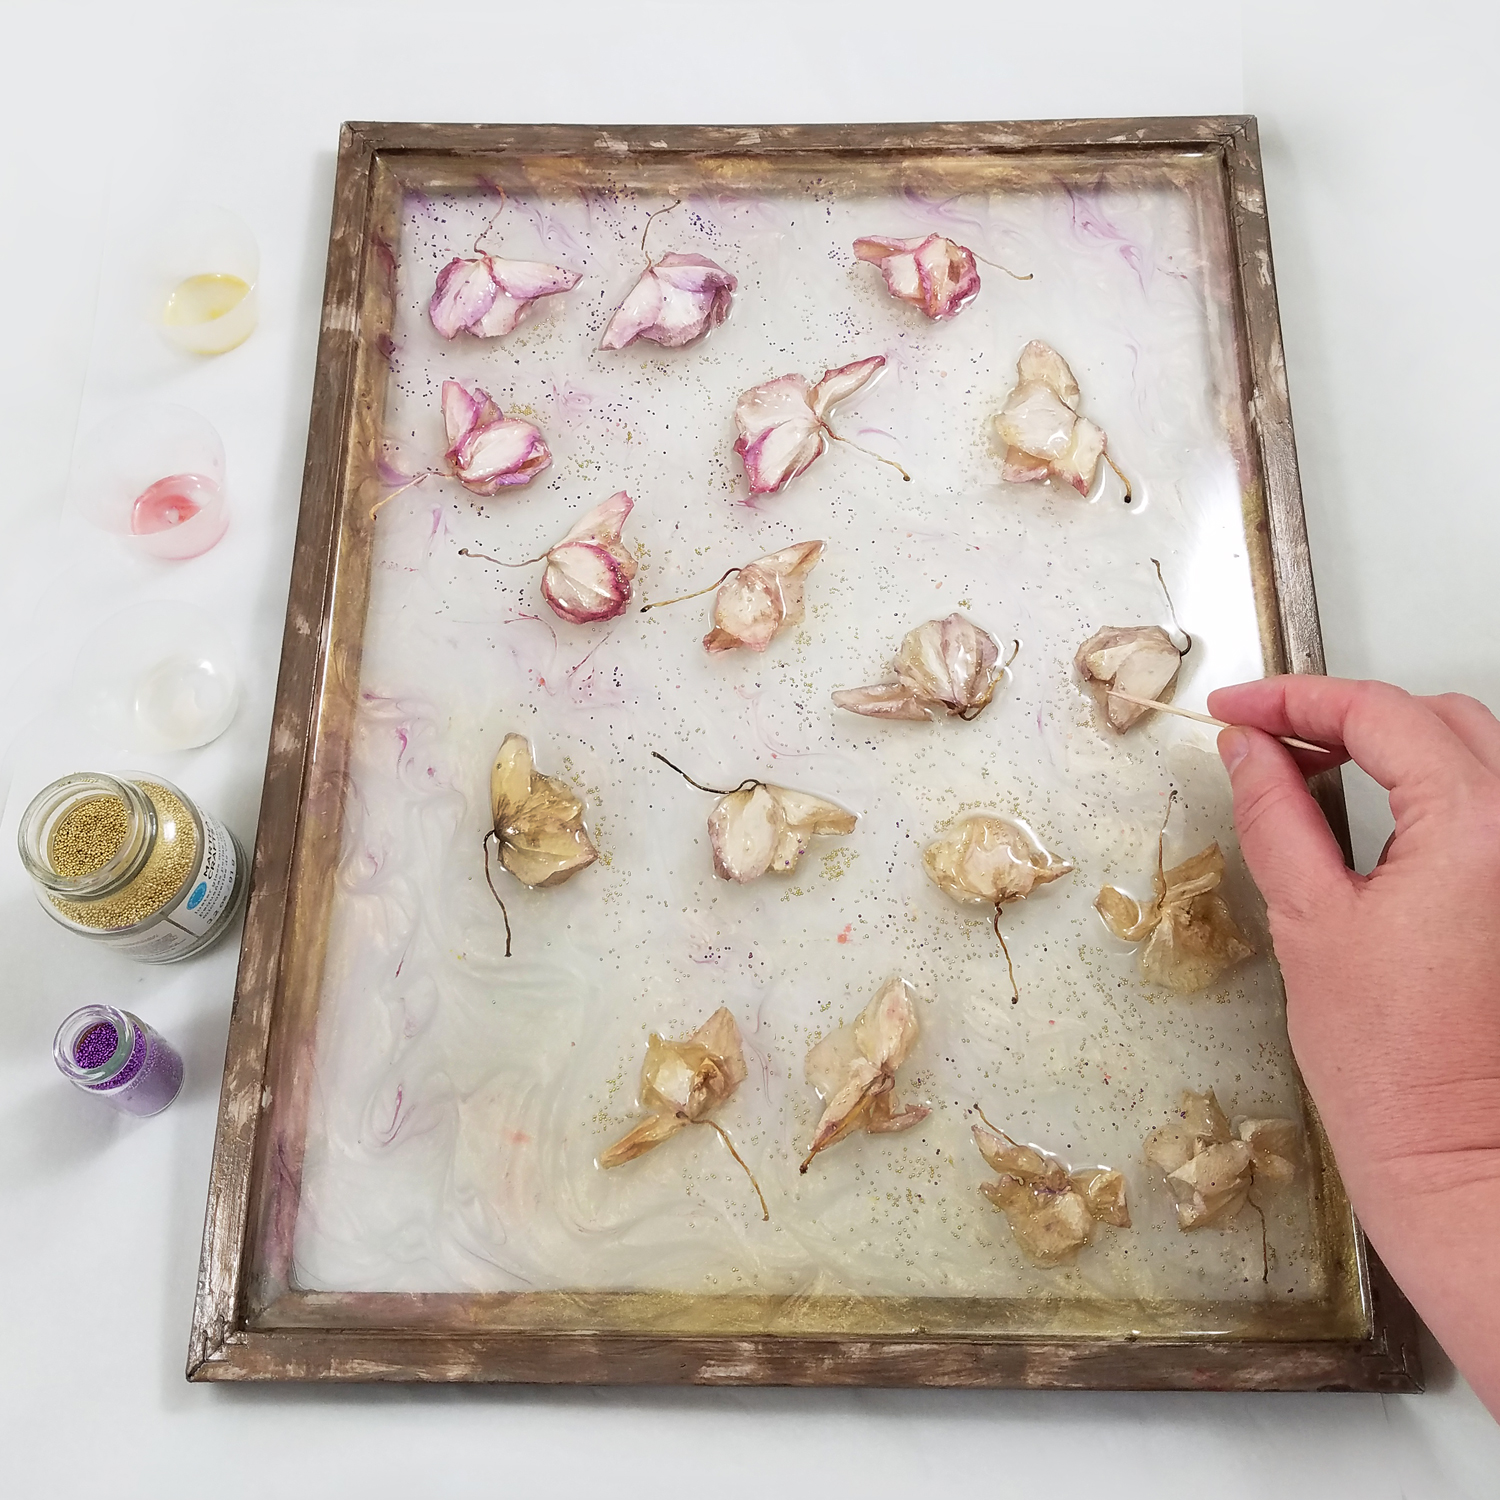
I poured the resin mixed with Alumidust in different spots all over the frame and used a toothpick to drag the colors through each other. This created a lovely ebb and flow of color to the resin, and I honestly lost track of time doing this and found it rather relaxing and meditative in nature. I sprinkled in some Micro Hole-less Glass Beads in Gold and Purple around the blooms in this layer of tinted resin before the resin cured.
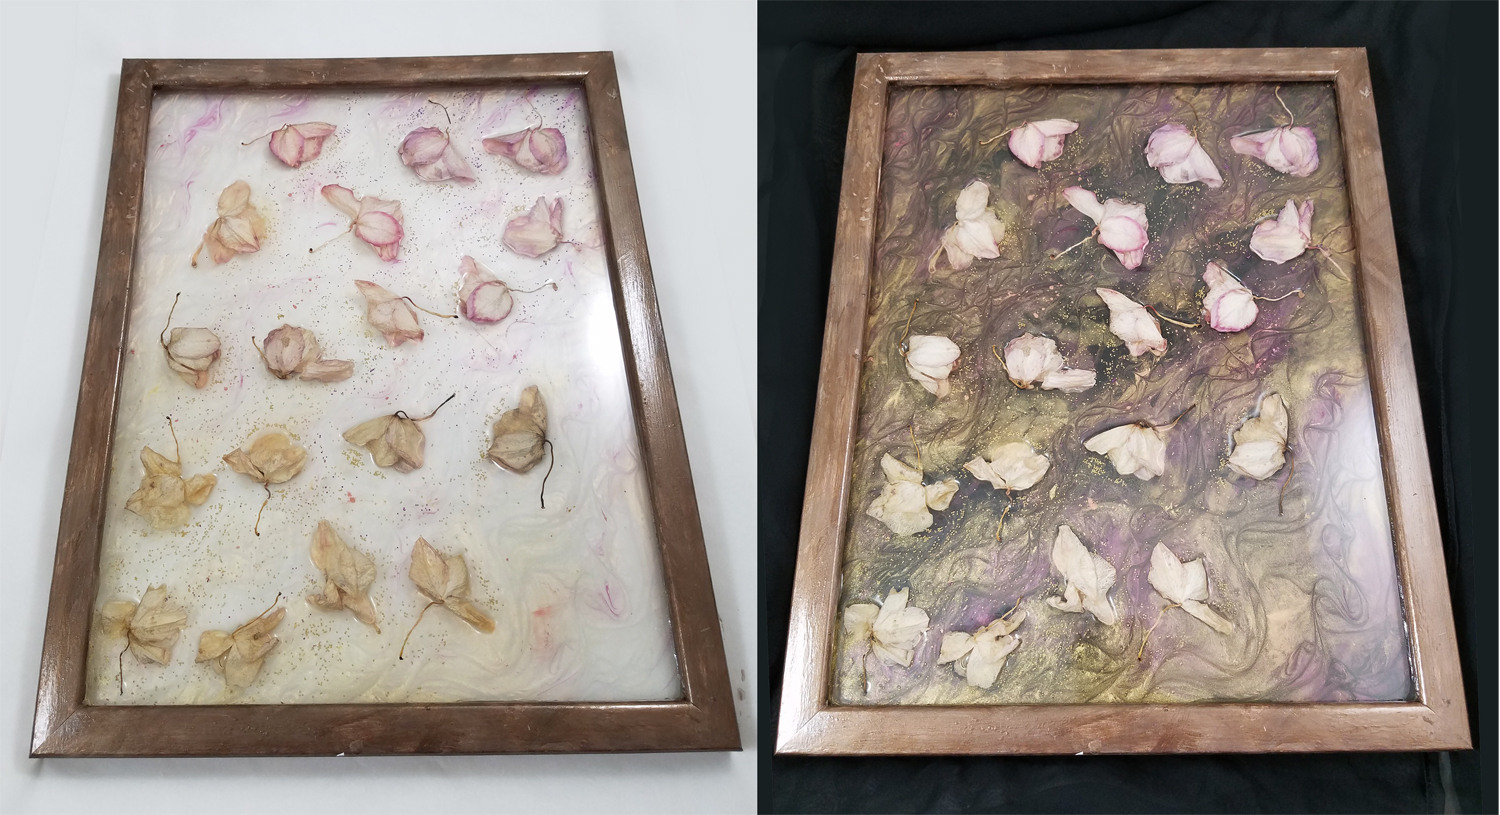
I had planned on doing a final cream color tinted layer for the background, but the lovely powder layer got lost when I tried a test sheet of white paper behind it. I needed more of a color contrast, so I thought about a black tinted layer or resin, using a black cloth to mimic the look, allowing the Alumidust tinted resin layer to visually pop more.
*In the future if I want to use a cream or light colored background I just need to make sure I use more Alumidust or a few drops of Alumilite Dyes to increase the color intensity without the need of a contrasting background.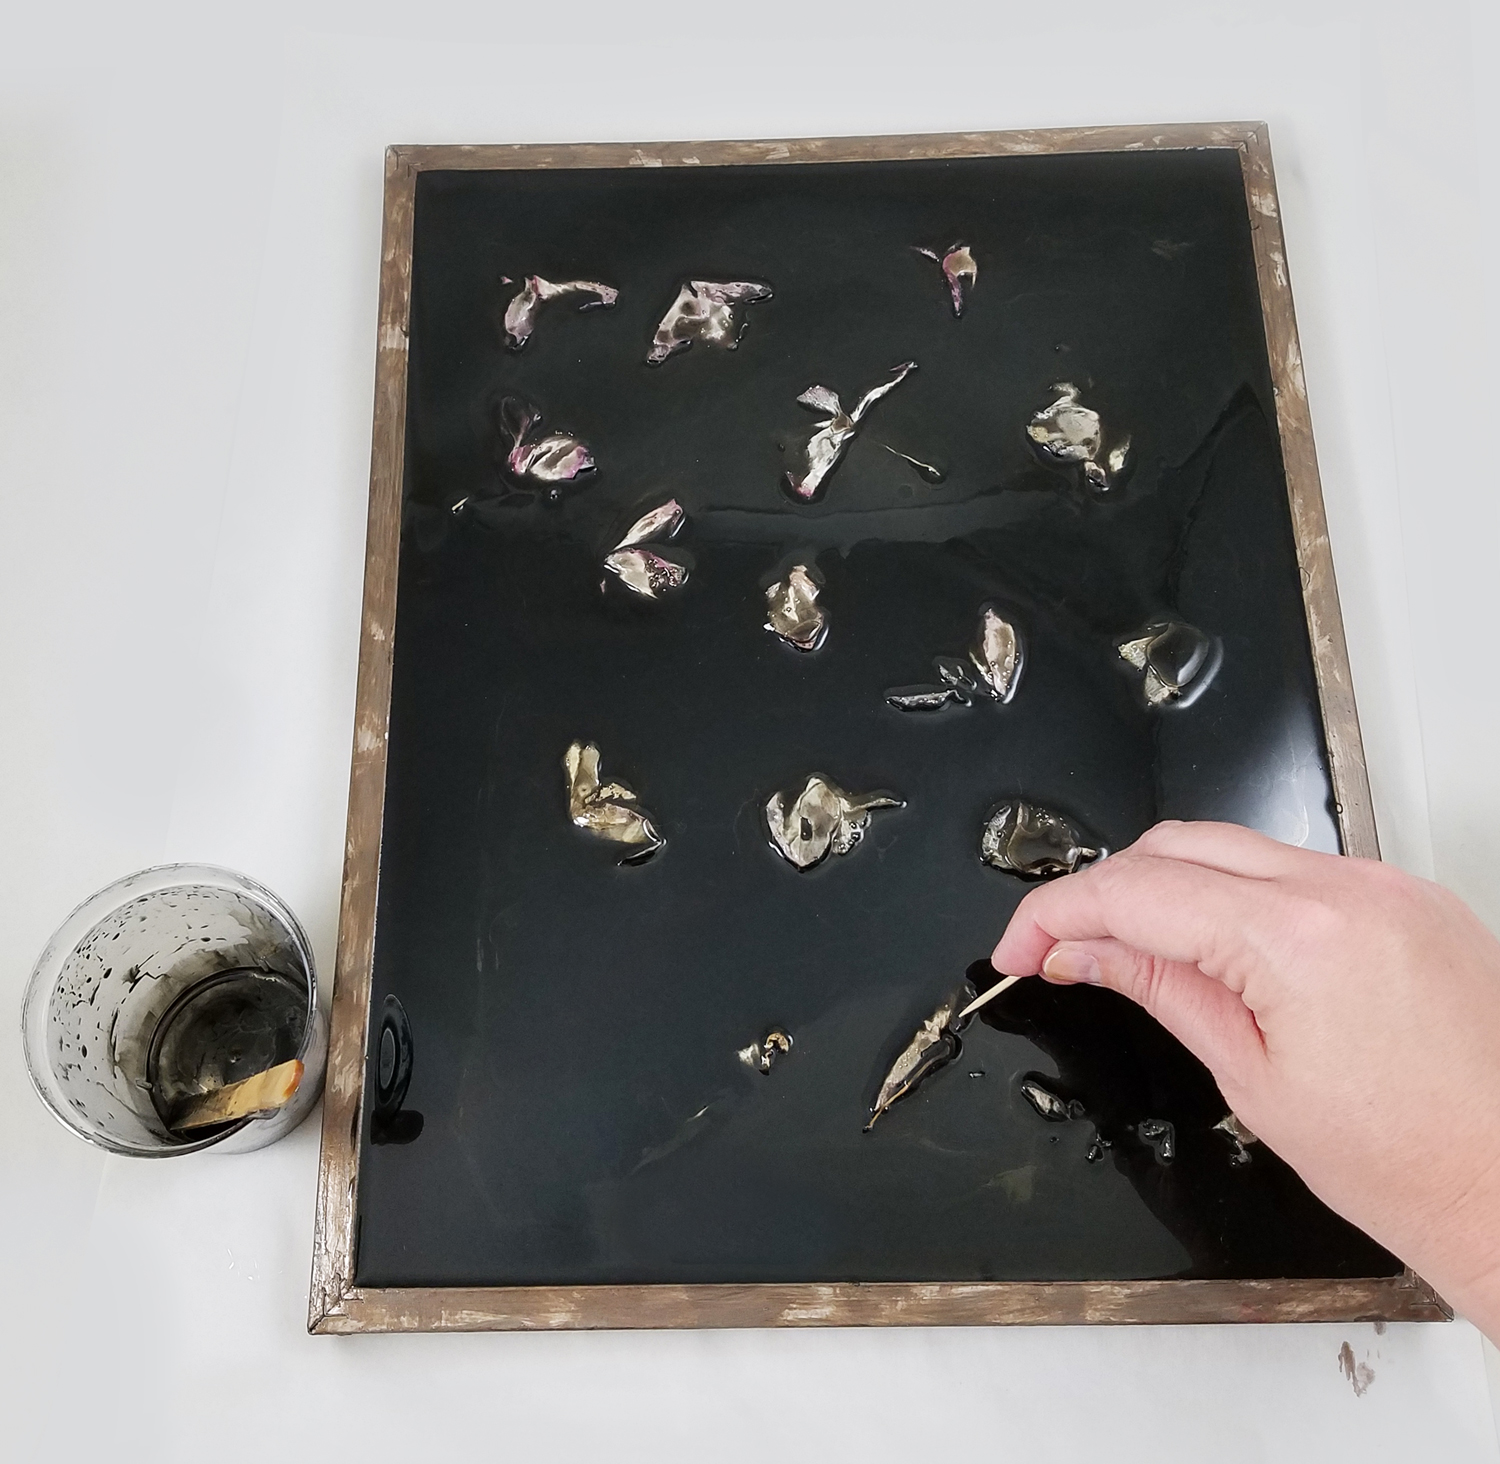
Mixing up a final batch of Amazing Clear Cast Resin I added Black Alumilite Dye Black to the resin, making sure to fully stir in all the dye. I poured the resin over the orchids and previous resin layer, carefully popping bubbles and making sure the tinted resin went into all the nooks and crannies.
*The dried orchids in this photo are slightly raised as they were not dried flat but collected already dried from a live plant. If the look of filter light going through the resin coated flowers is not the desired appearance just used pressed flowers instead.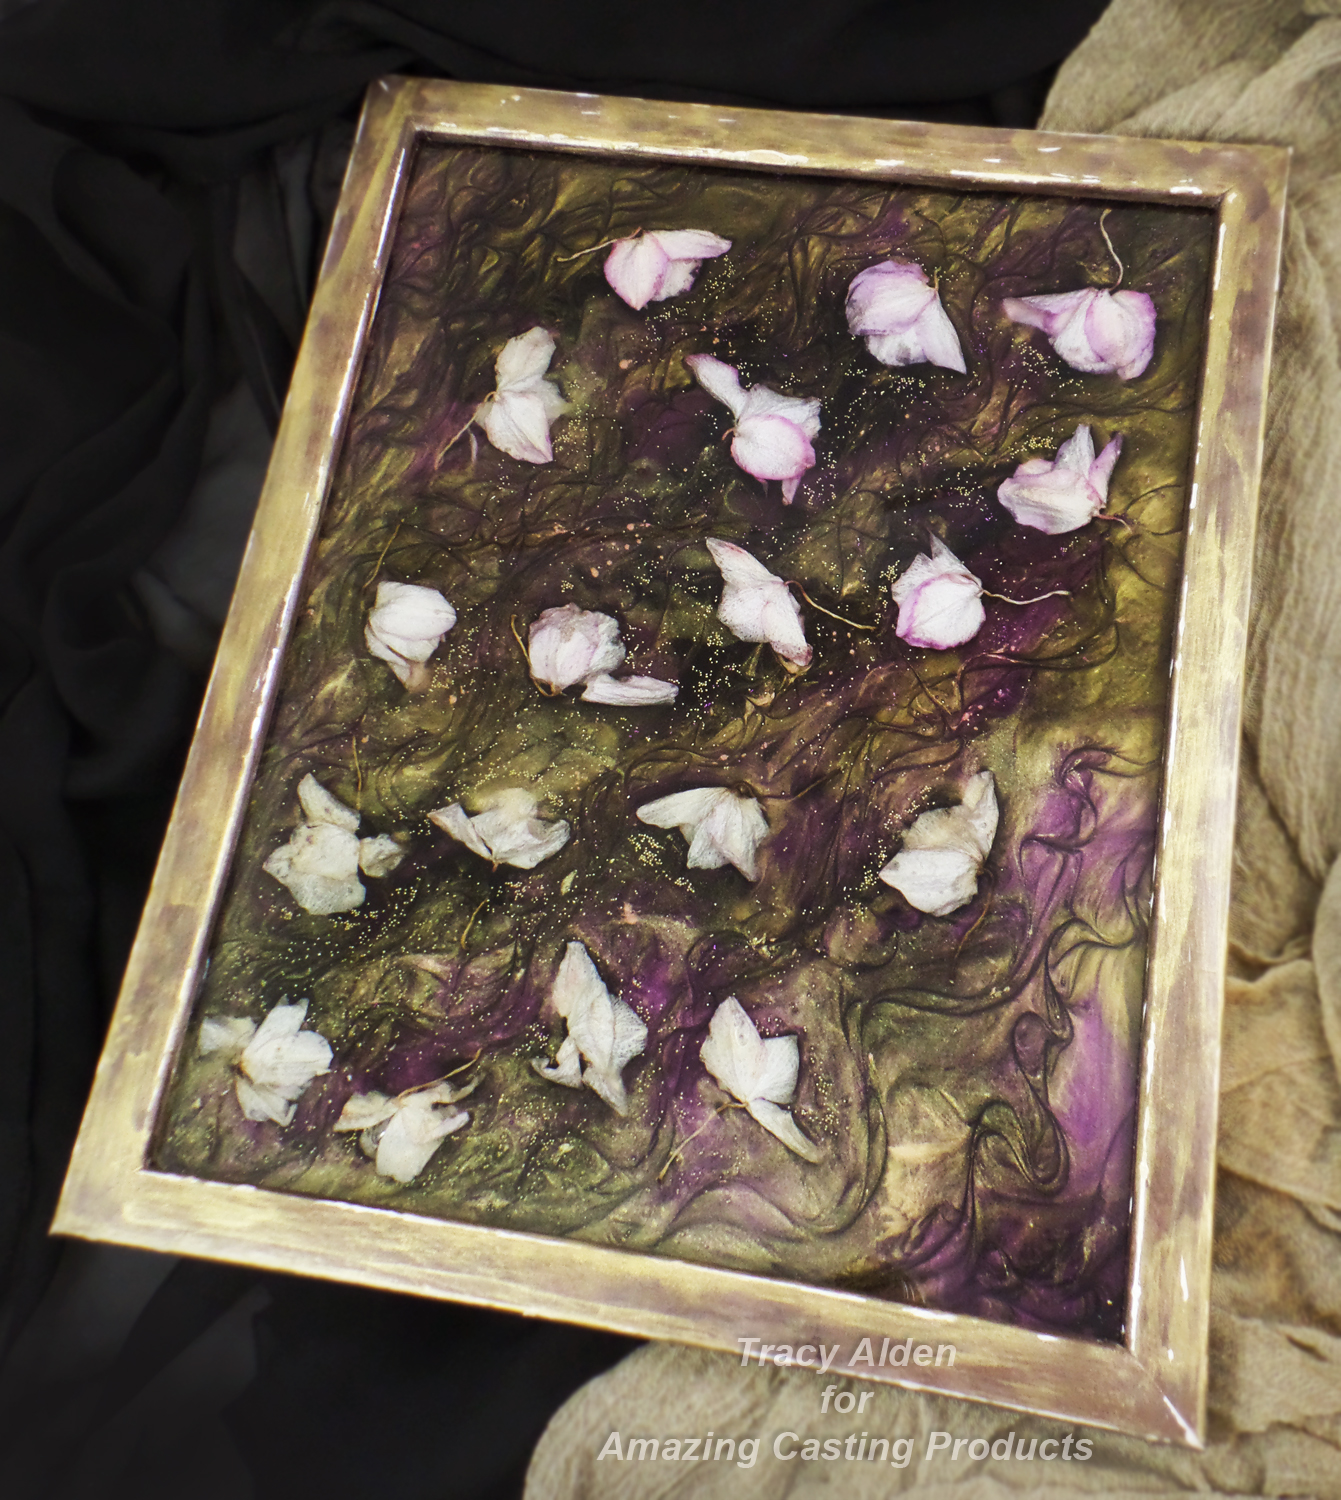
Here it is with the final layer of black tinted resin. The Alumidust not only creates a wonderful metallic shimmer but changes color and tone depending on how the frame is tilted or what type of light source is used!
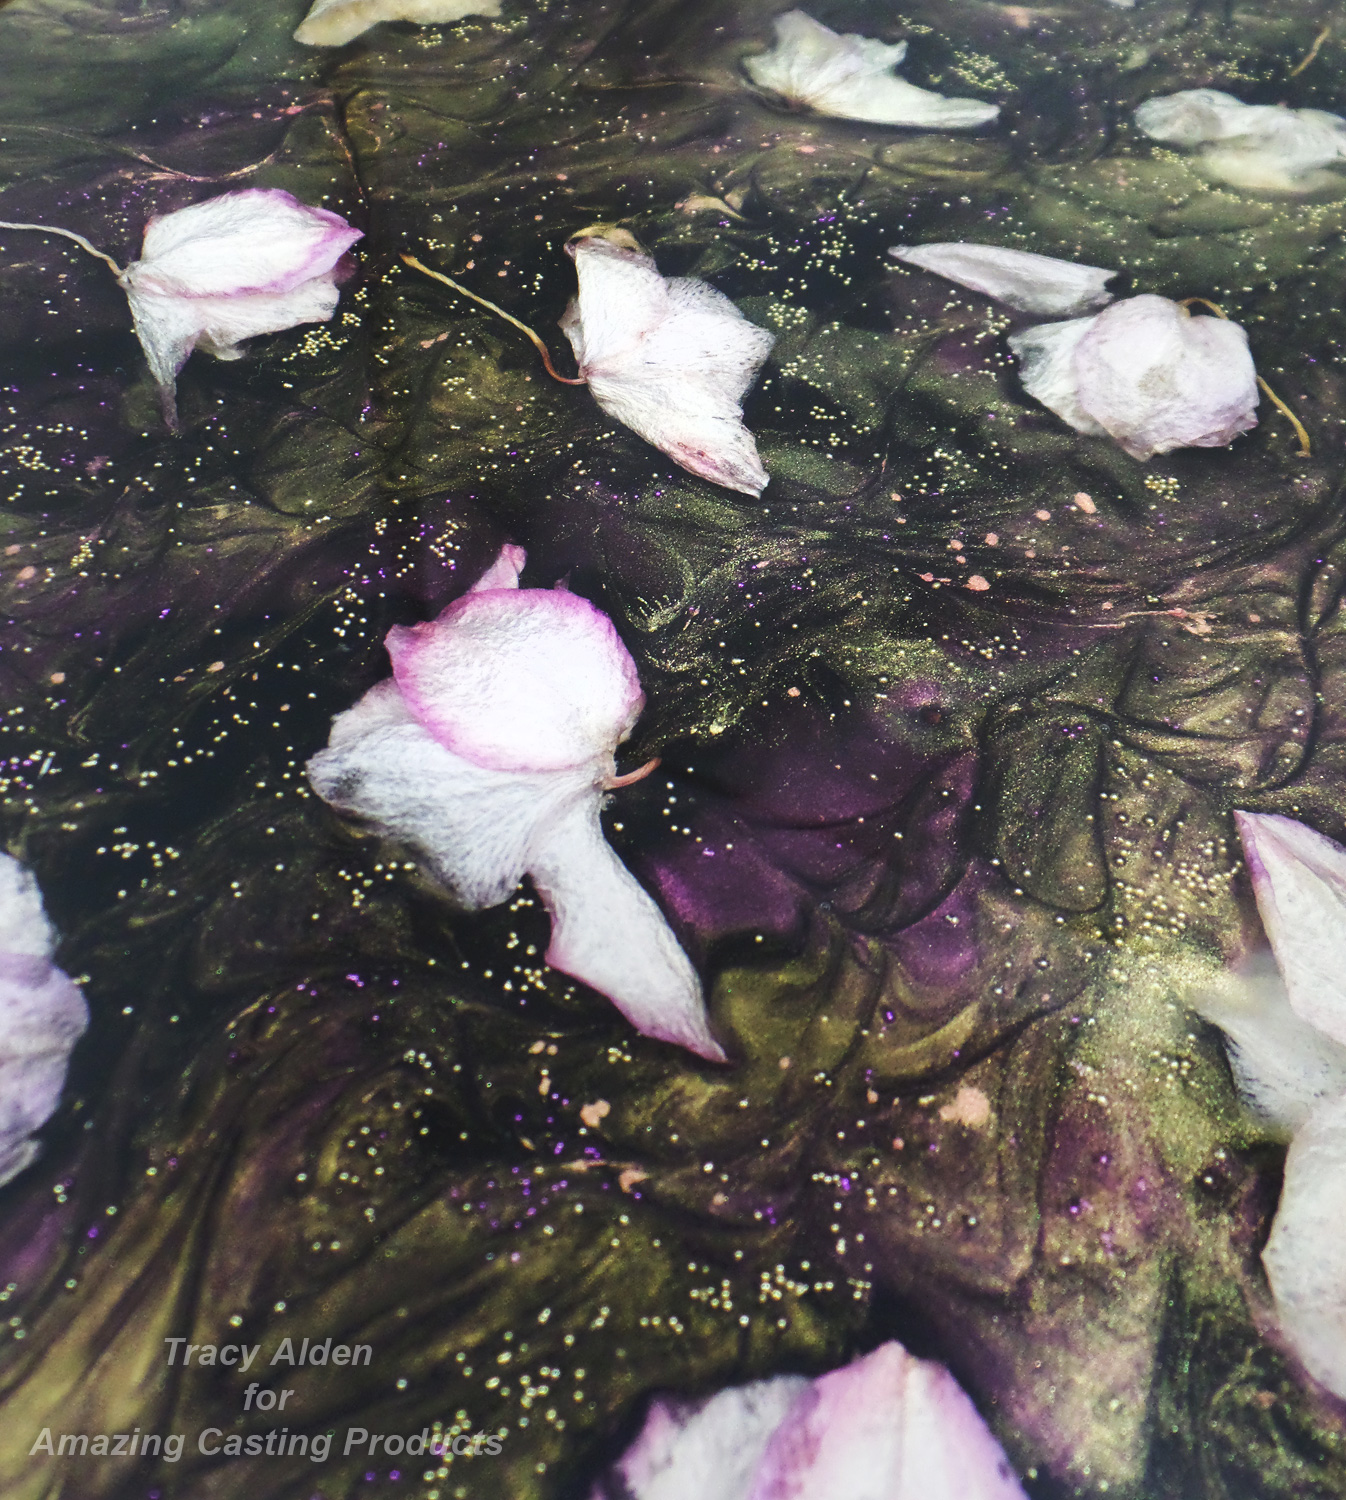
This test of both dried materials and the ability to quickly change the direction of the project worked out well. The frame looks complicated but it is just four layers of resin poured. No waste of resin just a few popsicle sticks, toothpicks and clean up with baby wipes.
With a simple change of dyes, powders and their concentration any number of lovely art can be created with few supplies!Until Next Time, Safe Travels!- Amazing Casting Products, Association For Creative Industries, CHA, Convention, Festivals, Home Decor, Jewelry, Mixed Media, Resin
2017 Creativation Show with Amazing Casting Products
This year’s Craft & Hobby Association 2017 show was a whirlwind of changes, arts and crafts manufacturers, new products, demos, classes, and networking opportunities. Formerly known as the CHA Mega Show, it is now called the Creativation Trade show, held in Phoenix, Arizona. CHA also went under a new rebranding, now Association For Creative Industries or AFCI to reflect their more broad ranging inclusion of creative industries.

Here is their lovely new logo that was introduced to attendees and exhibitors on the second day of the show!
I was once again a demonstrator at the Amazing Casting Products/Alumilite Corp booth at CHA, this time for all three days! With the show being shorter but with longer show hours everything was a whirlwind.
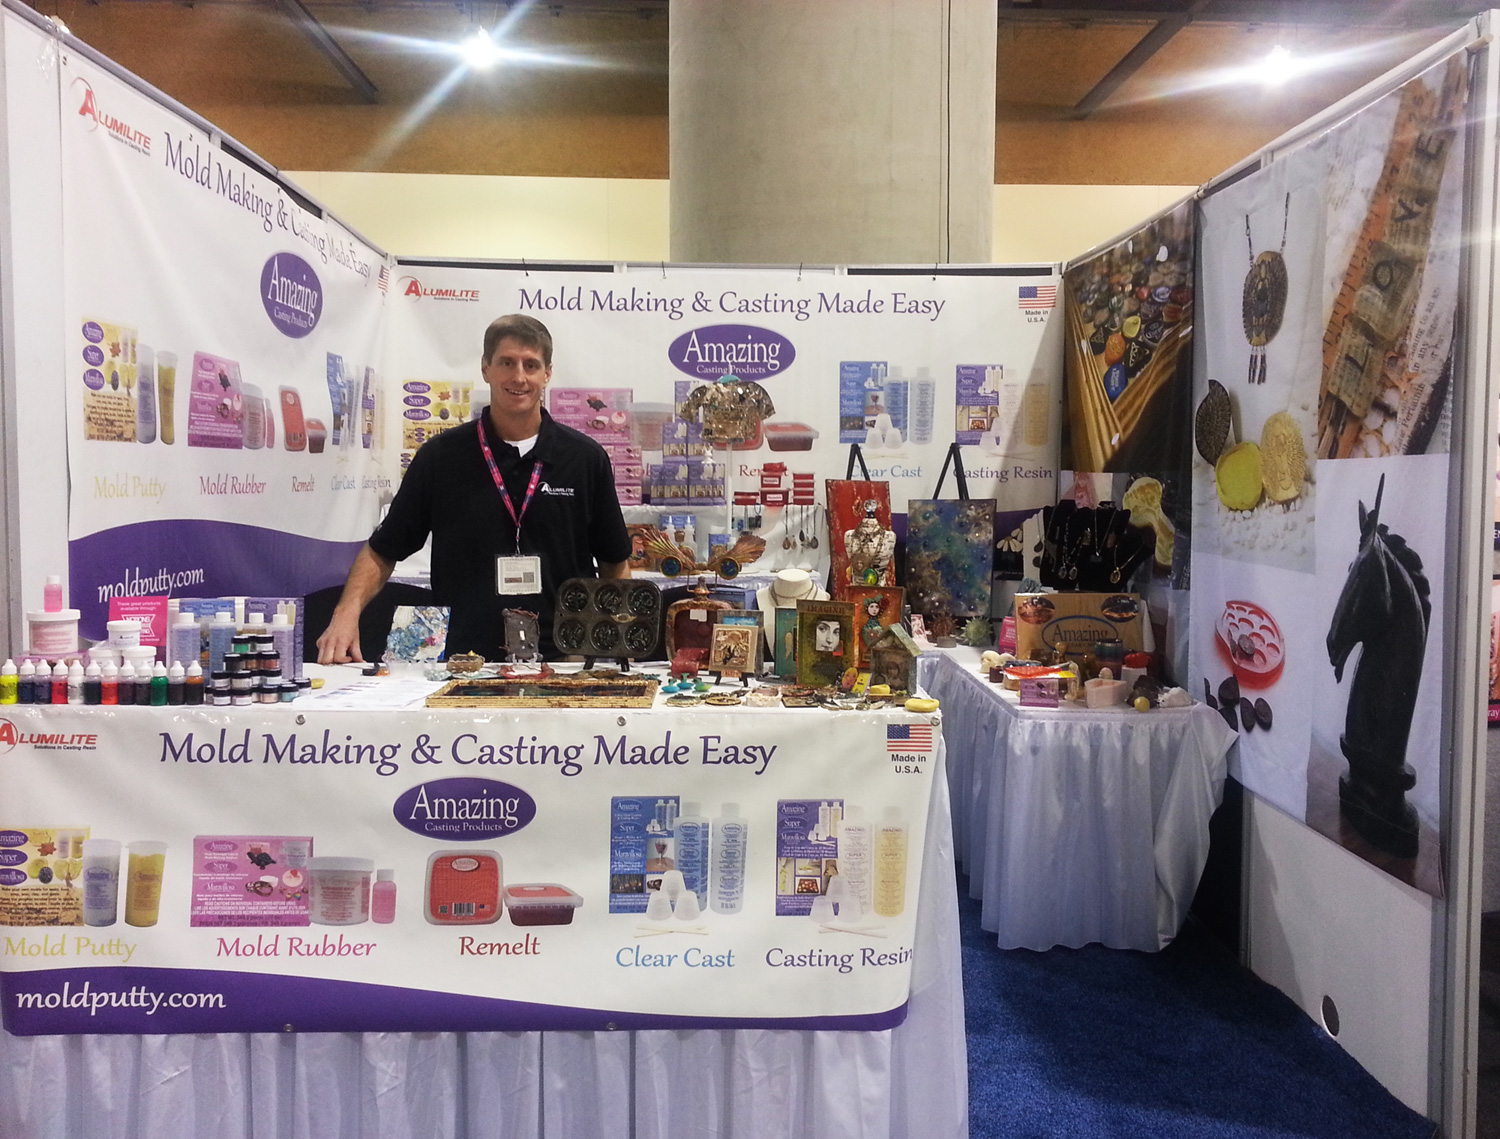
In the above photo the President of Alumilite, Mike Faupel is proudly showing off the products of the Amazing Casting Products line and all the artwork samples.
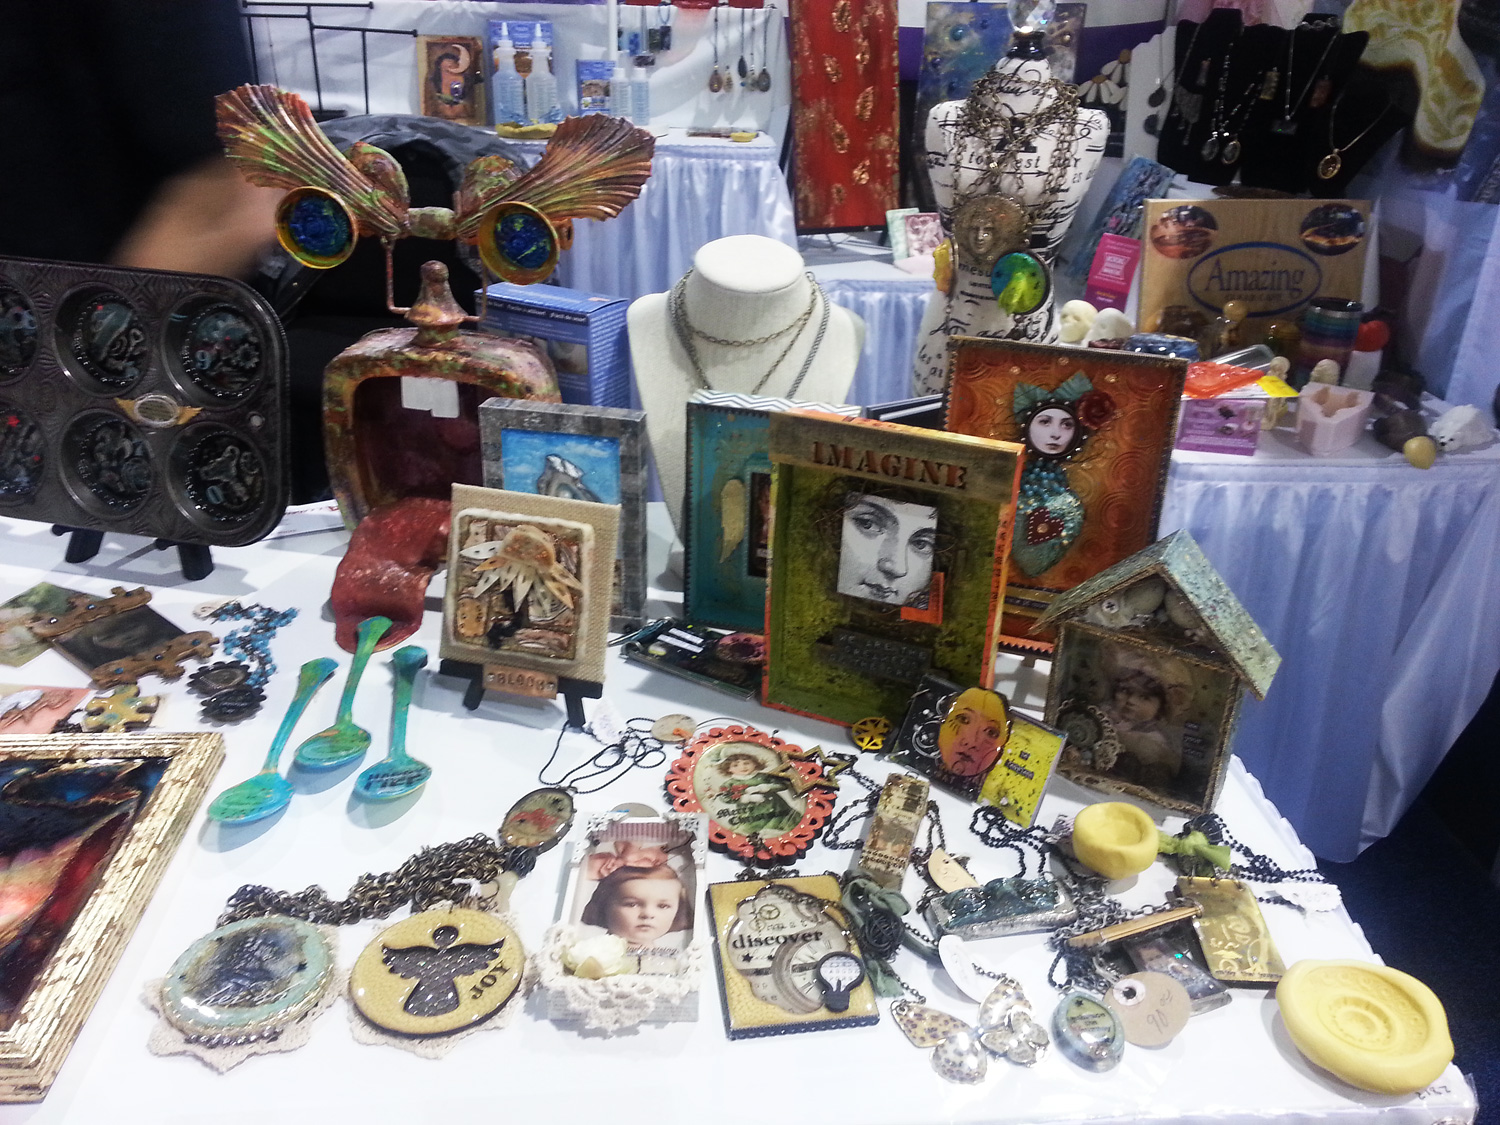
On the front table there was a wonderful array of artwork by Cat Kerr, Tina Walker, Kristie Taylor and yours truly.
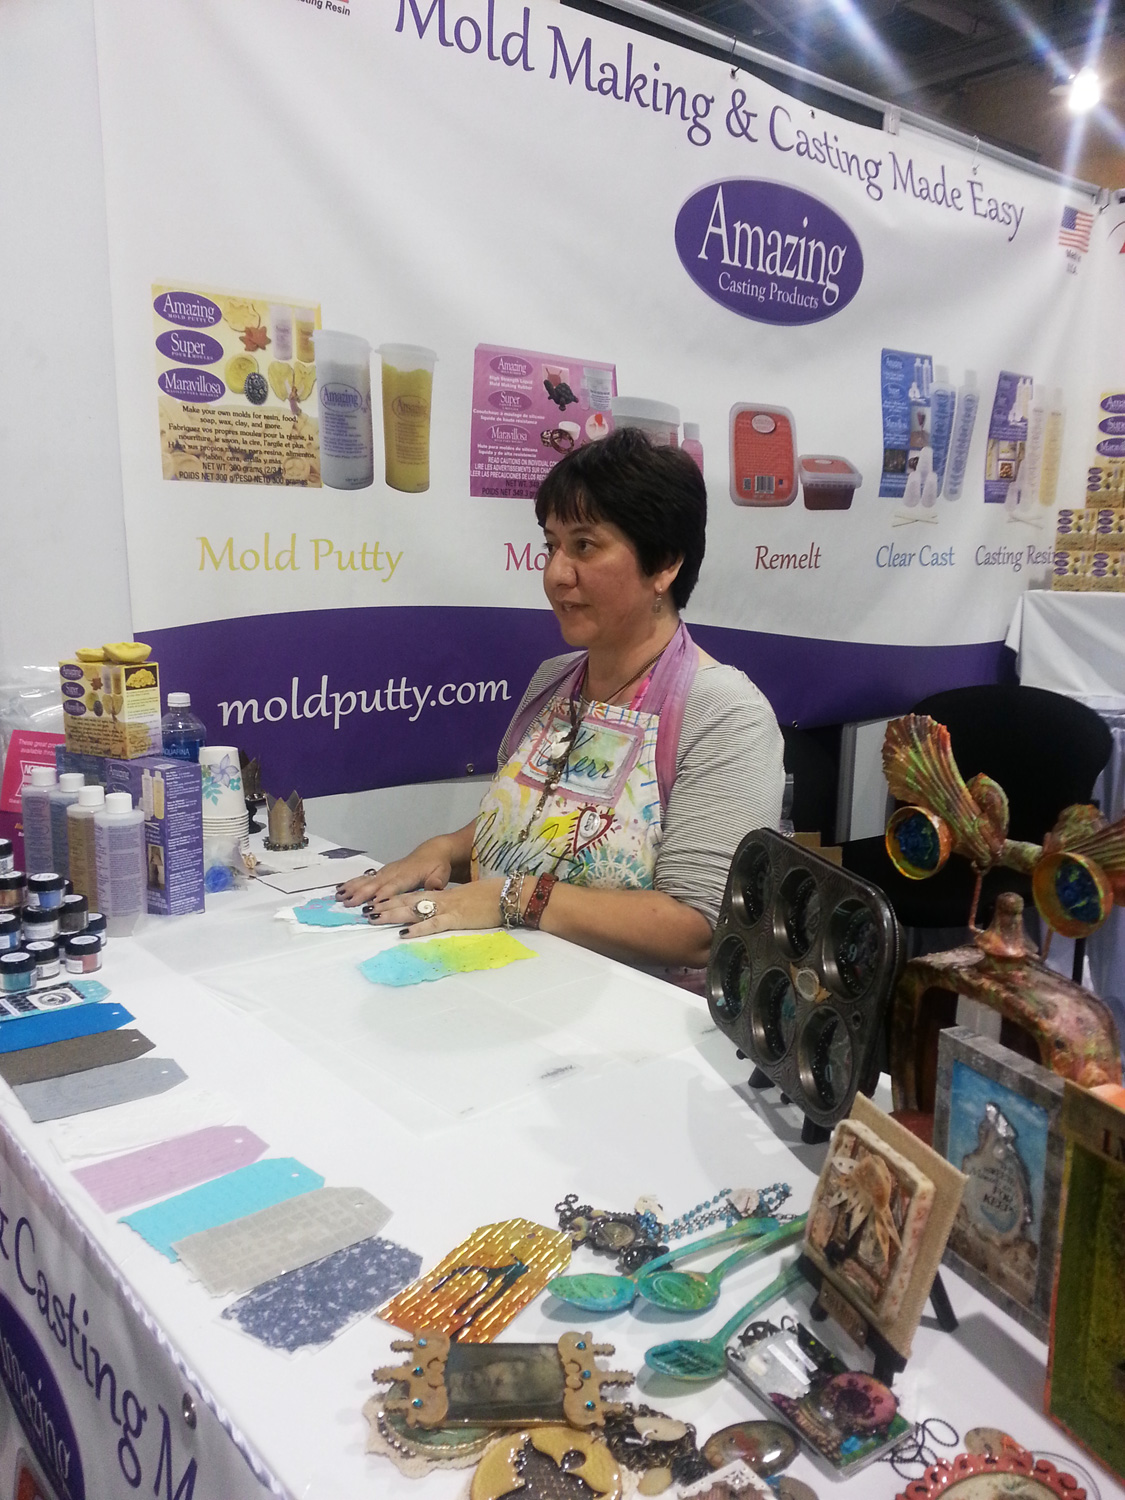
The talented and lovely Cat Kerr did afternoon demonstrations at the booth on Saturday. A tutorial of one of the projects she was demoing can be found Here.
While sadly Cat couldn’t stay for all of the show, everyone at the Amazing Casting Products booth made sure she had a great time!
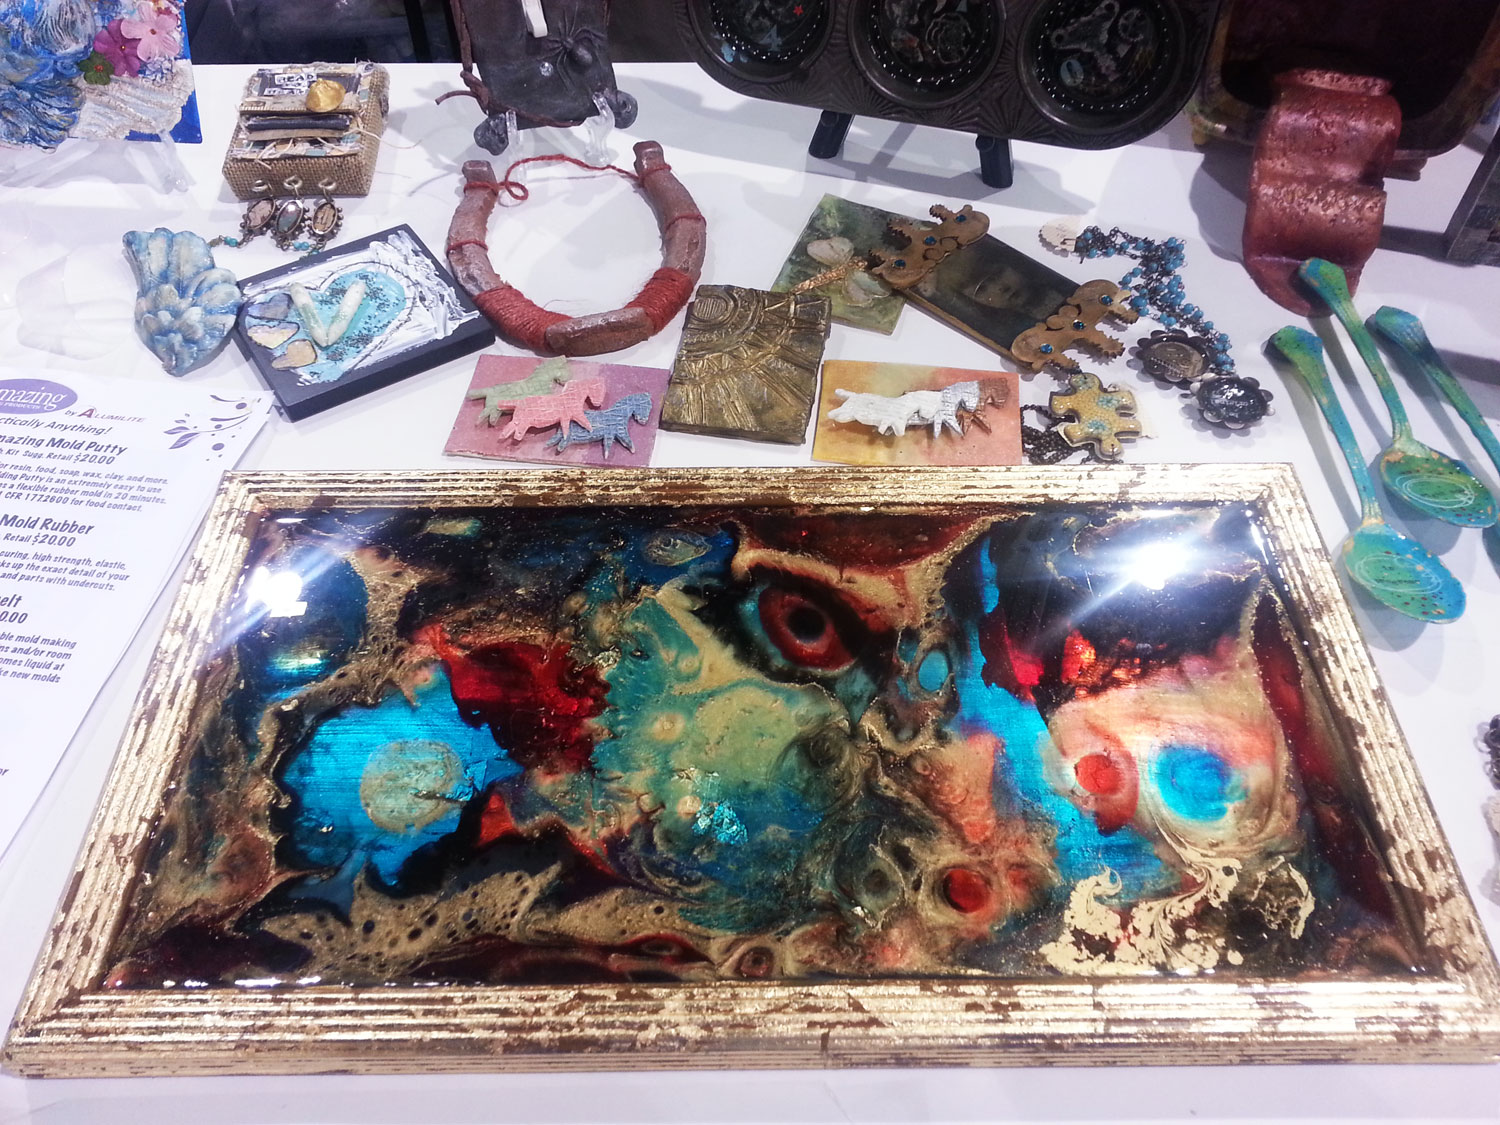
One of my new pieces on display was resin frame piece I created and brought just for this show.
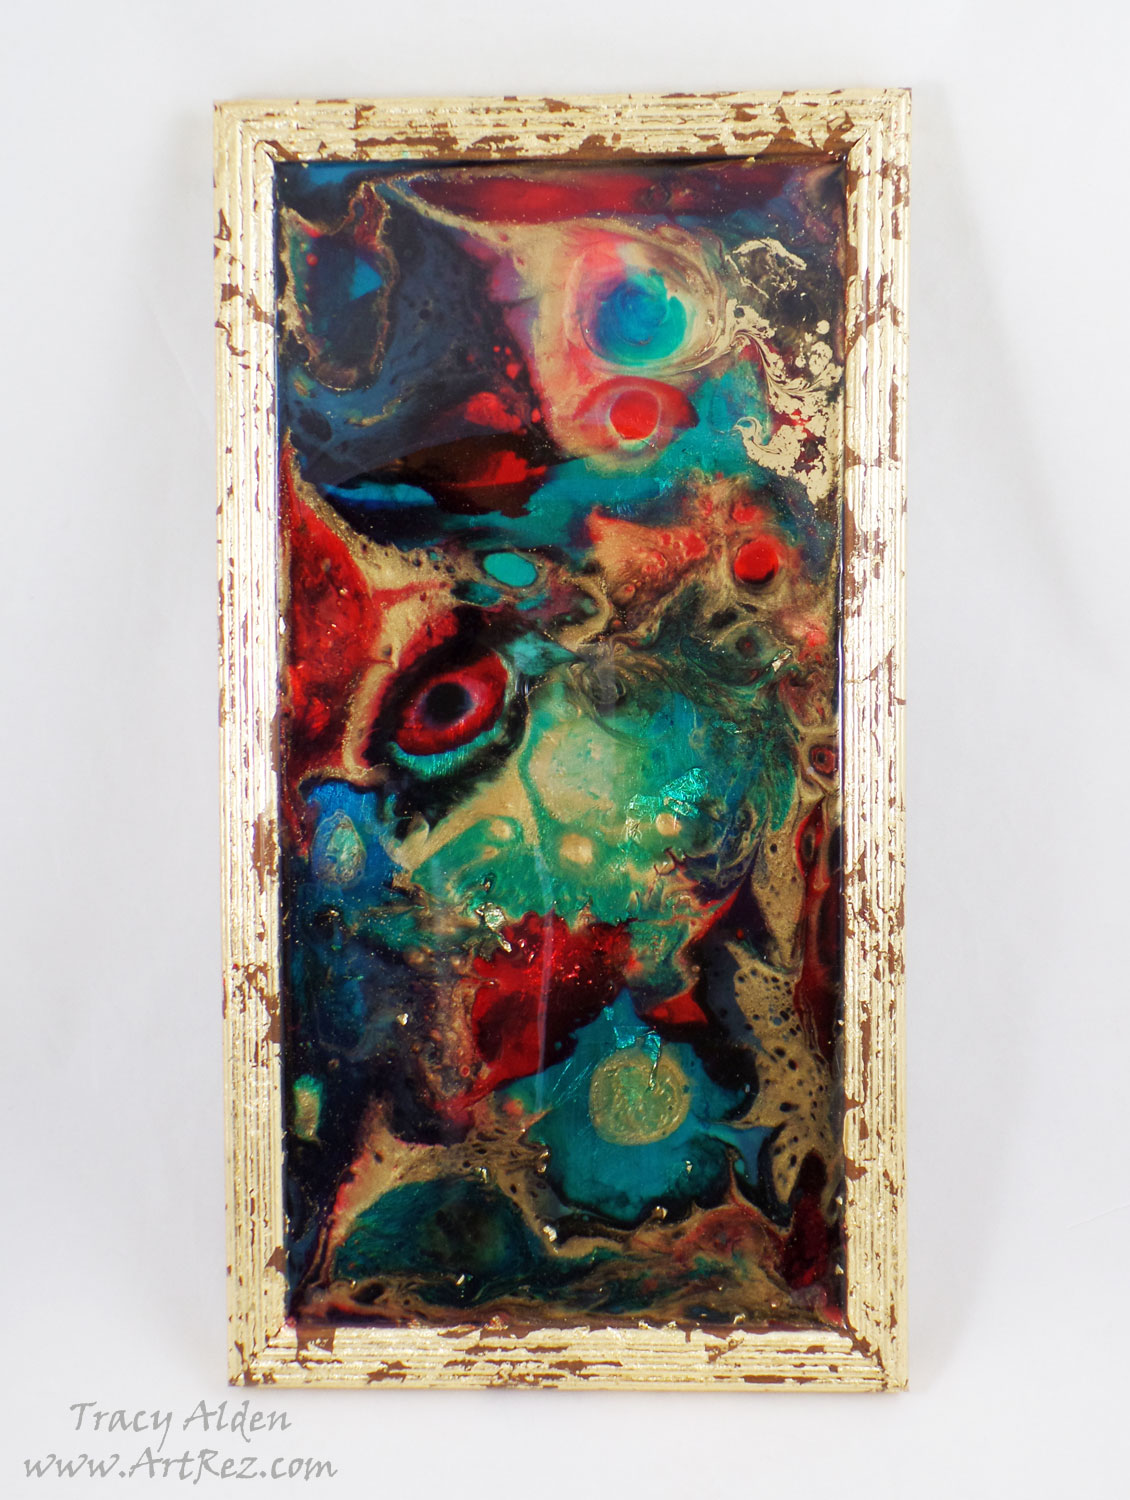
Using an old frame, gold leaf, Amazing Clear Cast resin tinted with Alumilite’s Dyes and mixed with Alumidust powders I was able to create a vibrant one of a kind abstract piece.
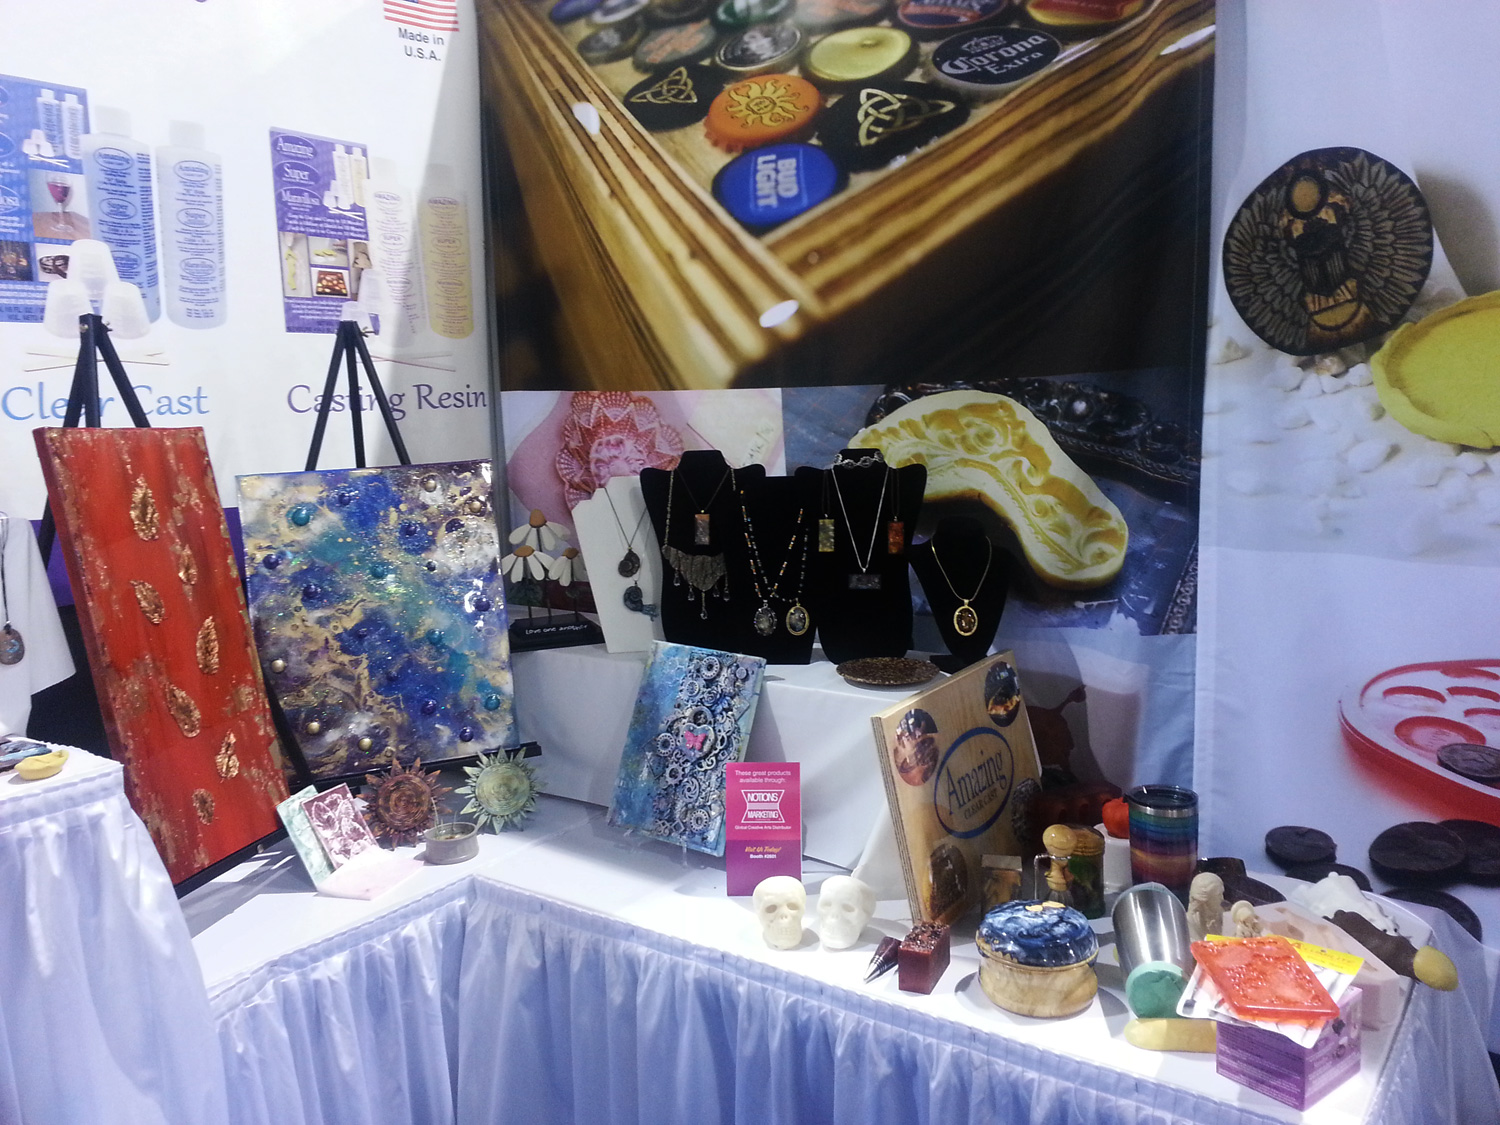
There was so many samples showcased in almost ever corner of the booth! From home decor, mixed media, jewelry, garden decor, fine art and more!
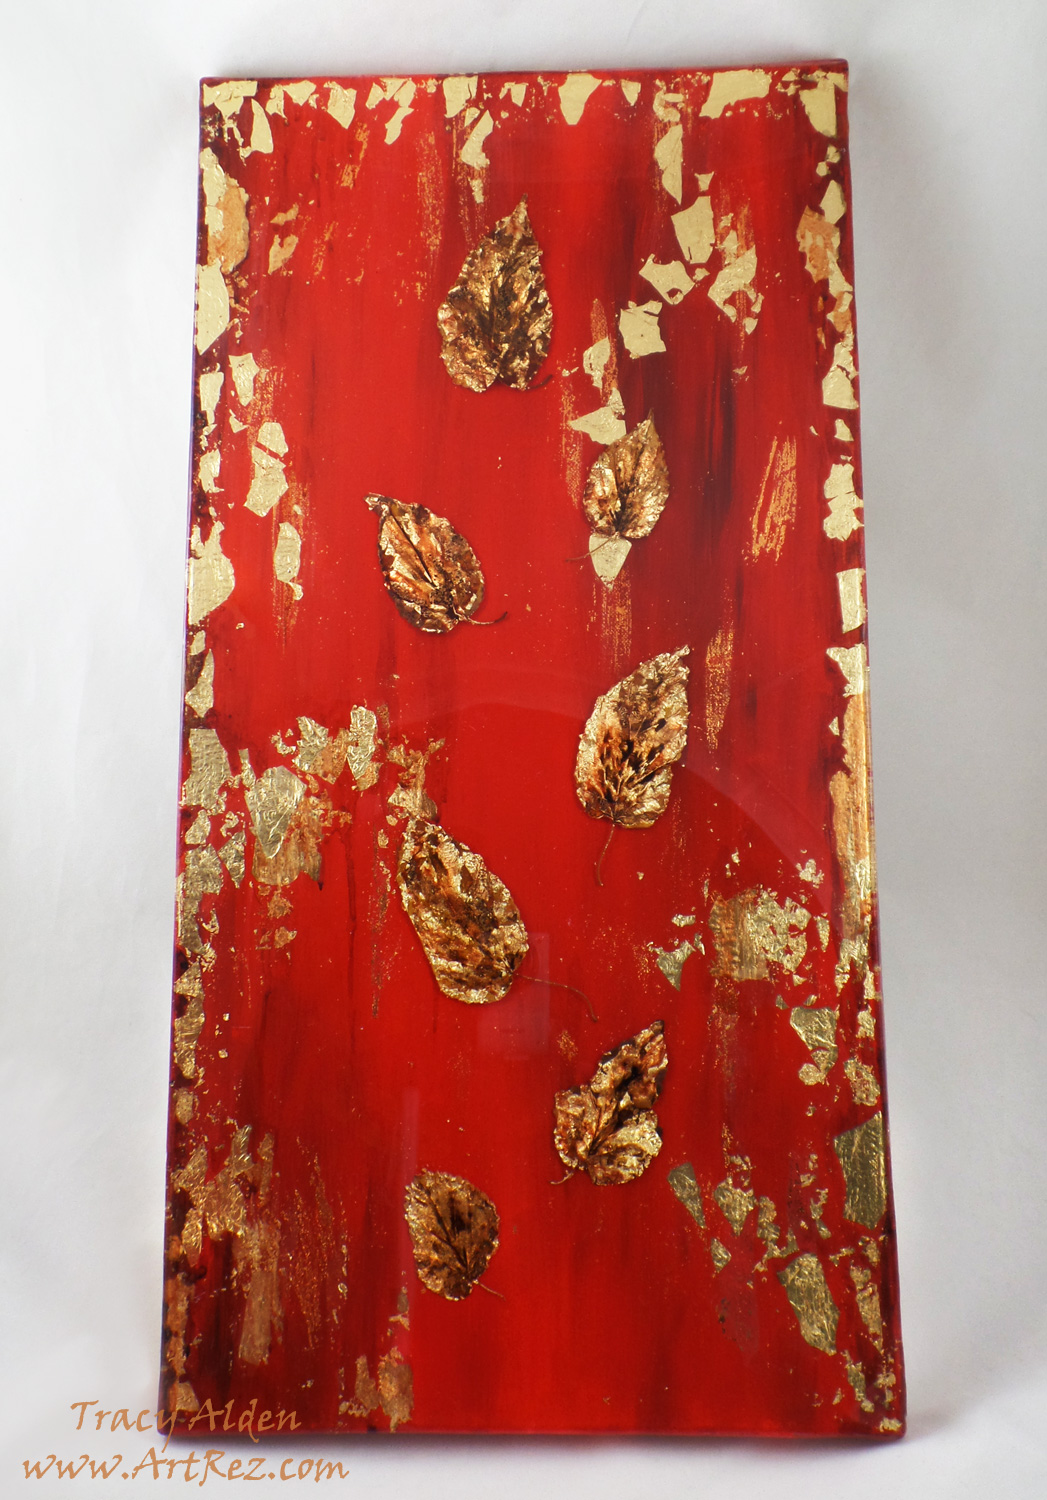
Trying a new spin on my resin canvas application (such as I did for last year’s show) I painted, applied gold leaf, Amazing Clear Cast resin, real leaves on a 12″x 24″ canvas. The depth and dimension I was able to achieve was lovely.
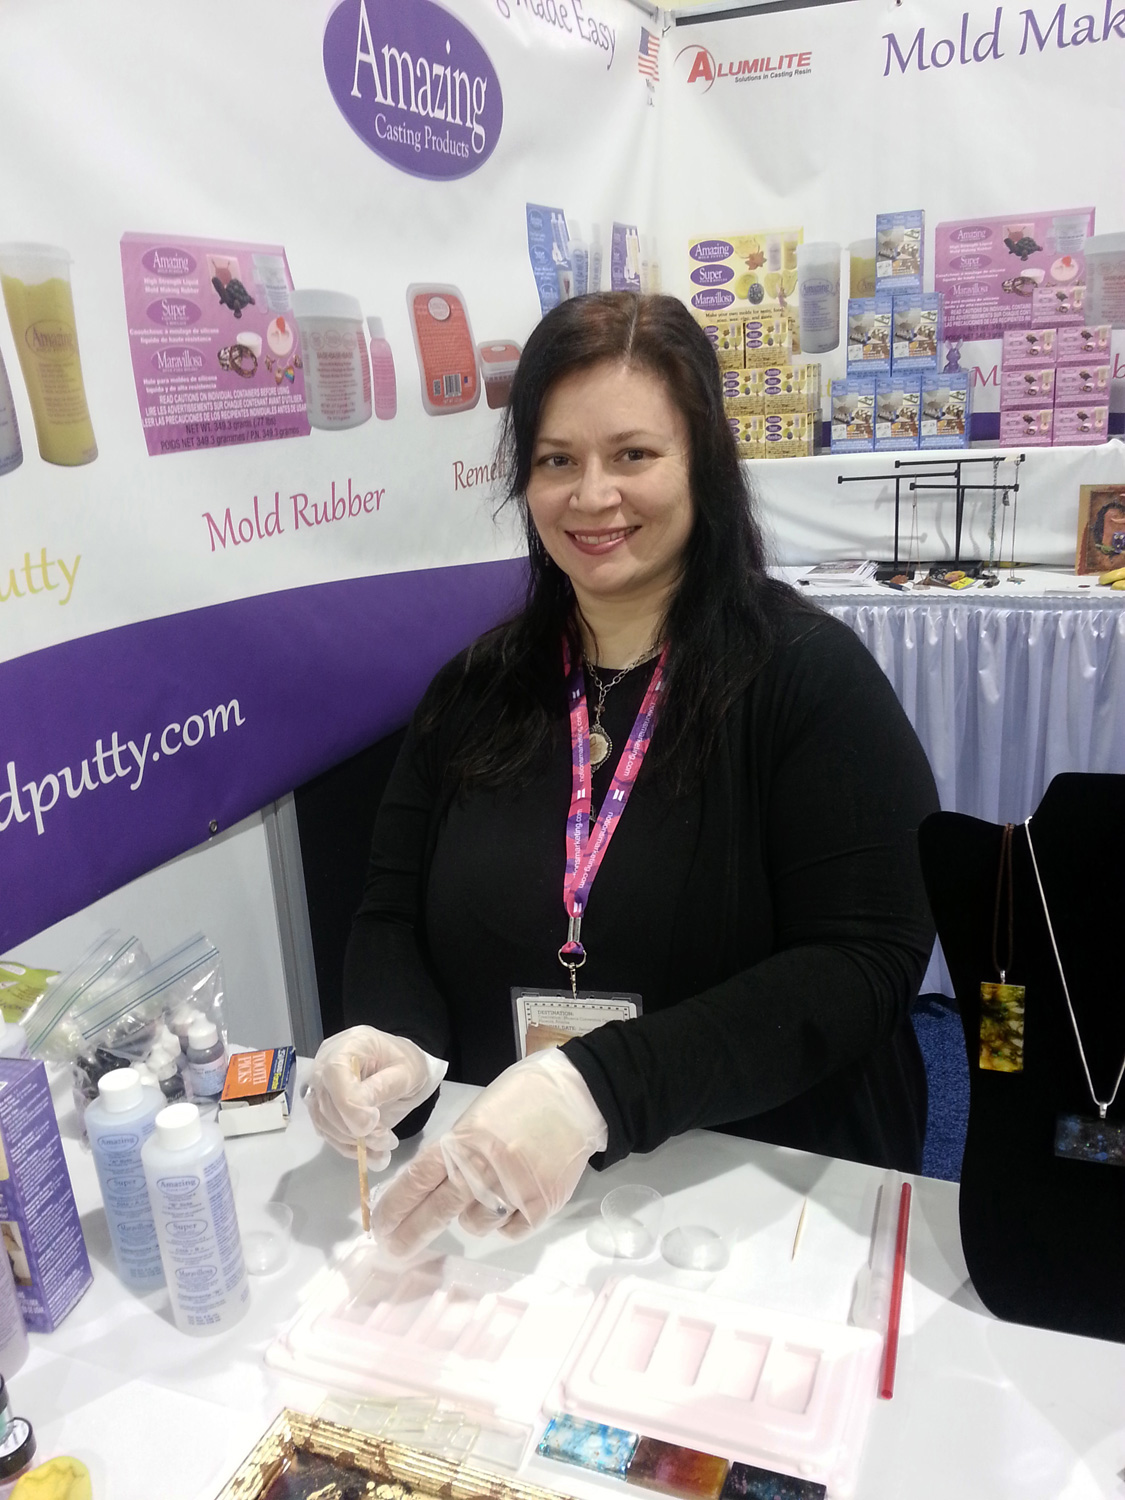
At the end of three days of demos from 9am-6pm I was looking a little frazzled but I had a wonderful time sharing techniques, new resin applications and showcasing my skills as a designer.
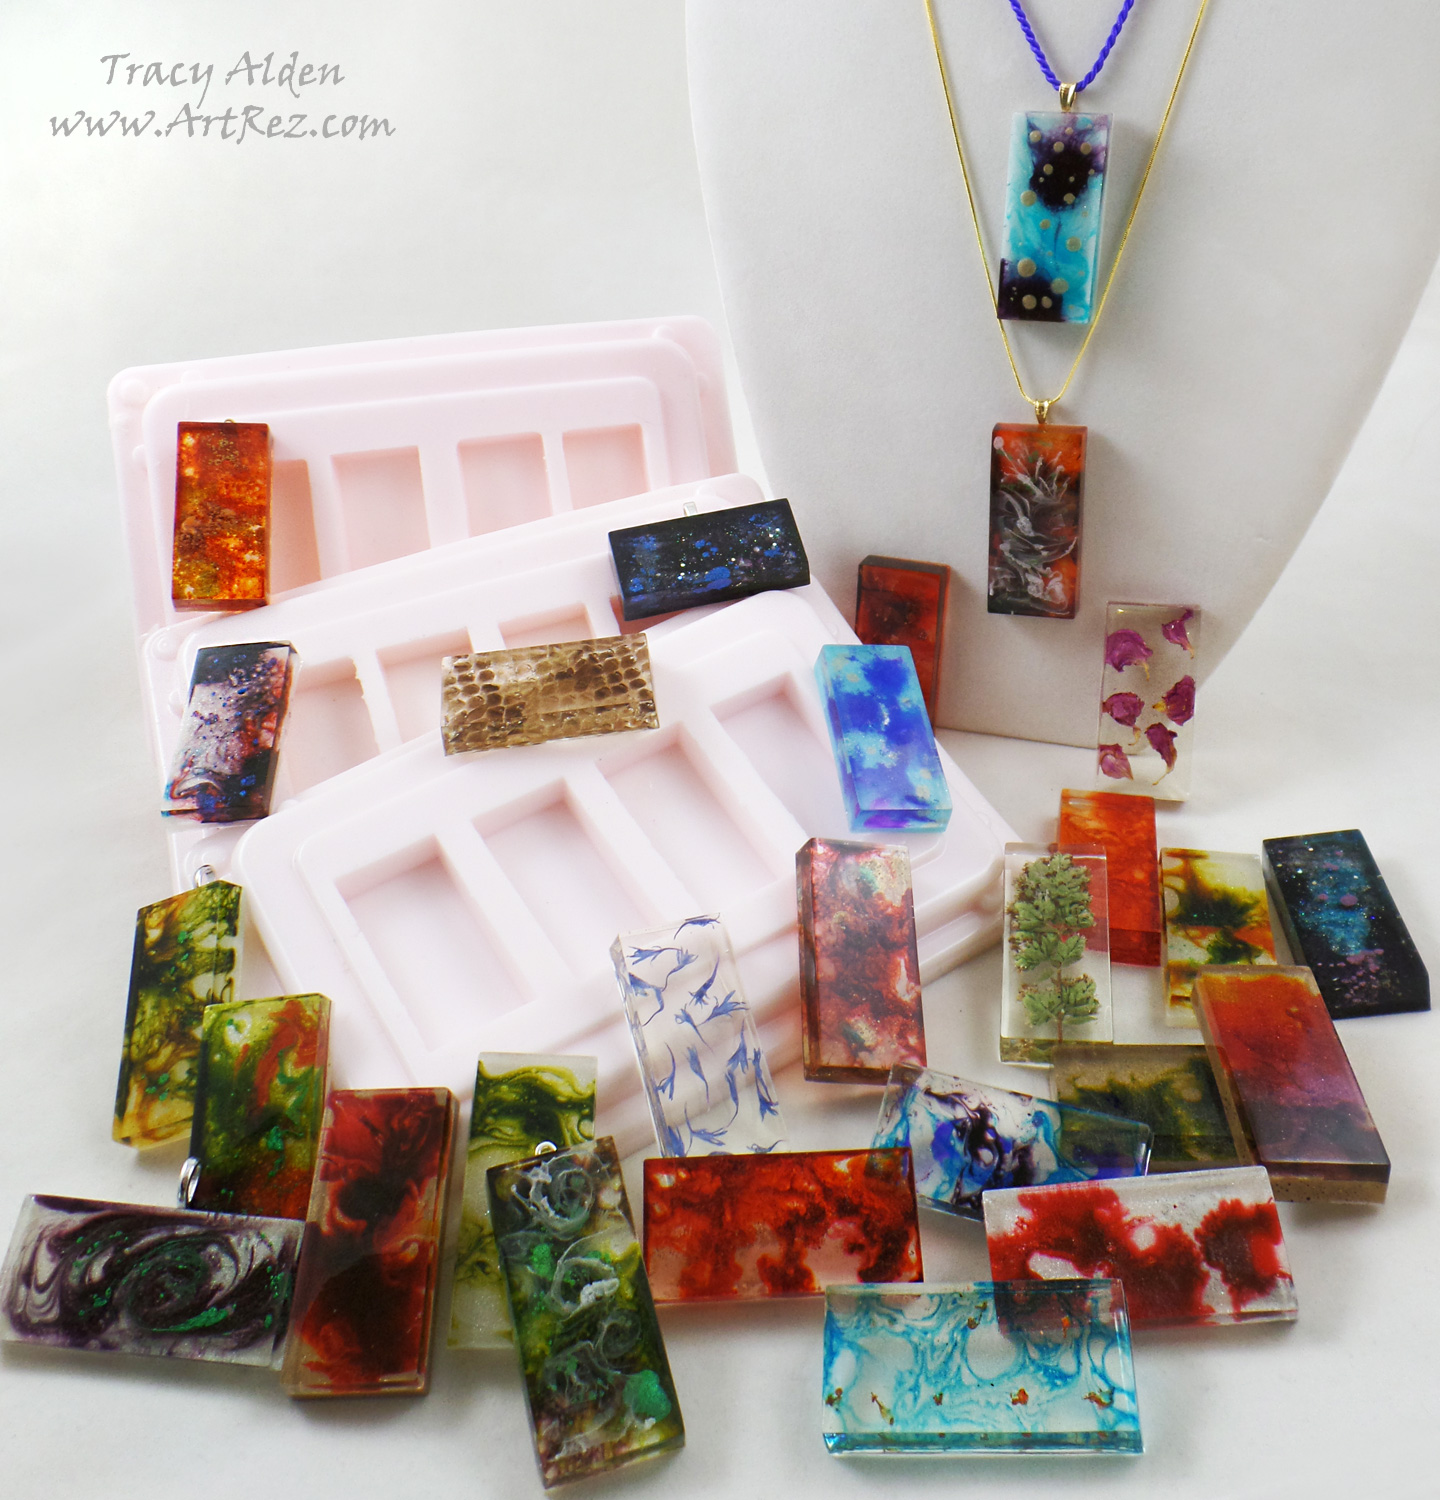
One of my favorite demonstrations was using the tile molds you can see in the photo. If you would like to find out how to create your own a tutorial can be found Here.
While I didn’t get to walk the show floor like I normally would because everything was so busy this show turned out to be a wonderful and new adventure into the creative industries.
Until Next Time, Safe Travels!
2016 DesignerCon Recap
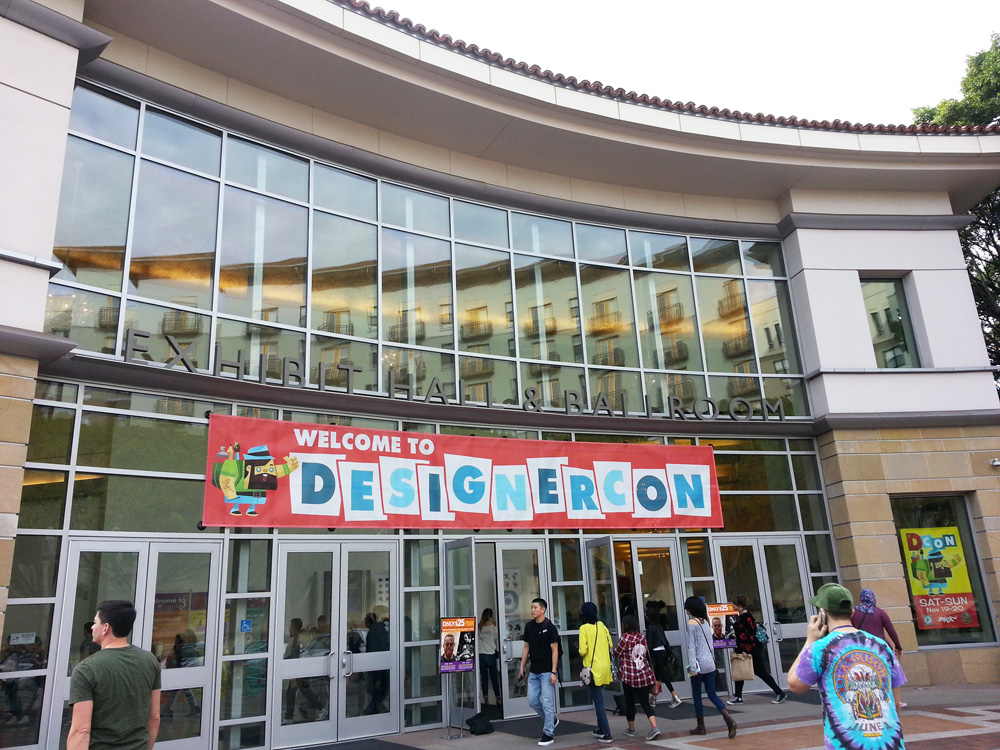
This year I was finally about to attend DesignerCon or otherwise known as DCon. While my recap is somewhat belated I still wanted to share some info on a few of the seriously talented artists I met at this show.
So what is DesignerCon? As per their website:
“Designer Con is an annual art and design convention that smashes together collectible toys and designer goods with urban, underground and pop art! DCon is over 90,000 sq. ft. and features over 350 vendors, art & custom shows, live demonstrations, and much more! he show coordinators strive to provide a fun, safe, comfortable environment for fans, artists, and vendors to meet. Join us every November at the Pasadena Convention Center for a weekend of fun, toys, and art!”
While I was only able to attend one day due to scheduling conflicts, making it a mad dash to be able to see all the vendors and wonderful artists, it was an awesome show to attend. With so many talented people selling their art is was honestly hard to pick who to buy from and what. It is not a show to miss and next time I hope to go both days to not just walk the floors but attend some of the special events and panels.
I wanted to show some of the artists I bought from, their links on social networks and where others might buy more of their work outside of DesignerCon!
*Some shops might be down for the holidays or have specials going only for the holidays, make sure to check out their different social networks for updates.
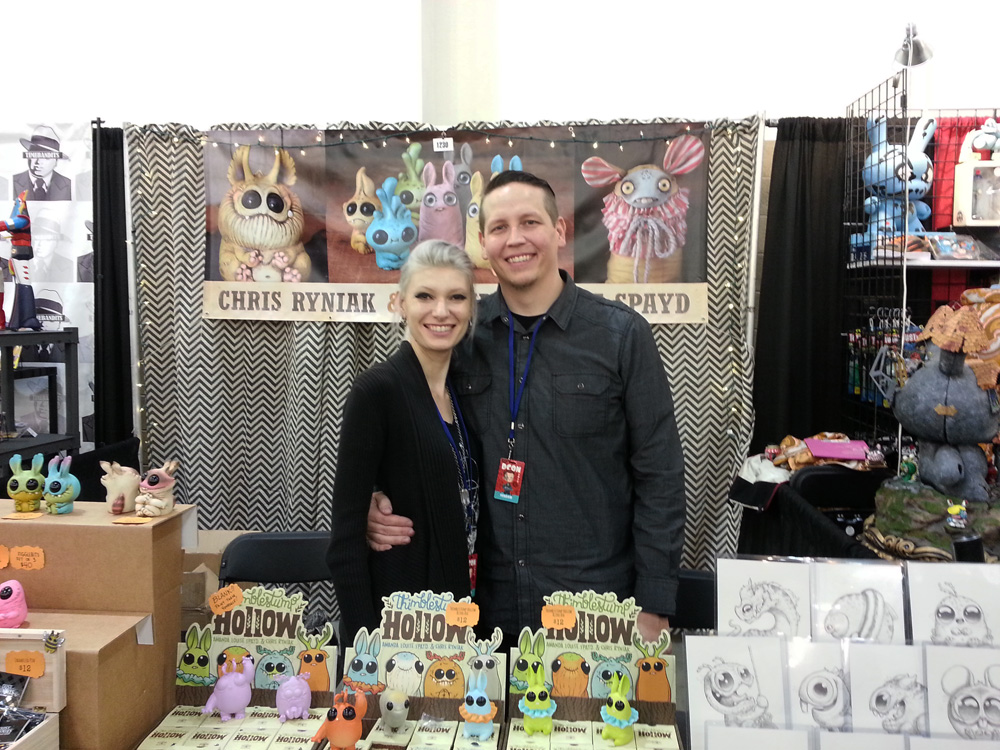
Artists Amanda Louise Spayd and Chris Ryniak had a combined booth showcasing their sculptures, vinyl figures, illustrations, prints and buttons. Their unique spin on monsters and wee creatures has been a favorite of mine for years and it was a pleasure to finally meet them in person and buy some of their art.
Their combined shop: https://www.bindlewood.com/
Amanda Louise Spayd
Created the puppets in the short film The Maker: http://www.themakerfilm.com/
Website: http://amandalouise.com/
Instagram: https://www.instagram.com/amandalouisespaydChris Ryniak
Making Monsters by Chris Ryniak lecture at Patreon’s first ever creator conference: https://www.youtube.com/watch?v=81nzmR3jbe4
Instagram: https://www.instagram.com/chrisryniak
Facebook: https://www.facebook.com/ChrisRyniakArt/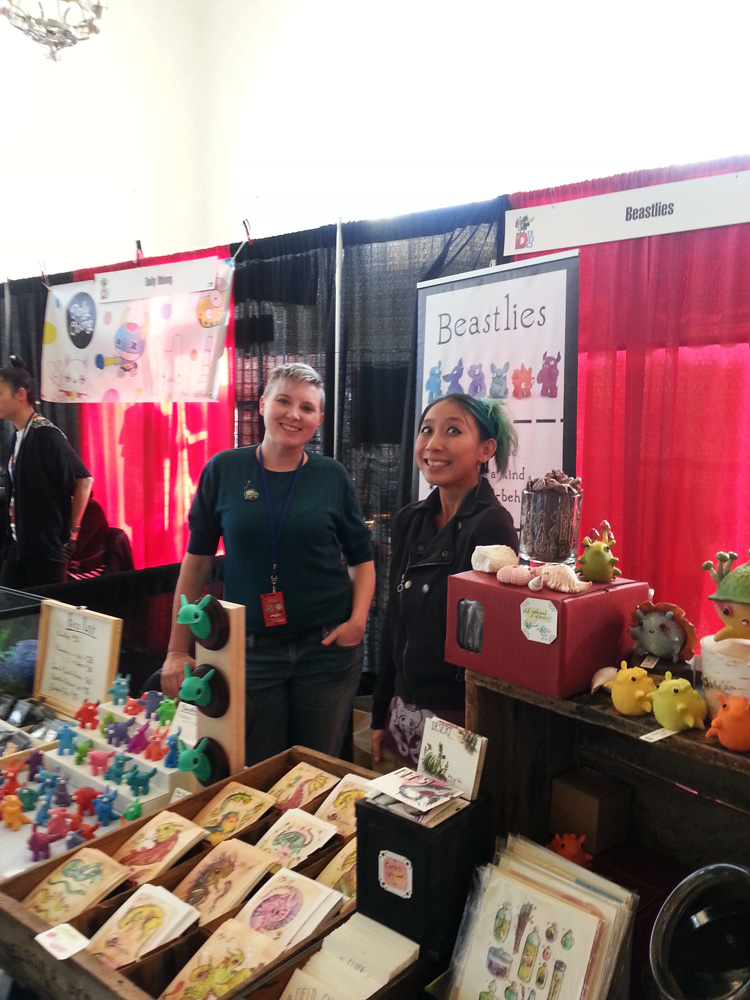
Artists Shing Yin Khor, otherwise known as Sawdust Bear and Leslie Levings creator of the Beastlies had a combined booth as well. Each of these artists had sculptures, resin castings, illustrations, prints, cards and buttons of their lovely and playful work. Seemingly lost specimens and denizens of hidden worlds each one of their pieces of artwork is full of personality.
Sawdust Bear
Website: http://www.sawdustbear.com/
Instagram: https://www.instagram.com/sawdustbear/
Facebook: https://www.facebook.com/sawdustbearBeastlies
Website: http://www.beastlies.com/
Instagram: https://www.instagram.com/beastlies/
Facebook: https://www.facebook.com/Beastlies/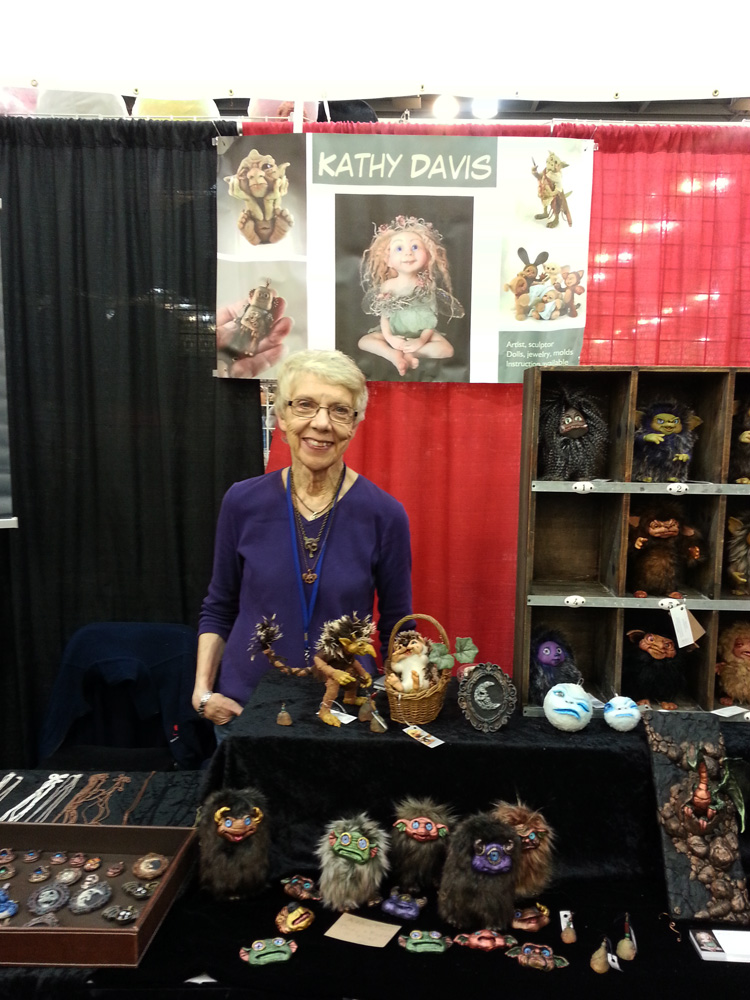
I had the opportunity of seeing artist Kathy Davis at the 2016 Craft and Hobby Association Trade Show, before meeting her again at her DesignerCon booth. A truly talented doll artist and jewelry designer, her one of kind pieces were not to be missed! Her sculptures and dolls seem to have stepped right out of a fairy tale.
Website: http://www.kathndolls.com/
Etsy: https://www.etsy.com/shop/Kathndolls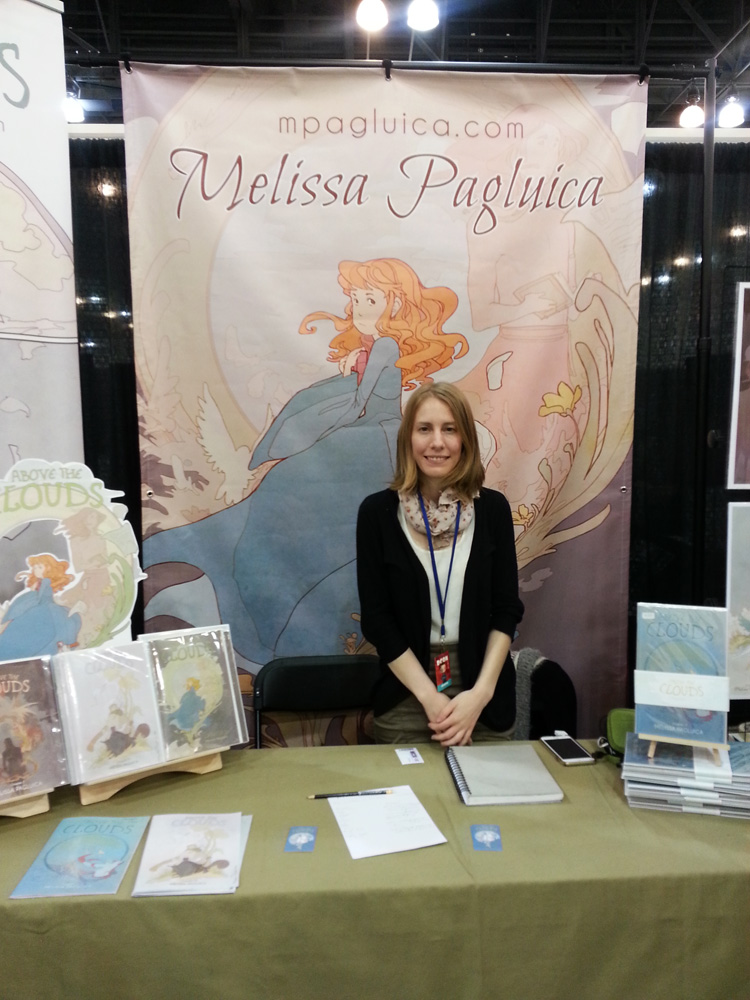
Artist Melissa Pagluica, creator of Above the Clouds, a comic that tells two intertwining stories, the adventures of a hero who must save a dying world, and a girl who must convince an author to finish what he has started. Her lovely dreamlike illustrations caught my eye from the aisle, even without knowing they came from her comic series, and I couldn’t leave her booth without buying a few.
Website: http://www.mpagluica.com/
Etsy: https://www.etsy.com/shop/TeacupBee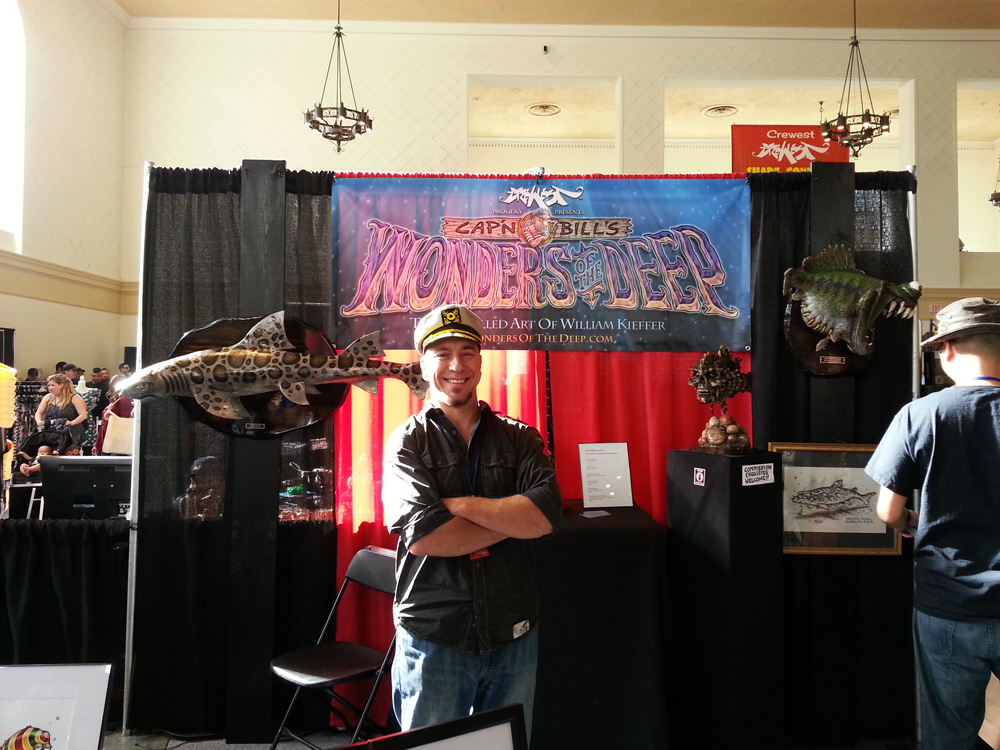
Artist William Kieffer, otherwise known as Cap’n Bill, had an amazing display of deep sea creature sculptures, cards and prints. His highly detailed and wildly imaginative art harked back to deep sea creature myths and tall tails, while his greeting cards tapped into pop culture humor.
Website: http://www.wondersofthedeep.com/
Facebook: facebook.com/CapnBillKieffer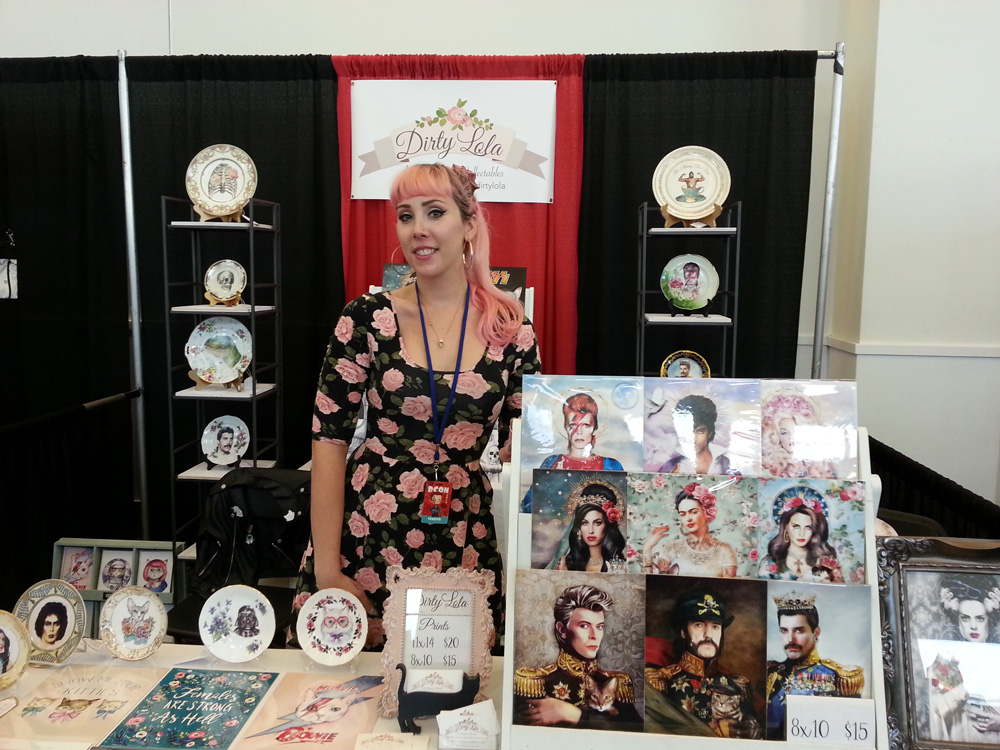
Artist Dirty Lola, otherwise known as Scarlett River, had a lovely assortment of prints, cards and antique altered decorative plates of her pop culture art. Celebrities are portrayed as saints, dignitaries or one of kind focals in her lovely retro art.
Etsy: https://www.etsy.com/shop/DirtyLola
Facebook: https://www.facebook.com/scarlettriverofficial/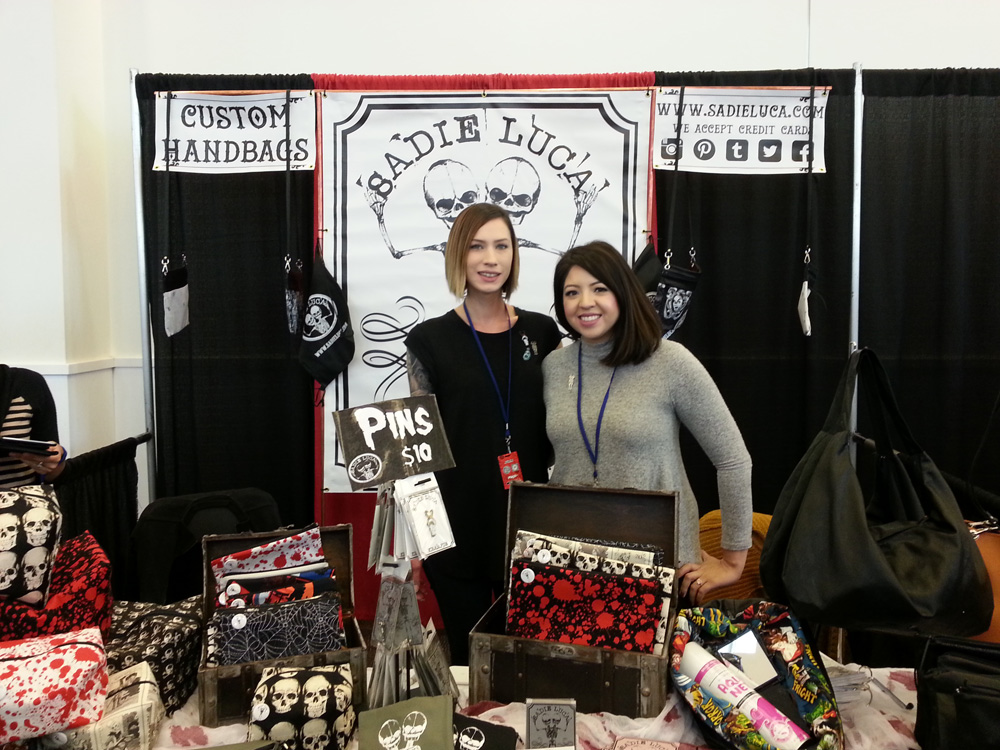
Artist shop Sadie Luca had a wonderful assortment purses, bags, pins, prints and aprons with retro horror camp prints with a modern fashion spin.
Etsy: https://www.etsy.com/shop/SadieLuca
Instagram: https://www.instagram.com/sadieluca/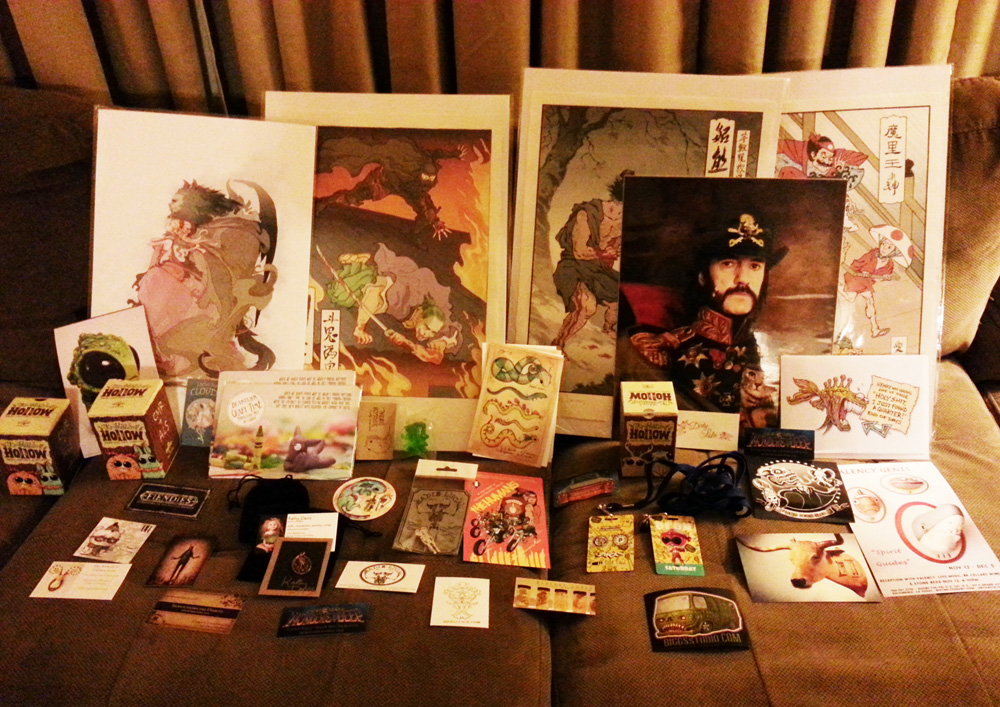
After just one day at DesignerCon I came back home with all of these wonderful items to display, share with others and give as holiday gifts!
We need and want beautiful art in our lives, but to have this we need to support artists who’s work we appreciate. Buy their art art, their images, sculptures, clothing, music and more, I can’t stress this enough. We lost a lot of amazing artists in 2016, support artists in their lifetime.
Wishing you all a Happy New Year, Until Next Time, Safe Travels!
Fall Miniature Art Supply Finds
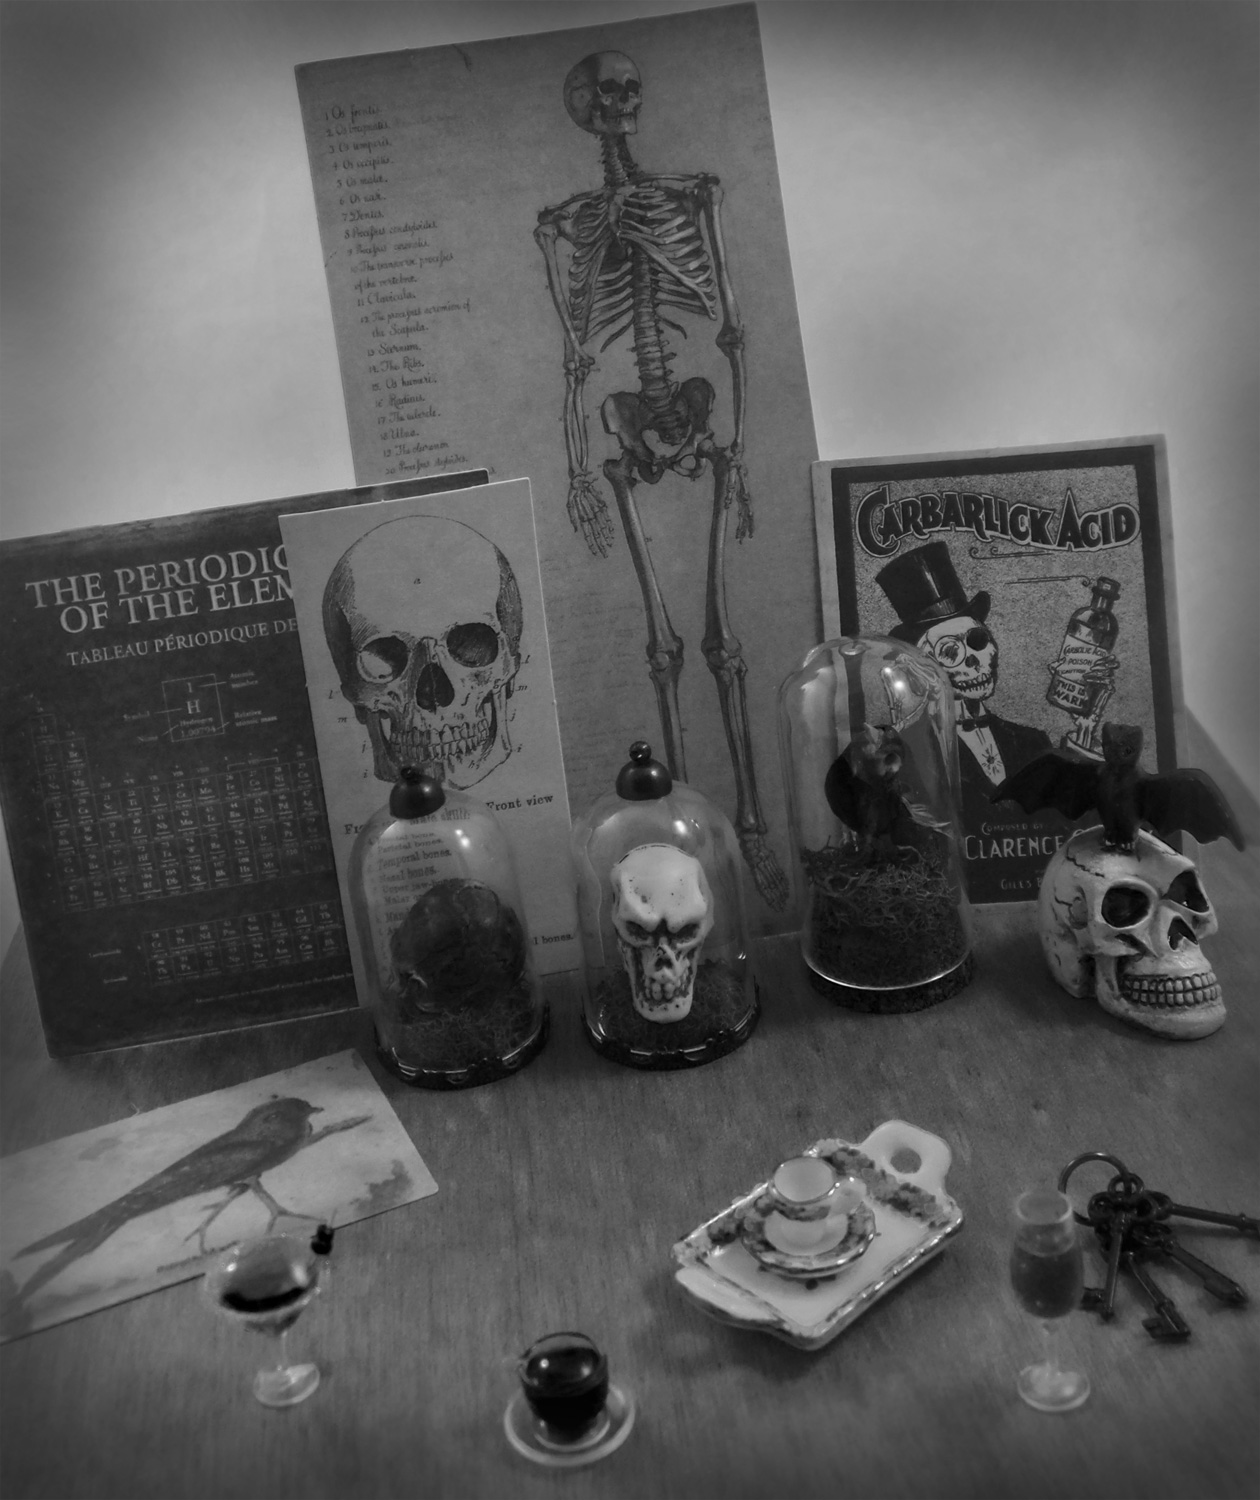
With the first day of Fall fast approaching I swear I can almost smell the cool air, soon to be falling leaves, pumpkin pie and Halloween candy to come! It also has me haunting stores in search of new art supplies, in particular items perfect for Halloween and my eternal addiction, miniatures. Sit down for a spell, pour yourself a cup of tea and let me speak of some of the crafting bounty.
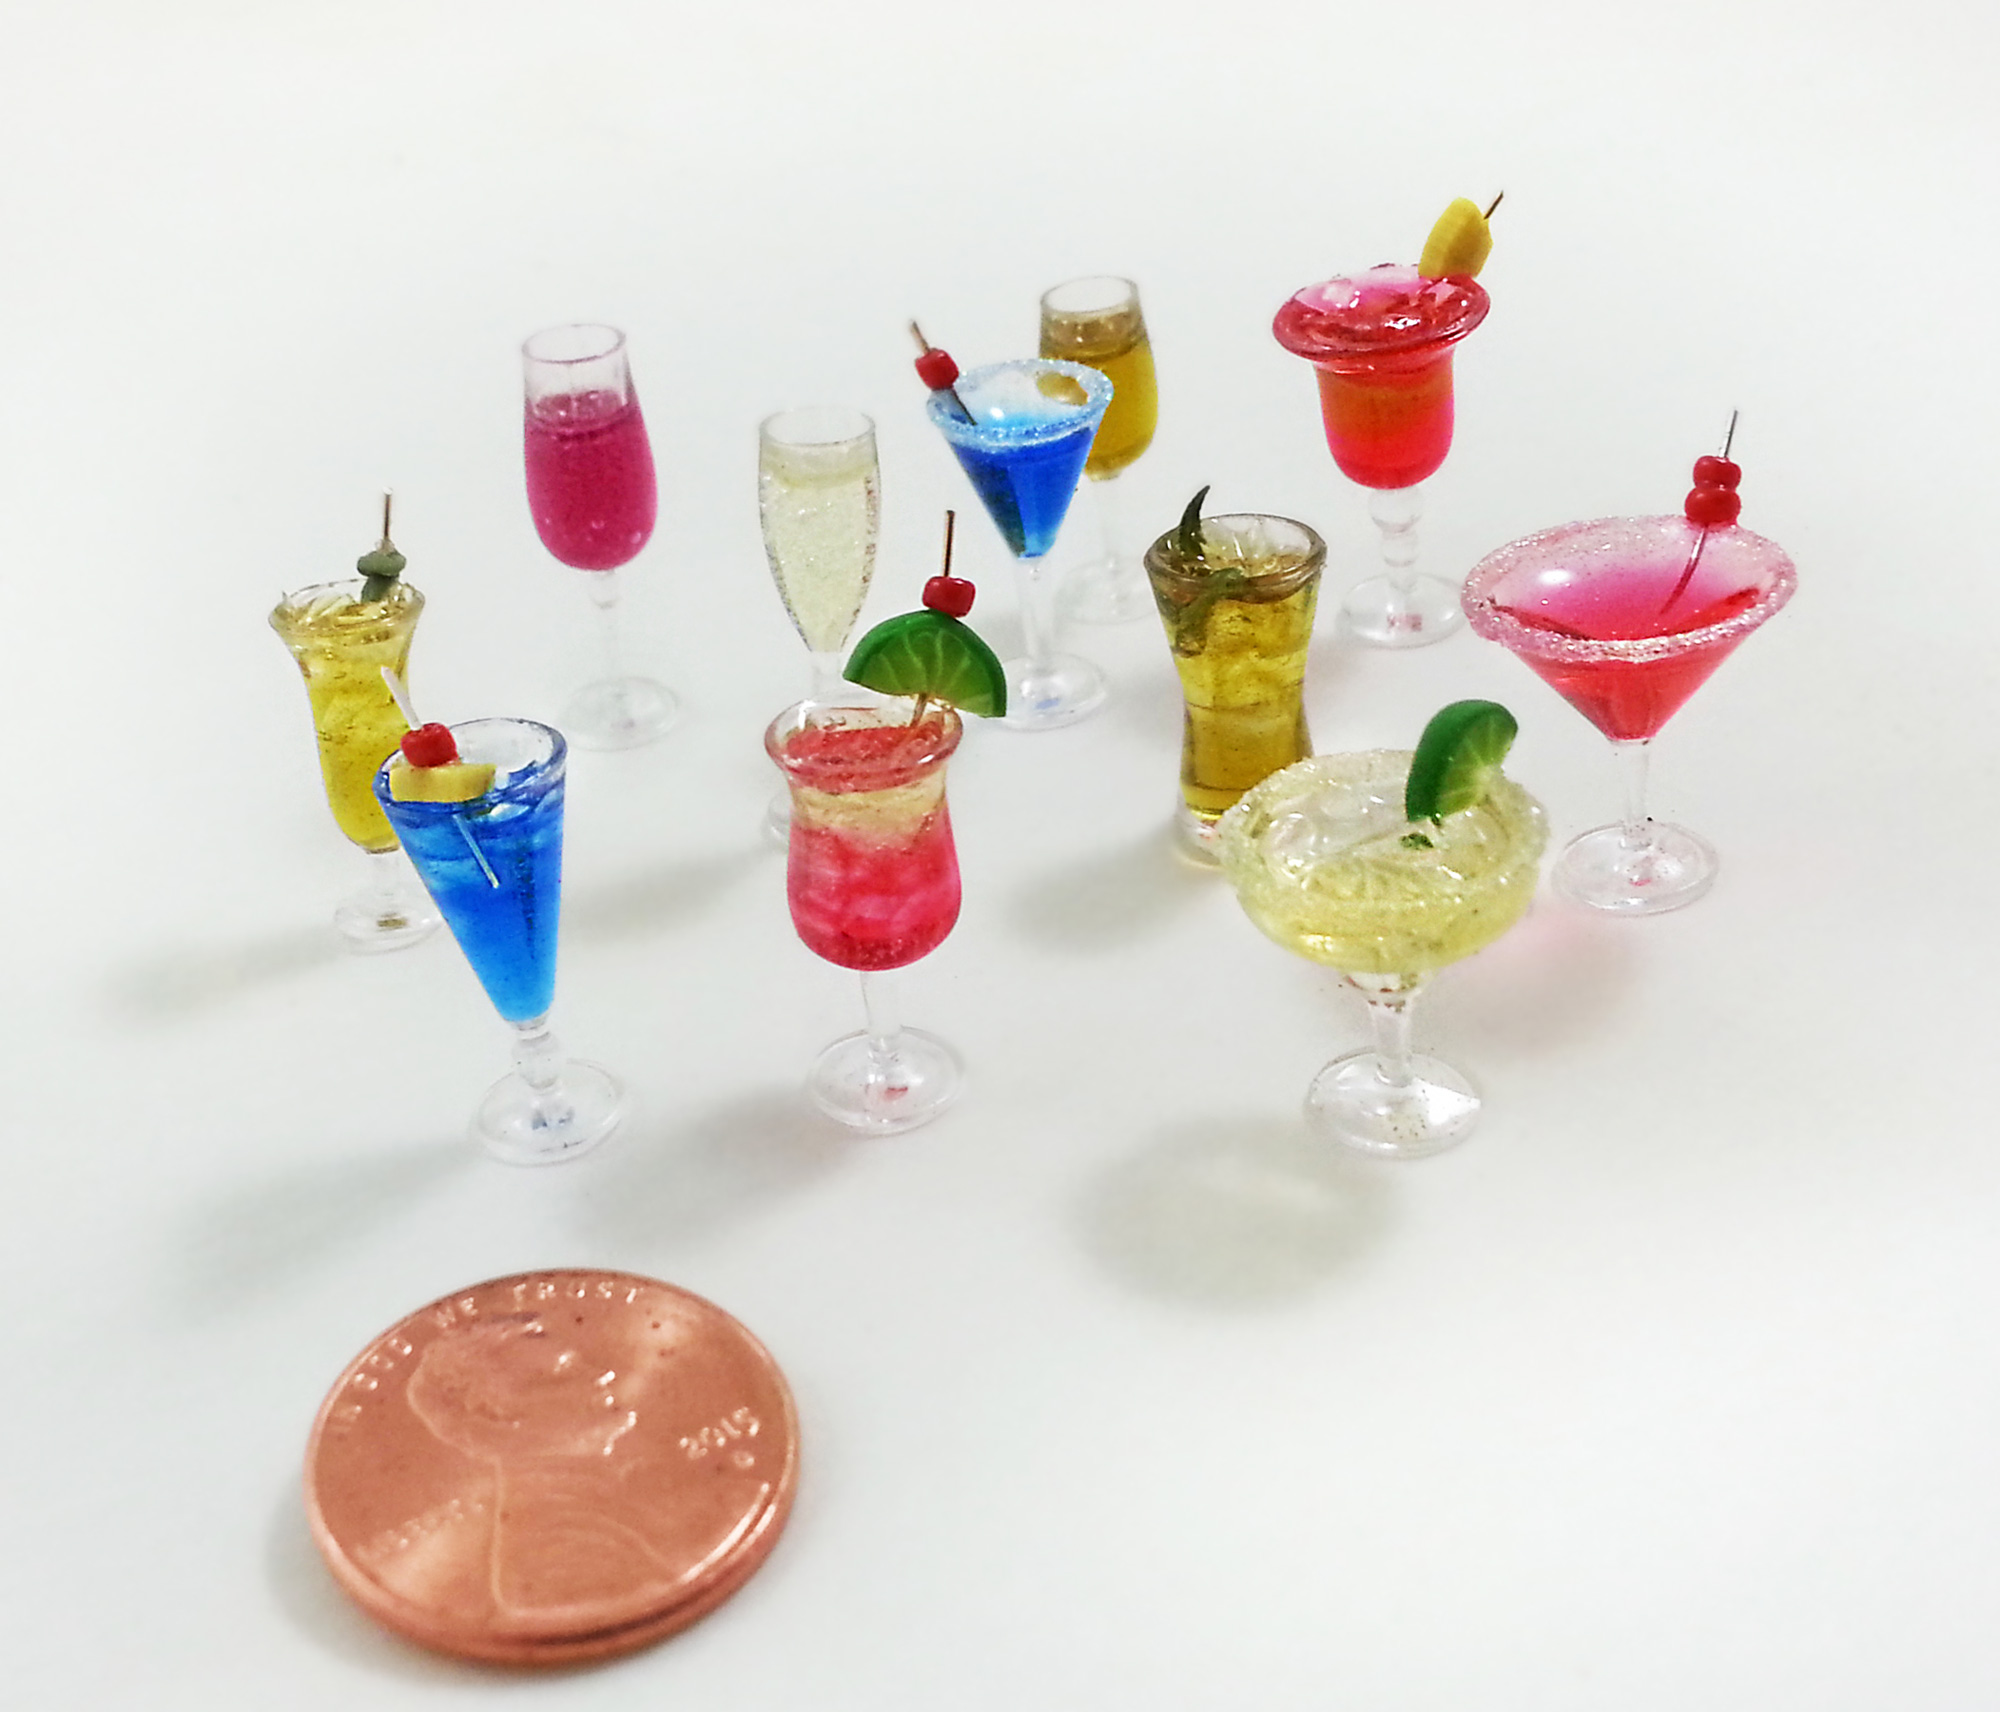
These 1/12th Scale Miniature Cocktail Glasses I found on Amazon. They are clear plastic and rather lightweight so gluing them down or filling them with resin, such as I did to create a miniature Happy Hour with the help of Amazing Clear Cast, is highly suggested. My tutorial on how to fill these darling cups can be found HERE. No two cups are alike in the set so if you would like to have doubles or to create a table setting you will need to buy several sets.
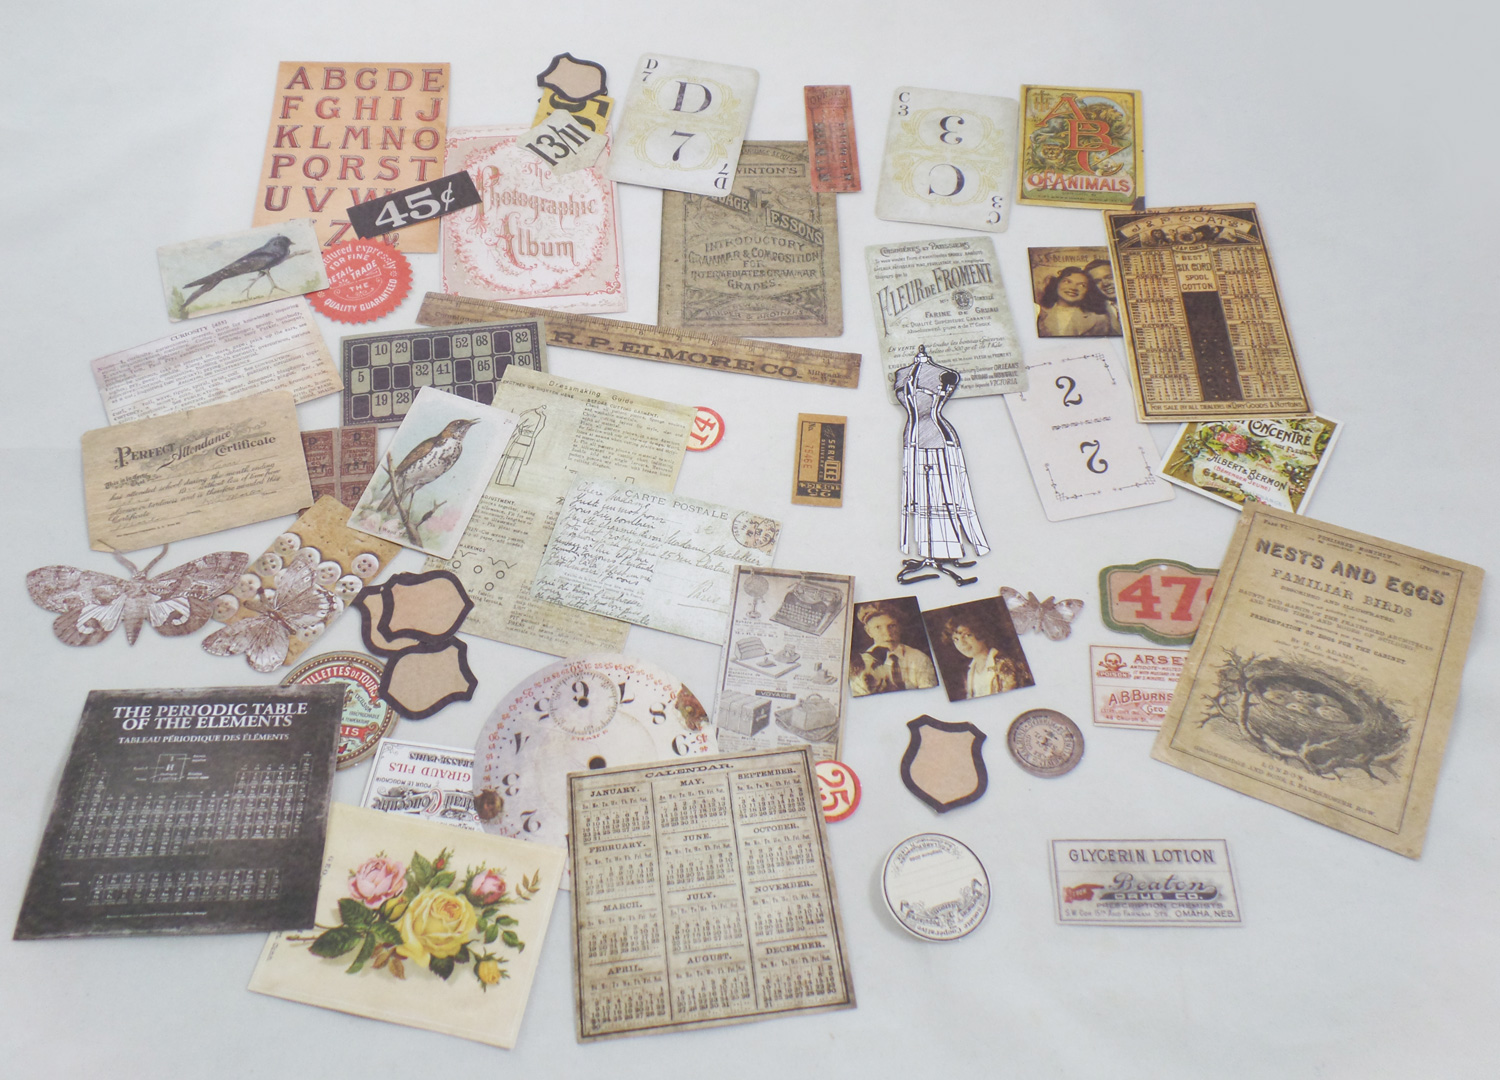
Even though Thrift Shop Ephemera Pack by Tim Holtz Idea-ology® paper embellishments has been out for several years, and easily found at most craft shops, I had thought it wouldn’t be of much use to me. Once I finally got a good look at the pack I broke down and bought one. I saw some of the mini photos and insect prints, once opened I found some really wonderful miniature advertisements and bottle labels perfect for Playscale (1/6th)and 1/12th scale miniatures. I would say only about 1/4th of the pack is good for miniature scenes but since I do a lot of mixed media work I thought it was a great buy.
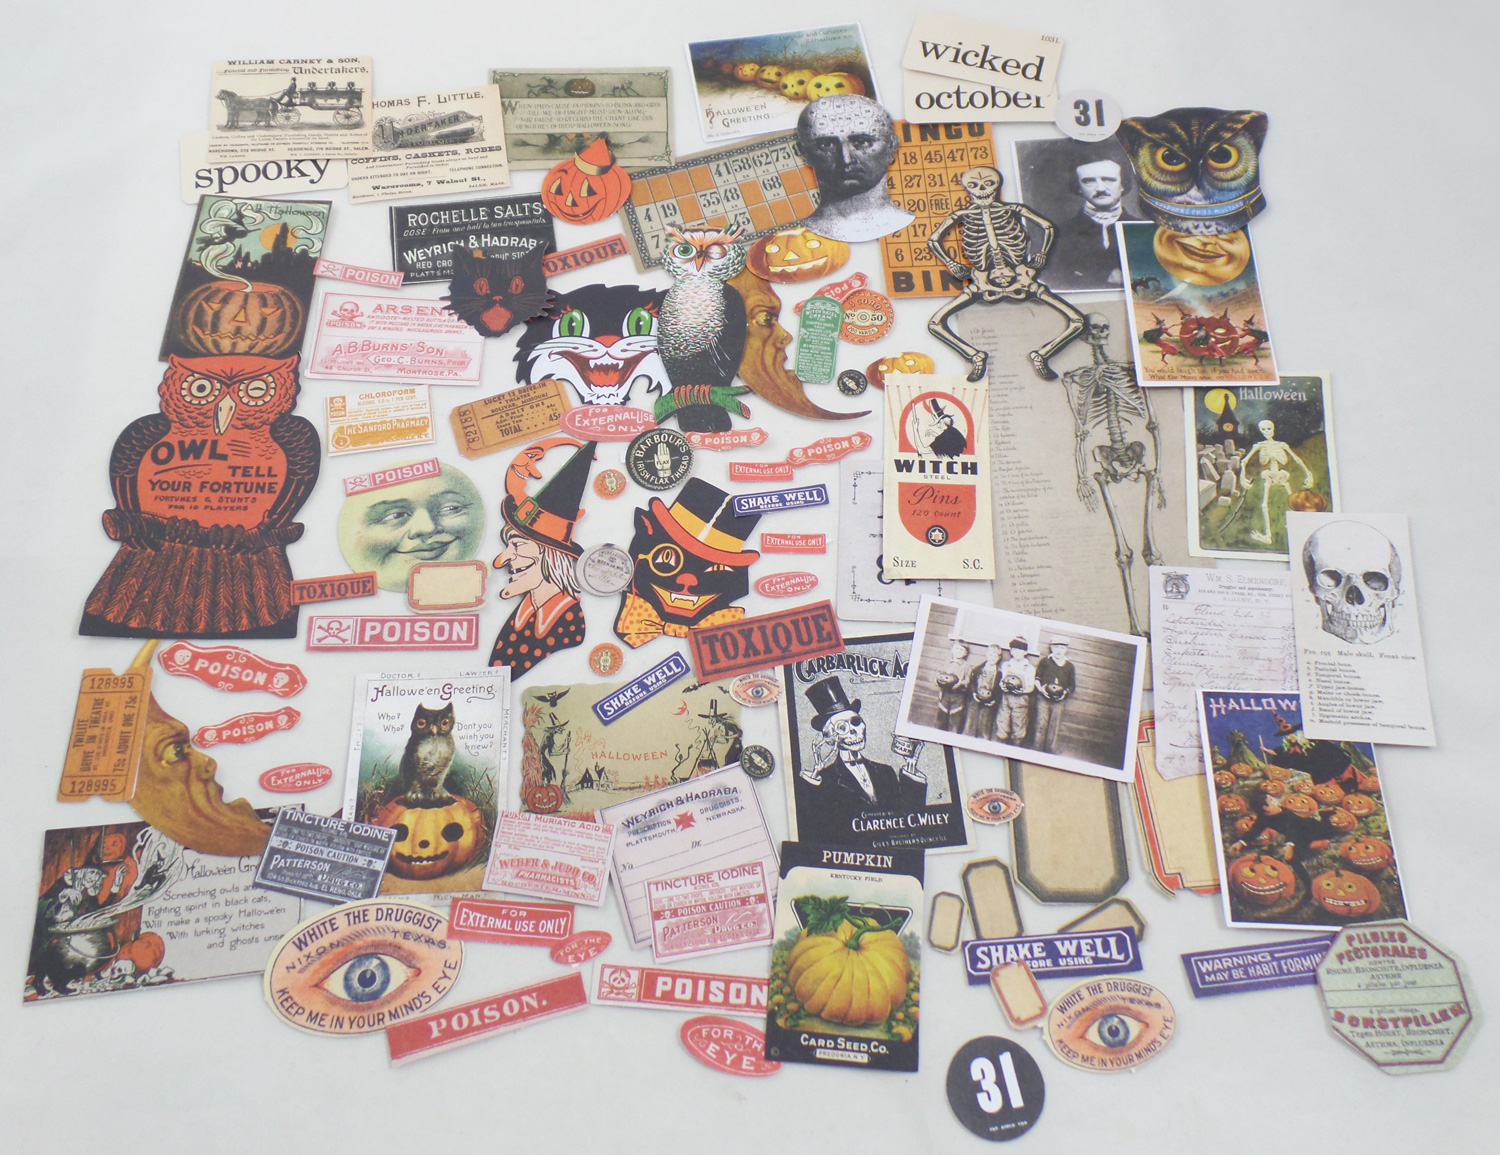
The previous pack encouraged me to go ahead and buy the Curiosities Ephemera Pack by Tim Holtz Idea-ology® in the Halloween crafting section of Michaels. It is mostly Halloween with a tiny bit of Fall themed paper embellishments. I would say almost the entire pack is perfect for Playscale (1/6th)and 1/12th scale miniatures along with mixed media art. Just full of reproduction prints, in miniature, of postcards, decorations, bottle labels, advertisements and science lab posters, this is a must have for any fan of Halloween and vintage prints.
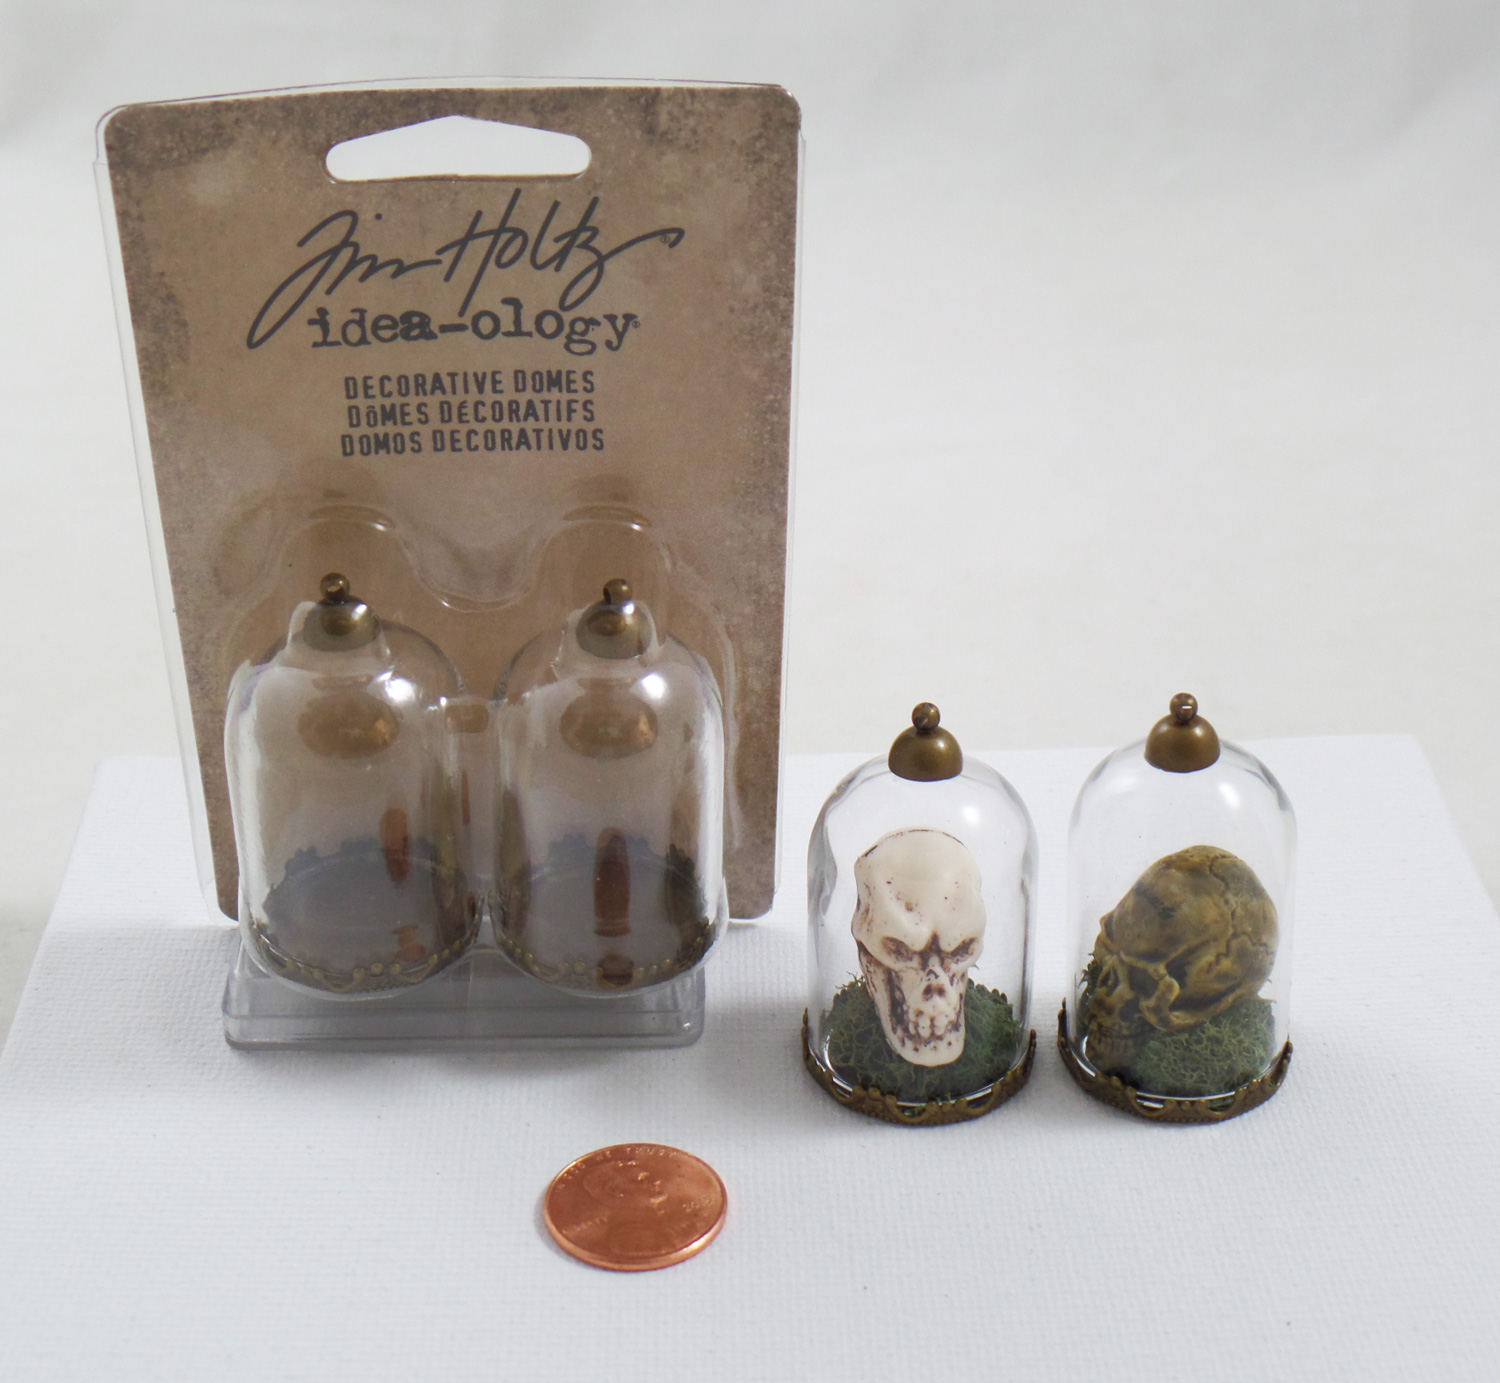
Another product that has been out for awhile but normally shoved into the scrapbooking sections of most stores is the Tim Holtz Idea-ology® Decorative Domes. I would honestly call these domes mixed media and jewelry findings with a nice overlap into scale miniature. The glass domes are rather thick glass with a sturdy brass loop on top (which with the addition of a jumpring would make a cute pendant). I found most 1/12th scale skulls, or in this case beads, fit inside the domes. Glued down with a little moss, they look perfect as specimens in a science lab!
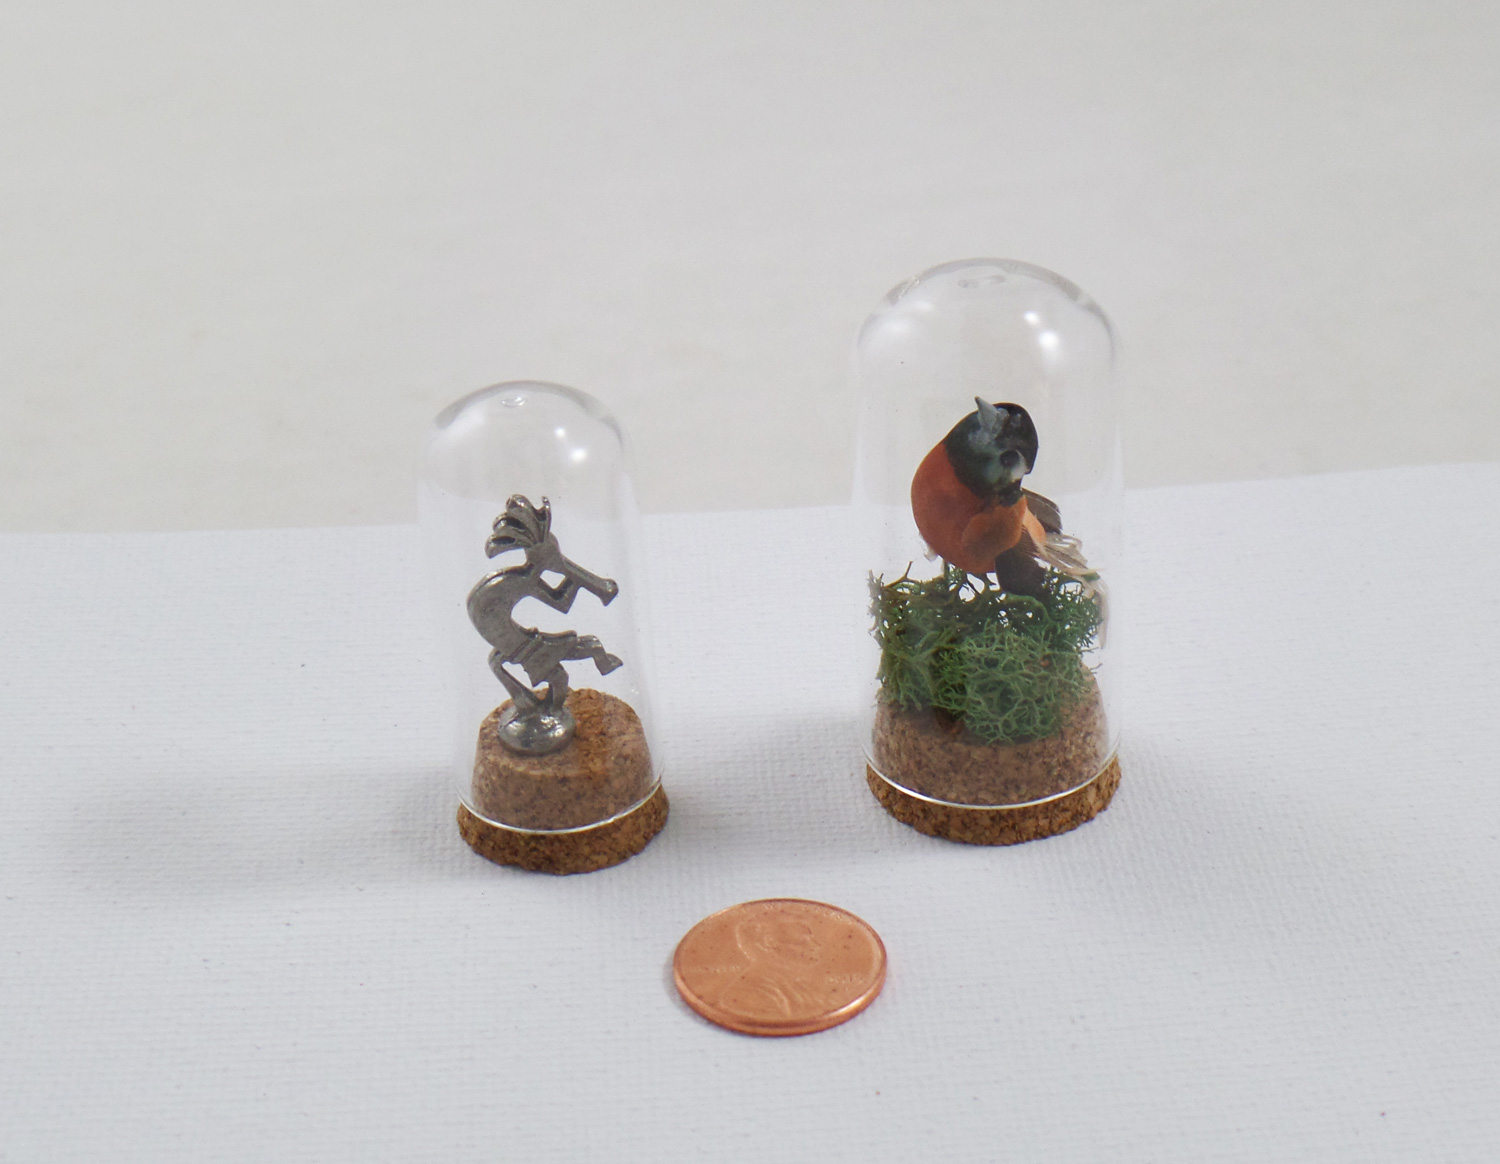
Another scrapbook section sequestered collection is the Tim Holtz Idea-ology® Corked Domes. Taller, and thinner glass than the Decorative Domes, without a brass ring on top, these are more mixed media and miniature use. With the cord base it is very easy to push metal wire, pins and bases in and put the dome on top to create still life and museum miniature replicas.
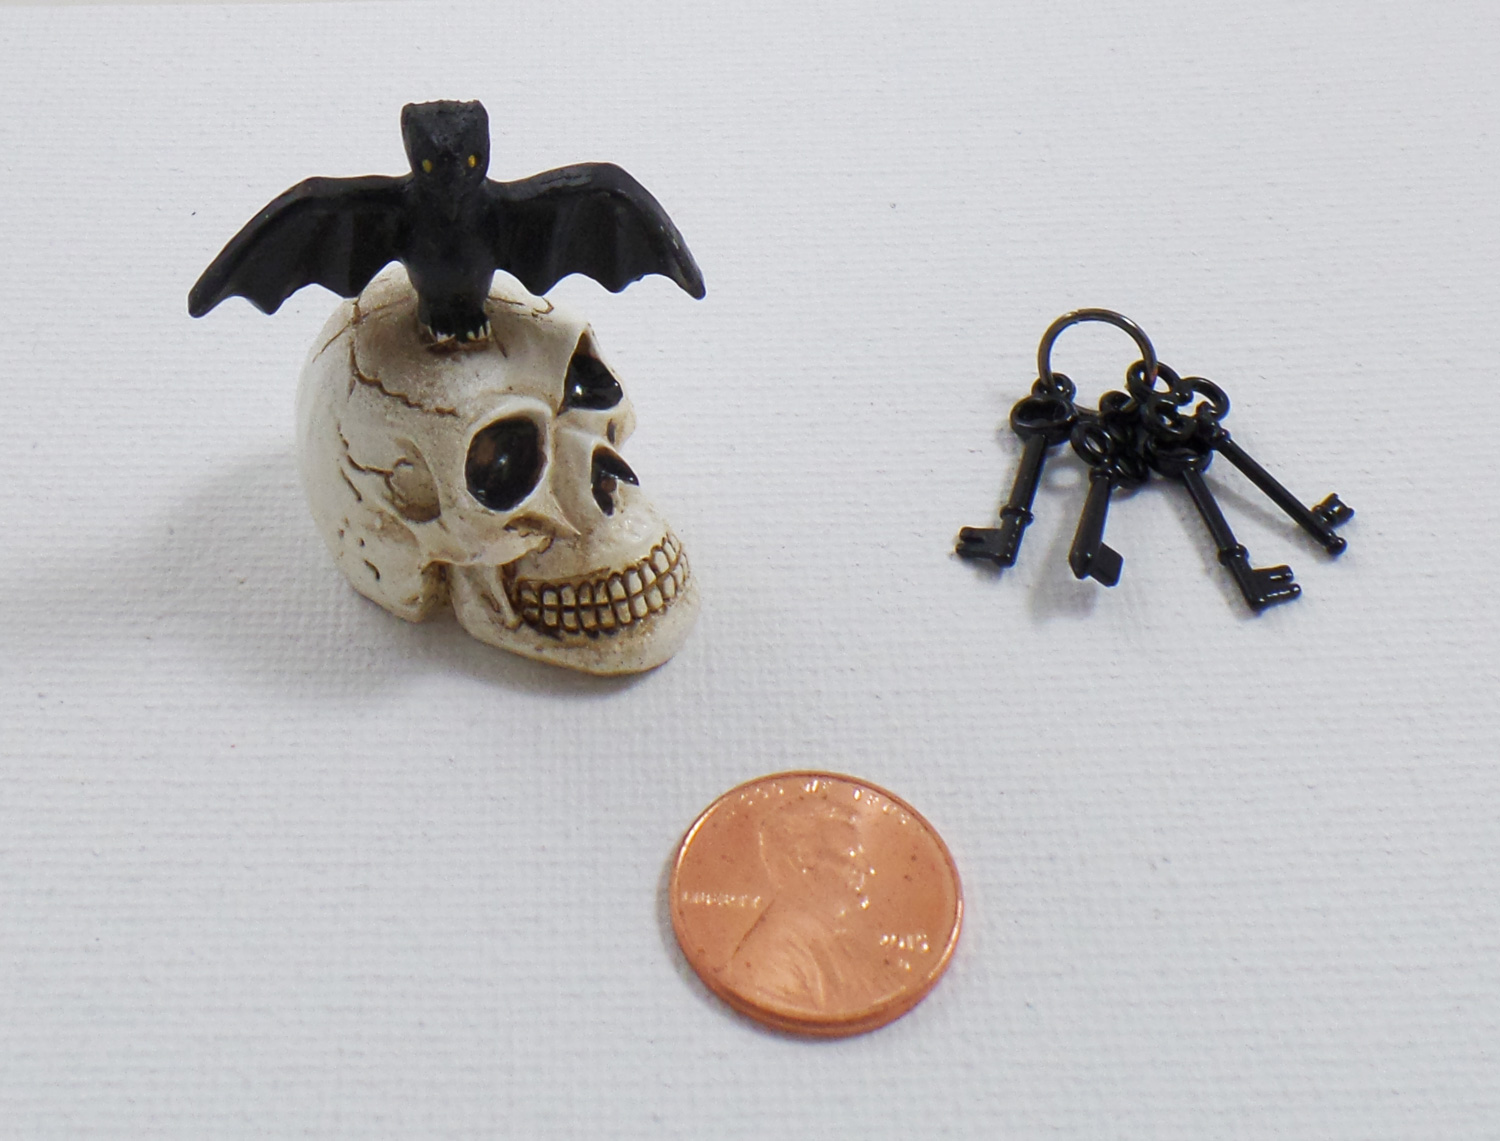
I found at my local JoAnn store Maker’s Halloween™ Littles and Art-C™ Mini Black Metal Keys. The little resin skull and bat was in the floral department as decor for miniature fairy gardens. There is quite a few resin pieces to pick from but the skull stuck out as a prefect miniature desk decoration. The keys can normally be found in the scrapbook embellishment section or jewelry charm section. I added the keys to a large black enameled jumpring to create keyring. JoAnn doesn’t seem to carry these items online, so check your local store to see what they have in stock!
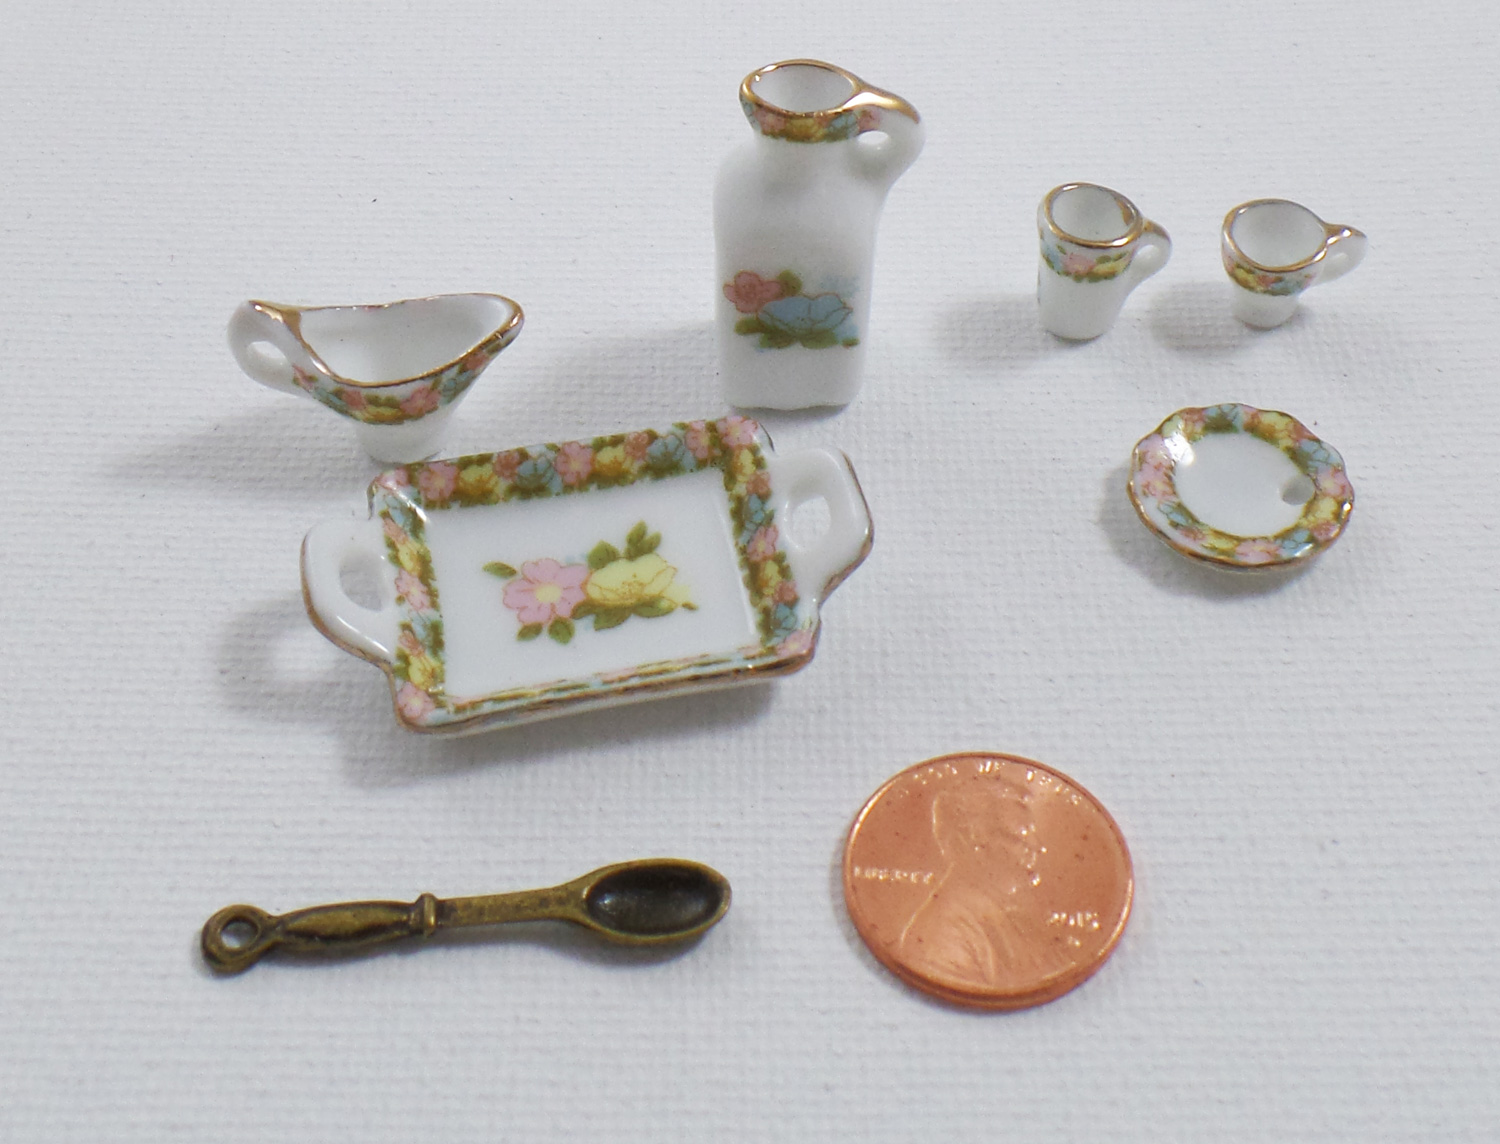
These new Pemberley Tray Charms and Multicolored Tea Set Charms By Bead Landing™ I found at a local Michaels but you can also find them at their Online Store. They have quite a few charm sets but my favorite is the matching Tray and Tea Sets. While intended as jewelry charms, and the plates have tiny holes in them, they are around 1/12th in scale. If you place a cup just right or add a tiny biscuit, to hide the holes in the plates, they are a lovely addition to miniature scene.
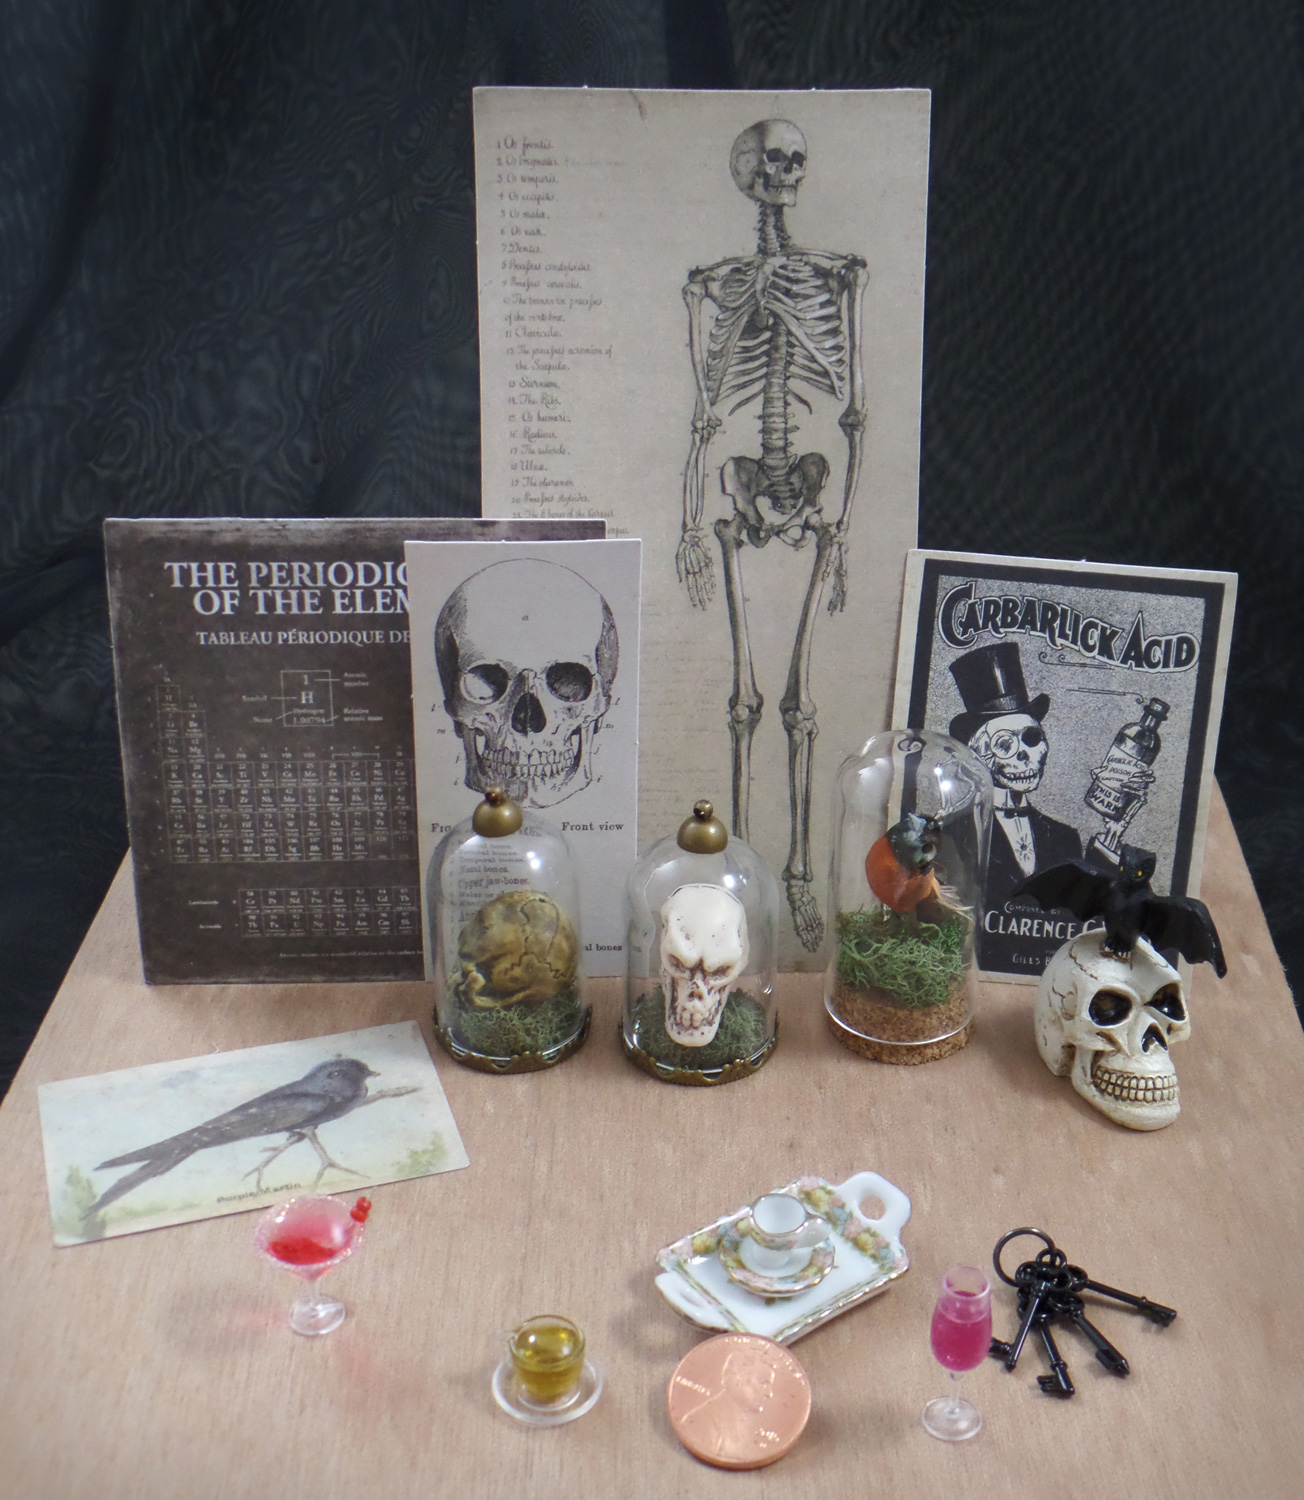
After I unpacked all my miniature finds I quickly found I had a perfect scientists’ Halloween soirée!
What lovely miniature treasures will you find in your travels?
Until Next Time, Safe Travels!
