#TBT A Quick Vampire Bite of Halloween
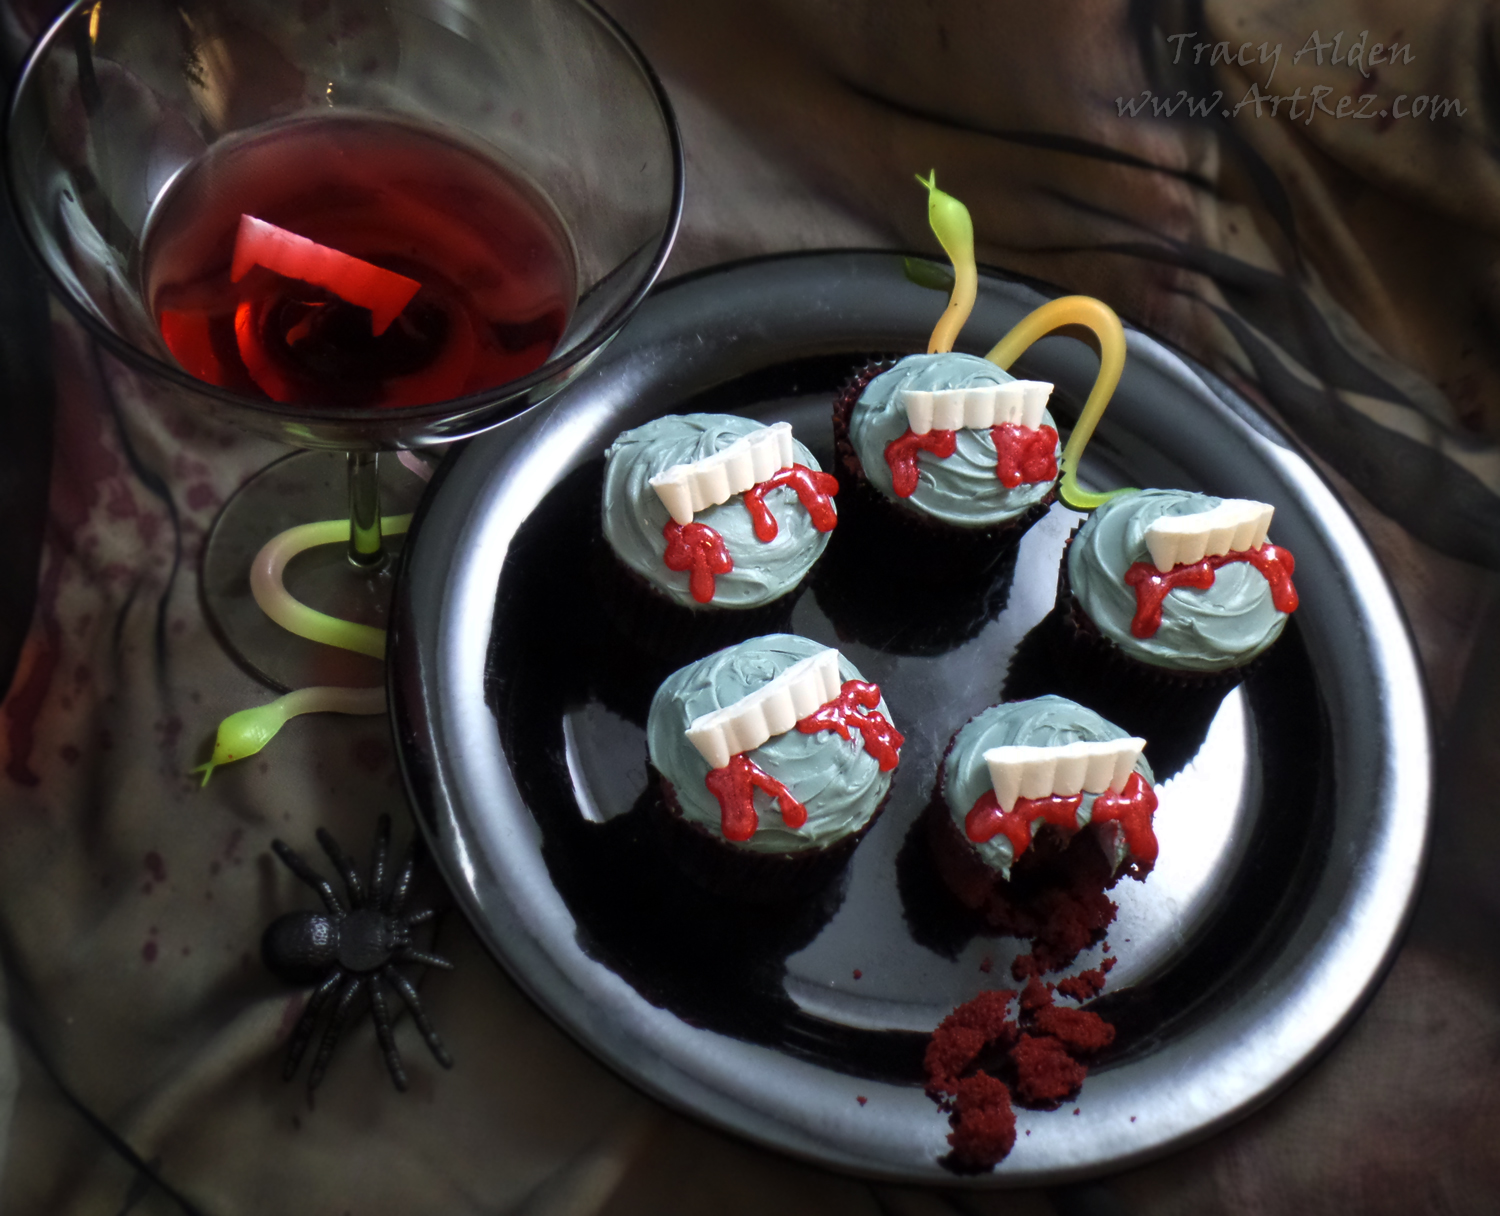
Hello! Continuing my Throwback Thursday posts, this time going with my love of hosting Halloween parties and the little ghoulish delights that need to be decorated. While it would have been okay to just put plastic vampire fangs on each cupcake, I wanted to make the fangs an edible candy treat!
Supplies:
Amazing Mold Putty
Plastic Children’s size Vampire Fangs
Wilton Candy Melts
Wilton Blood Red Sparkle Gel Icing
Red Velvet Cake Mix
Black Cupcake tin liners
White icing tinted blue-grey
Toothpicks
Sandwich baggies
Butter knife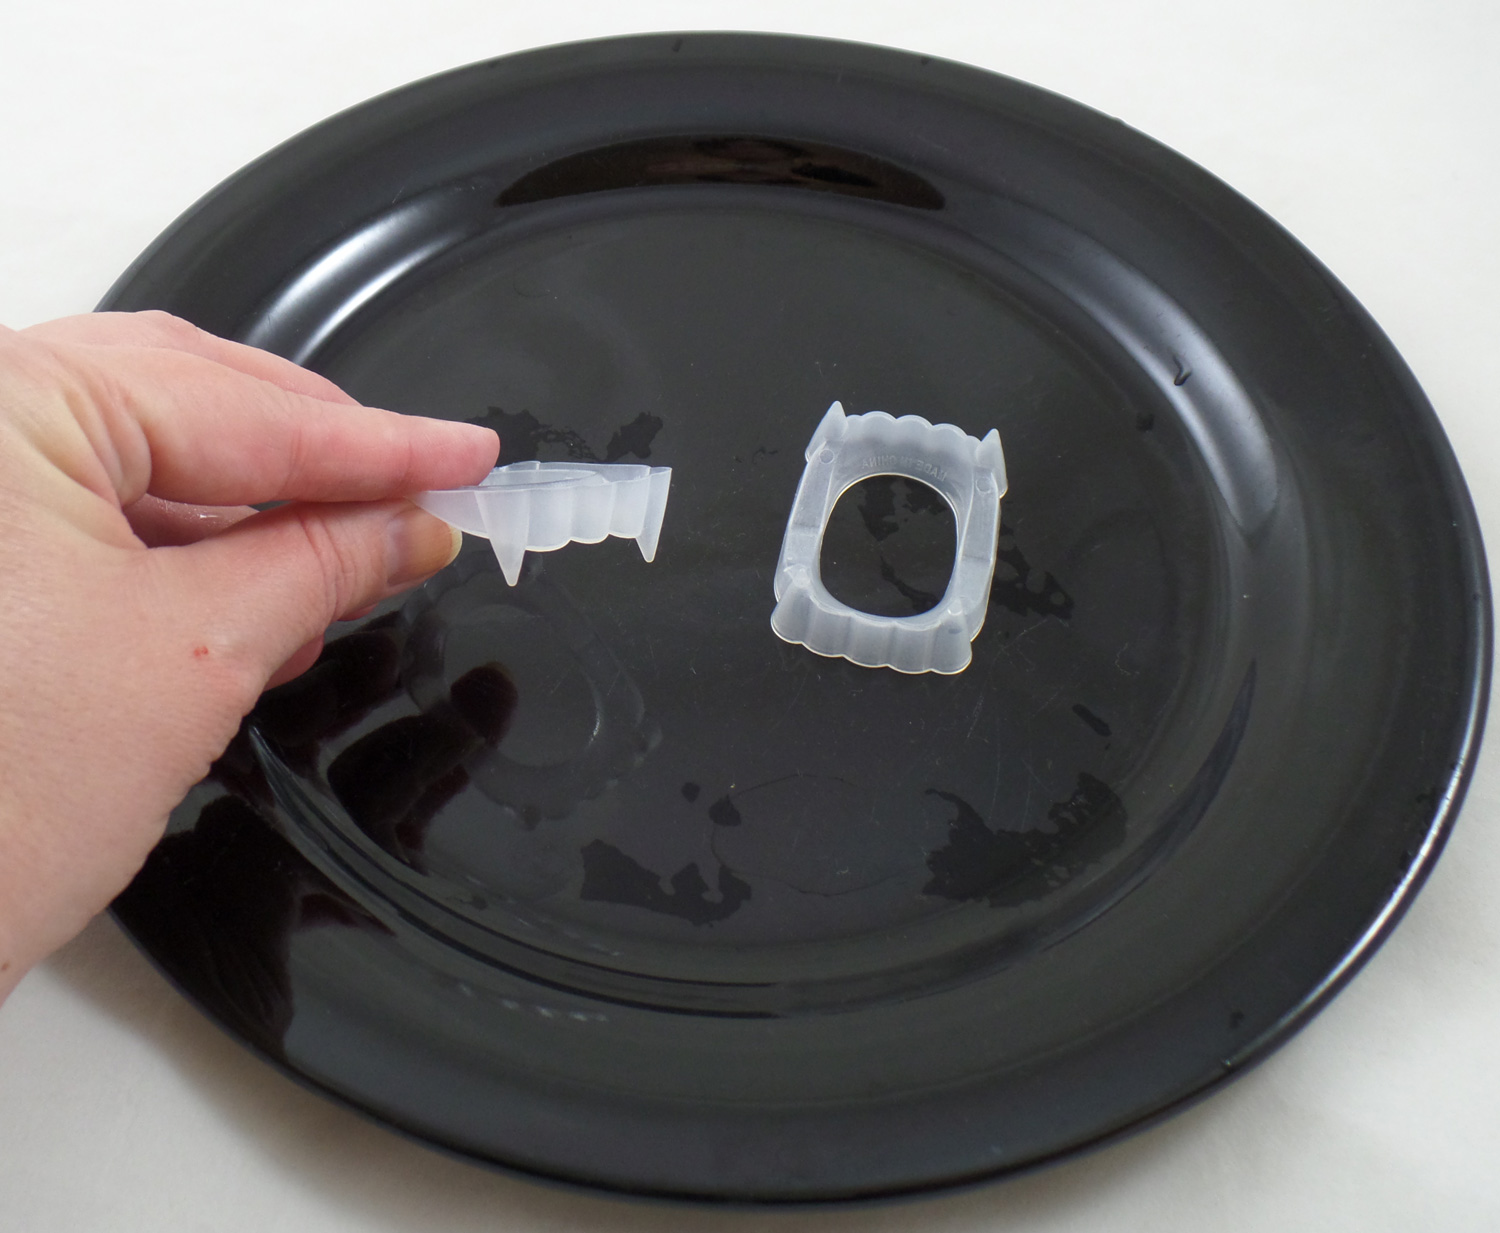
I cleaned two child sized vampire fangs, with soap and water to prepare them for molding. I placed them on a black dinner plate so I had a smooth and contrasting surface to work on.
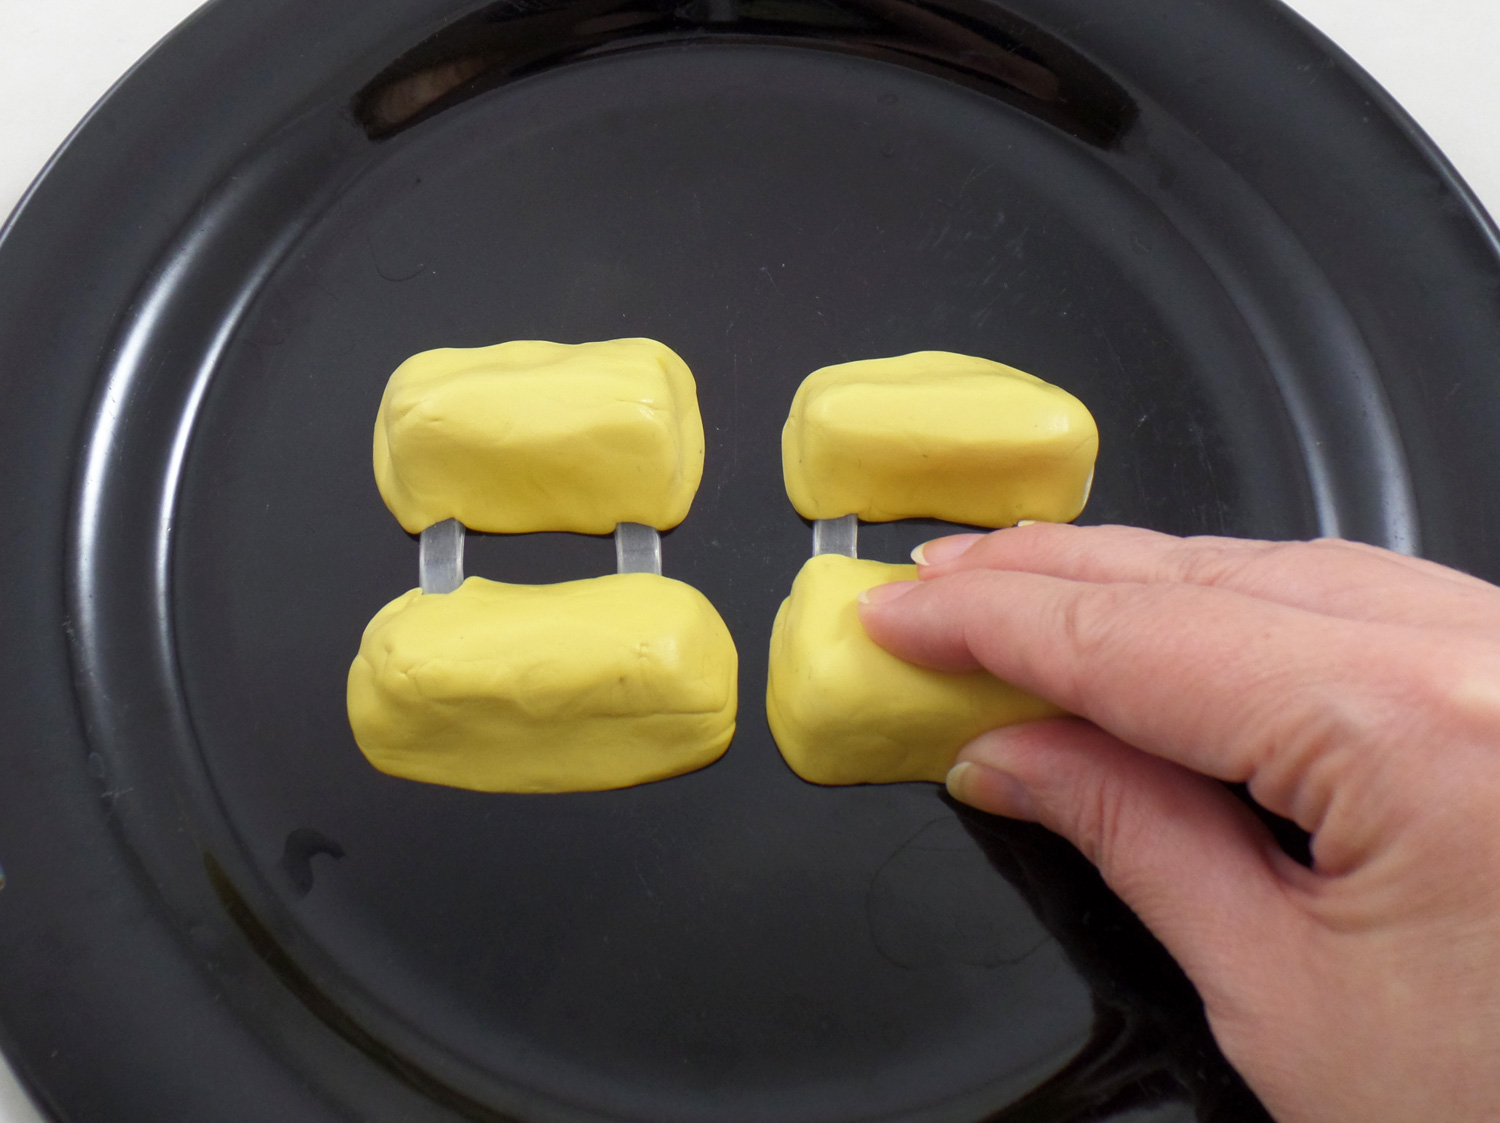
I mixed up some Amazing Mold Putty and molded it around the front portions of the vampire fangs. I was careful to press the Mold Putty up against the fangs to make sure I got a good molding of the fangs.
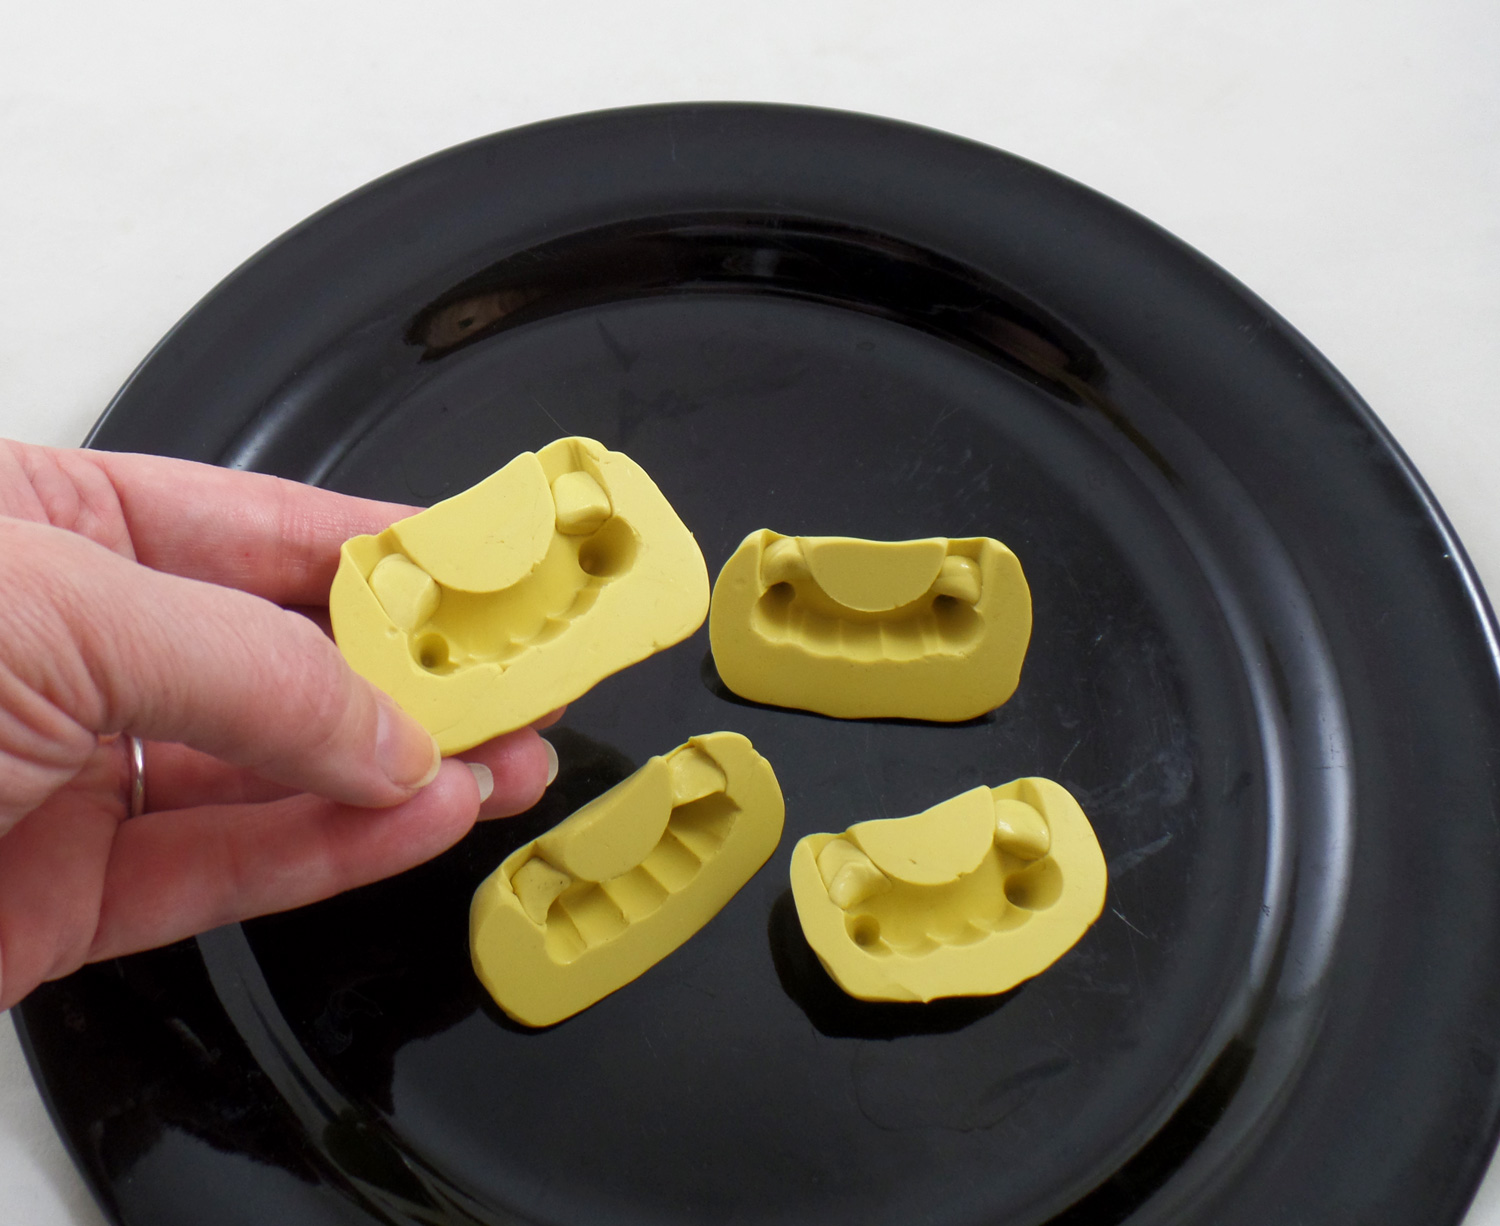
Once the Mold Putty was cured I removed the plastic fangs. To close up the grove created by the gum portion of the vampire fangs I mixed up and pressed tiny little wads of Mold Putty into the open portion of the mold as seen in the above photo. By doing this I would be able to place melted candy into the molds with no worry of the candy leaking out the back of the fang mold.
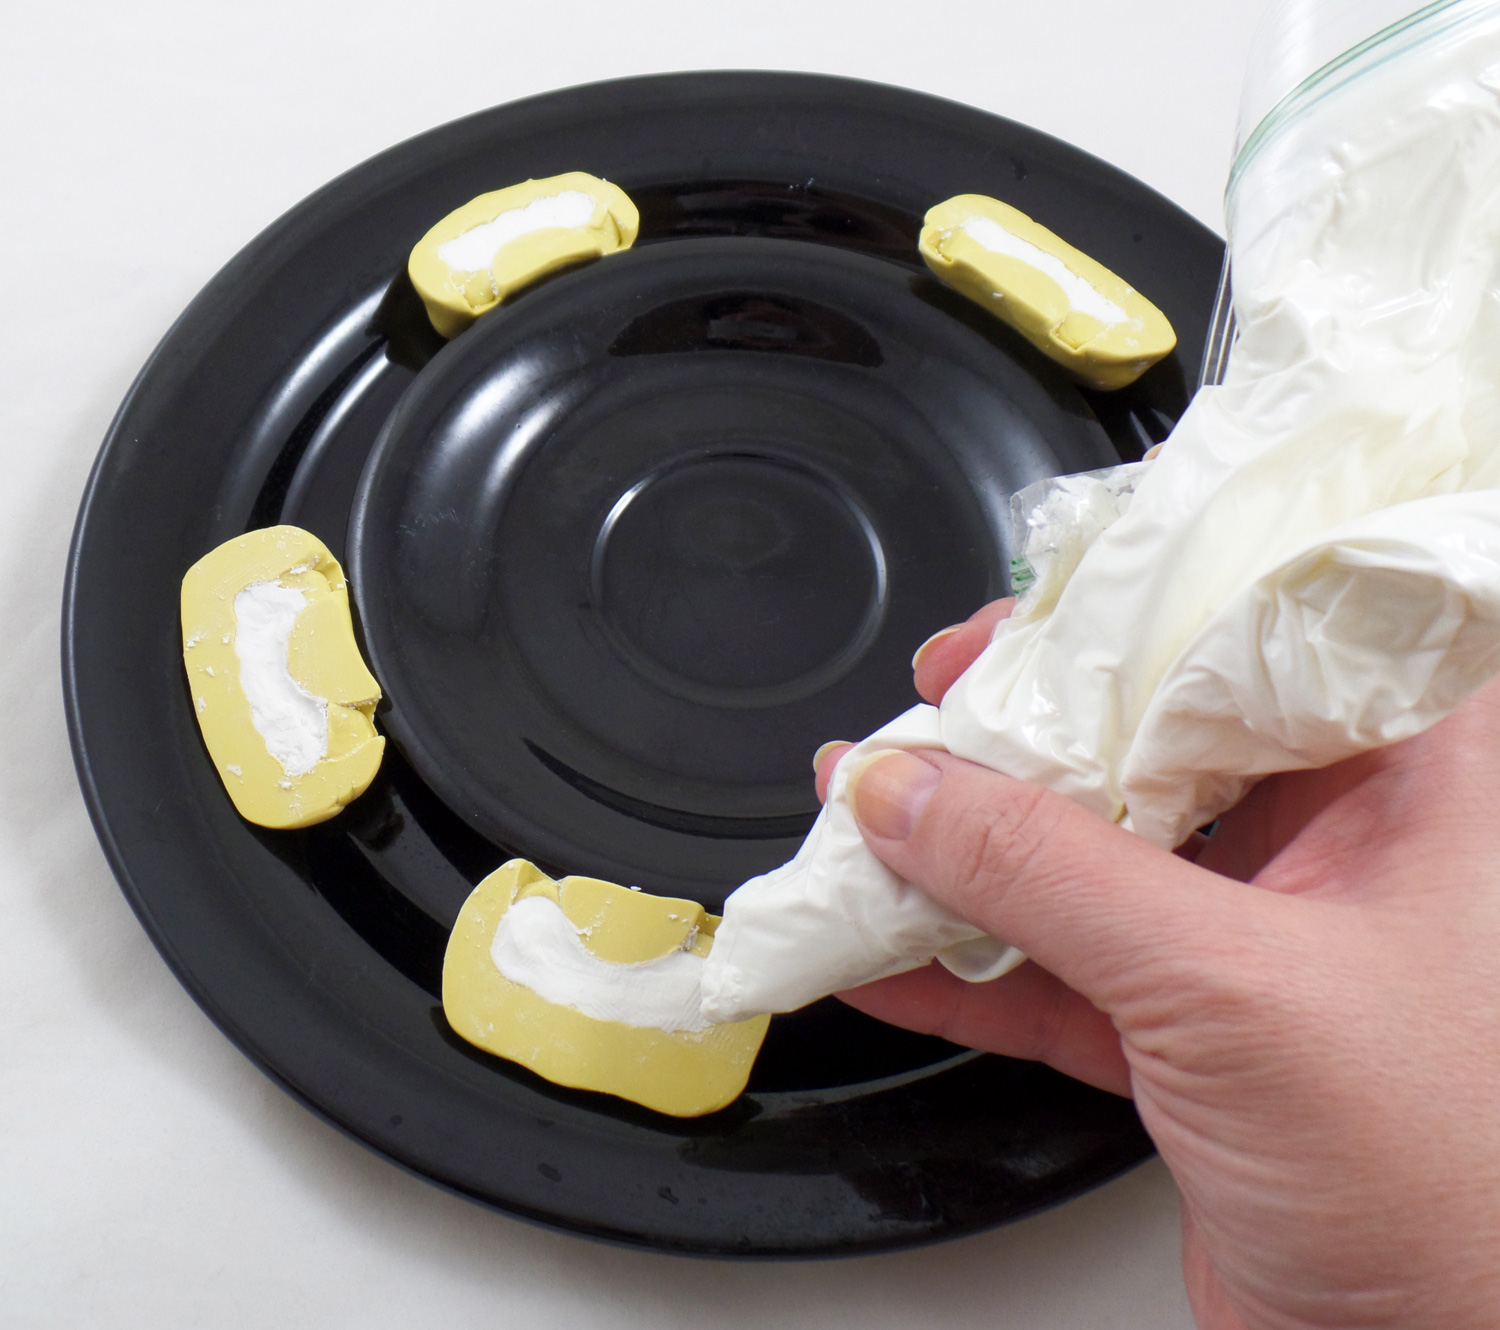
To keep the molds upright I placed a small teacup plate inside the large dinner plate and placed the molds snug inside the dinner plate and against the teacup plate. This will keep the molds in place while the candy is piped into the molds.
Following the manufacturer instructions I carefully melted the Wilton Candy Melts in a sandwich bag in the microwave. Once the candy was melted I snipped the end off a corner of the sandwich baggie and pipped the candy into the molds.*Make sure the candy is completely cooled before removing from the mold to make sure you don’t break off a fang. A quick trip in the refrigerator is a sure way to help your candy along!
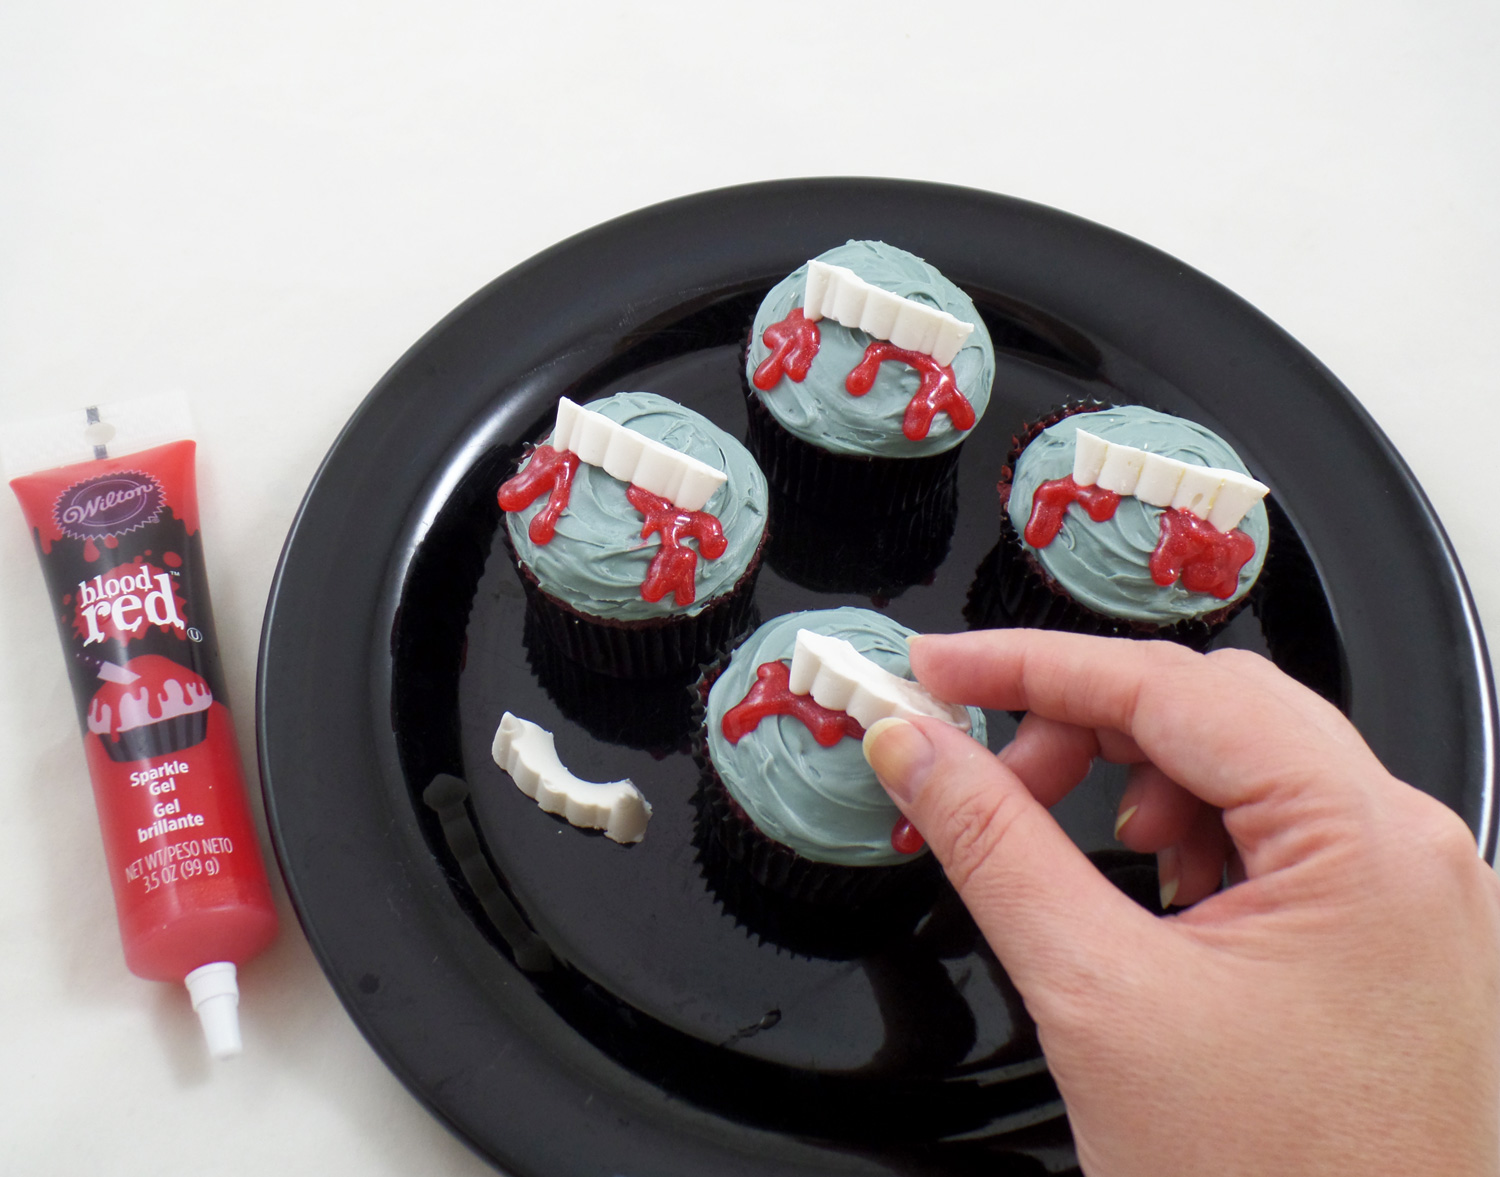
I made up a batch of Red Velvet cupcakes, applied blue-grey tinted icing, dribbled some Wilton Blood Red Glitter Gel Icing and carefully placed a set of candy fangs on each cupcake.
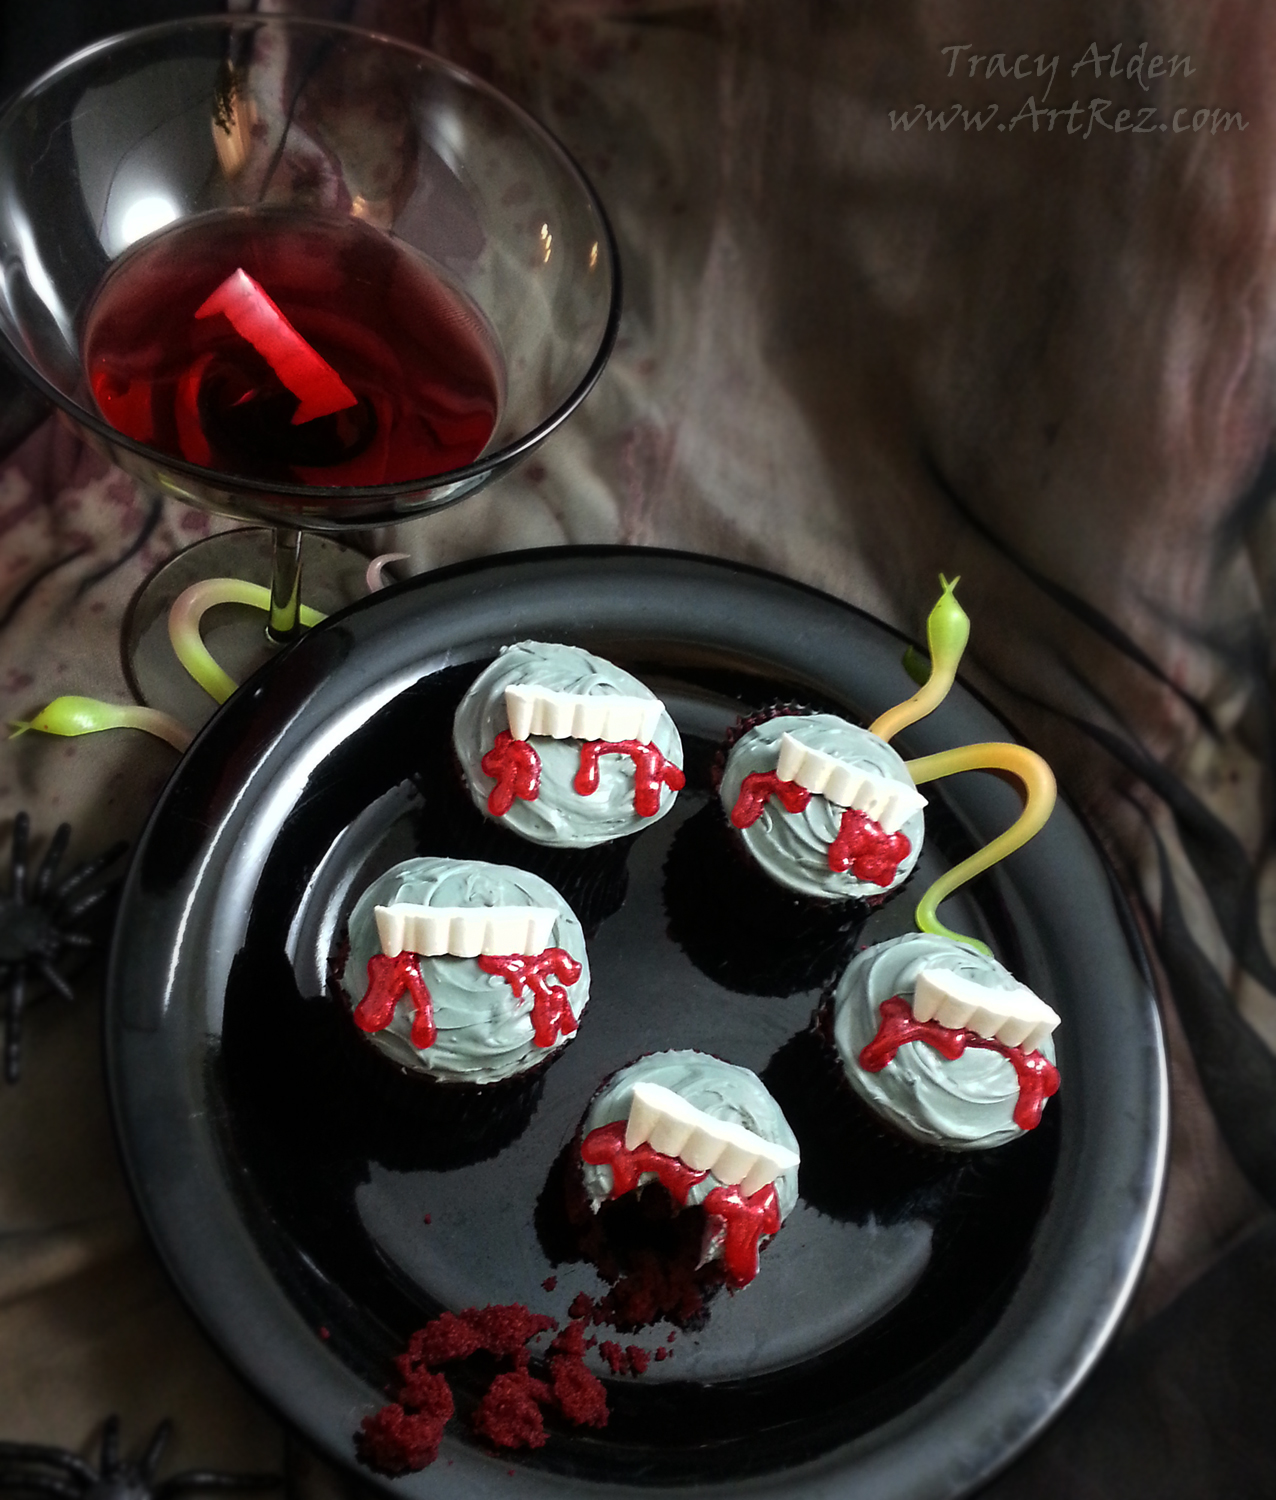
I had so much fun making the candy fangs I made more than I needed for the cupcakes, so the extra fangs made fun addition to cranberry cocktails!
Until next time, safe travels!*This is an affiliate post, which means I received an assortment of products as a compensation for the creation of art. To read my full disclosure, click here.
A Fall Cozy Crafting Recap
November has come and gone so quickly it is startling! Things have been so busy and I of course have to share some of my art and crafting goodness.
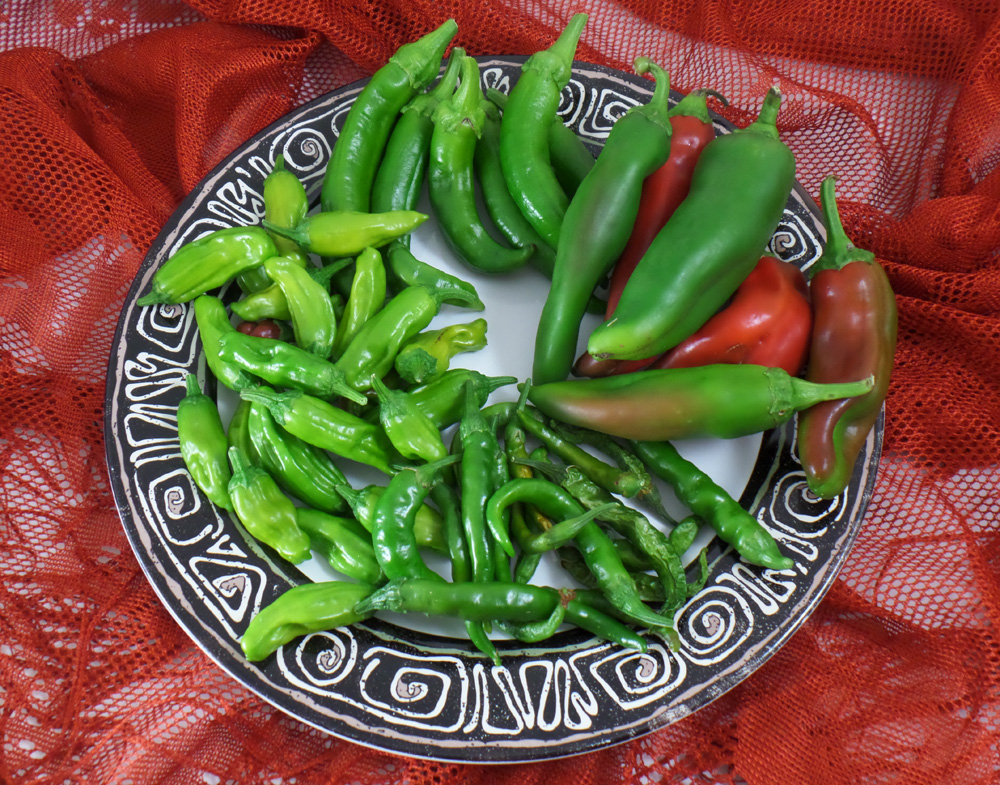
With an early cold snap hitting our area early, forcing a harvest all of my pepper crop, I was left scrambling to try to find ways to use them up! I dried some, saved seeds for next year, cooked all kinds of spicy foods but I was still left with buckets of peppers. Then I thought of of making pepper relish!
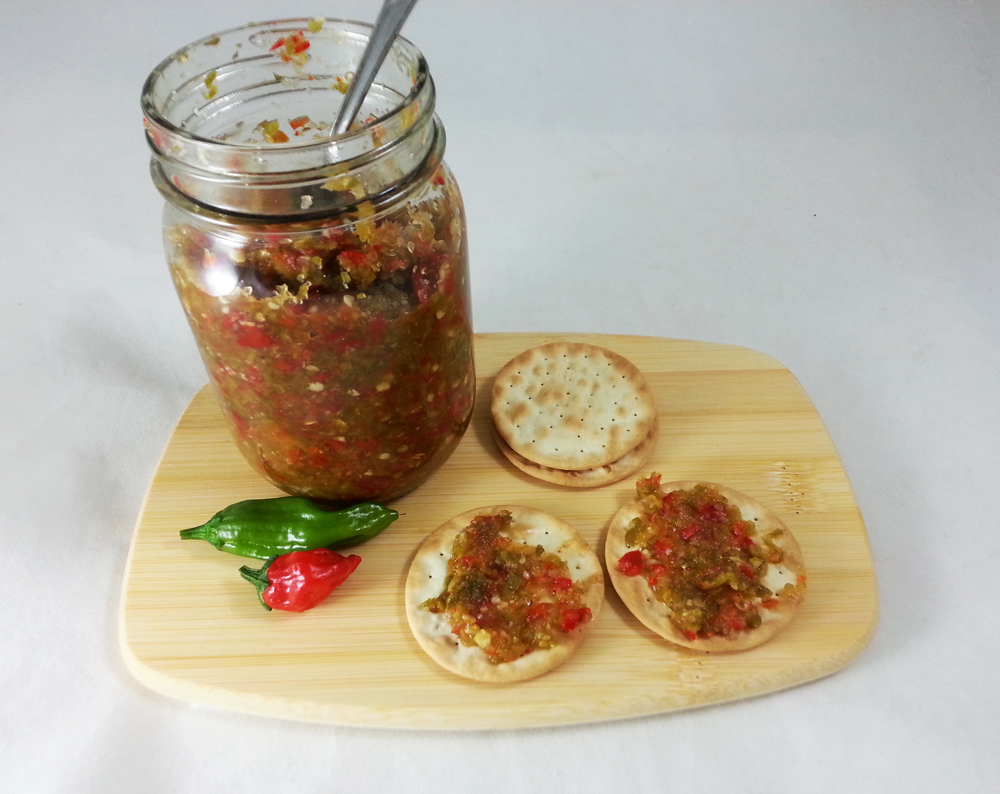
Using a simple but great Hot Pepper Relish Recipe from Serious Eats I was able to use up all the peppers. I made a few changes to the recipe using heirloom Jalapeno, Sapporo, Pepperoncini, Serrano, and Anaheim peppers and I didn’t have cider vinegar so I used white vinegar with a bit of fresh apple cider. The jars of relish were eaten so quickly, I already have requests to make more next season.
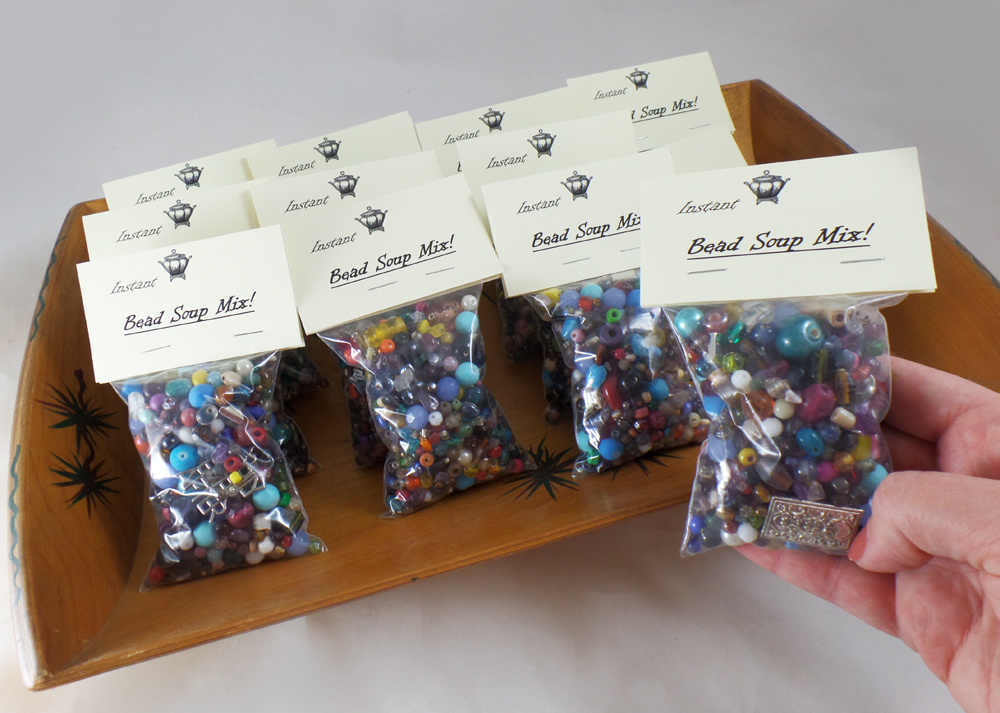
Another “harvest” I decided to share was making my own Bead Soup bags from all the extra beads I have in my beading supplies. Each bag I filled to the brim with a wonderful assortment of glass, metal, acrylic, stone, clay and wood beads to help start a day with creative goodness! These fun and creative mixes are great gifts to give and perfect for crafty nights.
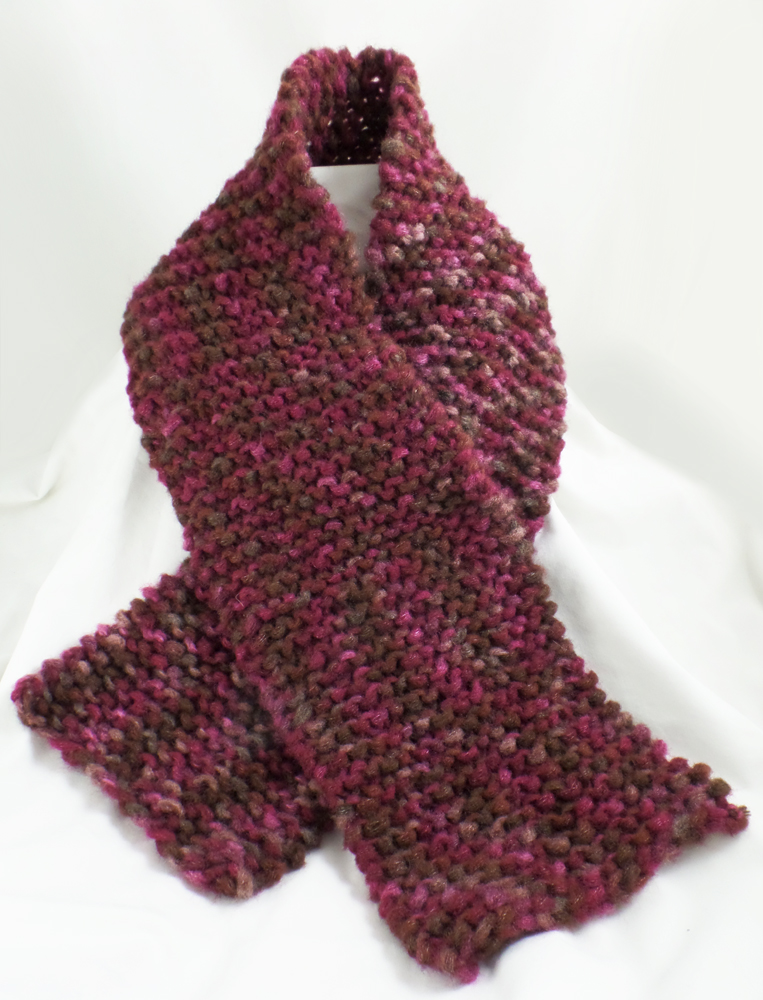
To relax at night I picked up knitting again this time trying out chunky weight yarn from the Bernat Viva line in Burgundy using Clover Bamboo knitting needles, size 15. With two skeins I was able to make my mother a wide scarf and a thin accent scarf for myself. They worked up so quickly I know I will have to make more projects with chunky yarn.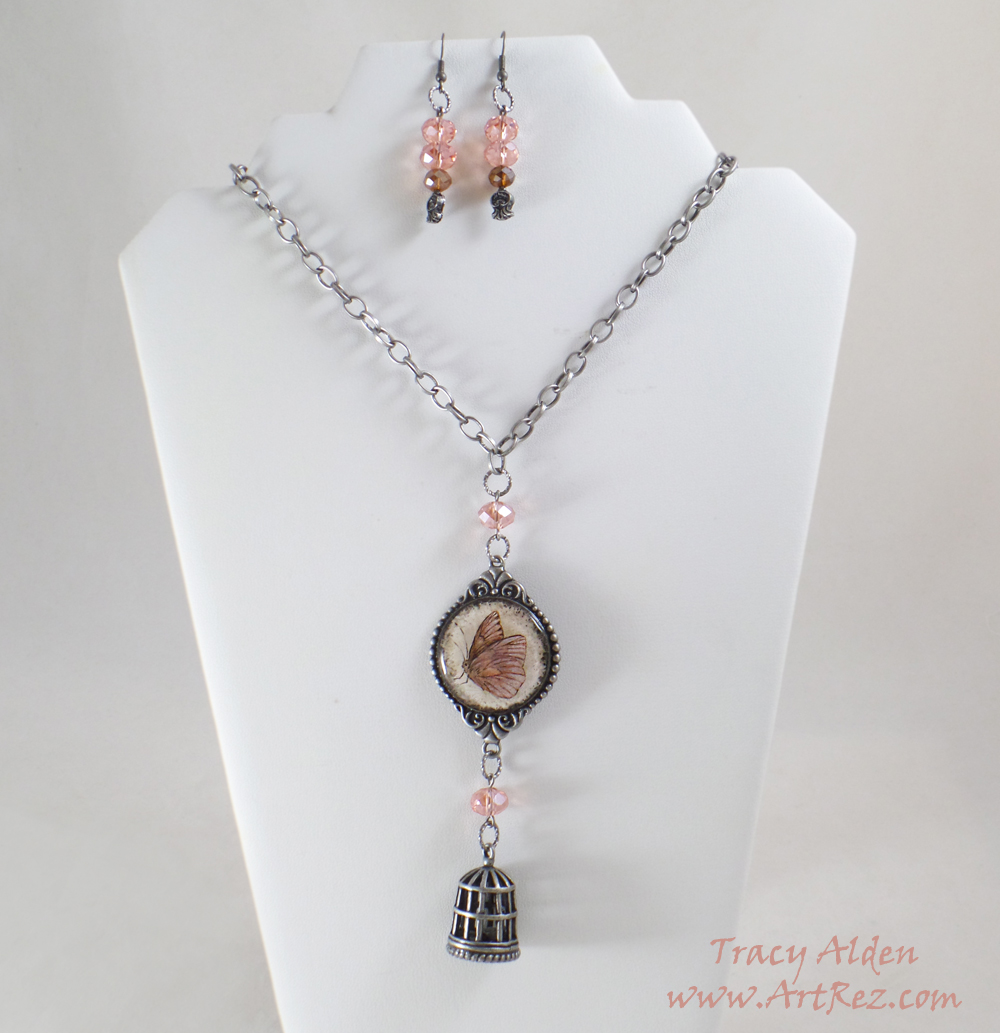
Speaking of crafting addictions, resin jewelry is still a ongoing addiction for me. I love using Amazing Clear Cast Resin for creating my one of kind molding pieces. Lately however I decided to hark to one of the traditional styles of resin jewelry of filling bezels and frames to encapsulate drawings, paper and stickers. My favorite piece out of my most recent crafting whirlwind is the one above using beads and jewelry findings from Fiona Accessories
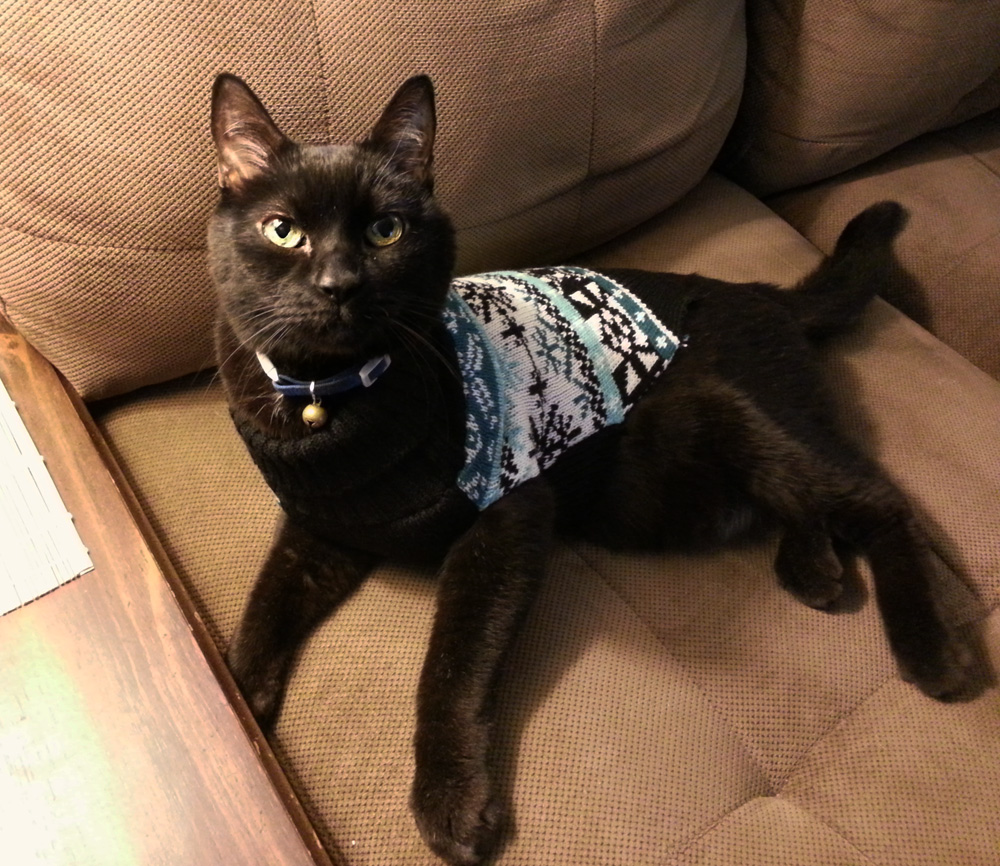
With the weather rapidly turning cold, I hope you stay warm and cozy as my dear 18 year old kitty Vladimir is with his new winter sweater!
Until Next Time, Safe Travels!
