Let it snow…..
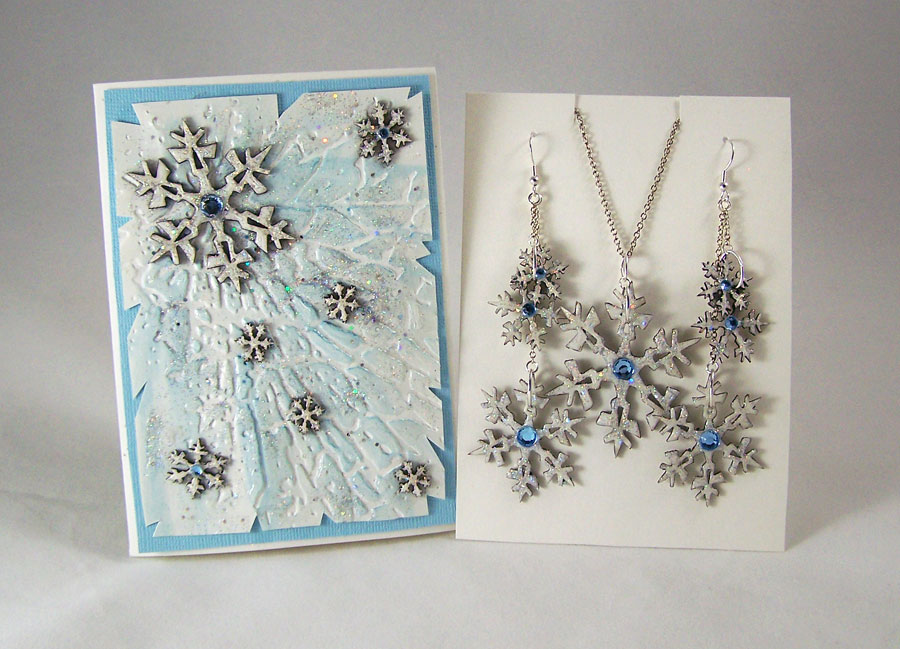
Even though it is not Winter yet, it sure feels like it. We have a cold weather front moving in and there is some talk of snow! It is the perfect weather to stay inside, decorate for the holidays and make gifts. Today I am going to show you how to make a snowflake jewelry set that can be put in a card set using Globecraft &Piccolo products.Supplies for earrings and necklace:
2 packages of Globecraft & Piccolo Snowflake Accents
Globecraft & Piccolo Pure Sparkle Silver Glitter
Globecraft & Piccolo Glastique Gloss Finishing Glaze
Globecraft & Piccolo Titanium White 3D Enamel Gel
Piccolo Easy Grip Tweezers
Pale Blue Sticker gems
Silver jumprings
Silver chain
2 Earring wires
Jewelry clasp
Flat nose pliers
Wire cutter
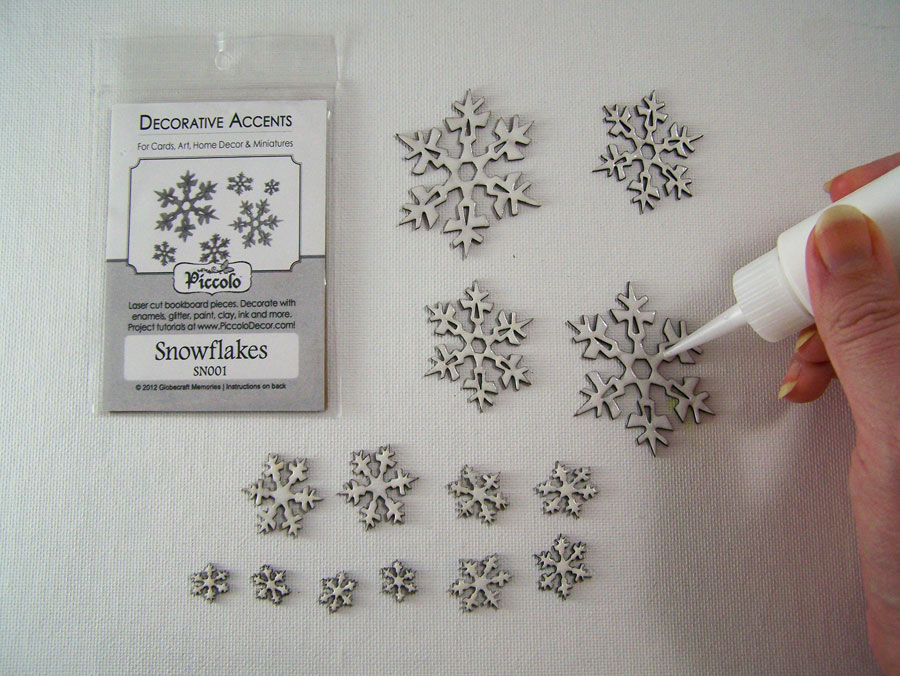
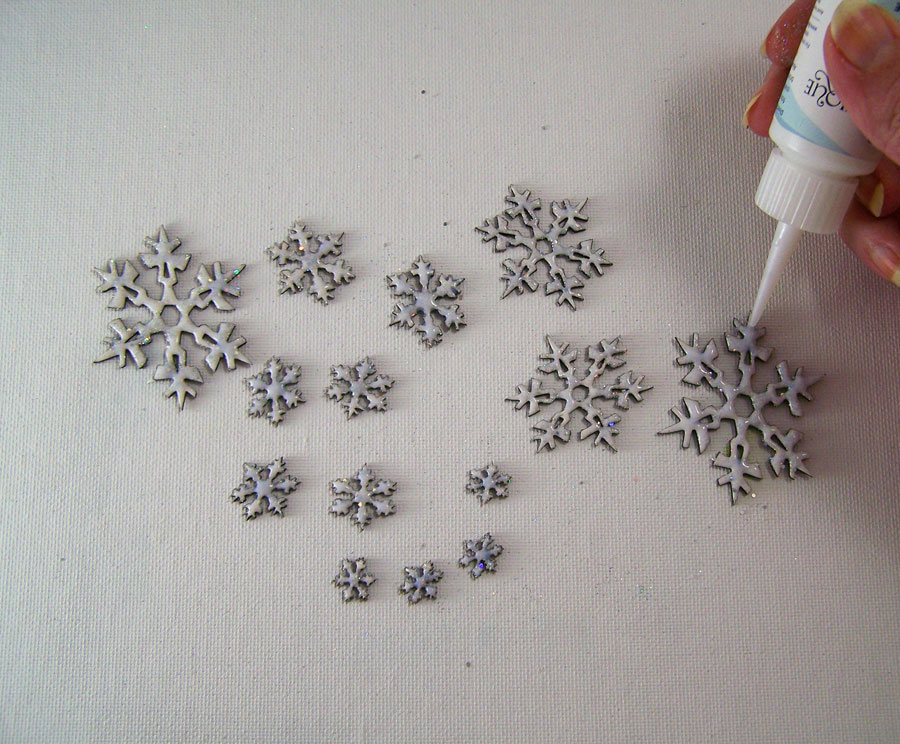
Carefully remove all of the snowflake Piccolos from the chipboard frame. Coat one side of all of the snowflake Piccolos with Titanium White 3D Enamel Gel. Let dry. Now coat the other side of only 1 large snowflake, 2 mediums, 2 smalls and 2 minis. The pieces with both sides coated will be for the jewelry and the snowflakes with only one side with enamel will be used for the card (or other projects if you like).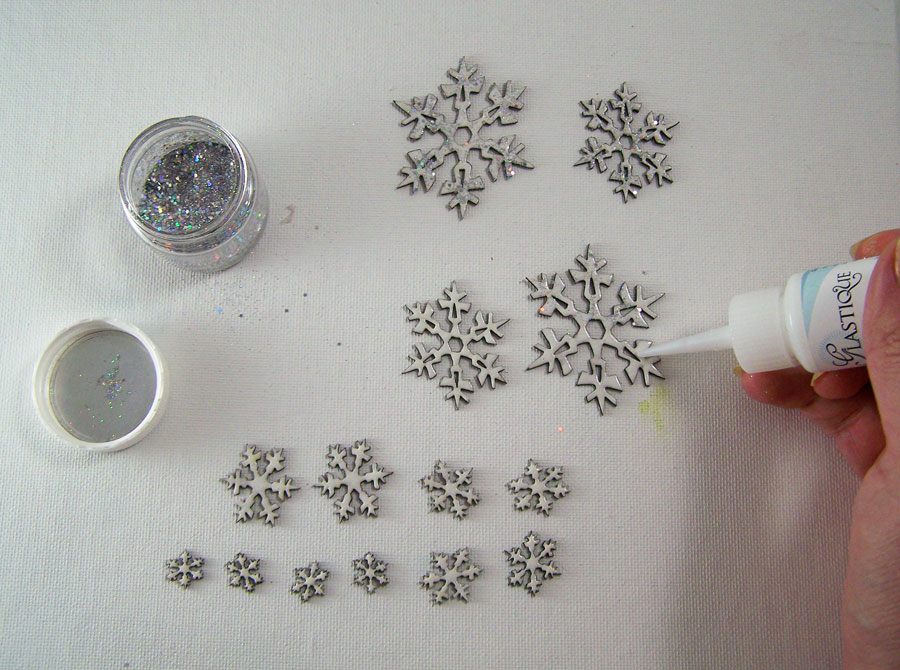
Carefully apply Glastique Gloss Finishing Glaze to all of the snowflakes and sprinkle Pure Sparkle Silver Glitter on top. Let dry.Now apply two more coats of Glastique Gloss Glaze to the snowflakes. Let dry. The layers of glaze will give the snowflakes a glass like finish and help the glitter “pop”.
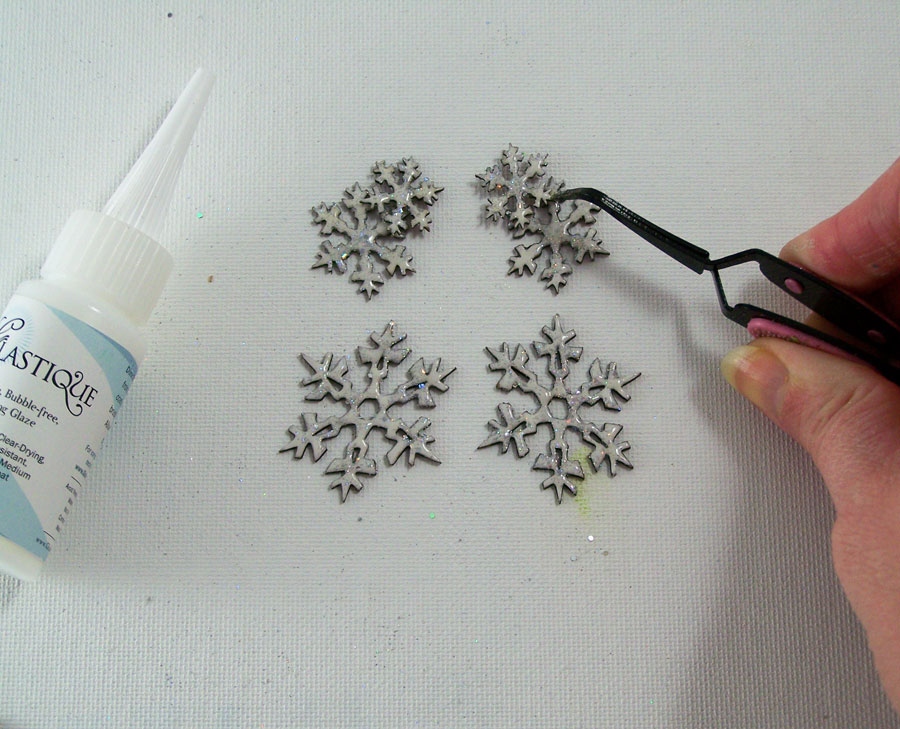
Now apply Glastique Gloss Glaze to two of the small snowflakes. Carefully position the mini snowflakes in a manner to create a enclosed space to put a silver jump ring through. Let dry. Go back and seal the areas where the snowflakes touch with Glastique. Let dry.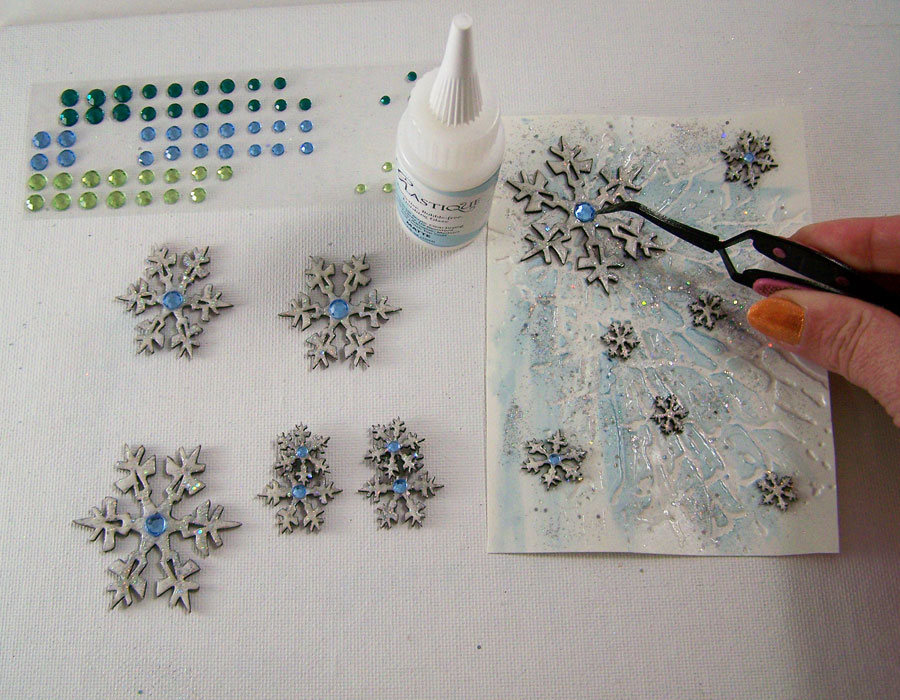
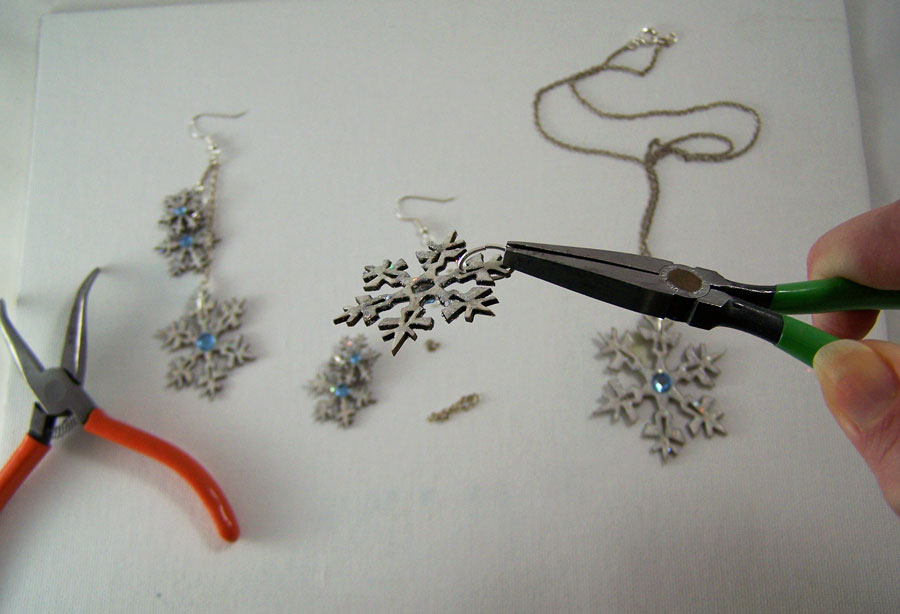
Use Glastique Gloss Finishing Glaze to glue on the pale blue sticker gems to the large, medium and small snowflakes. Let dry.Open up oval jump rings and put through the small triangles in 2 of the medium, the space in small and mini glued pieces and 1 large snowflakes; close jump rings.
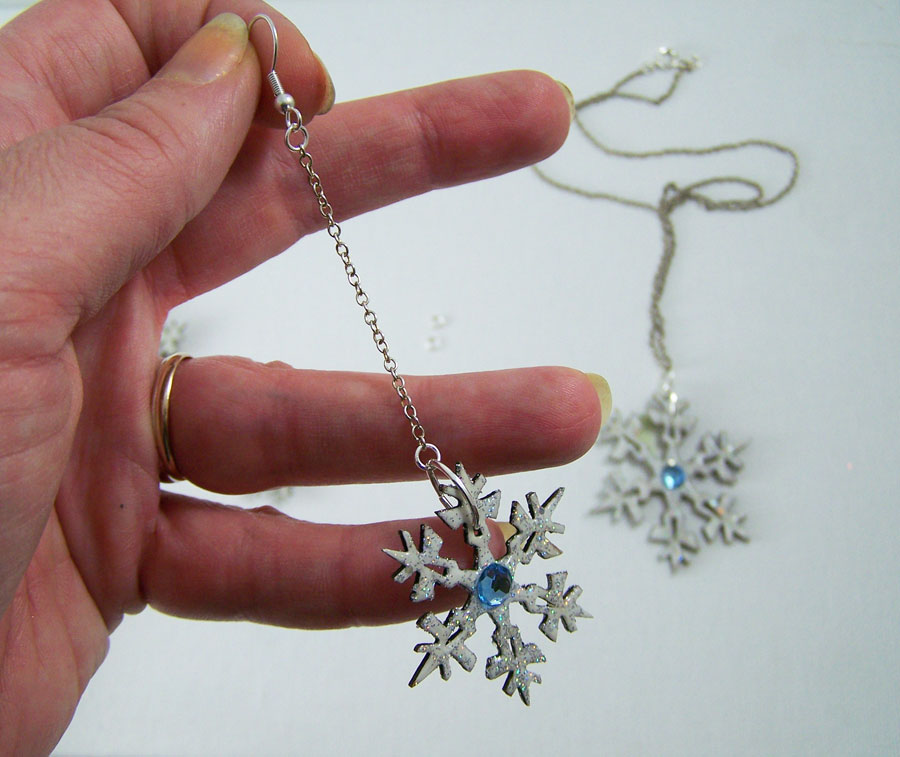
Cut 2 separate lengths (two inches long) of silver chain and attach each length to a medium snowflake with a small jump ring. Add another jump ring on top and attach the earring wire.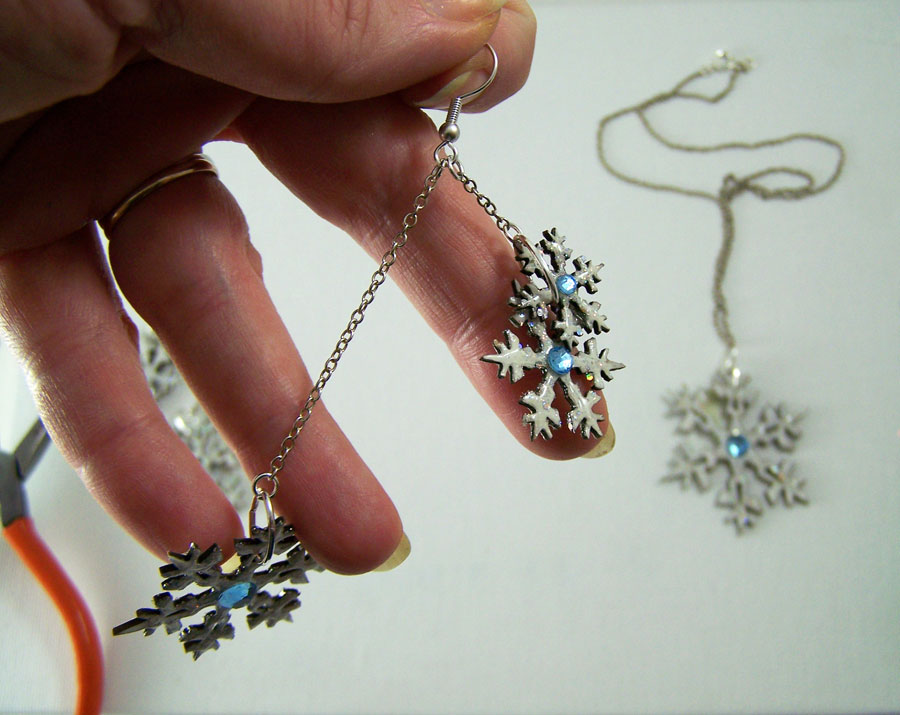
Cut two lengths of silver chain (1/2 inch long) and attach to the small and mini snowflakes glued together with a small jump ring. Add another jump ring on top and attach to the earring wire with the medium snowflake. Cut 16 inches of silver chain and string the large snowflake on it. Attach jewelry clasp to chain with small jump rings.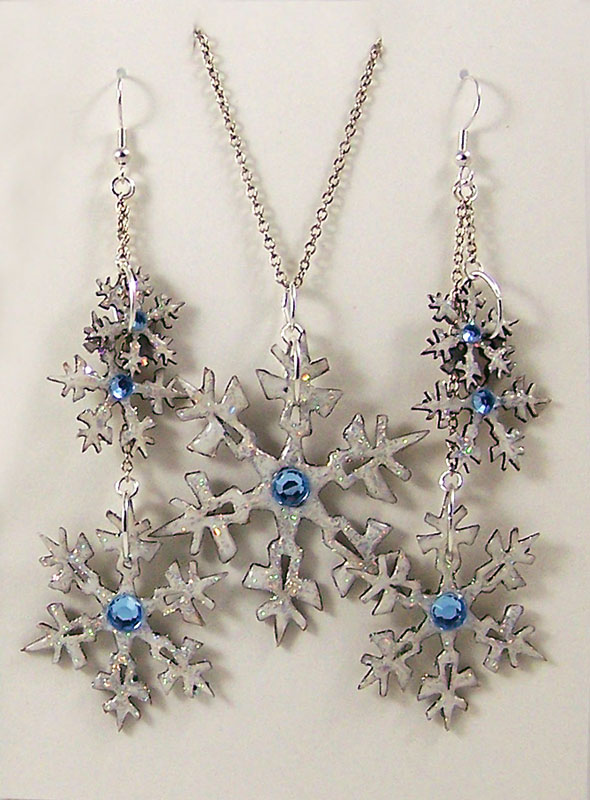
You can give the jewelry set as is or you can make a matching card to place the jewelry in. Use the left over snowflakes for embellishments on the card. 🙂Supplies for card:
White card stock
Pale Blue card stock
Globecraft &Piccolo Blue Pearl 3D Enamel Gel
Globecraft &Piccolo Glastique Gloss Finishing GlazeUntil Next Time, Safe Travels!
Globecraft & Piccolo Design Team and 3D Enamel Gels!
As you all know I have been a proud member of product design and development for Globecraft Memories for over a year now. I love the work and always look forward to testing new products. So I was pleasantly surprised when they graciously invited me to join their Globecraft & Piccolo online design team! There’s an amazing amount of talented ladies in this team and many diverse styles. I can’t wait to see what everyone makes! Please make sure to check out their blog often!
One of the new products we are getting to showcase and use in the design team is Piccolo 3D Enamel Gels. They are non-toxic, have no odor, are easy to clean up and have wonderful pigment-rich colors. They can be applied to chipboard, paper, plastic and fabrics with ease (I’m willing to bet there are even more applications that I have yet to try).
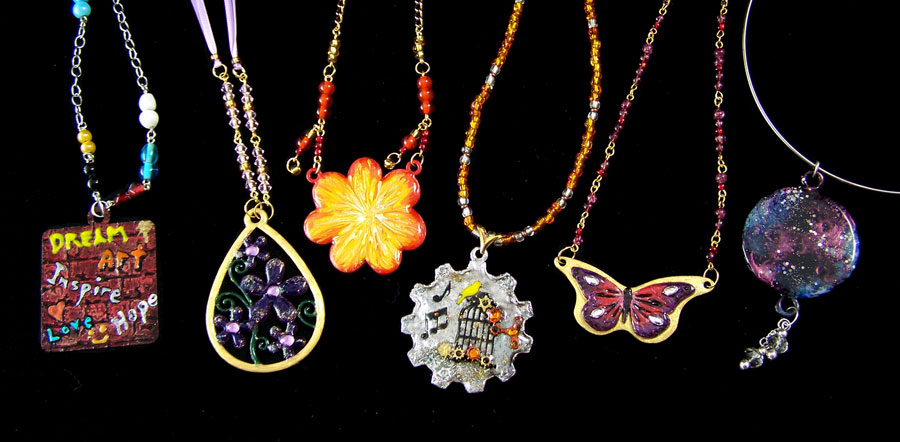
A new product they carry, blank Bookboard Bezels, are just perfect to coat with the 3D Enamel and turn into jewelry. A single coat on a bezel gives you a lovely transparency, two coats give a opaque glass like finish. When you apply a single coat on top of Globecraft’s Enamel Powders it has a wonderful stained glass effect, but you can also put a layer of 3D Enamel down first, let dry and then sprinkle a layer of Enamel Powders on top.
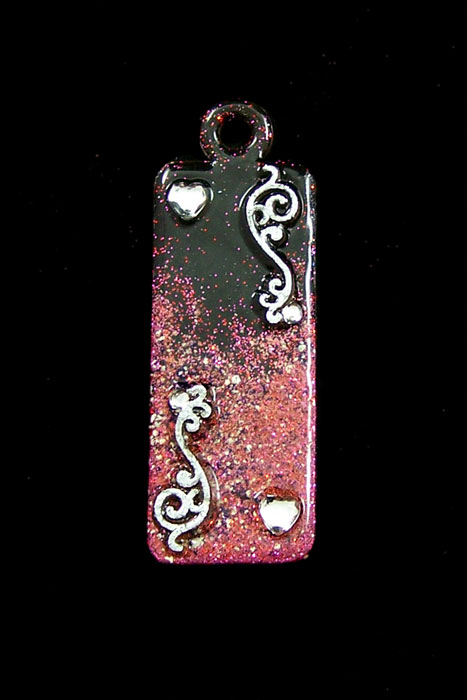
The 3D Enameling Gel does not boil when you pass the heat gun over to set the Enameling powders if the gel is fully cured. On this Skinny Tag bezel I used Mars Black 3D Enamel Gel and a overlay of Girls Night Out Enamel Powder.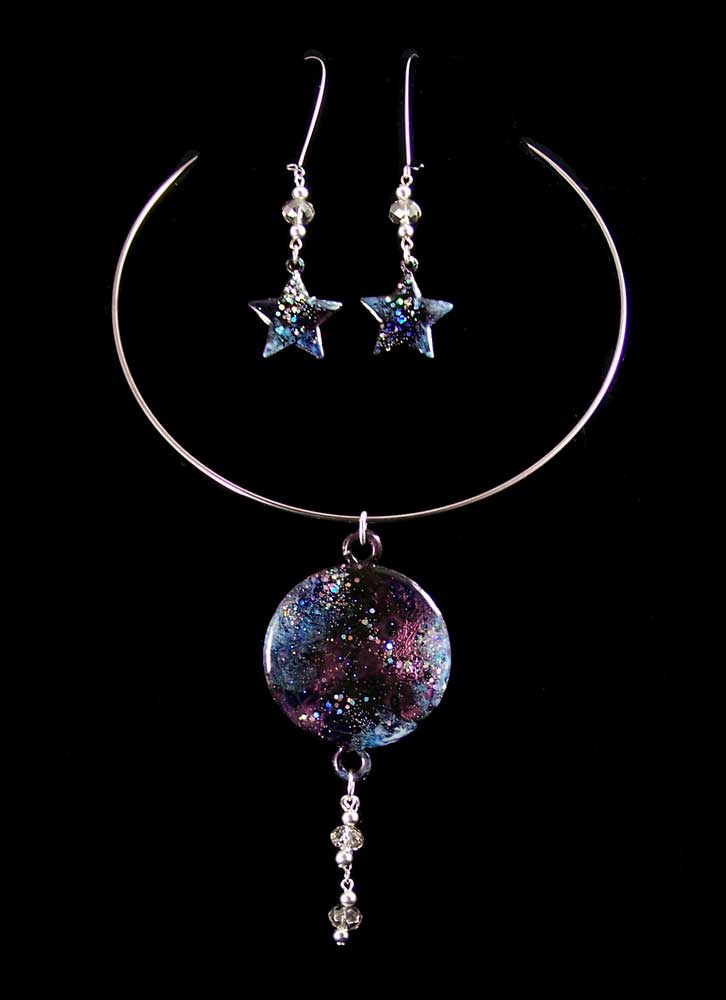
If you layer the Enamel Gel between layers of Glastique Gloss Finishing Glaze you can get an amazing level of depth. Mars Black, Ultramarine Blue, Purple Mist 3D Enamel Gels, Pure Sparkle Silver Glitter and Mica for this celestial sky set.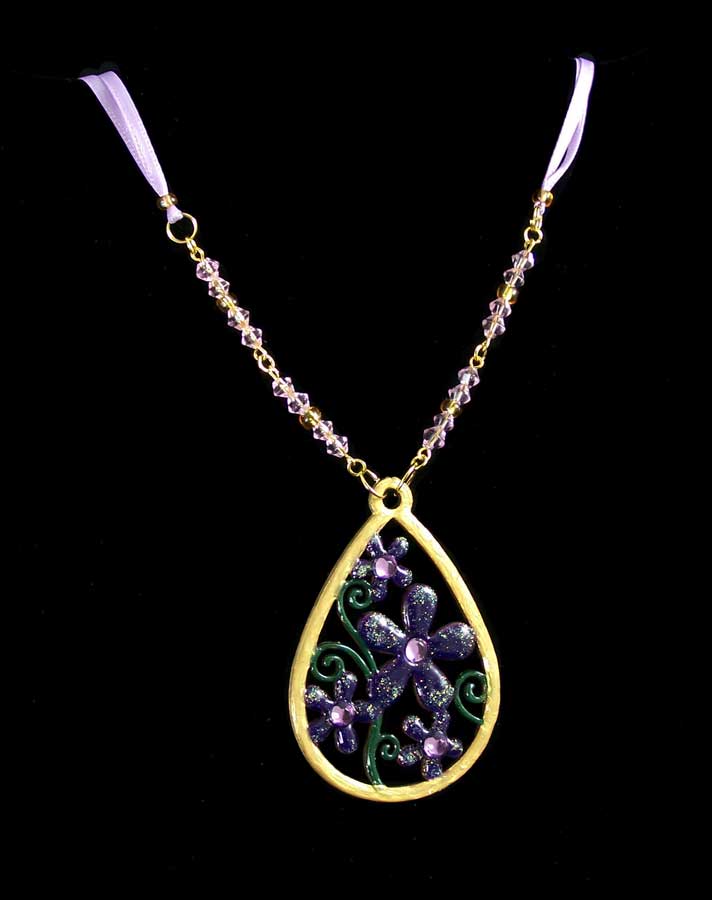
You can get the illusion of glass when you add Glastique Gloss Finishing Glaze and Art Glitter Ultrafine Angel Dust glitter on top of the 3D Enamel. I used a Flower drop bezel , Dark Green, Metallic Gold, Purple Mist 3D Enameling Gels, and sticker gems for this piece.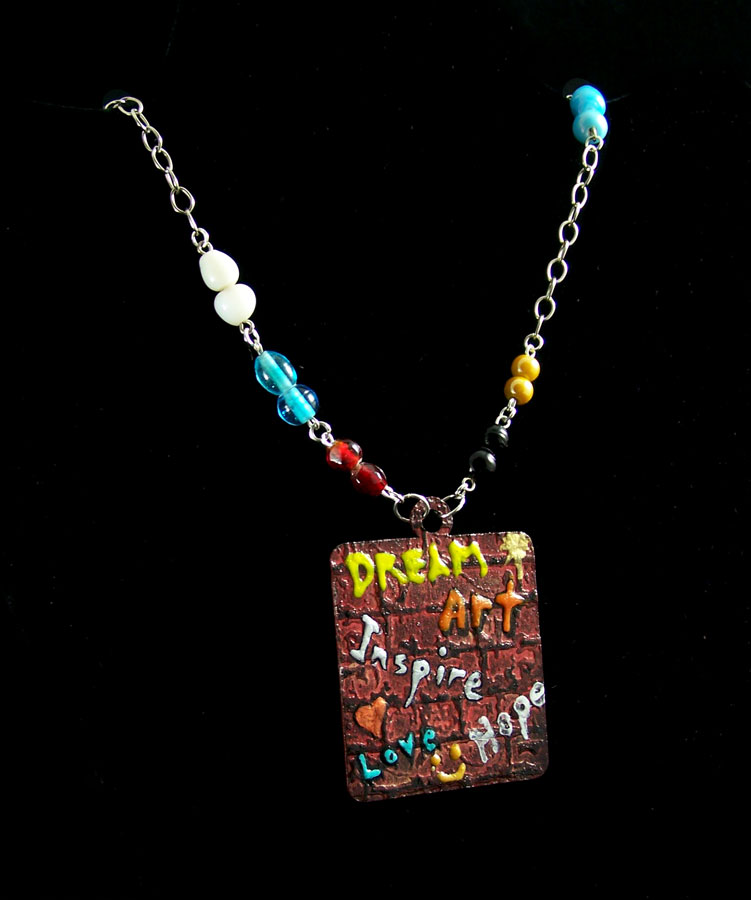
The 3D Enamel Gel has a natural gloss finished if applied straight from the bottle but if you use a cosmetic sponge to stipple it on you can get a satin finish. For this Graffiti Art necklace I used a Square Tag bezel, Glastique Gloss Finishing Glaze and 3D Enameling Gel (Titanium White, Orange, Cobalt Turquoise, Bright Yellow, Napthol Red, Metallic Silver, Metallic Copper, Mars Black).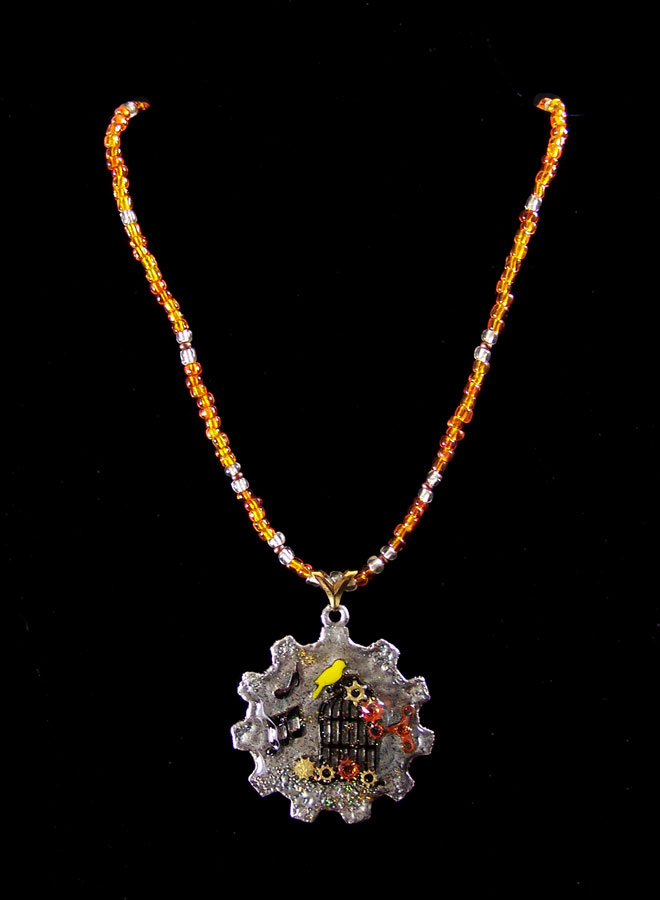
The new Enamel Gel is perfect for when you want just a touch of color. The tiny applicator tip on all of the Gel bottles makes it easy to apply it to any Piccolo element. With this Steampunk Gear Bezel, the Bright Yellow, Metallic Silver and Metallic Copper 3D Enameling Gels give it that perfect touch of color.Until Next Time, Safe Travels!

