A #Cre8time voyage to find Pirate Treasure!
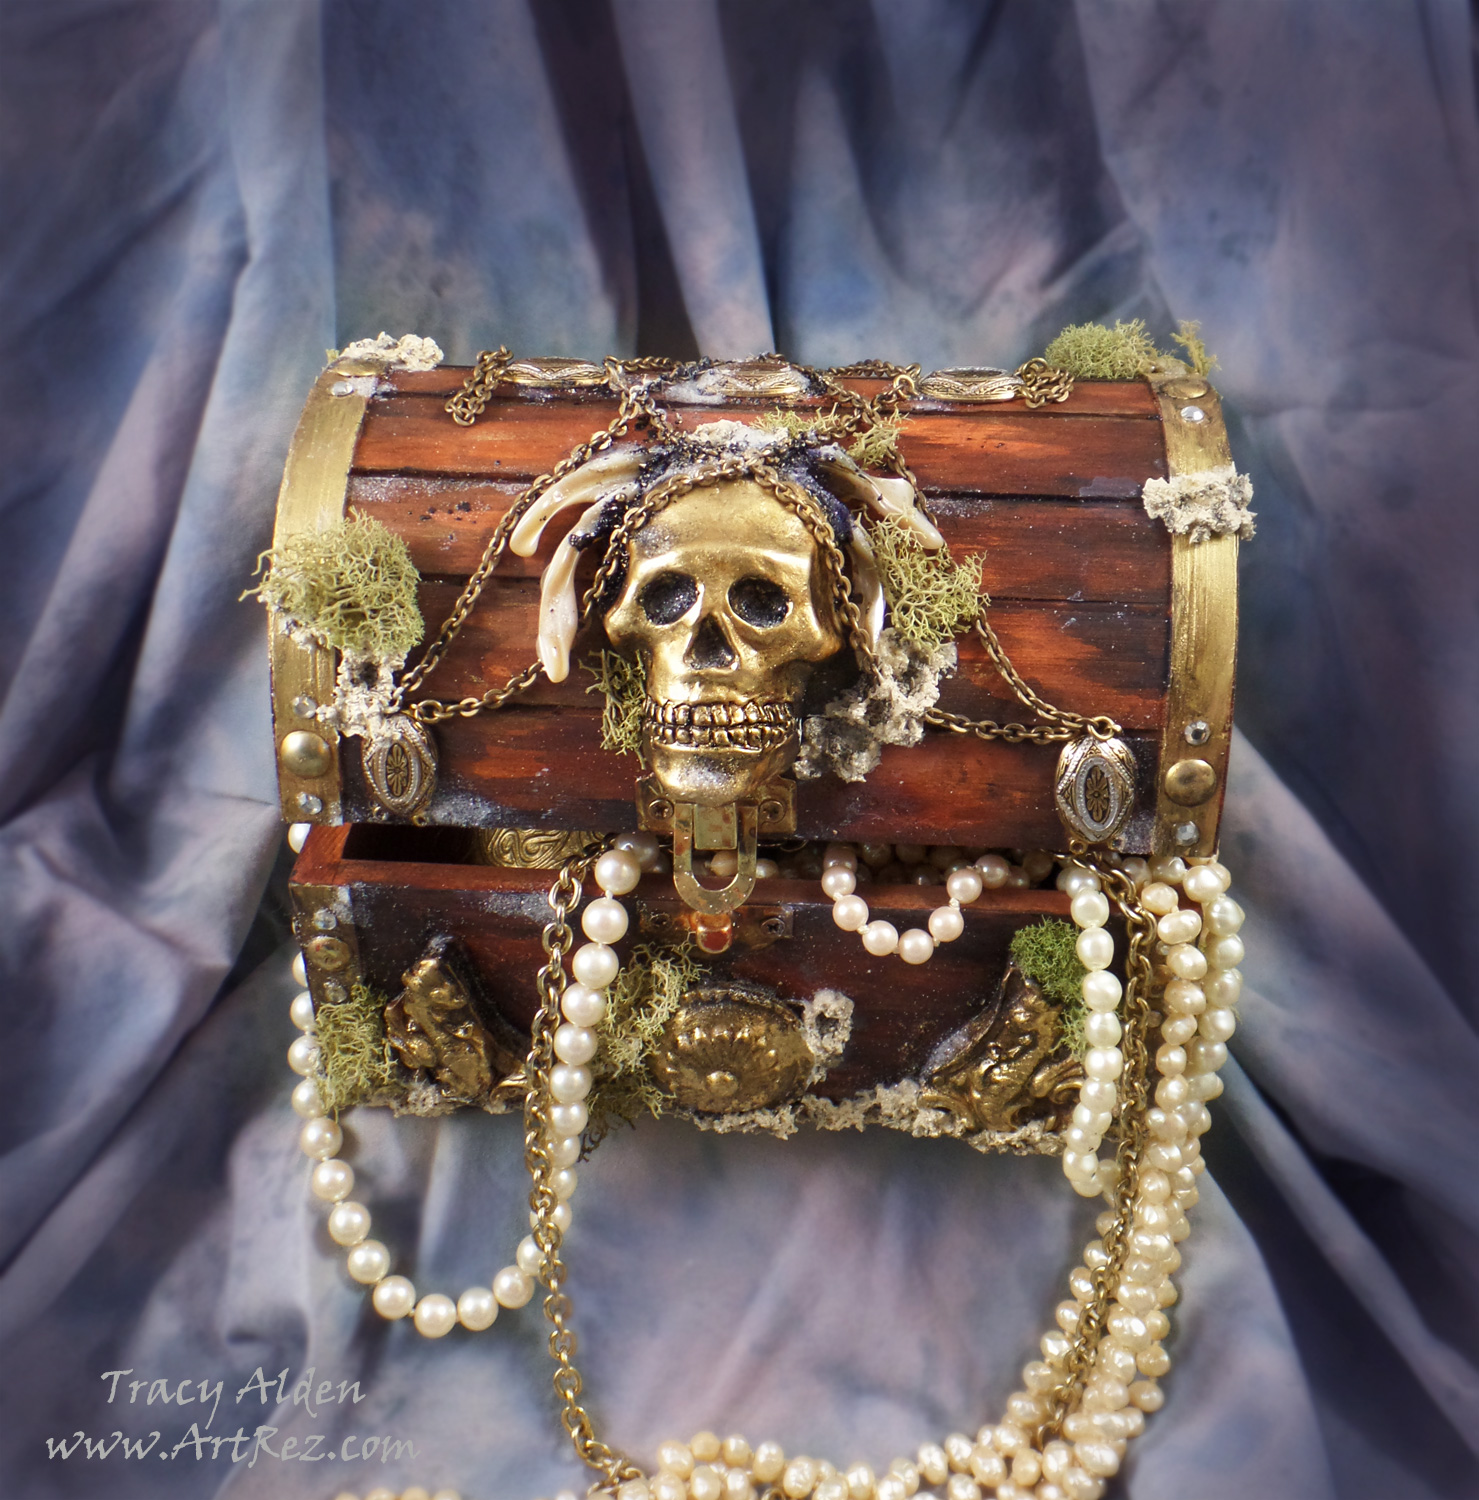
With Fall fast approaching, I am once again looking at new ways to jump start my creativity. I finally decided to order pieces from Relics & Artifacts® by Sandra Evertson to try out. The line has been catching my interest for a few years every time I see them at craft and hobby trade shows and on social media. Locally no stores currently carry their product line however it is rather easy to order the Matte Resin Craft Blanks from their website (they ship VERY quickly and package the art supplies wonderfully!). The resin blanks were larger than I expected, had a nice weight, tooth to the surface (great for paint application) and fine detail.
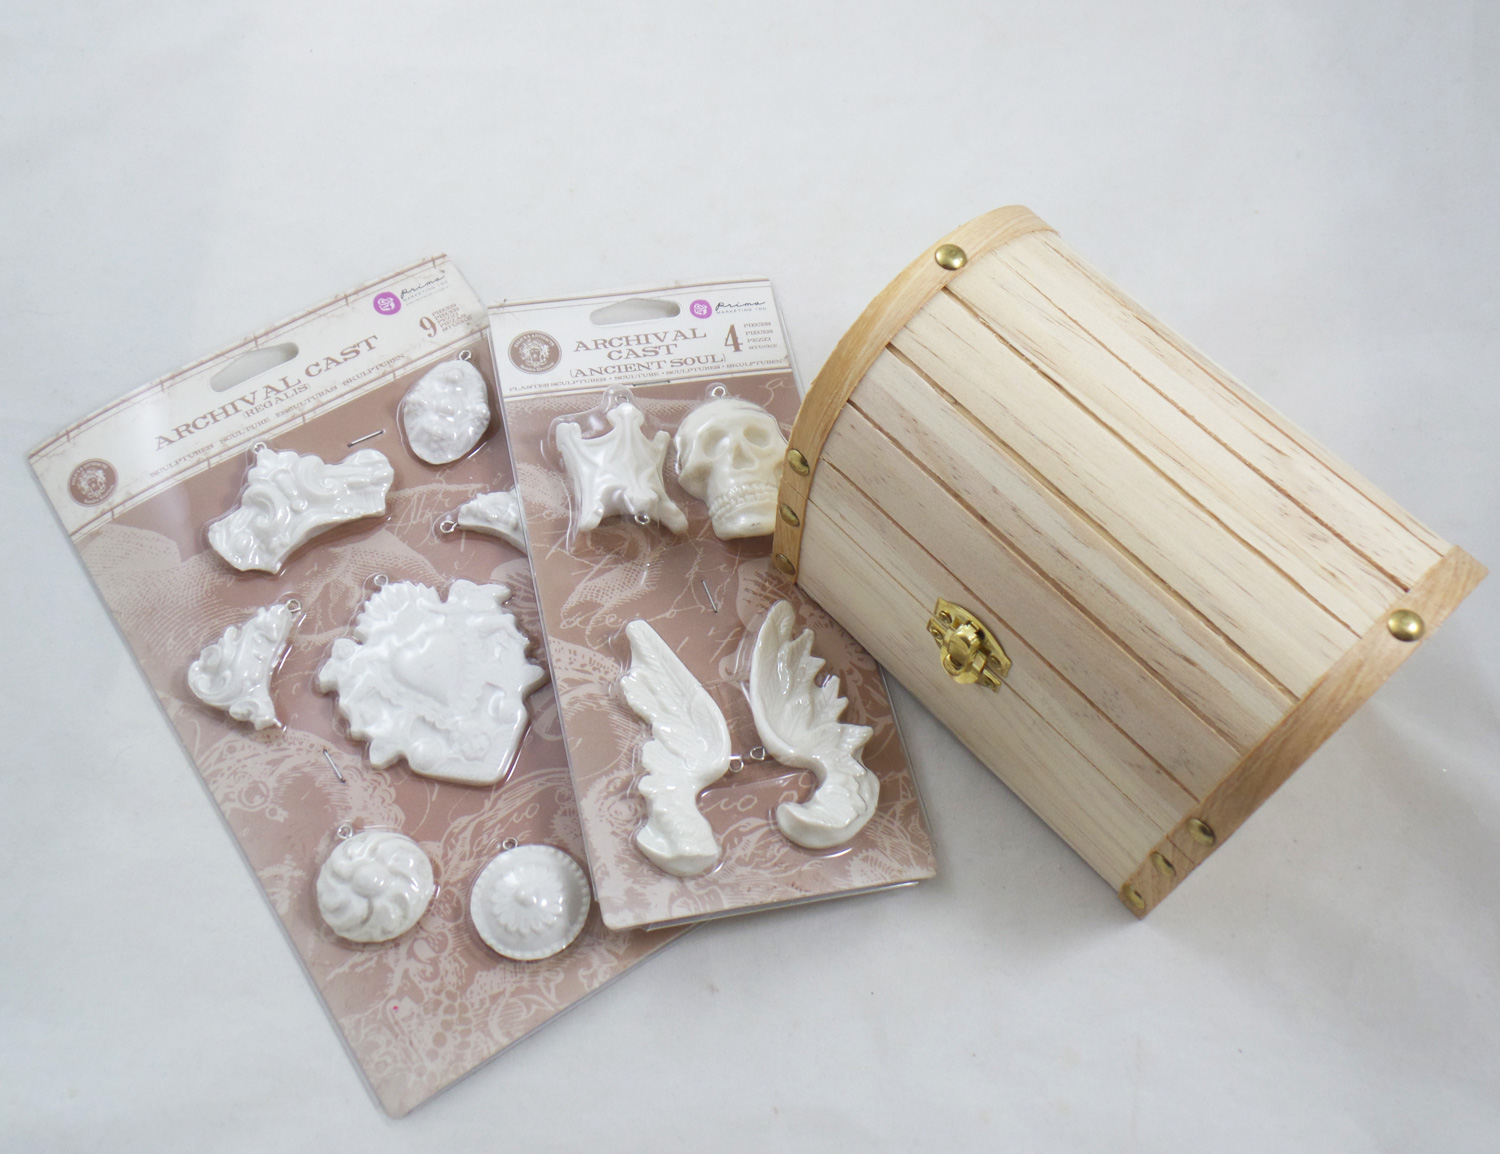
I bought 4 sets but the pieces in the Ancient Soul and Regalis sets got my mind whirling immediately. The skull focal in the Ancient Soul set had me thinking of a Jolly Roger and a sunken treasure chest. I collected some vintage jewelry supplies and started my craft voyage into uncharted seas….
Supplies:
Unfinished Wood Trinket Box (I found one at Jo-Ann)
Relics & Artifacts® Ancient Soul and Regalis Matte Resin Craft Blanks
Alumilite Metallic Powder Gold
Liquitex Gloss Varnish
Beacon Gem-Tac Adhesive
Stampendous Crystal Snow White Glitter, Ultra Fine
Paint Brushes
Acrylic Paint in Metallic Light Gold, Black, Burnt Umber, Terra Cotta, White and Yellow Ocher
Baking Parchment Paper (as a work surface)
2 Flat head jewelry pliers
1 Broken bracelet, chain necklace, shell beads and flat backed rhinestones 4mm, jumprings
4 used and dried tea bags
Dried Green Moss
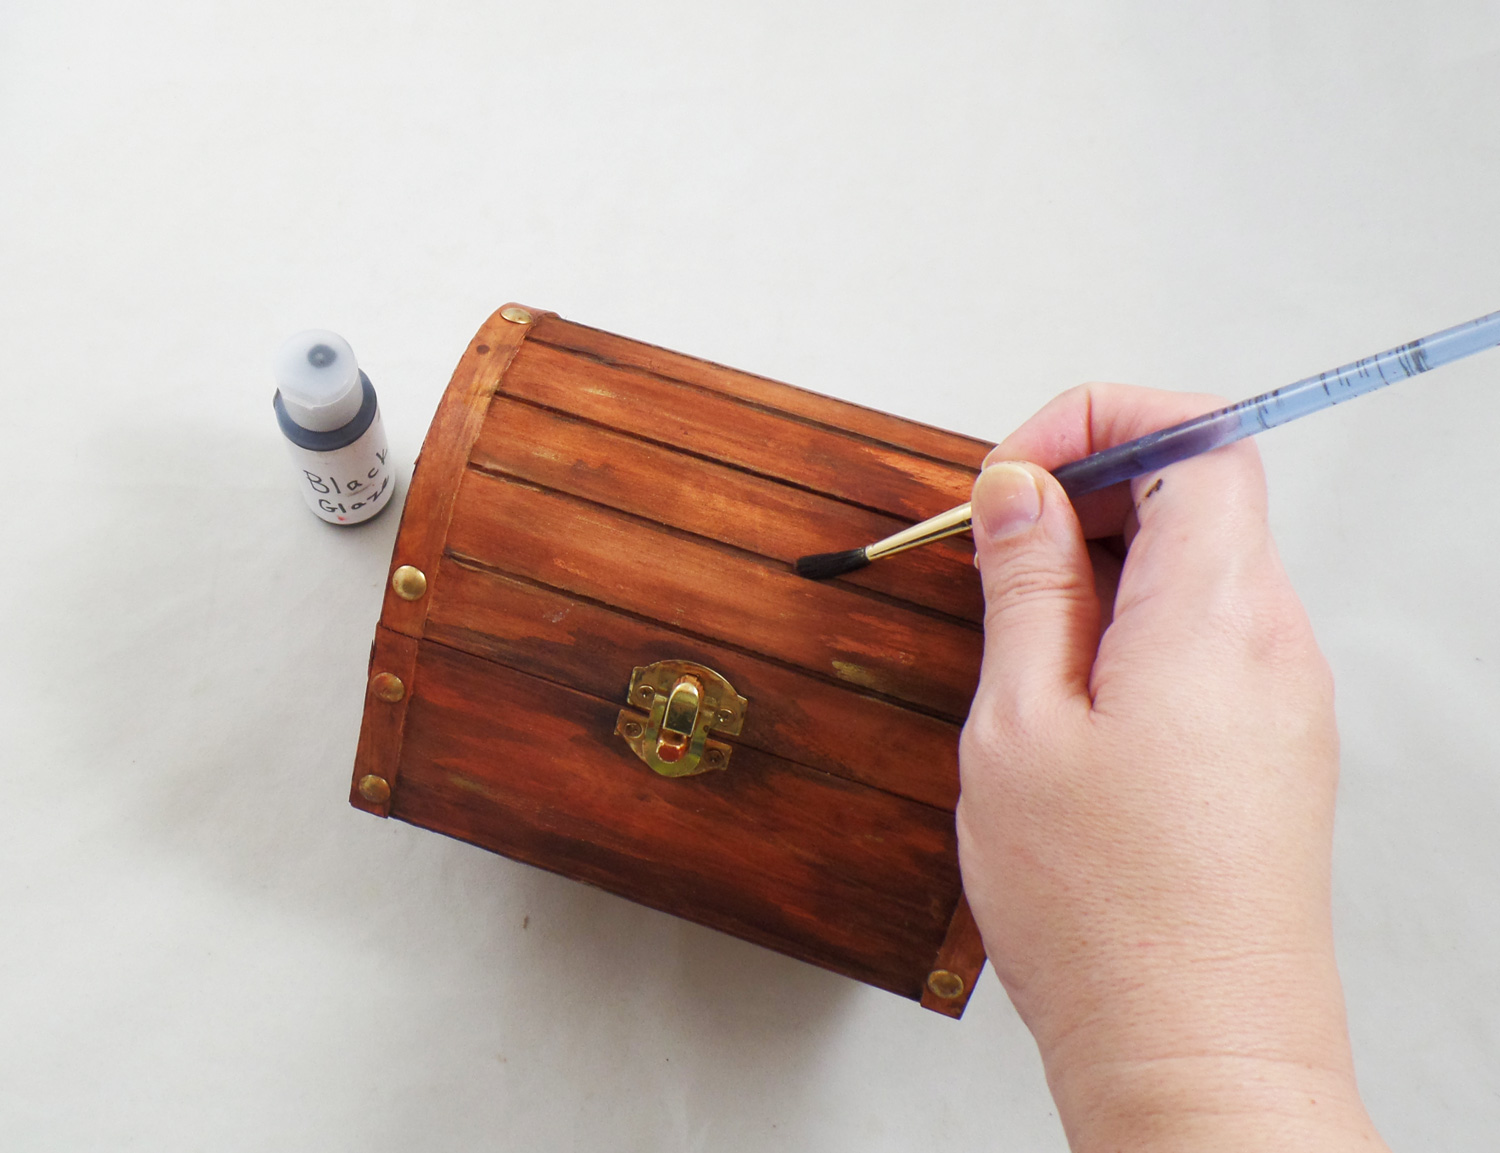
I started by painting the inside and outside of the unfinished wood box. I diluted the paint with water to create a color wash that would stain the wood but still leave the wood grain visible. First coat of diluted paints was the Terra Cotta, then the Burnt Umber and finally the Black in the nooks and crannies.
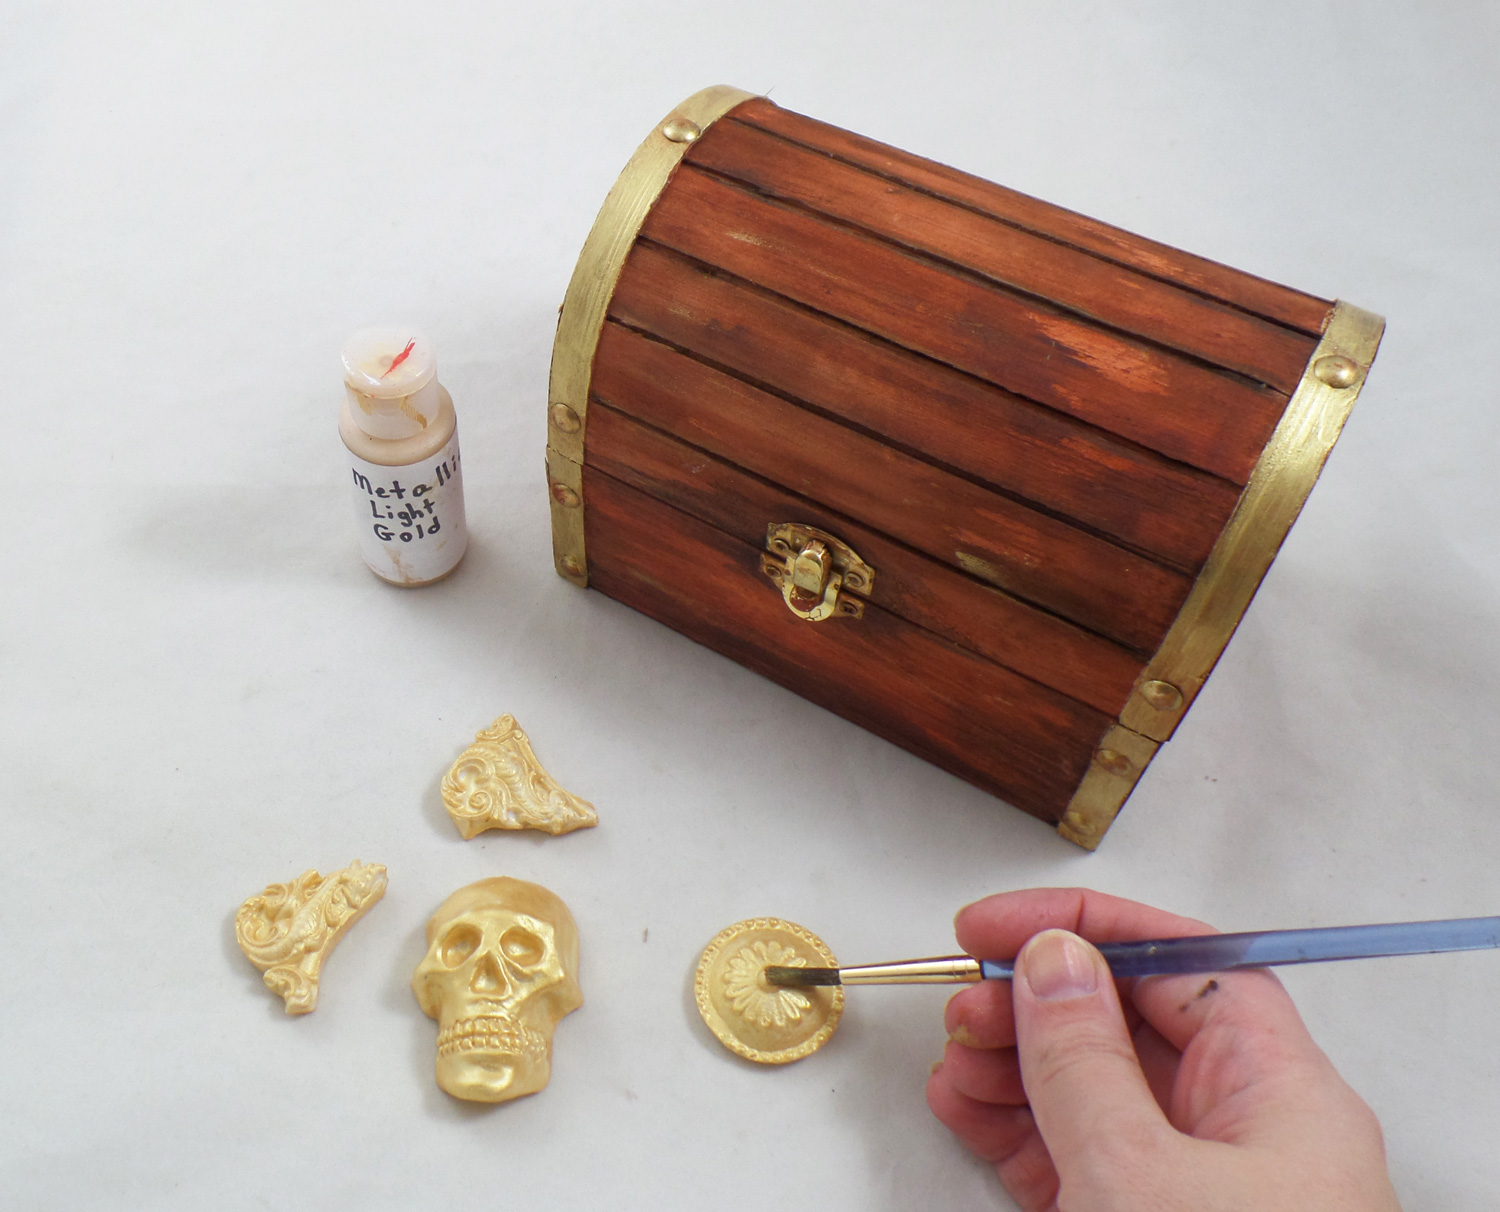
While I let the wooden box dry I removed the eye pins carefully with pliers that are put into Relics & Artifacts® pieces by the manufacturer, since I wasn’t going to make them into jewelry. I painted the pieces and the trim on the box with Metallic Light Gold paint. They needed two coats because most metallic paints need several coats for full coverage. The resin pieces were easy to paint and I didn’t have a single issues with the paint beading up or sliding off like with other resin blanks on the market!
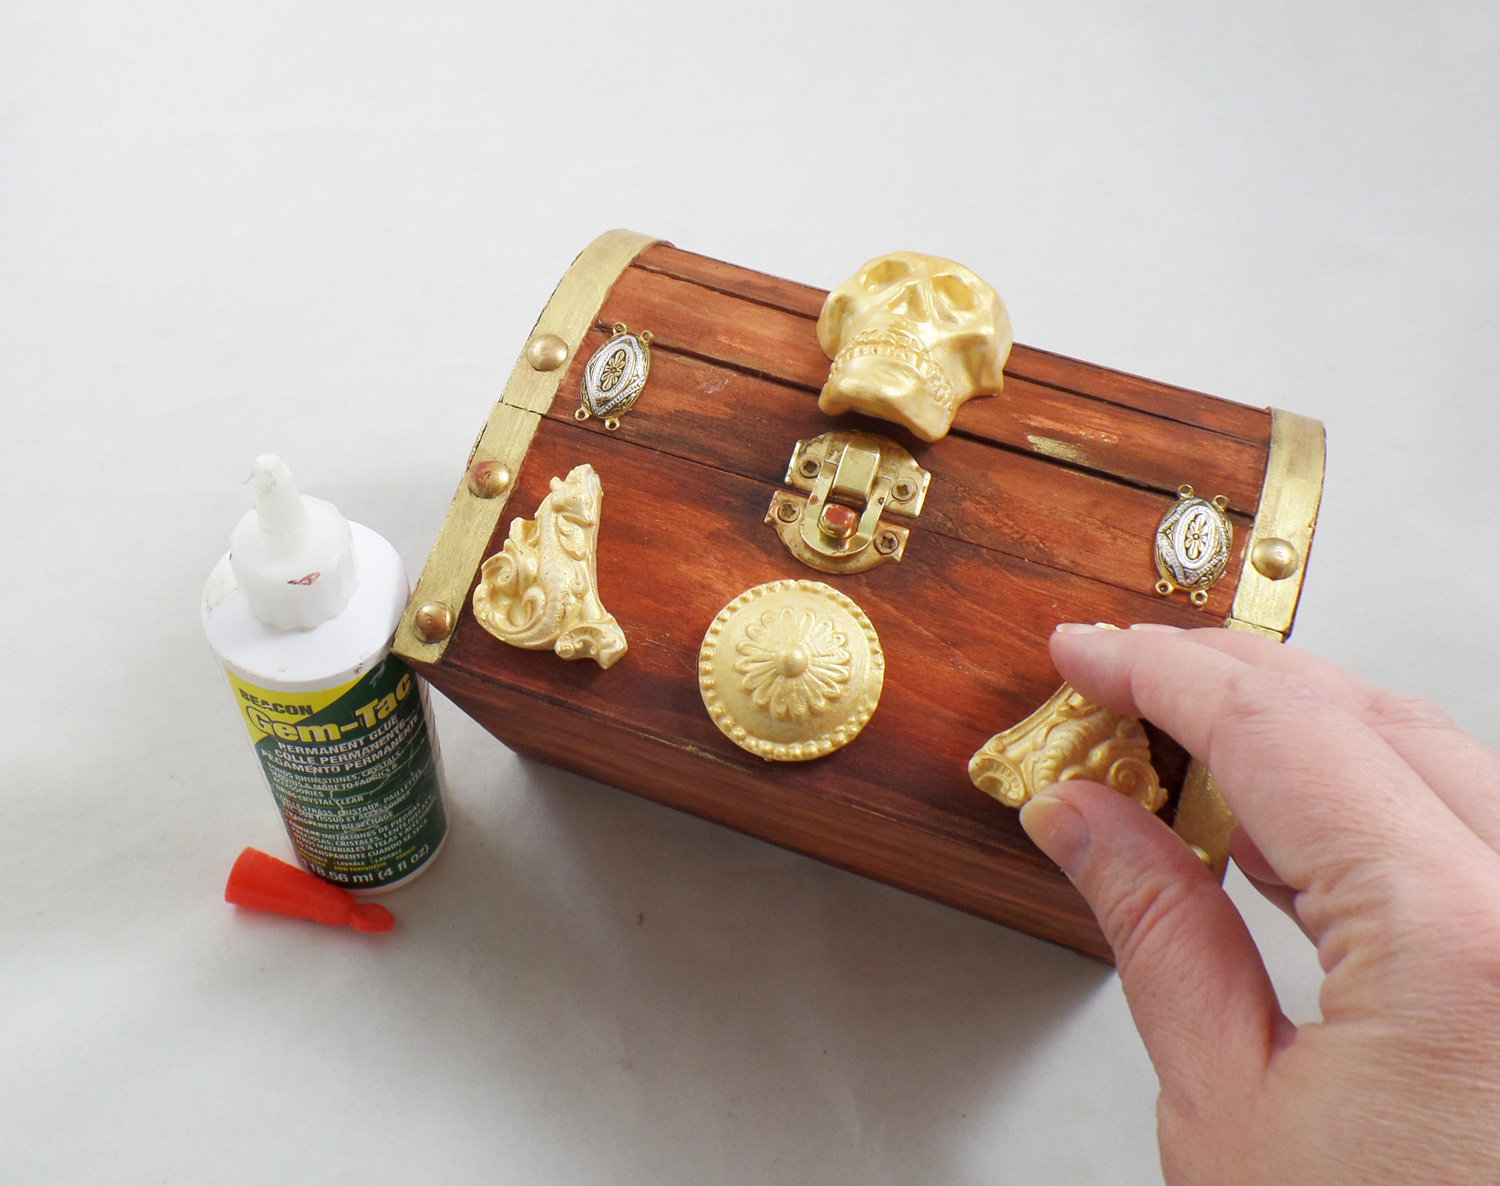
Once all the pieces were dry I applied them to the wood box with Beacon Gem-Tac Adhesive. A broken bracelet with beautiful metal spacers I took apart and glued the spacers to the box to give the illusion of metal brackets bolted to the box. Once the glue was dry I did another color wash of the Burnt Umber and Black acrylic paints all over the box and glued on embellishments to give them an aged appearance. I attached broken chain from an old necklace to the bracelet spacers, glued onto the box, with jumprings.
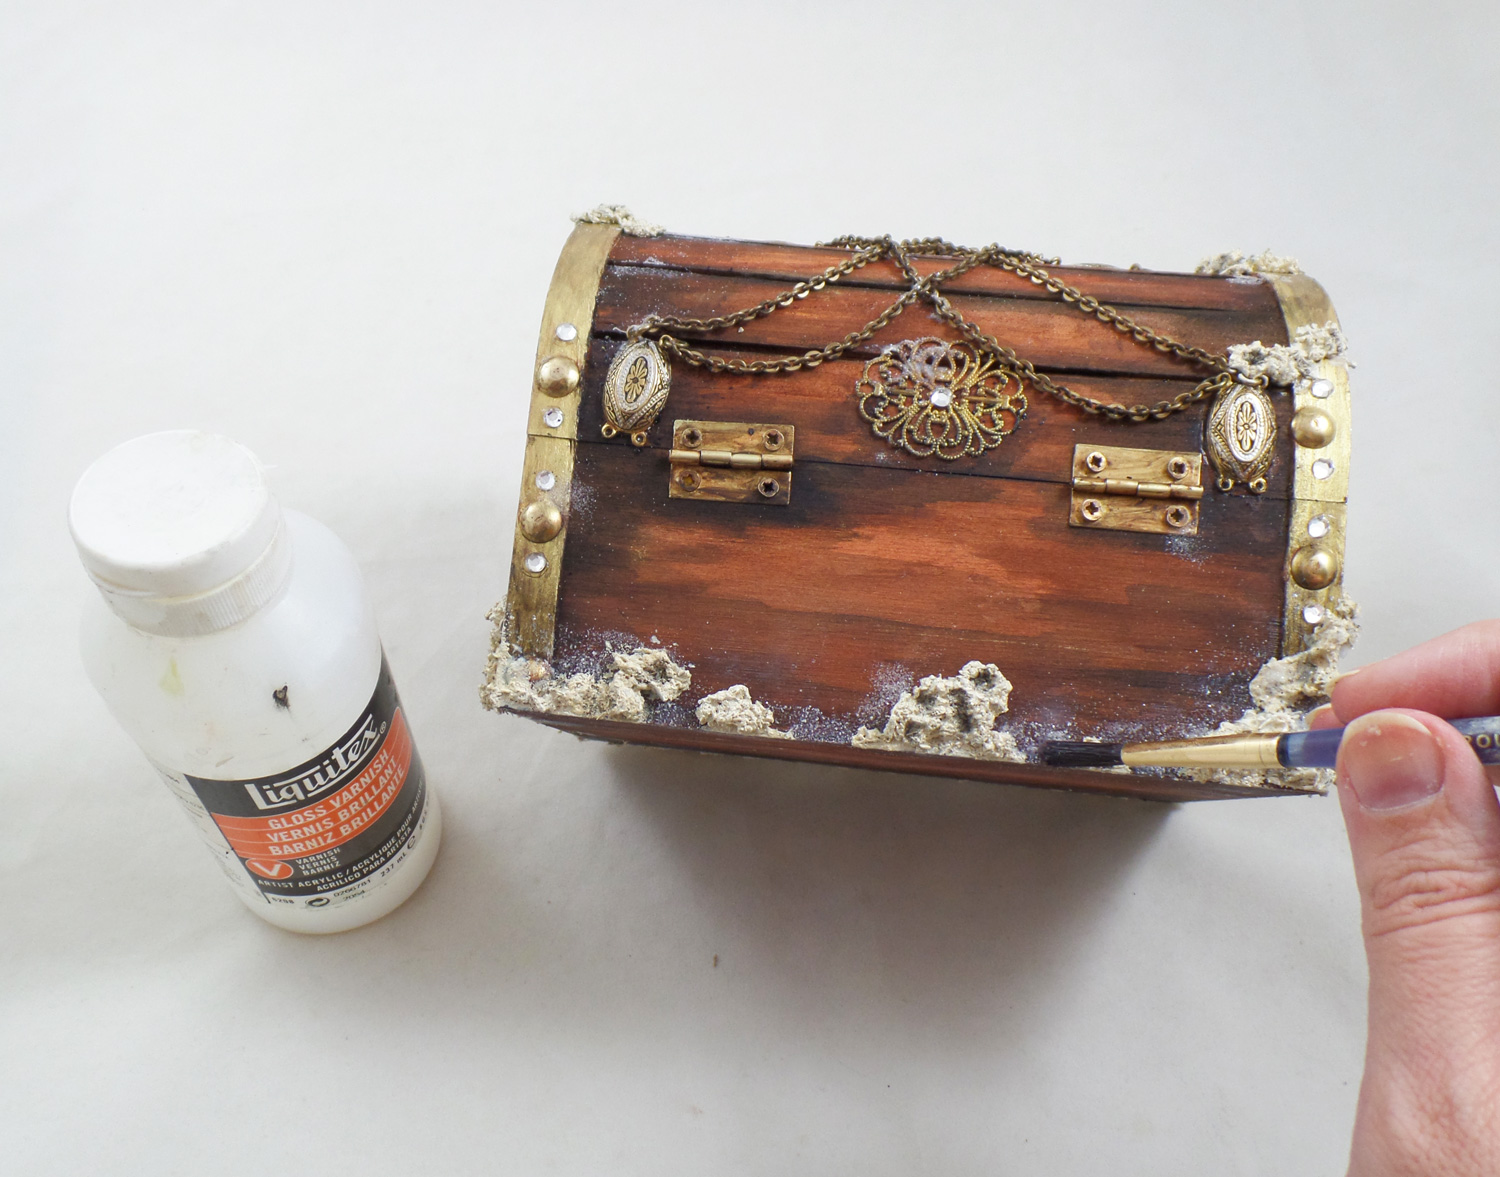
In a small cup I mixed up some White and Yellow Ocher acrylic paint with dried tea leaves and a little Beacon Gem-Tac Adhesive. I applied it around the bottom and sides of the box in small clumps to give the illusion that barnacles had started to grow around this long forgotten treasure. Once the faux barnacles were dry I did a Black acrylic paint wash to give them detail. I added some Liquitex Gloss Varnish over and around the edges of the barnacles and sprinkled on Stampendous Crystal Snow White Glitter. Once dry it looked like salt deposits from sea water.
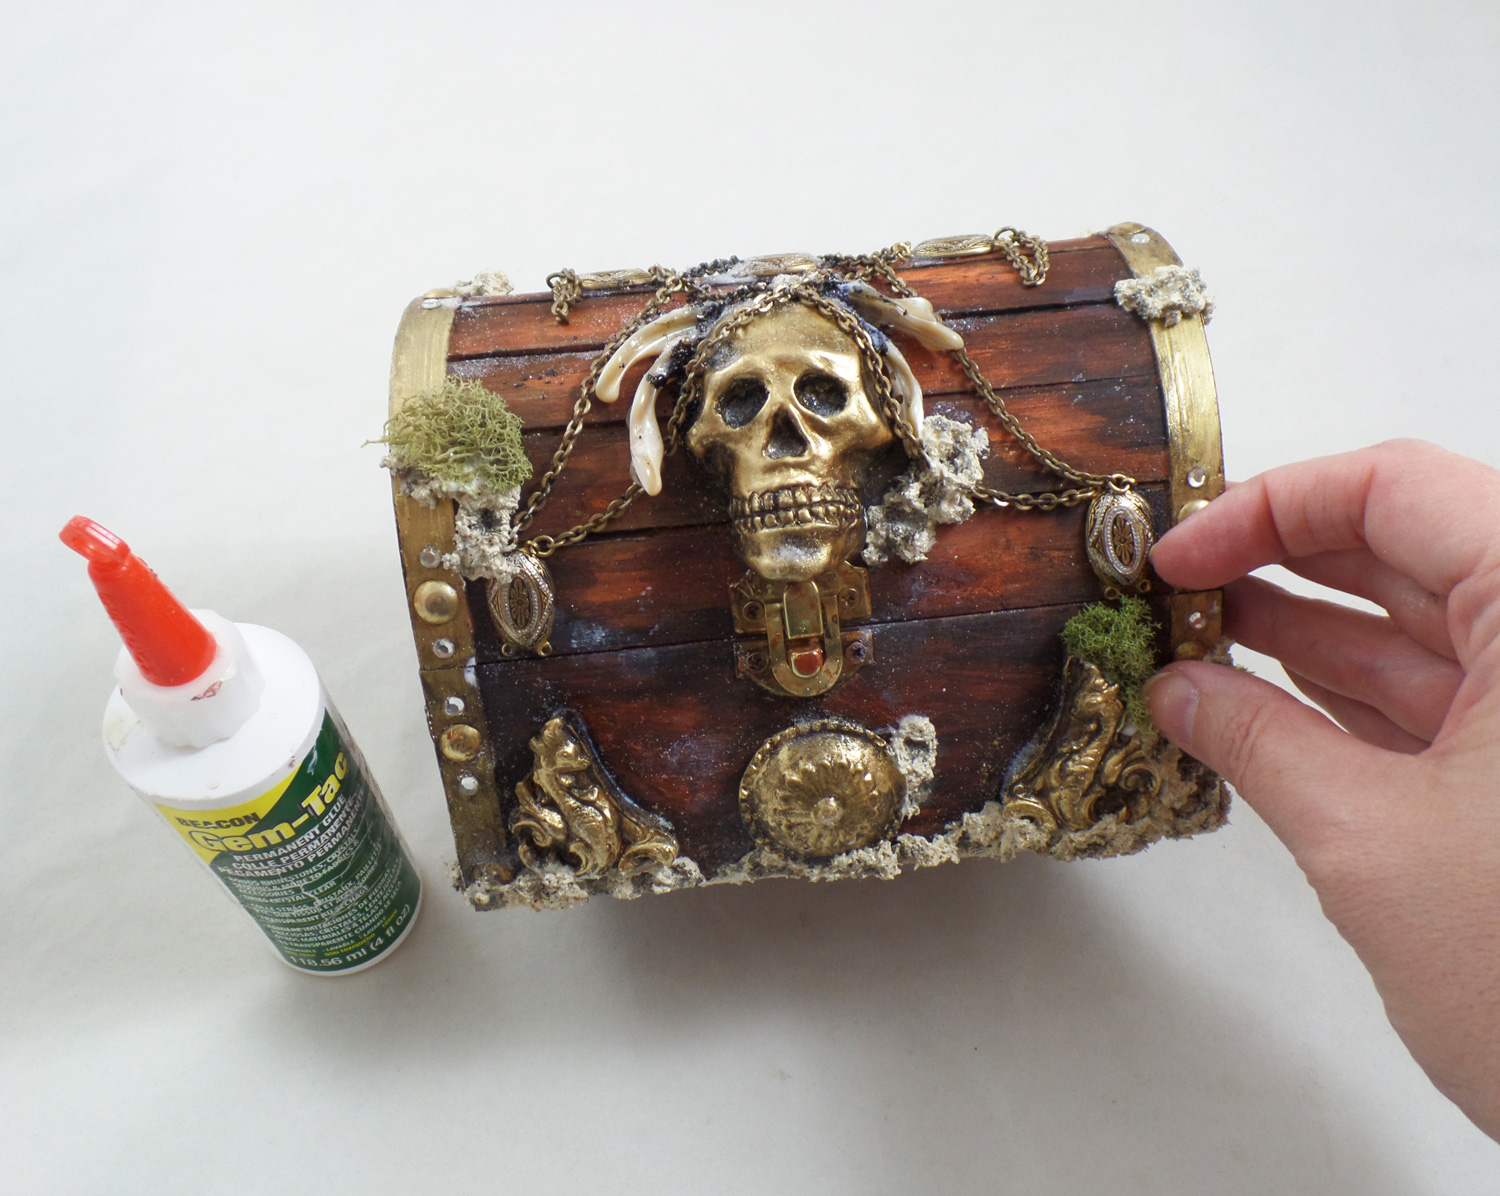
I randomly applied more spots of varnish and glitter to give a grungy, salty appearance to the treasure chest. I glued on tiny bits of moss on the box along the edges and embellishments.
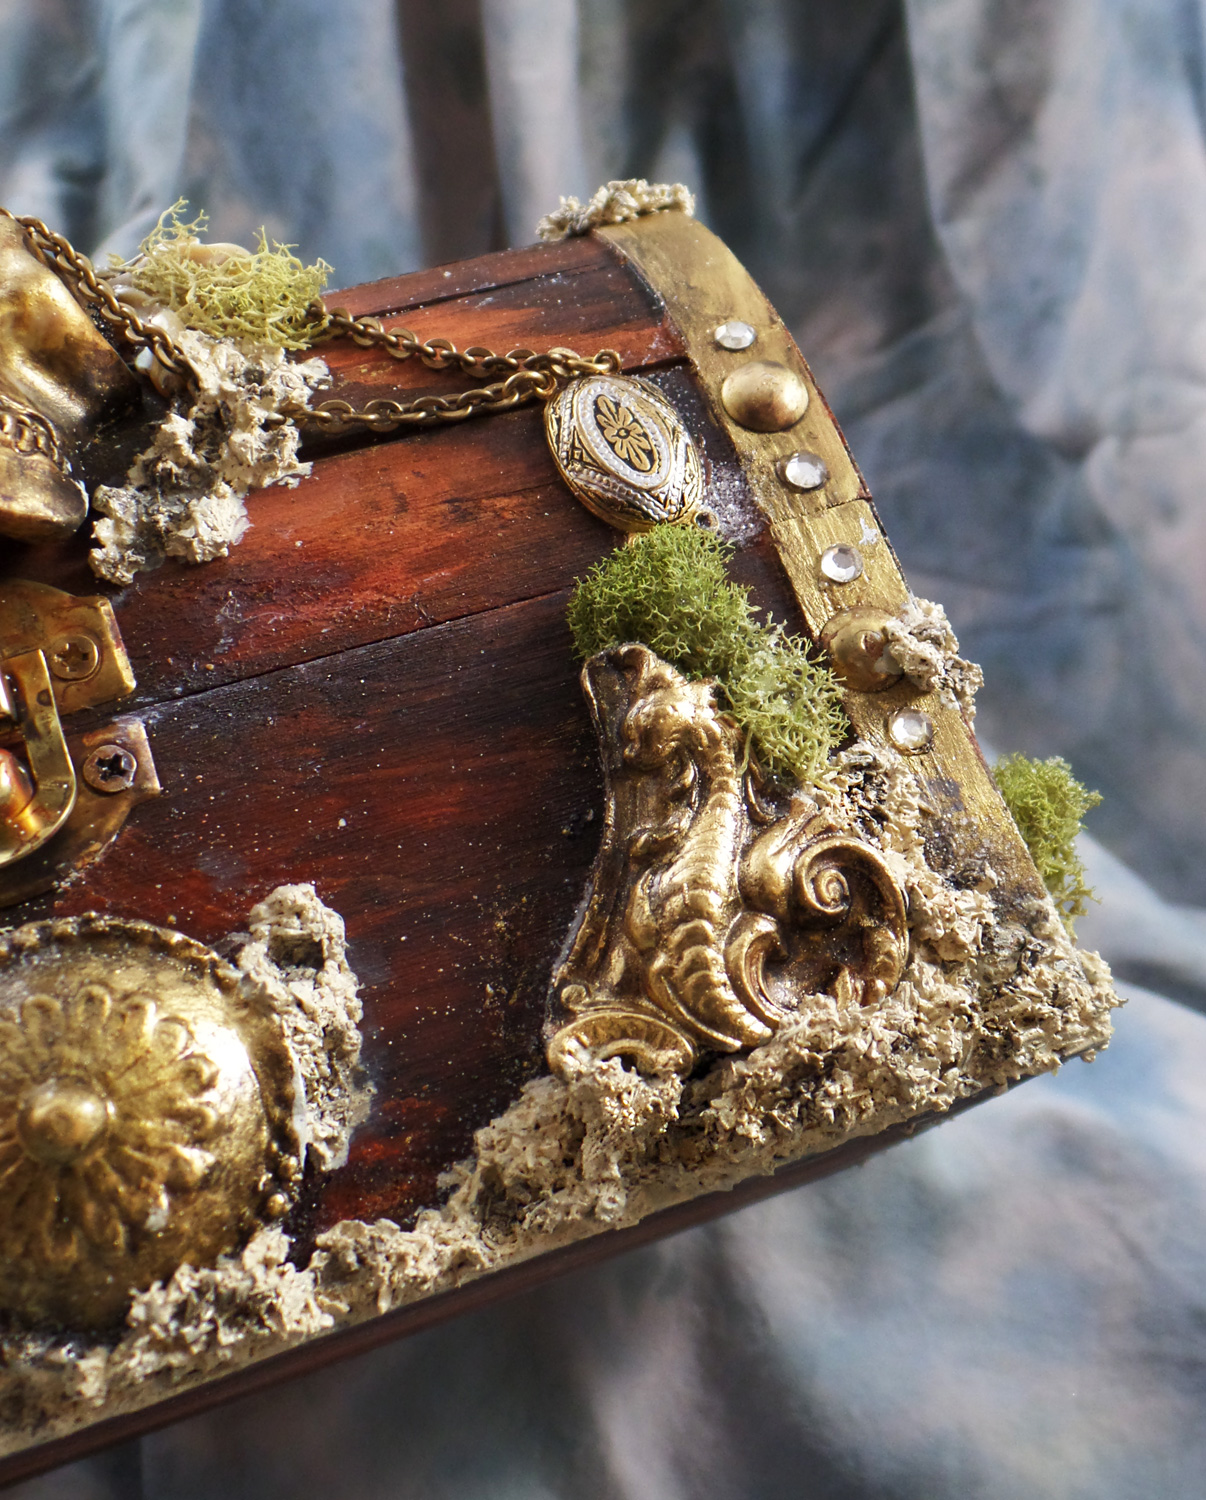
When applying the faux barnacle mixture to the box I was sure to press it against the resin pieces and edges of the box for a good bond. To make it look like the barnacles had grown haphazardly I pushed the back end of a paint brush here and there into the tea leaves and paint mixture.
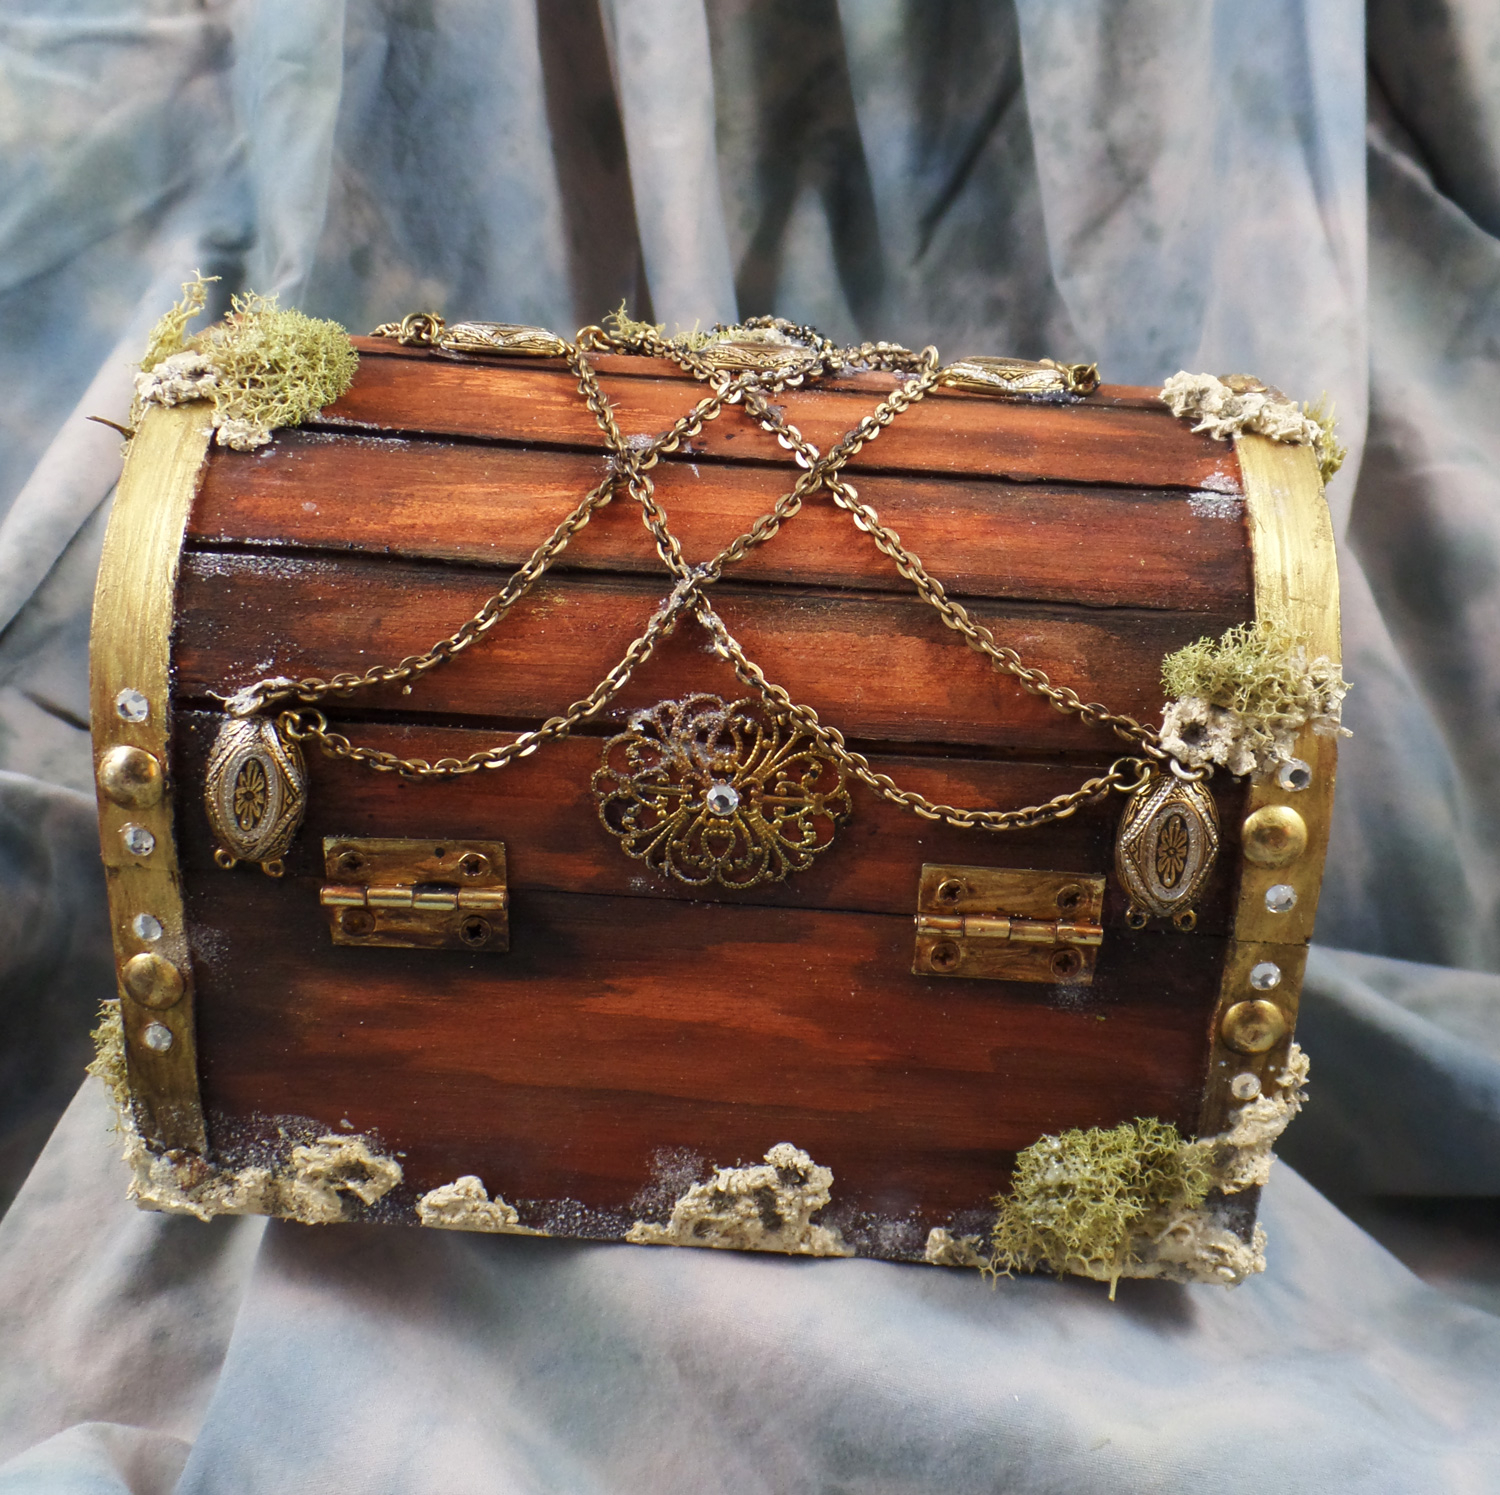
Not forgetting the back of the treasure chest, I had glued on more bracelet pieces, metal embellishments and tiny vintage glass rhinestones. With the chain linked into the bracelet spacers, draped back to front on the chest, my Pirate Treasure Chest was complete!
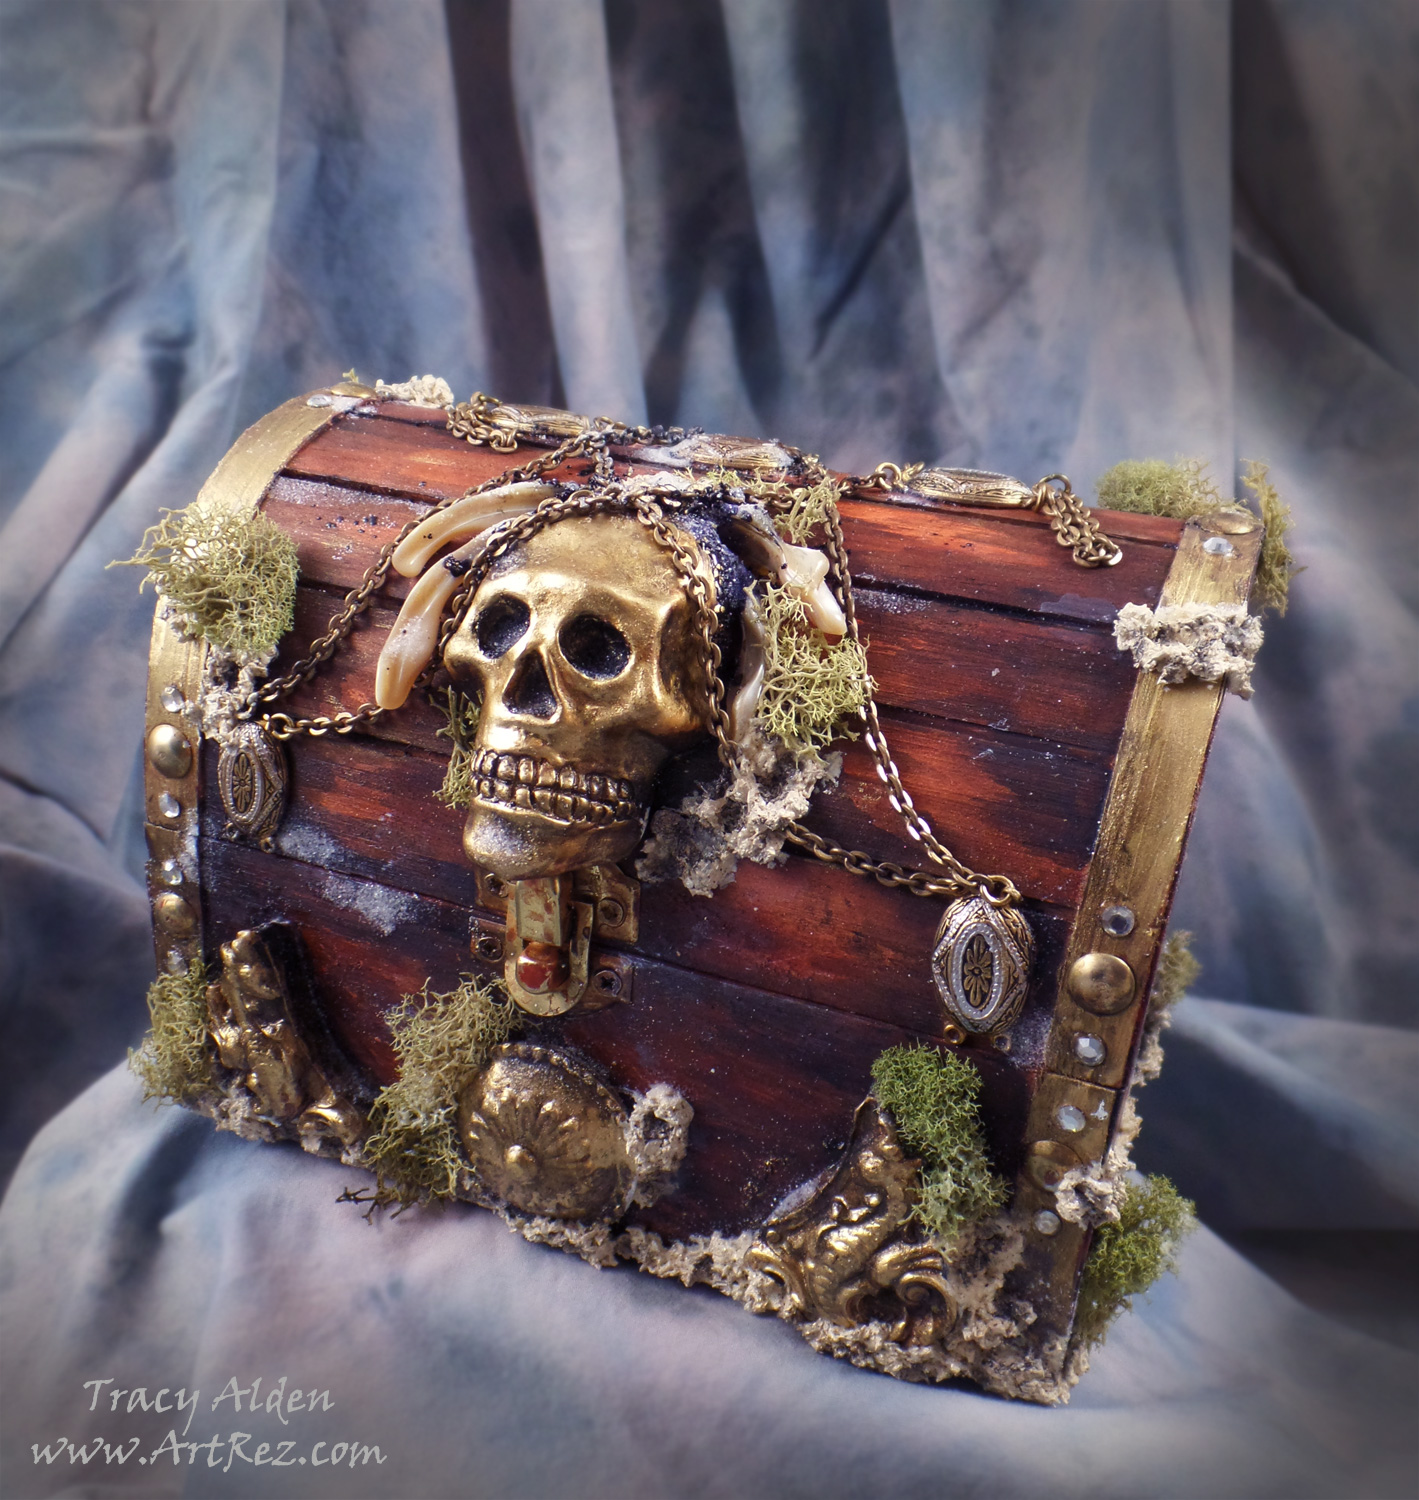
I really love how this piece came out and can’t wait to try out more of the Relics & Artifacts® line with future art projects.
What lovely mixed media treasures will you create?
Until Next Time, Safe Travels!
