Mushrooms and Merriment…
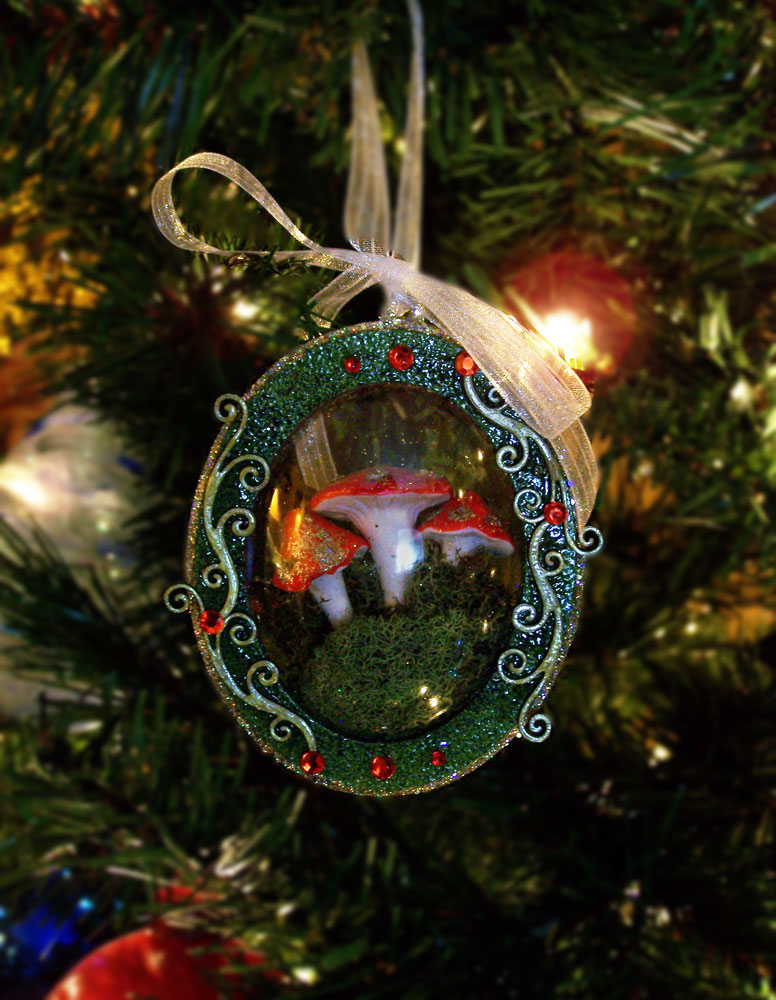
As a young child one of my favorite Christmas decorations was glass mushroom ornaments. They were typically red with white dots and wonderful highlights of pearls, silver, gold and glitter. To me it was like a little frozen bit of fairyland. Traditionally the mushroom ornament was seen as a good luck symbol. In Germany they were seen as a symbol of a person’s love of nature and hope for good tidings in the New Year. Well that got me thinking I just had to make one of my own!
Supplies:
Globecraft & Piccolo DIY Portrait Ornament
Globecraft & Piccolo 3D Enamel Gel Satin Honeydew
Globecraft & Piccolo 3D Enamel Gel Napthol Red
Globecraft & Piccolo Piccolo Enamel/Embossing Powder Adhesive
Globecraft & Piccolo Mossy Glen Enamel Powder
Globecraft & Piccolo Pure Sparkle Gold Glitter
Globecraft & Piccolo Glastique Gloss Finishing Glaze
Globecraft & Piccolo Medium Flourishes
Reindeer Moss
Polymer Clay Mushrooms
Ribbon
Red Sticker Gems
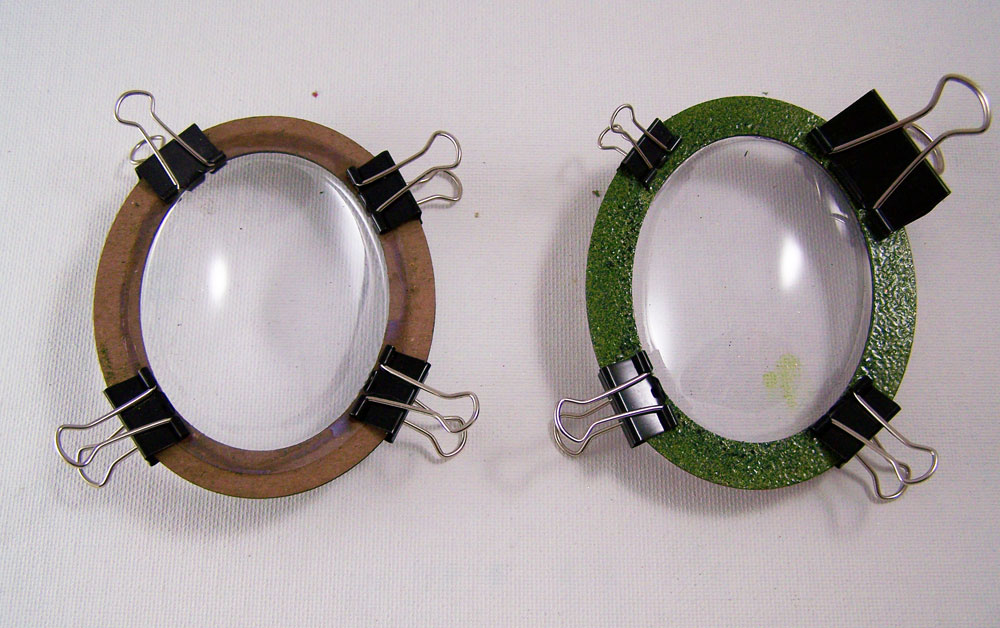
I started with applying the Piccolo Enamel Adhesive to the outer rings of the ornament. I then coated the rings with Mossy Glen Enamel Powder and heat set with heat gun. I then drew a thin bead of Glastique Gloss Finishing Glaze around the inside of the ovals, placed the globes in each half and clipped into place.
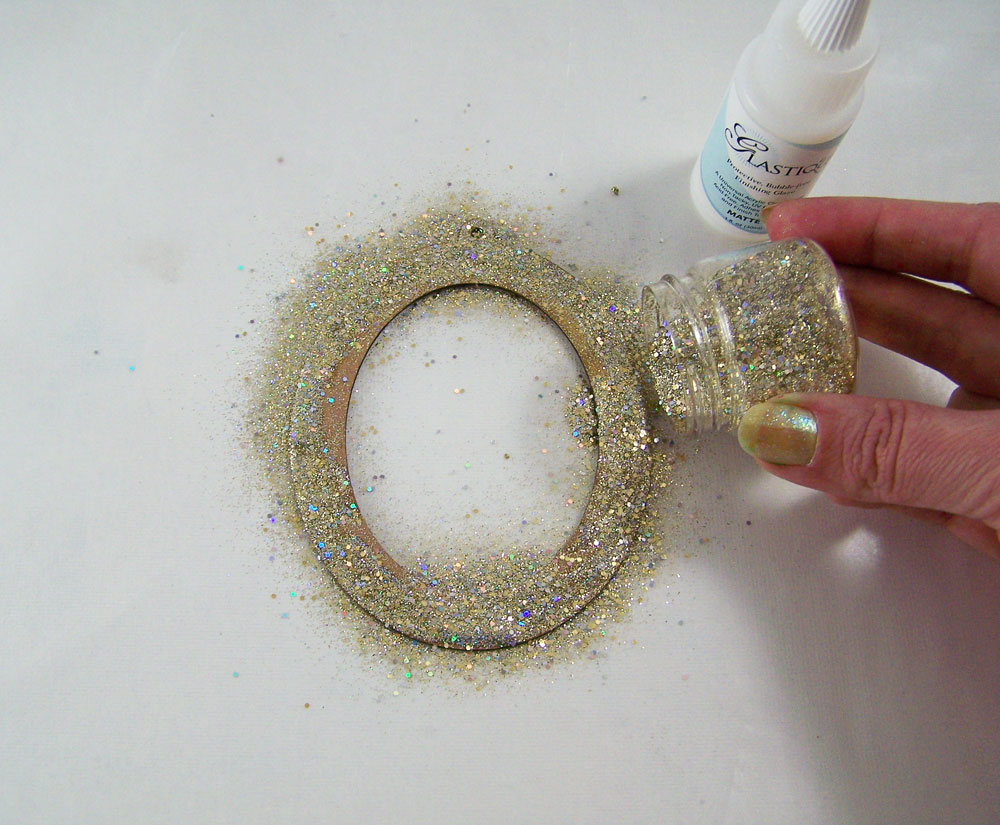
Taking the inner ring, I applied Glastique Gloss around the edge and sprinkled on Pure Sparkle Gold Glitter.
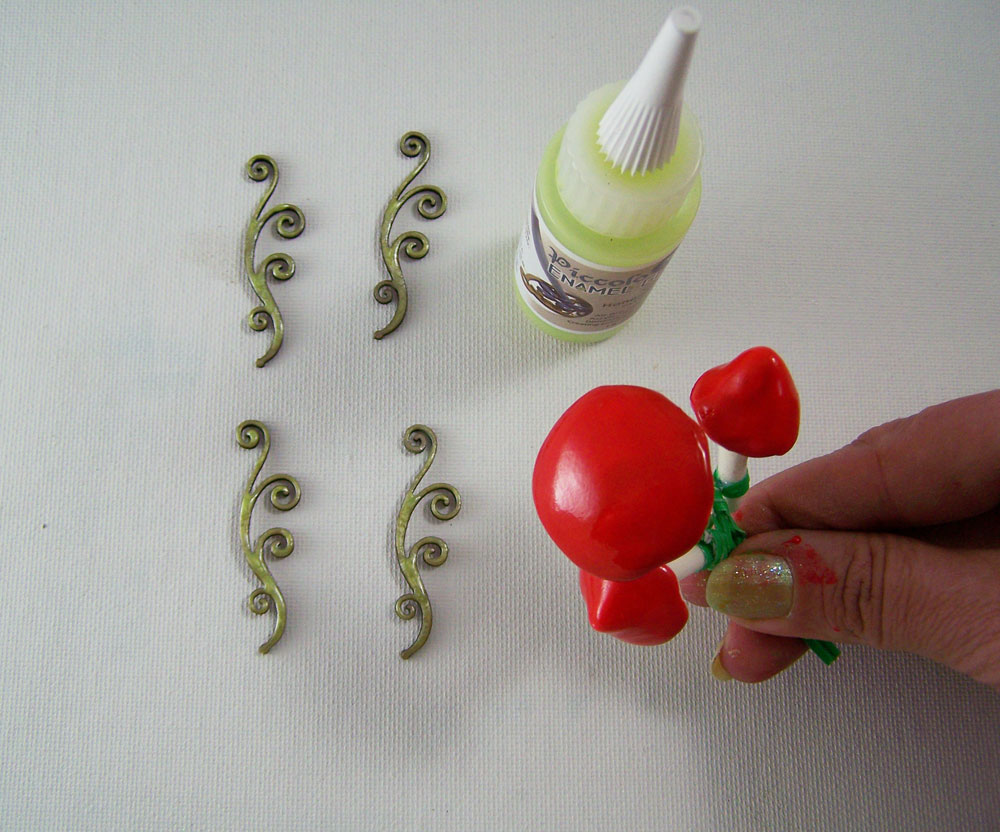
The flourishes got a coat of 3D Enamel Gel Satin Honeydew and the polymer clay mushrooms caps had a layer of 3D Enamel Gel Napthol Red applied. Let dry. Then little dots of Glastique Gloss on the mushroom caps and a sprinkle of Pure Sparkle Gold Glitter on top.
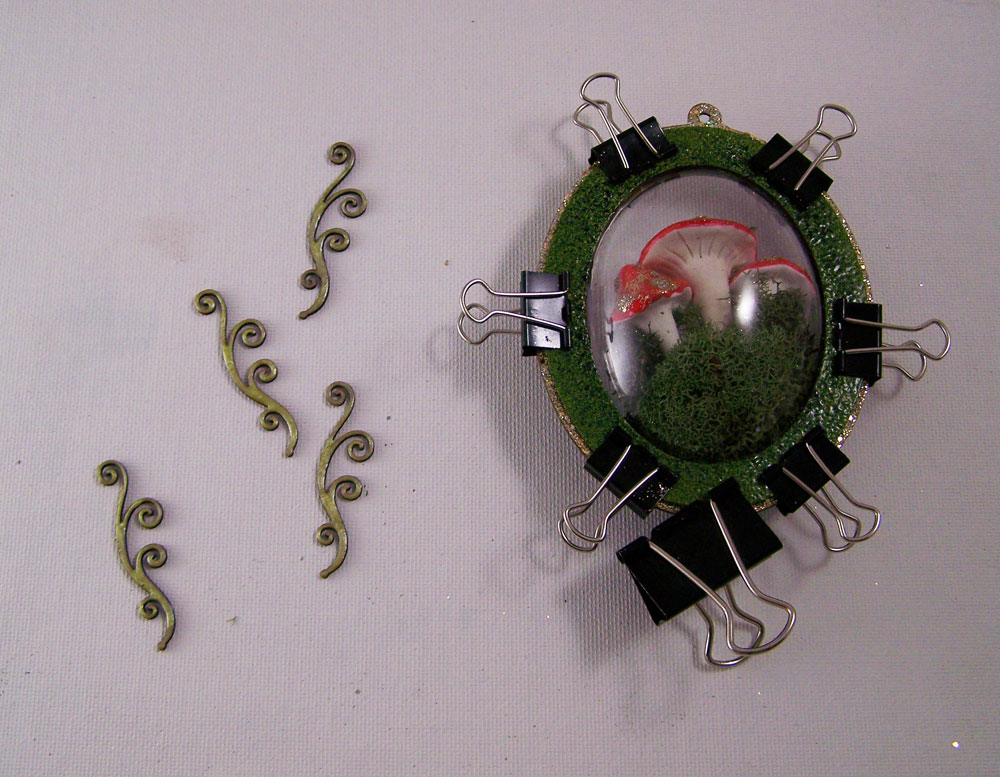
Once the mushroom are completely dry I bundled them together and wrapped Reindeer Moss around them tightly. I glued all the pieces of the ornament together with Glastique, carefully sandwiching the mushrooms and moss. I left them clipped in place until dry.
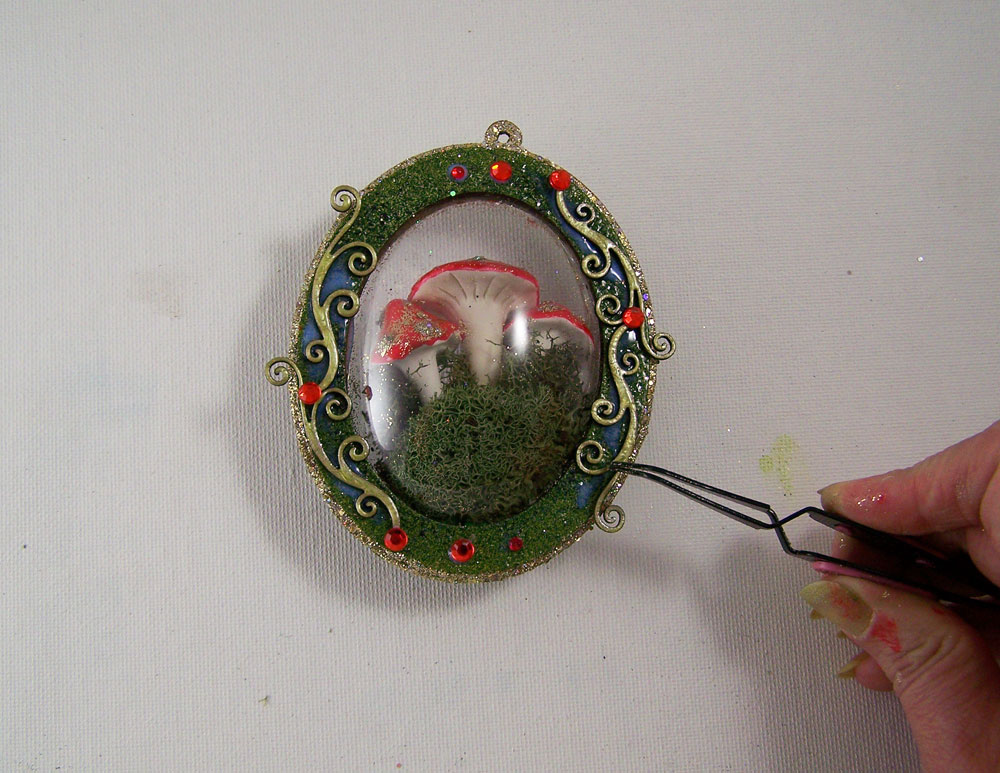
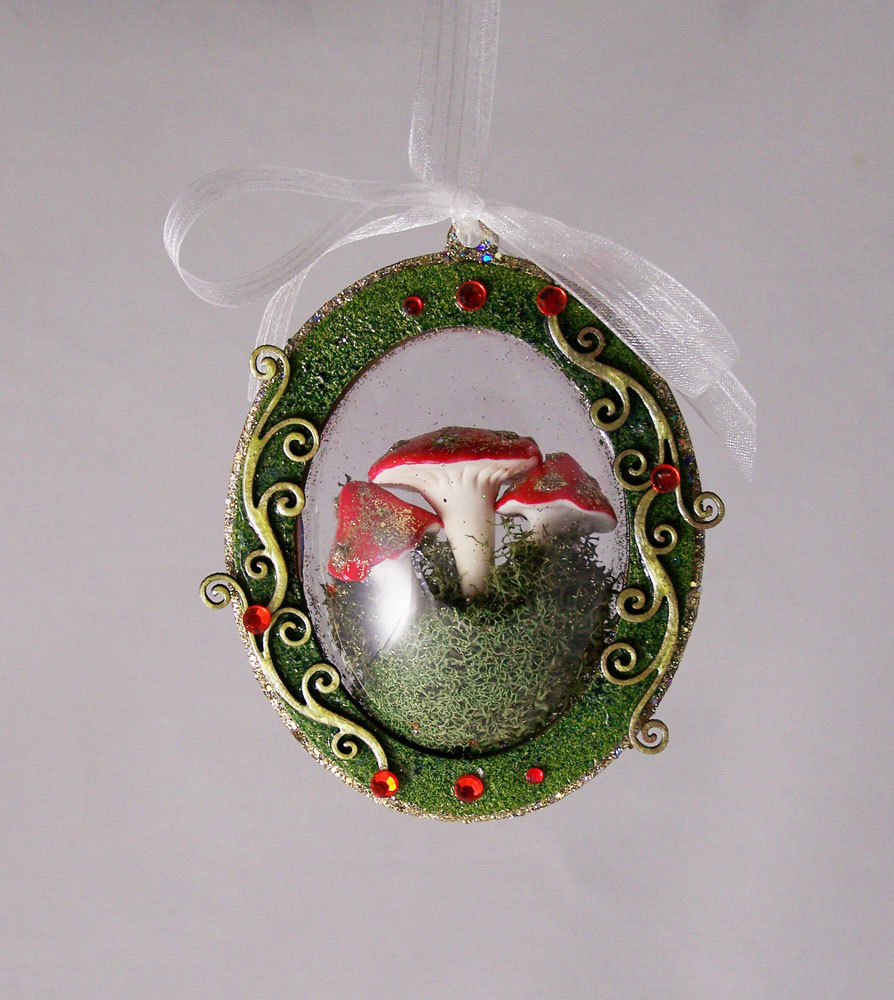
Using Glastique as glue once again, I added the flourishes and sticker gems to the ornament. Once dry I added the ribbon to the top!
Hop on over to the Globecraft & Piccolo blog today to see my Christmas Airship Express tutorial!

7 Comments
linda
This is adorable – where’s the fairy hiding? lol
That red on the mushroom top is amazingly bright and perfect!
Christina
This is soooooooo cute!!! I love everything about it!
Artresurrected
Thank you everyone! The was happy to find out the 3D Enamel Gels work fine on polymer clay, it just seems to dry a touch slower than something like bookboard. I have larger mushrooms and I can’t wait to try the enamel on them. 🙂
Deb
This is adorable! And yes- where is the faery hiding? 😀
Artresurrected
Thank you Debra! I really should do one with a faery in it. 🙂
mae
Just amazing! I love it!
Artresurrected
Thank you Mae! 🙂