Metallic Resin Charm Necklaces
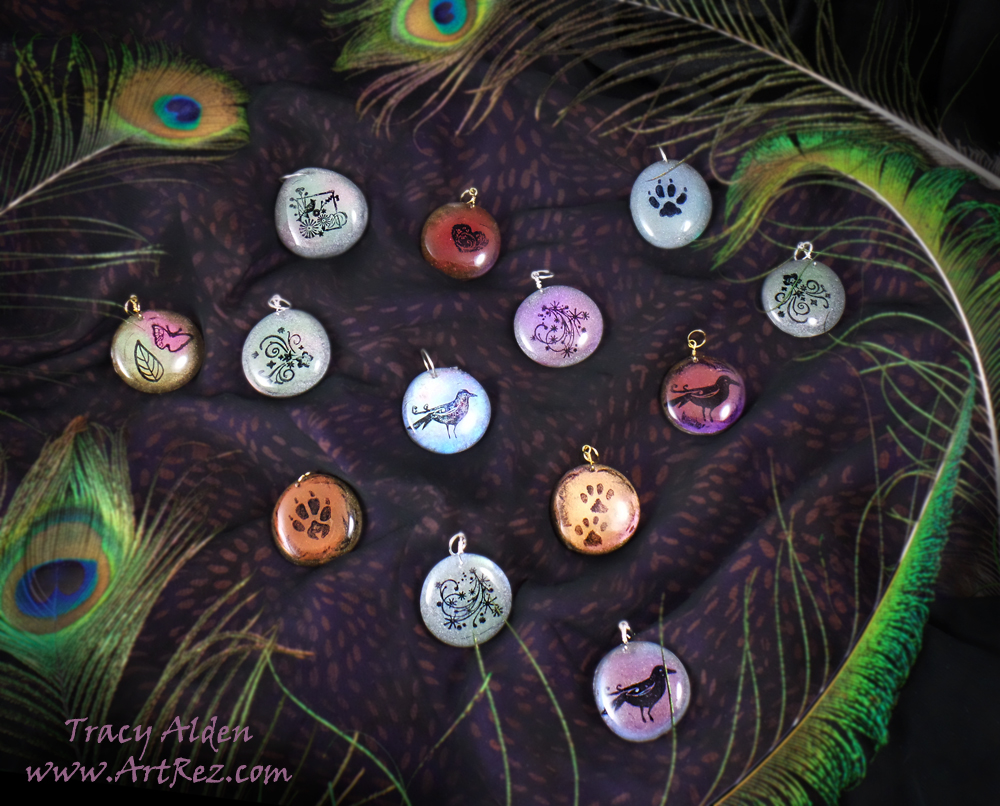
Sometimes inspiration for my craft projects is right in front of me, and surely this was one of those cases. I collect all kinds of little stones, trinkets and pieces of glass and often put them on display around the house in eclectic little assortments. I noticed the larger decorative glass pebbles I have, that can be found at most craft stores, have wonderful little round shapes that make me think of shapes of charms and pendants. I knew Amazing Remelt would make not only quick but glass-smooth molds and Amazing Clear Cast would be perfect to pour into the molds to create the charms, so off I went looking for my supplies!Supplies:
Amazing Remelt
Amazing Clear Cast
Alumidust
Alumilite Metallic Powder
StazOn Ink
Stir Sticks
Mini Stamps
Decorative Glass Pieces
Small Hand Drill
Ribbons, Cording and Metal Wire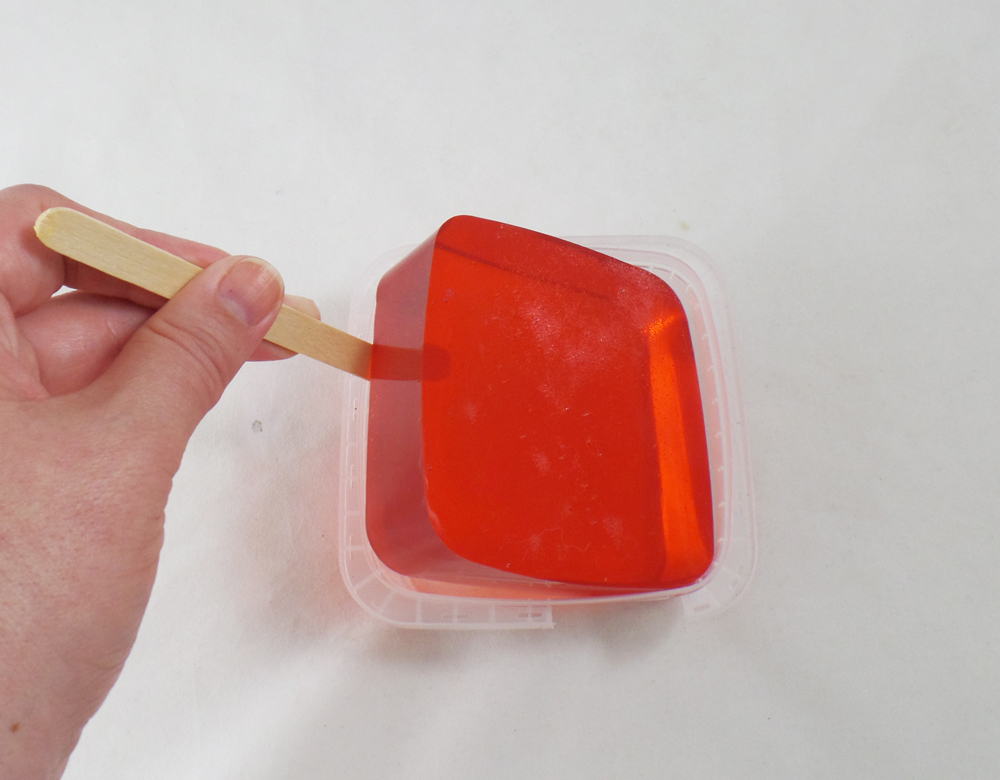
I started off with removing several blocks of Amazing Remelt from their containers. They are easy to remove by running a stir stick around the edges and gently lifting the Amazing Remelt from the container.
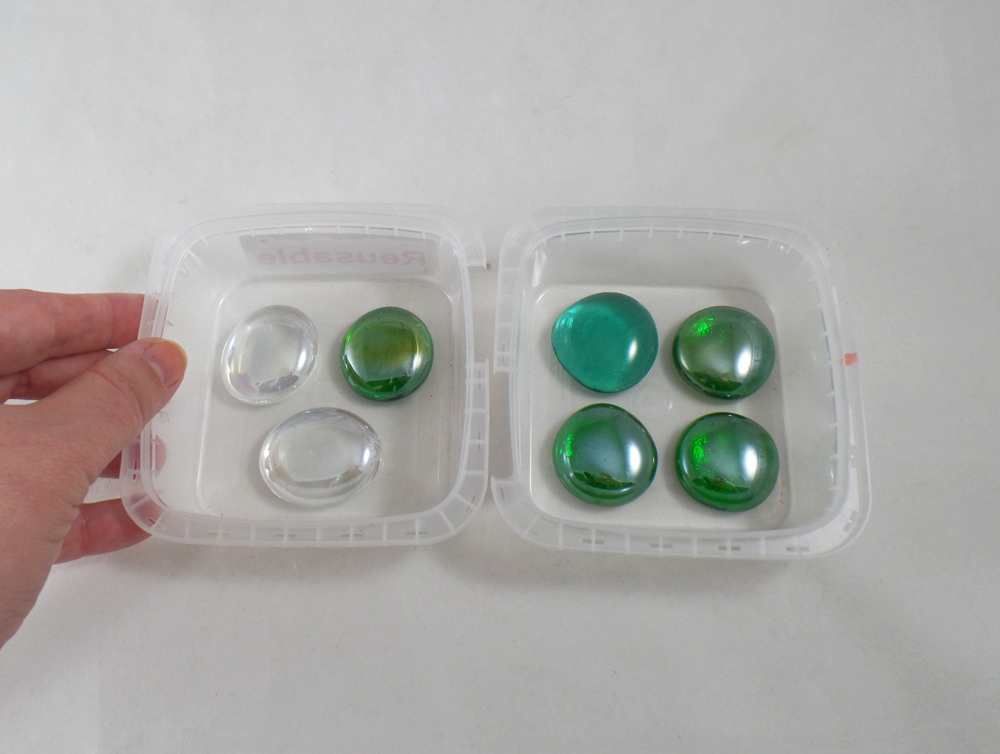
The Amazing Remelt containers acted as my mold boxes and I placed the glass pieces in the containers, making sure to leave some space between each piece so the mold will have separate spaces for each piece. You do not need to use an mold release on these pieces as they are smooth and non-porous.
I heated one half of a Amazing Remelt brick in the microwave until liquid, in one of the containers it came in. I poured the heated Remelt in the two containers holding the glass pieces, but only a thin enough layer to cover the bottom and a bit of the sides of the glass. This layer acts as an anchor for the pieces without having to glue the glass in place, I let this layer cool completely.
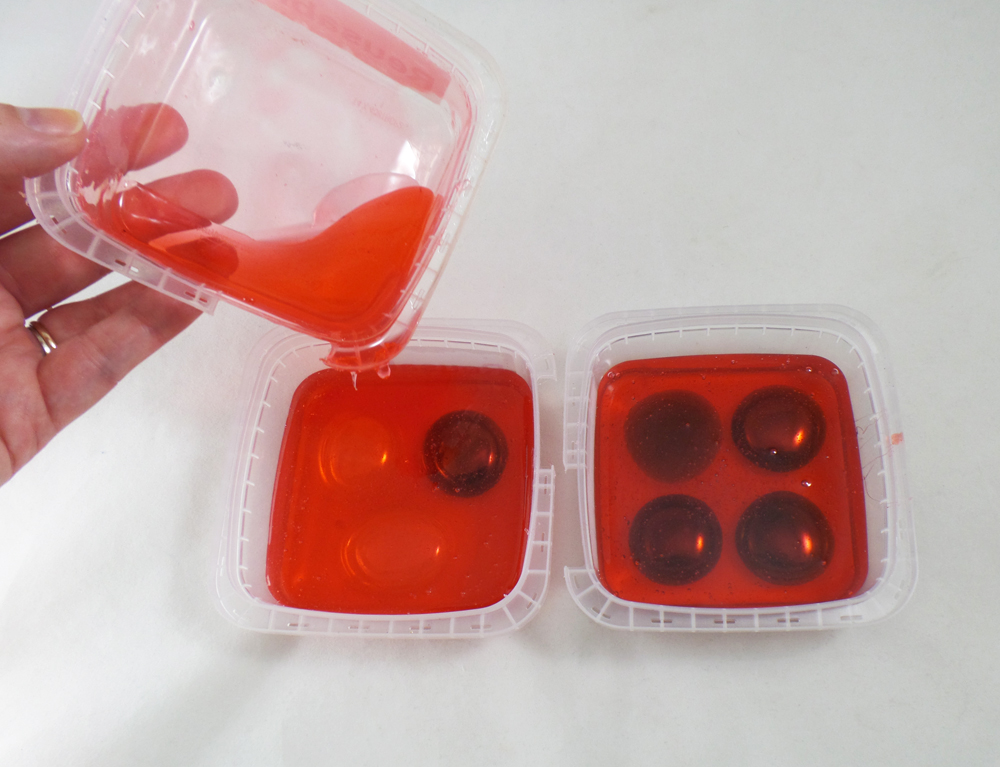
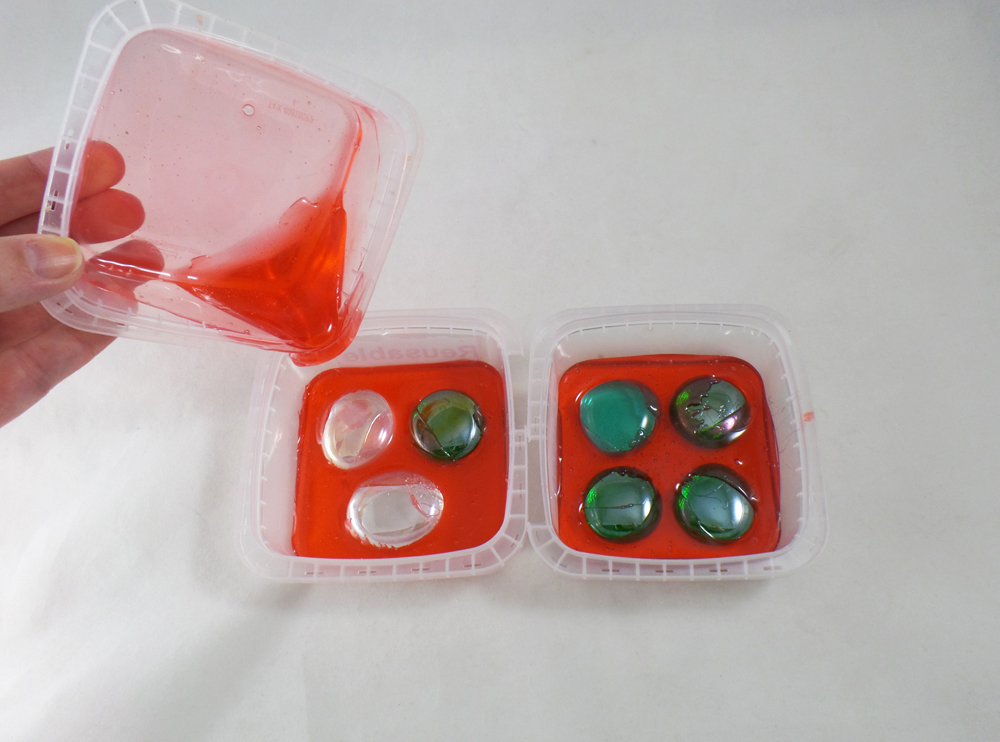
The second pour of Amazing Remelt I covered the glass pieces completely and let them cool to finish the molds.
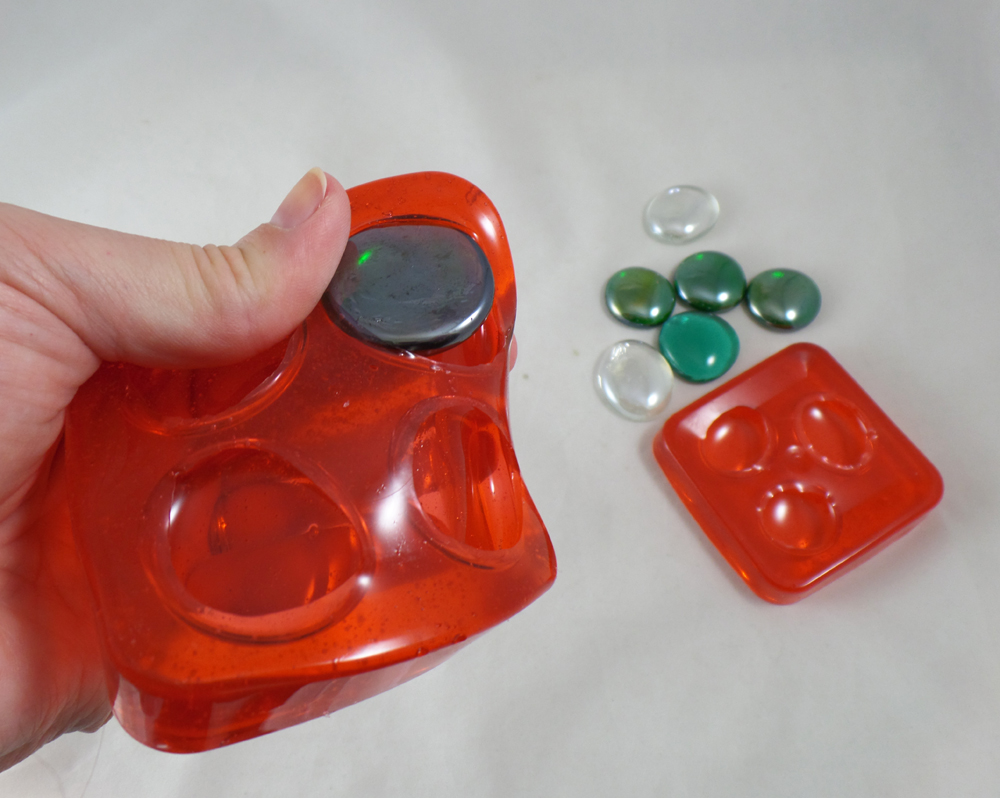
Once the molds were cool and no longer tacky I carefully removed them from the containers and flexed the molds until the glass pieces popped out.
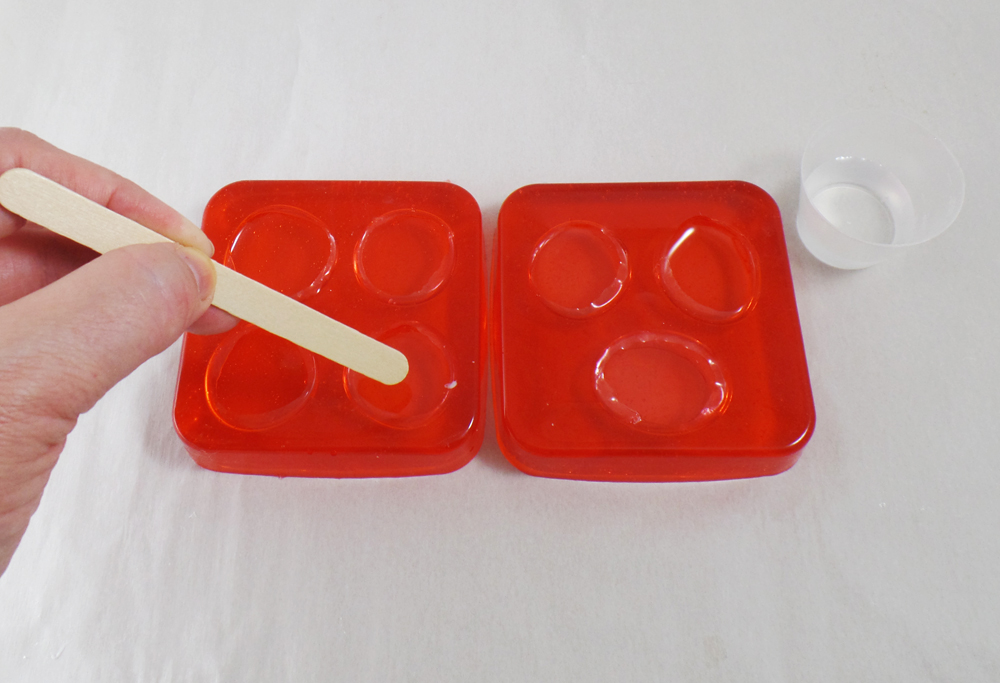
I mixed up a small batch of Amazing Clear Cast and filled each round in the mold halfway and let it cure to a hard yet somewhat tacky state.
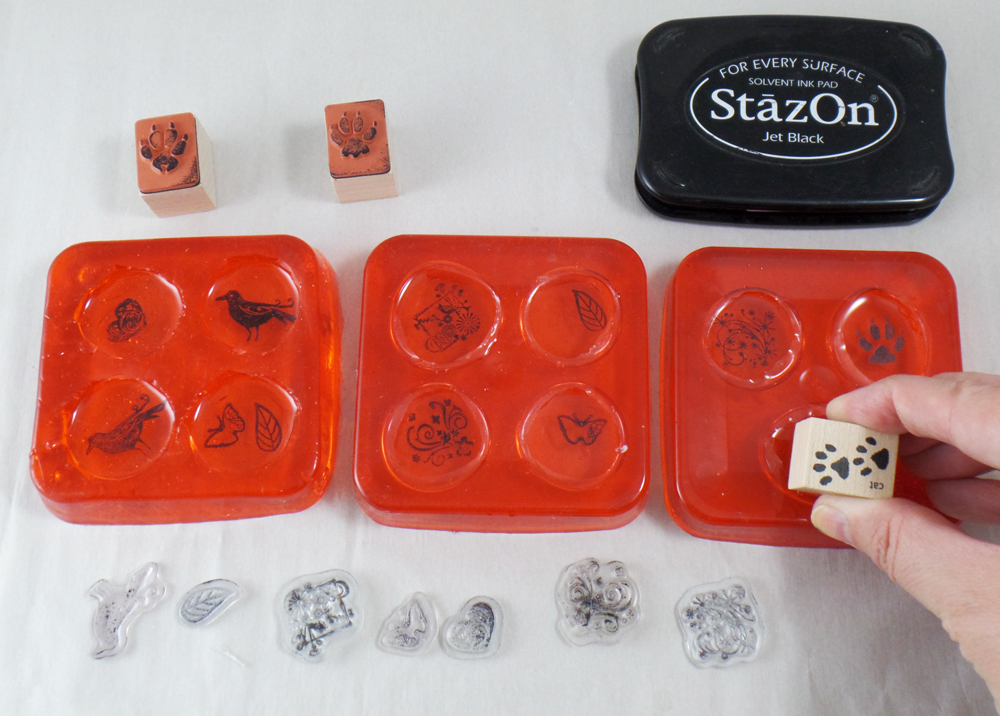
I then carefully inked and stamped little stamps with StazOn Ink into the tacky resin. The tacky state of the resin prevents the stamp from sliding and “grabs” onto the stamp, making sure I got a good stamped image.
*Pick your favorite stamps! As long as the stamp can fit the mold opening you can use any number of stamp images.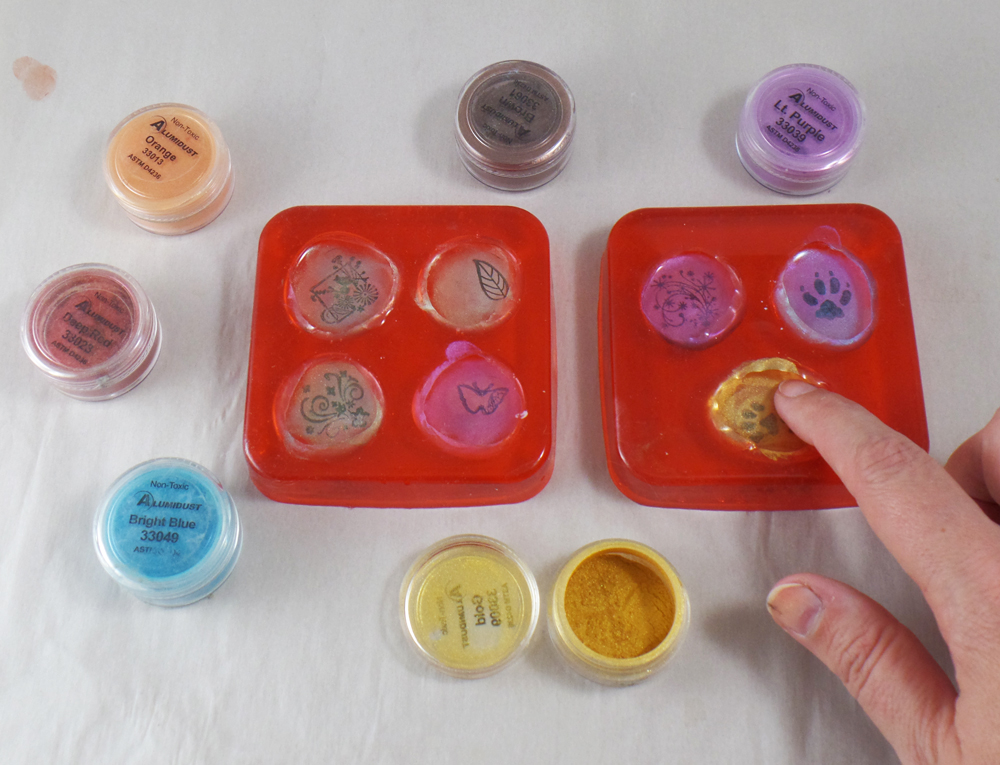
I rubbed Alumidust, in several different colors on the first layer of resin that was now stamped. Just like with the stamps there is no rhyme or reason to the color choices, just have fun with all the Alumidust colors!
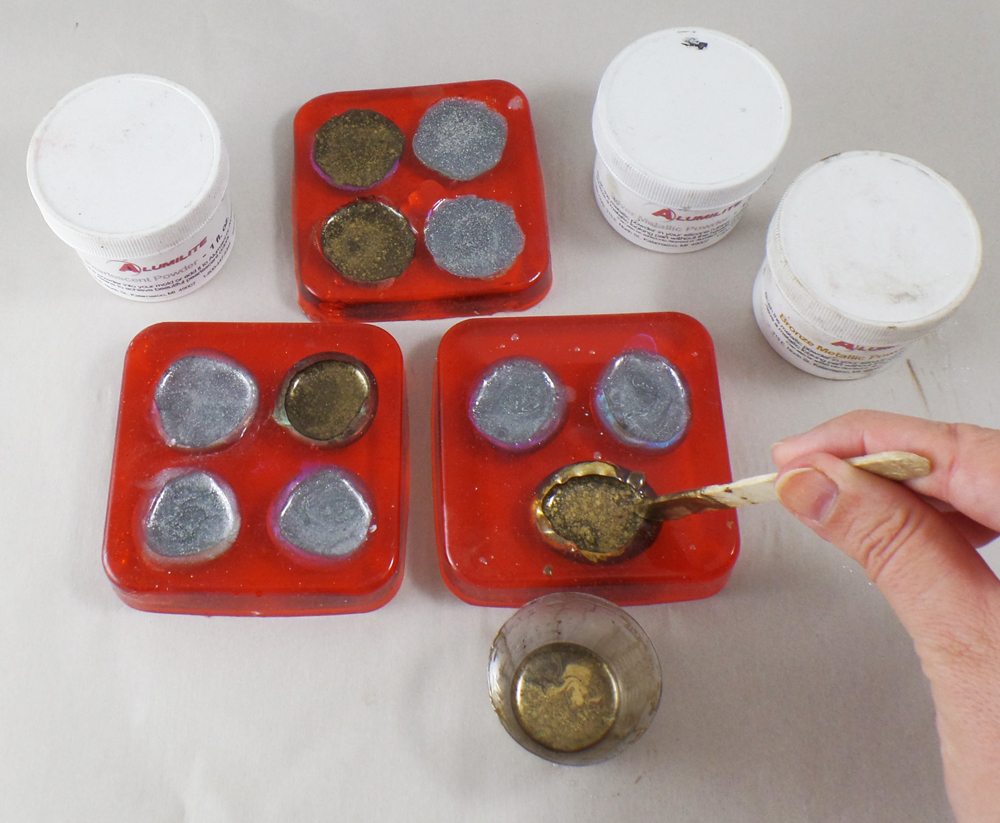
I mixed up two batches of Amazing Clear Cast mixed with Alumilite Metallic Powder, one silver and one bronze, and poured it in the molds as a second layer. I let it cure overnight.
* If you live in an high humidity area you might notice the when you pop out the resin pieces the next day they will be hard but slightly tacky. Just remove them from the molds and place them on parchment paper and wait for the resin to completely harden outside of the molds.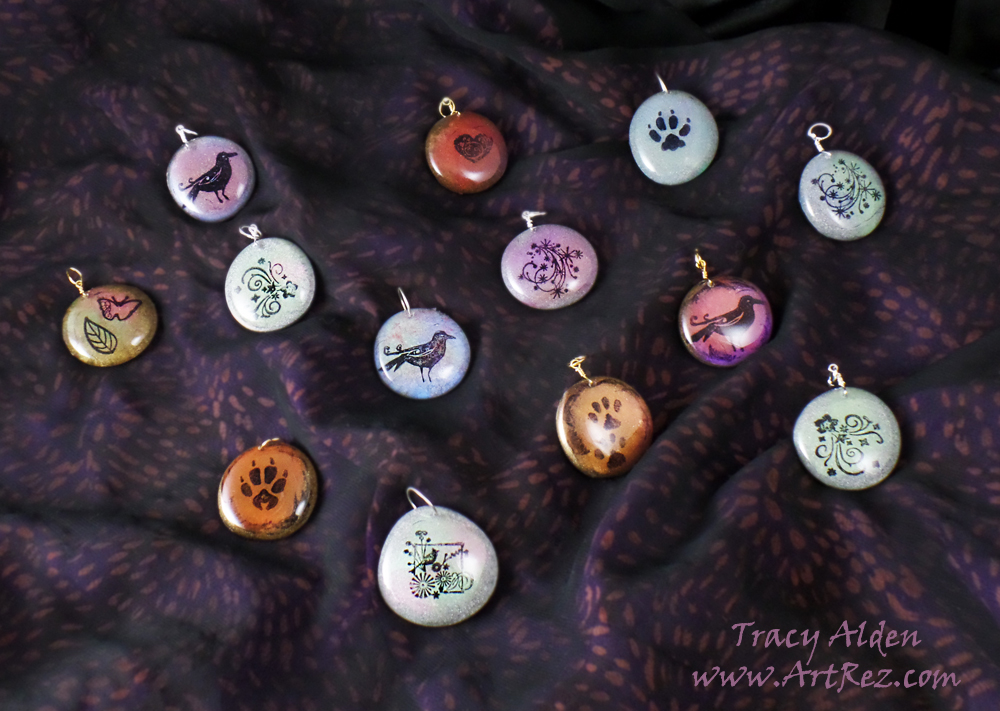
Once all of the pieces were fully cured, I carefully sanded any uneven edges and drilled holes with a hand drill. I scrubbed them clean and threaded jewelry wire and jump rings through the drilled holes. Now they are ready for ribbons, thread or chain!
Want to see more of Amazing Casting Products tutorials and inspiration? Hop on over to their Blog to see all kinds of Amazing Artists’ Designs!Until Next Time, Safe Travels!

Ancient and Contemporary Inspired Artistry