A December Crafting Recap!
December has come and gone so quickly! The holidays have been a whirlwind of making gifts, food, festive events and cold windy weather. With many shows and special events not only in December, but upcoming in 2016 it has been an ongoing artistic adventure. While some of the art projects I have been working on have yet to be displayed, I wanted to share some of my projects already showcased before the New Year started.
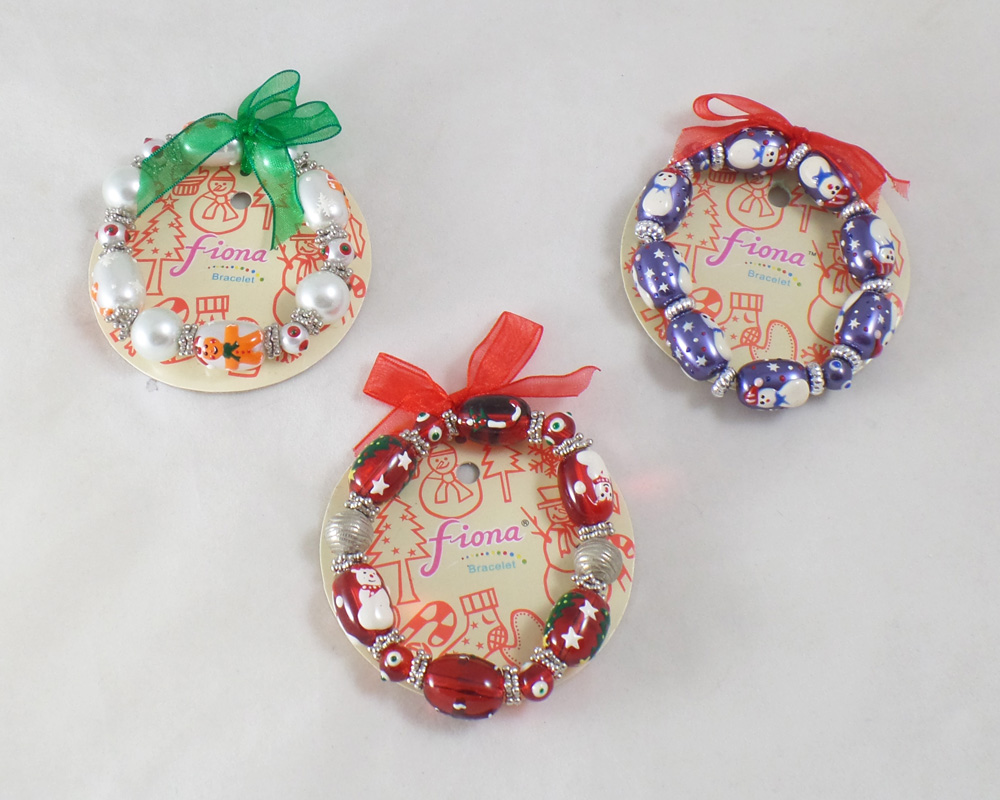
As I have noted in the past I have a serious love for Fiona Accessories beads. Along with their jewelry supplies they also make hand painted beaded bracelets for many holidays and seasons. I had gotten a few of their cute Winter holiday themed bracelets just for fun. While the bracelets are beautiful as is, I got the idea to turn them into earrings.
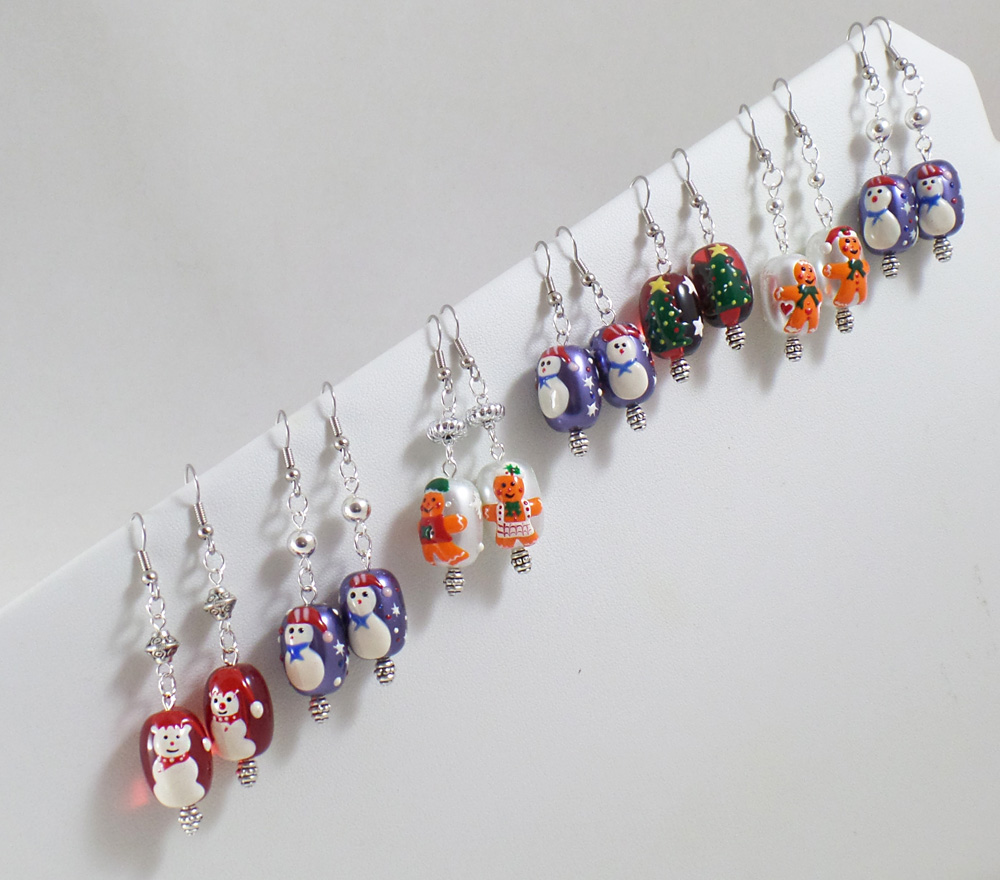
With the addition of silver spacer beads, earring wires and decorative head pins I was able to create festive earring sets and still have many beads left over for other projects.
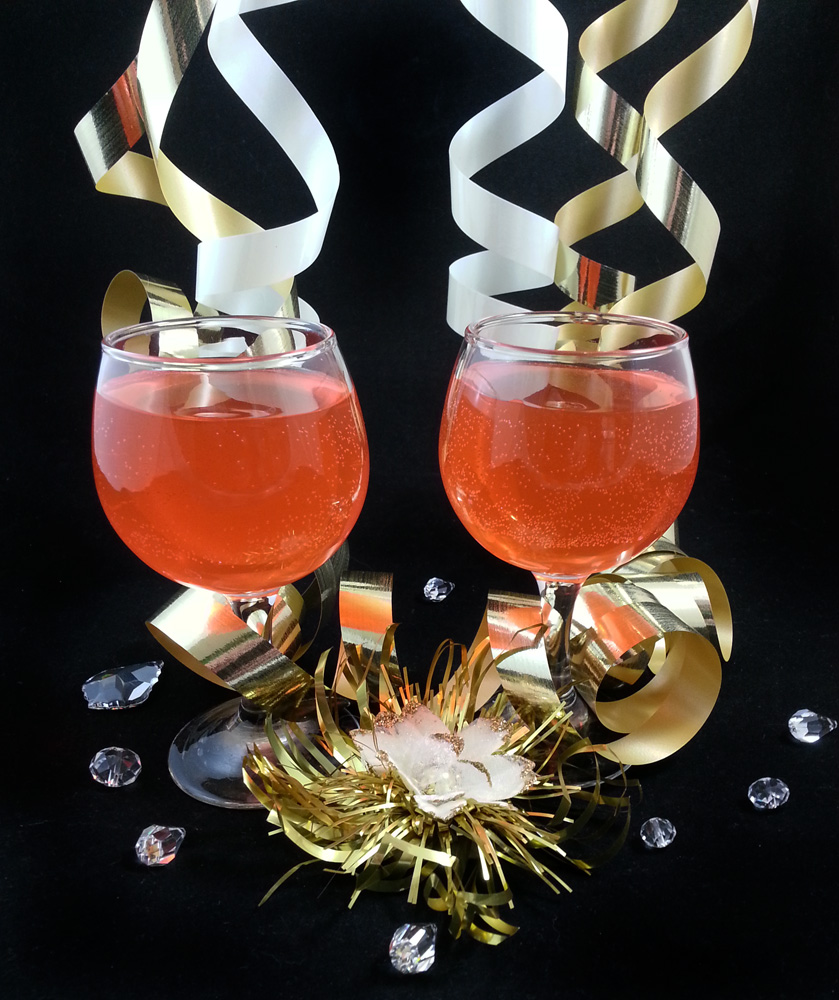
With the help of using Amazing Casting Products Clear Cast Resin, Fiona Accessories beads and papercrafting supplies I created a series of handmade jewelry. You can check out the tutorial to make your own HERE.

A local SoCal High Desert historic site, The Antelope Valley Indian Museum, held a Holidays on the Homestead event in December. The historic grounds were decorated in vintage holiday style with live acoustic music around a campfire, a chili cook-off, tours of the grounds, and a handcrafted country craft boutique! With all the jewelry I had been making it made perfect sense to get a booth in the craft boutique. Even though it was a chilly night, I sold many pieces of jewelry and loved being in a hall surrounded by art.

Hope you take Amber’s suggestion of staying warm and happy this Winter. Wishing you all a Happy and Healthy New Year!
Until Next Time, Safe Travels!
A Fall Cozy Crafting Recap
November has come and gone so quickly it is startling! Things have been so busy and I of course have to share some of my art and crafting goodness.
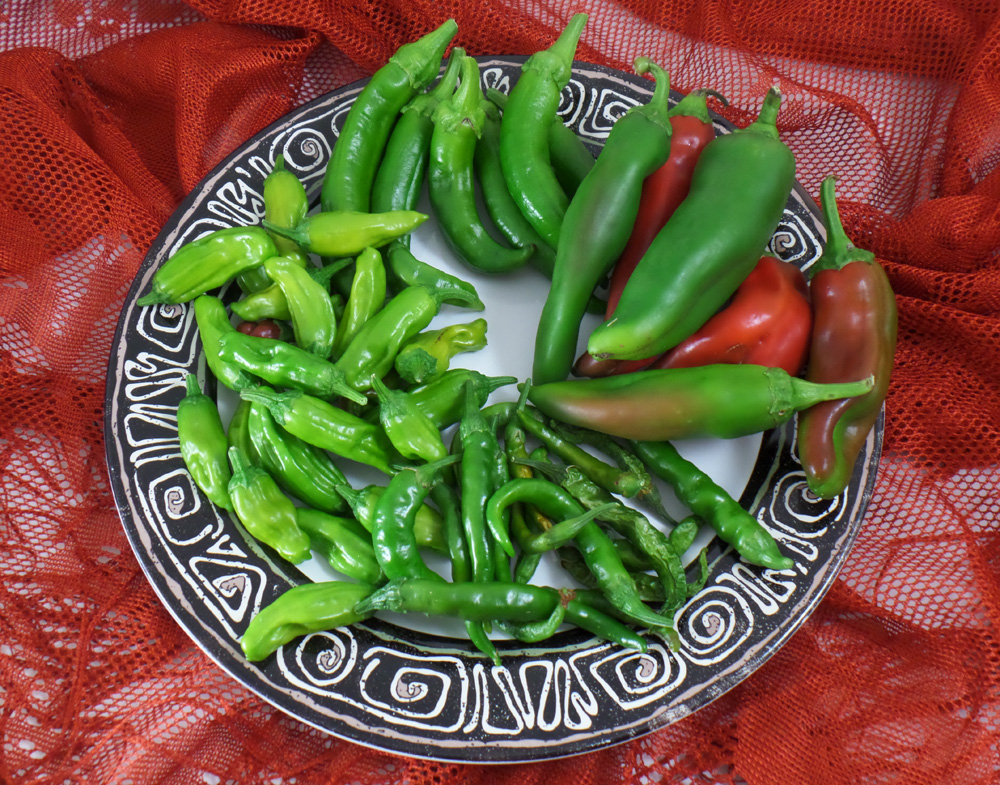
With an early cold snap hitting our area early, forcing a harvest all of my pepper crop, I was left scrambling to try to find ways to use them up! I dried some, saved seeds for next year, cooked all kinds of spicy foods but I was still left with buckets of peppers. Then I thought of of making pepper relish!
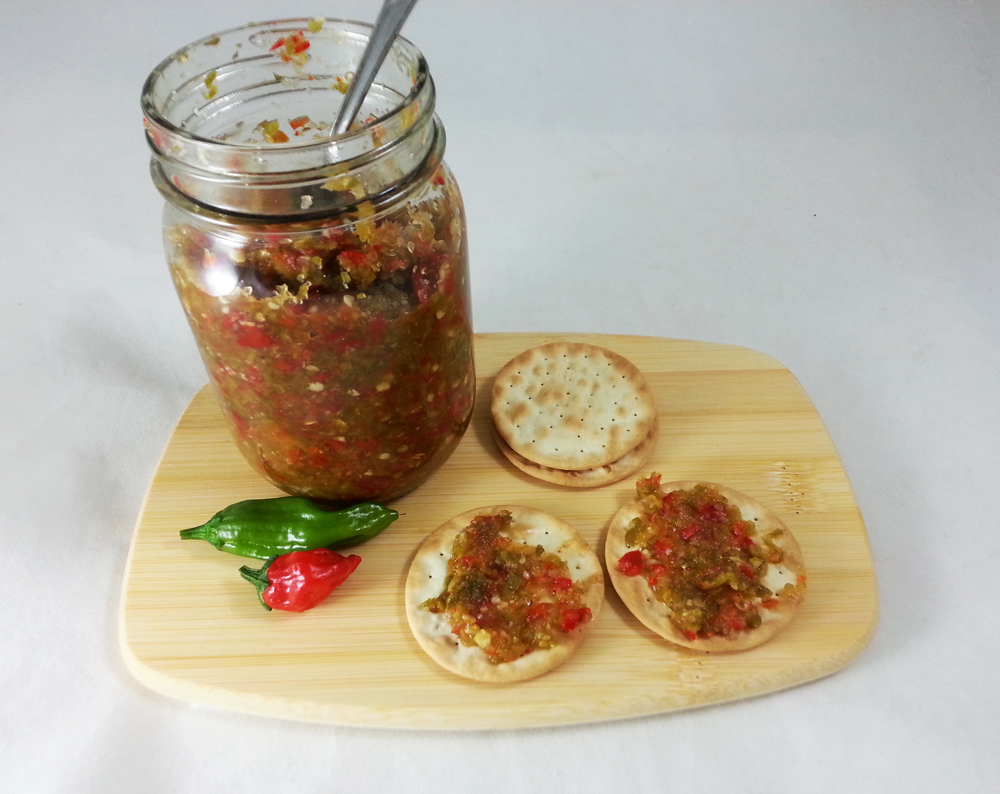
Using a simple but great Hot Pepper Relish Recipe from Serious Eats I was able to use up all the peppers. I made a few changes to the recipe using heirloom Jalapeno, Sapporo, Pepperoncini, Serrano, and Anaheim peppers and I didn’t have cider vinegar so I used white vinegar with a bit of fresh apple cider. The jars of relish were eaten so quickly, I already have requests to make more next season.
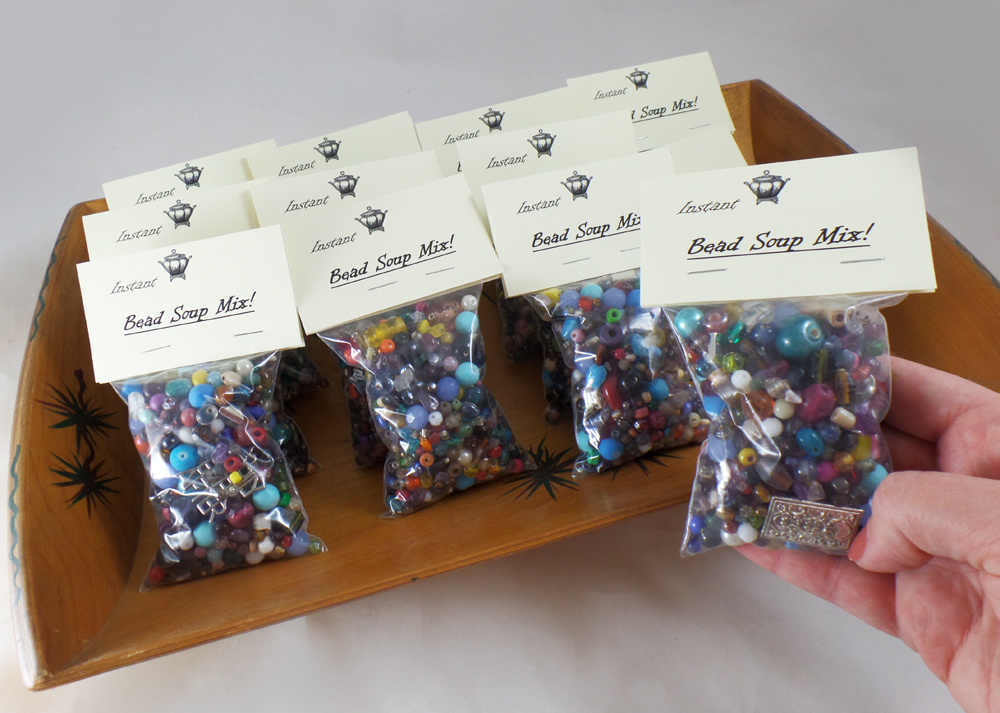
Another “harvest” I decided to share was making my own Bead Soup bags from all the extra beads I have in my beading supplies. Each bag I filled to the brim with a wonderful assortment of glass, metal, acrylic, stone, clay and wood beads to help start a day with creative goodness! These fun and creative mixes are great gifts to give and perfect for crafty nights.
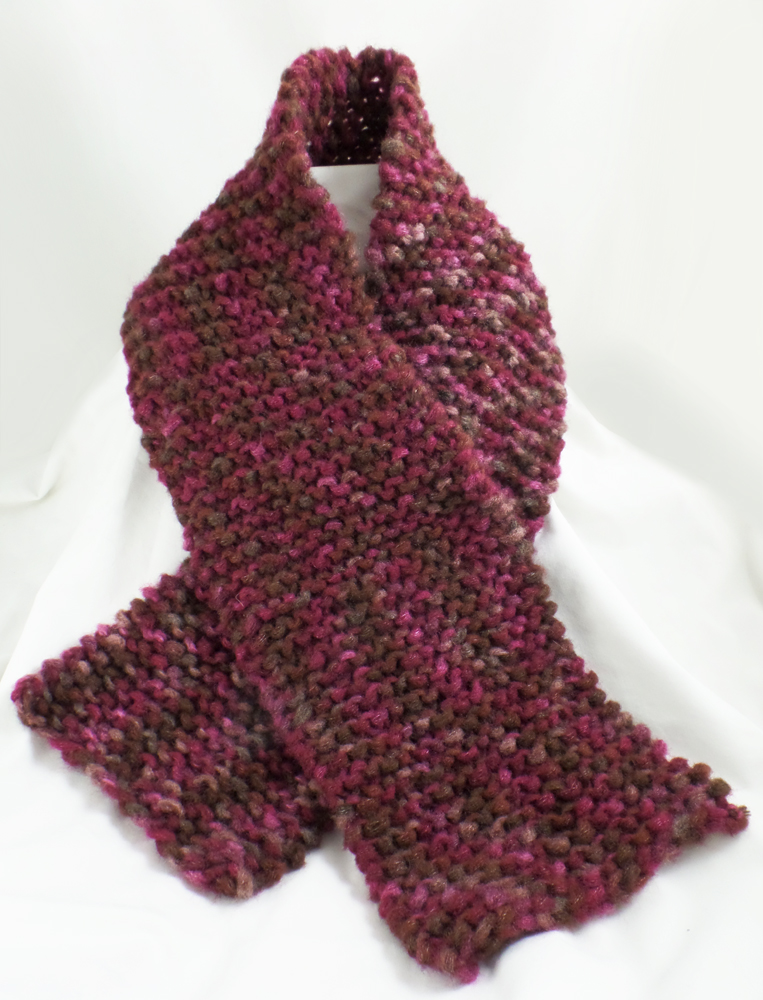
To relax at night I picked up knitting again this time trying out chunky weight yarn from the Bernat Viva line in Burgundy using Clover Bamboo knitting needles, size 15. With two skeins I was able to make my mother a wide scarf and a thin accent scarf for myself. They worked up so quickly I know I will have to make more projects with chunky yarn.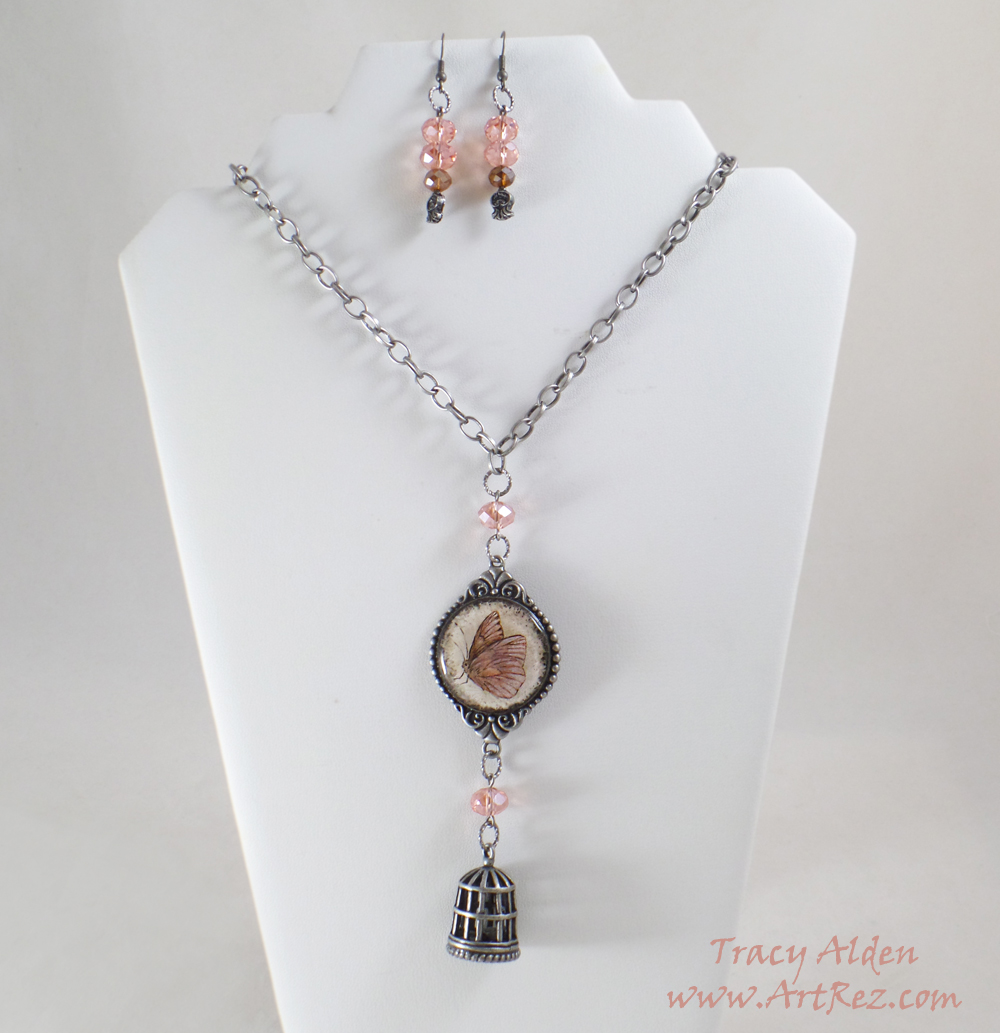
Speaking of crafting addictions, resin jewelry is still a ongoing addiction for me. I love using Amazing Clear Cast Resin for creating my one of kind molding pieces. Lately however I decided to hark to one of the traditional styles of resin jewelry of filling bezels and frames to encapsulate drawings, paper and stickers. My favorite piece out of my most recent crafting whirlwind is the one above using beads and jewelry findings from Fiona Accessories
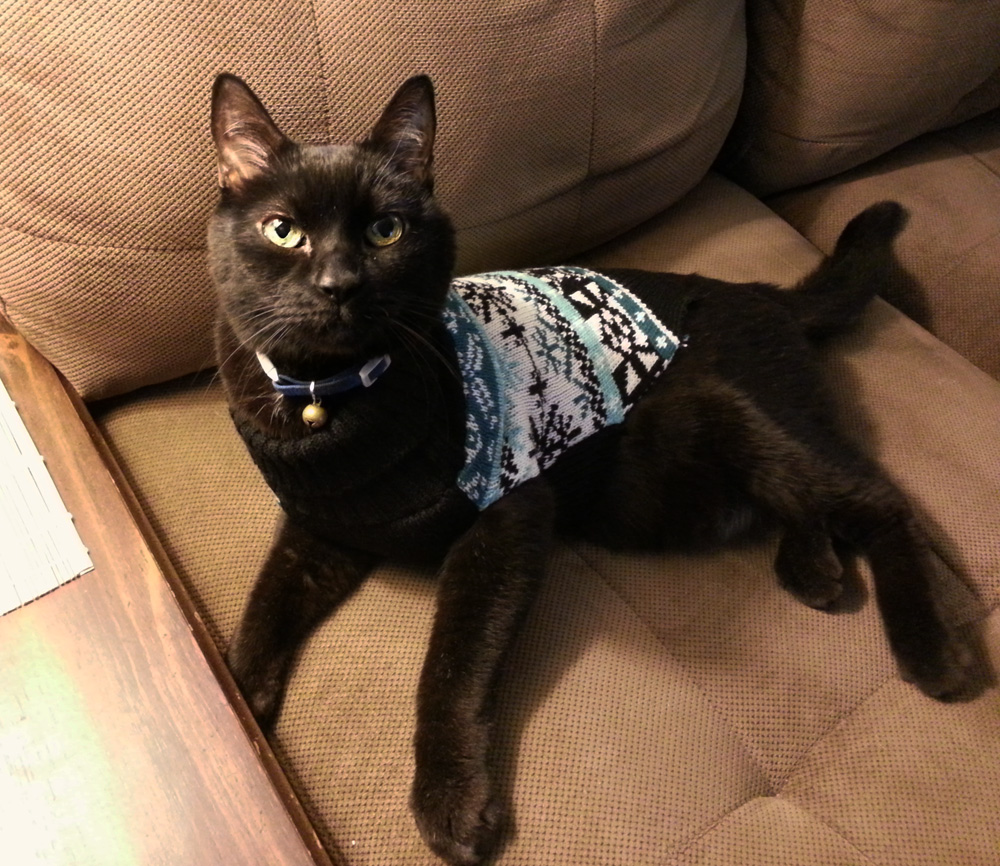
With the weather rapidly turning cold, I hope you stay warm and cozy as my dear 18 year old kitty Vladimir is with his new winter sweater!
Until Next Time, Safe Travels!
An Artistic Halloween Haunting Recap!
Welcome to my Artistic Halloween Haunting Recap! The month of October and all of the Halloween goodness flew by so fast, but I wanted to share some of my ghoulish crafting fun before Halloween is just a faint promise of next year.

Using some wonderful chains, crystals and beads from Fiona Accessories I created this jewelry assemble for my spellbinding costume of a Gothic witch. The sterling silver snake pendant was hand crafted in Nepal and really played well with the raven skull I had bought recently.
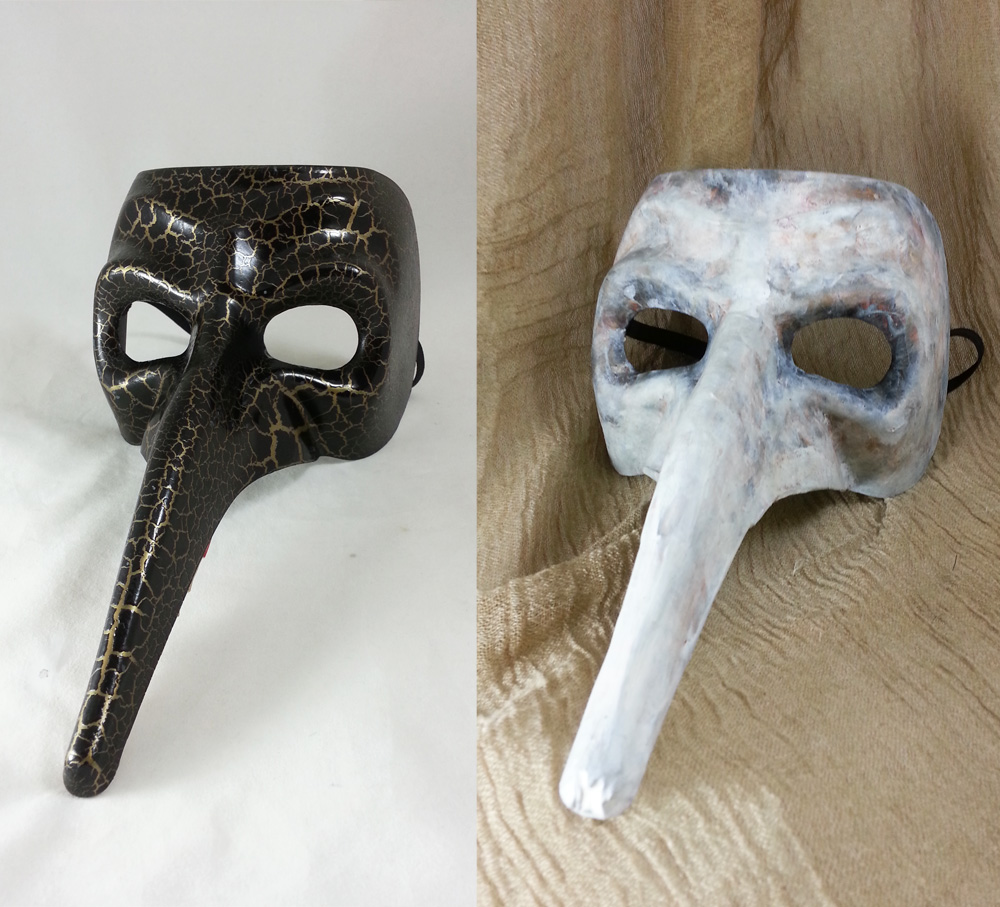
I transformed this plastic Italian Carnival mask into a Plague Doctor mask using paper mache, paint and Liquitex Matte Varnish. However I wasn’t finished there and created the rest of the look:
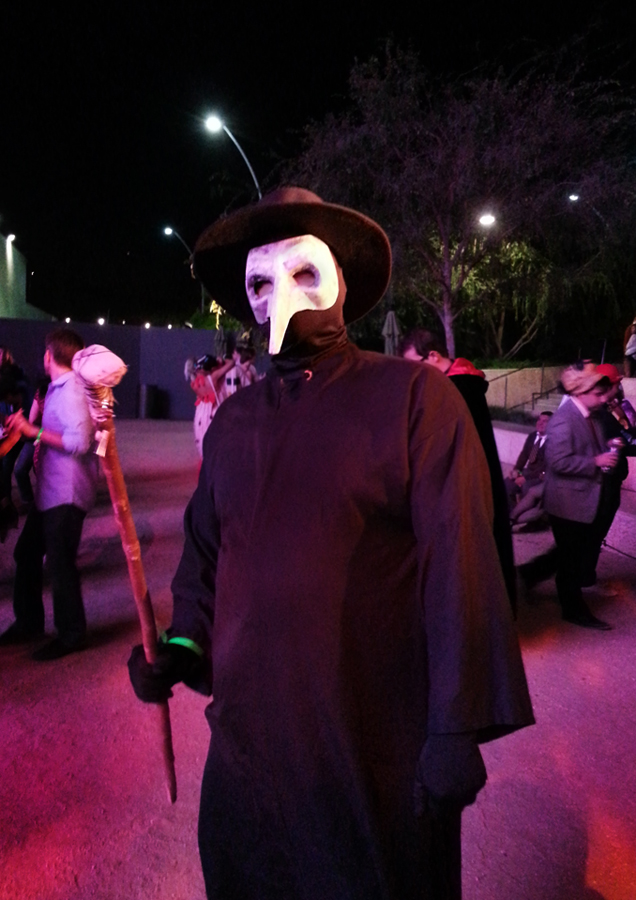
With the addition of a black heavy weight line robe, hood, gloves, hat and walking stick it made a perfectly frightening Plague Doctor costume for my husband.
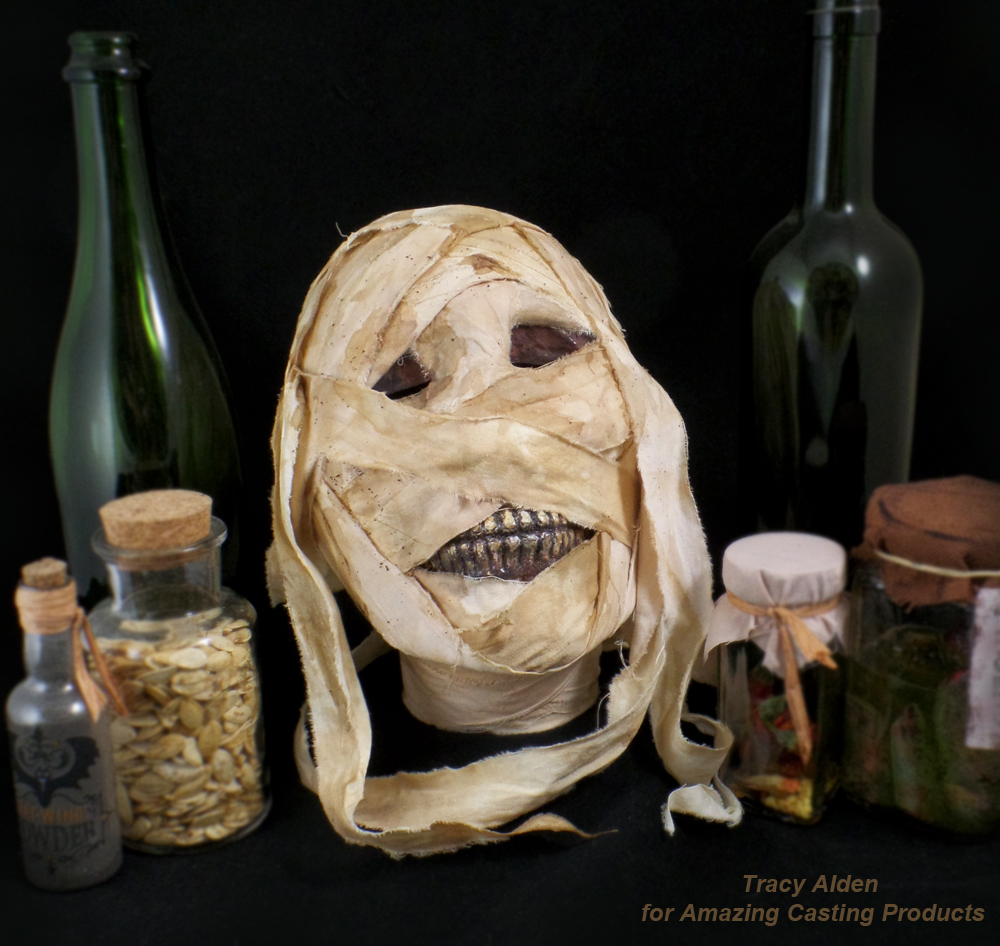
I created a replica mummy head using a plastic Halloween skull and the help of Amazing Casting Products. Clicj HERE for this Upcycled Mummy’s Curse!
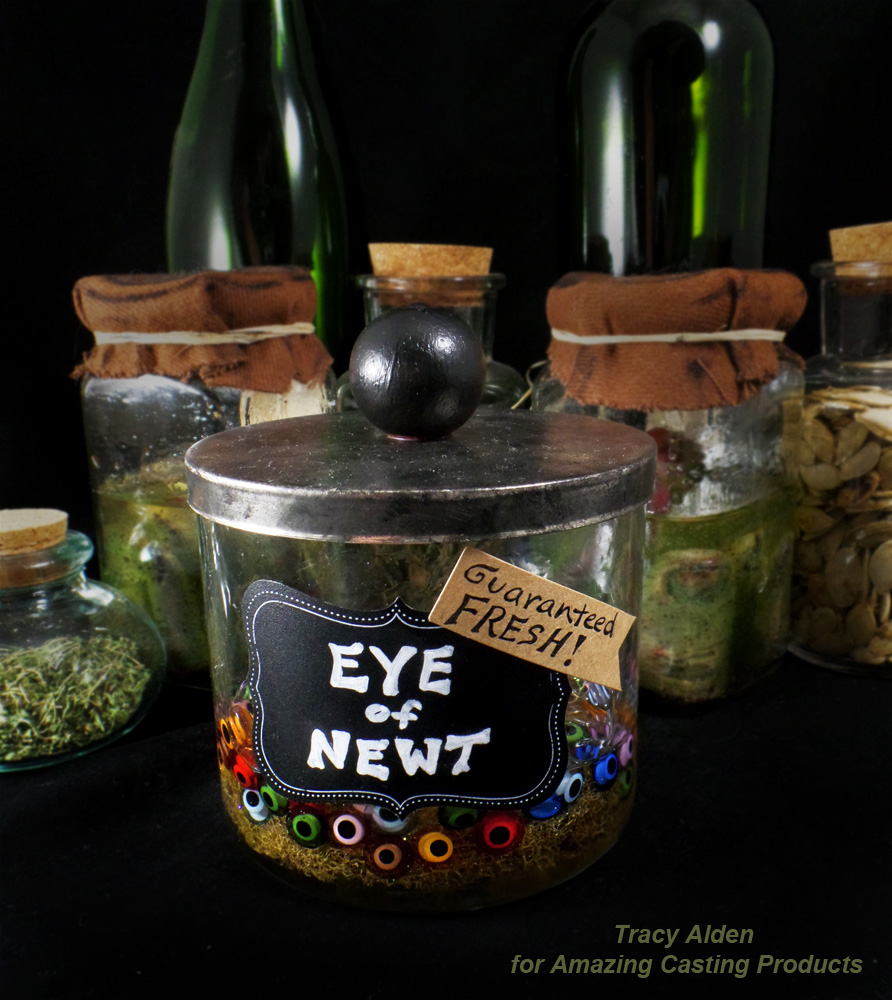
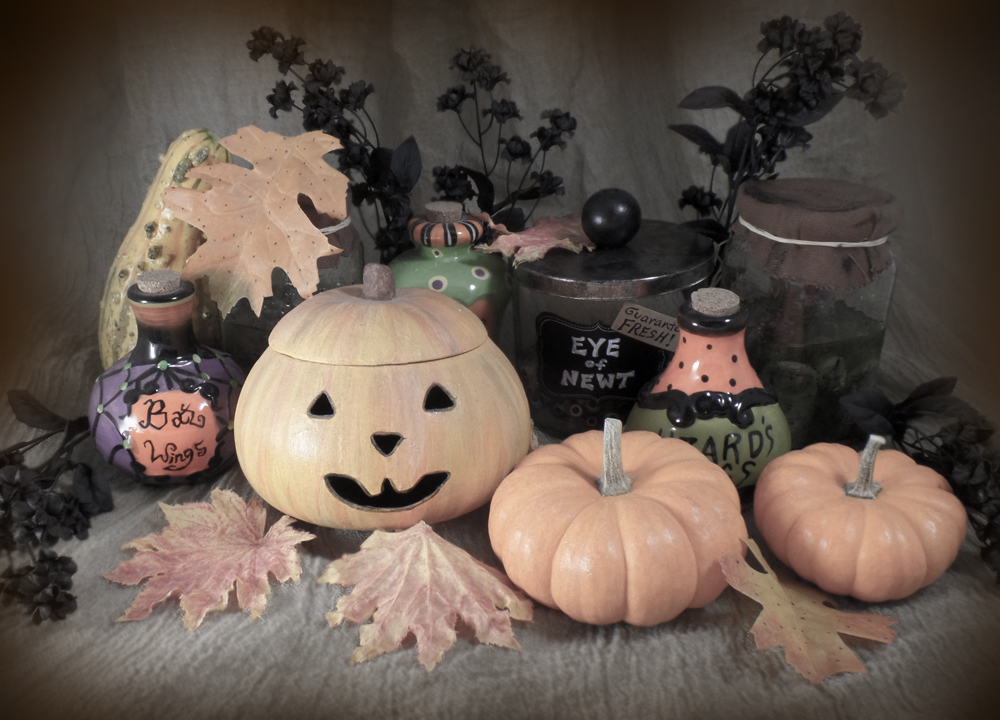
Taking inspiration from one of William Shakespeare’s most famous plays, Macbeth, I created a Eye of Newt Apothecary Jar, spooky enough to keep any monster happy!
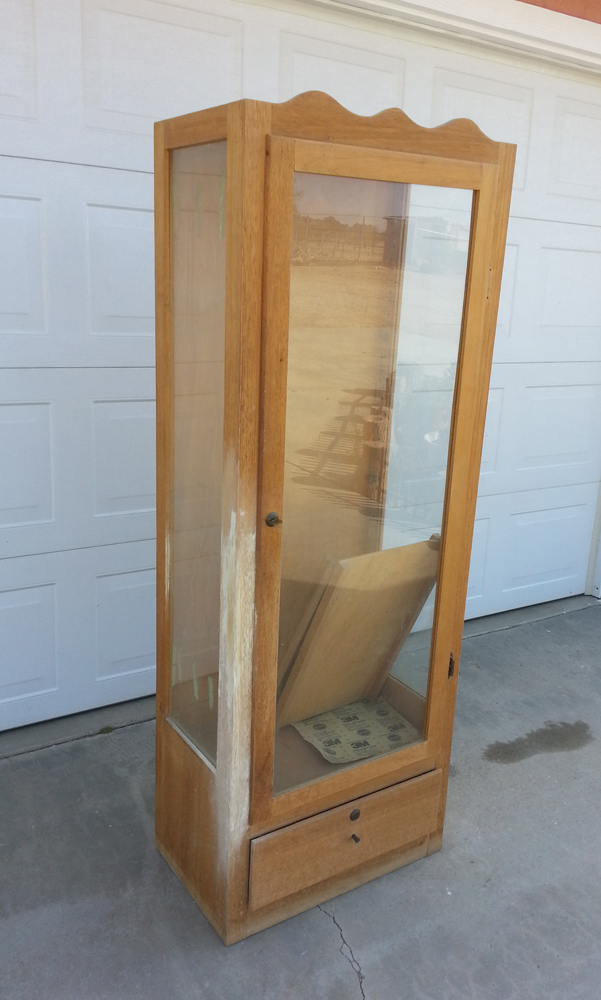
Last but not least my husband and I finally took the time to refinish a old cabinet that had been in the family longer than me. After patching, sanding, staining and varnish it was ready to become a Halloween curio cabinet!
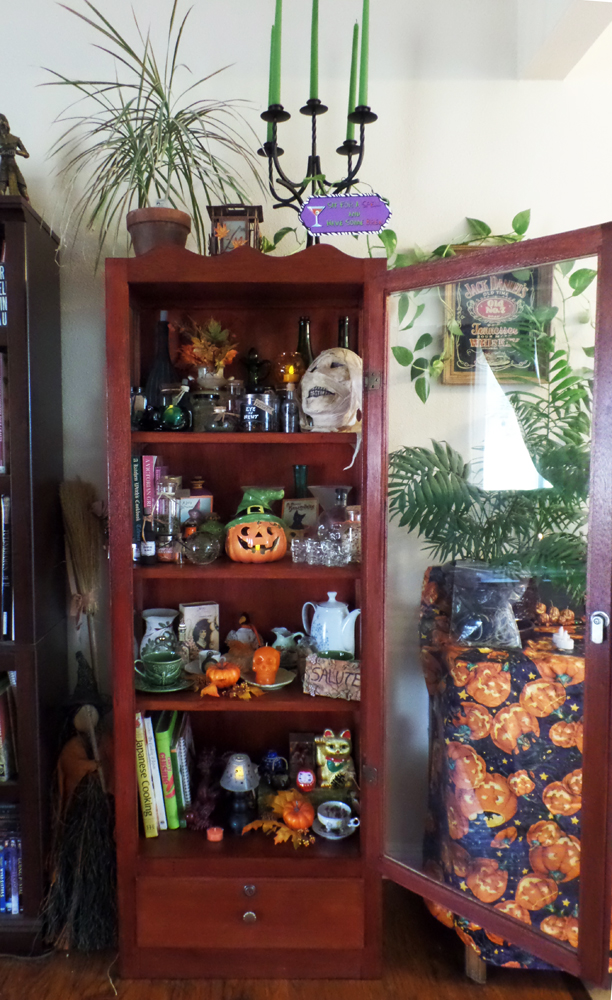
Not bad for our first attempt at giving new life to an old piece. Once filled with fun holiday decor it made a perfectly frightening Halloween decoration. With Halloween gone and past now I can fill it with with antiques and little curios befitting of Fall.Now to start on art projects for Fall and the coming Winter!
Until Next Time, Safe Travels!
A Crafty Halloween Throwback Thursday
Welcome to my Halloween Throwback Thursday! Halloween as I have often noted is one of my favorite holidays, I just love making all kinds of spooky and fun art. This week I was able to start unpacking all of my plastic tote bins filled to brim with ghoulish decor. I was reminded of my Halloween projects I have created for Amazing Casting Products and I wanted to share a few of my favorites!
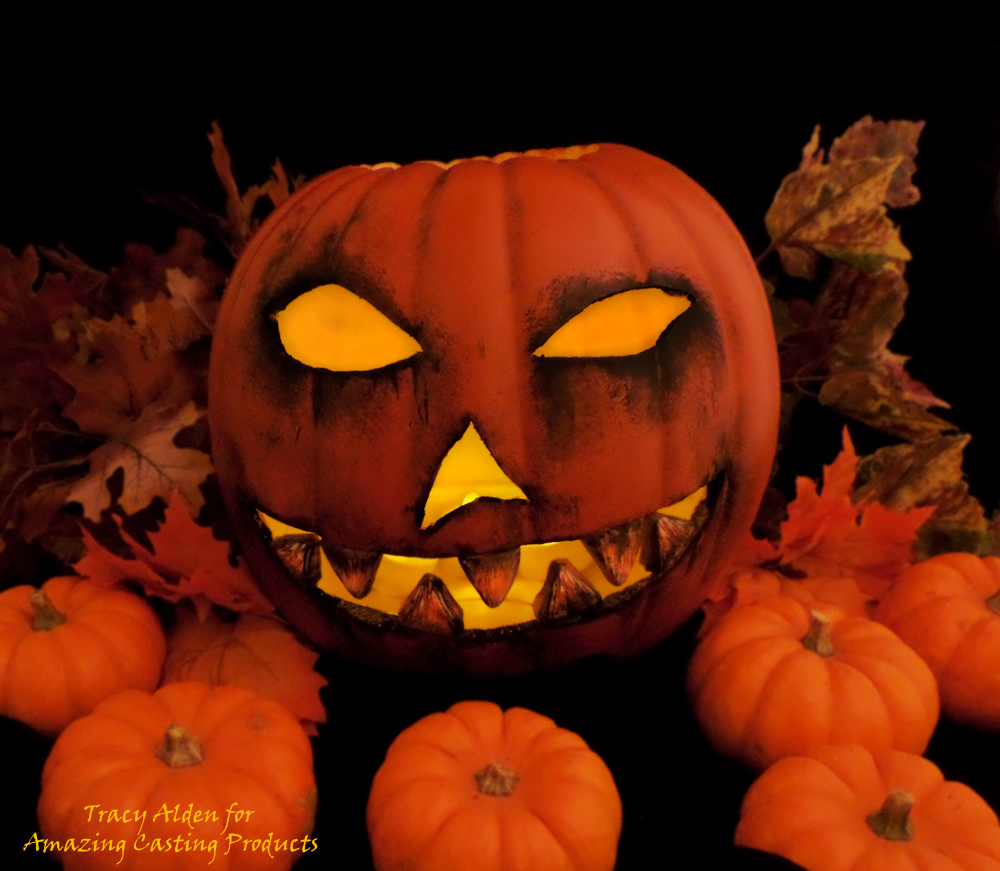
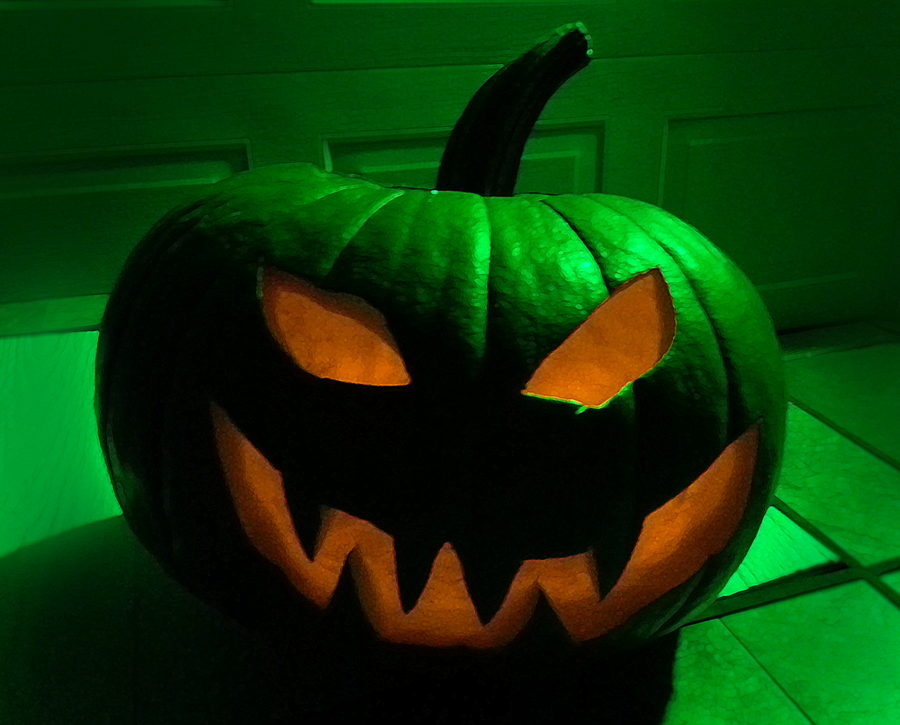
How to enhance a Pumpkin’s Smile with resin teeth using Amazing Casting Resin and Mold Putty.
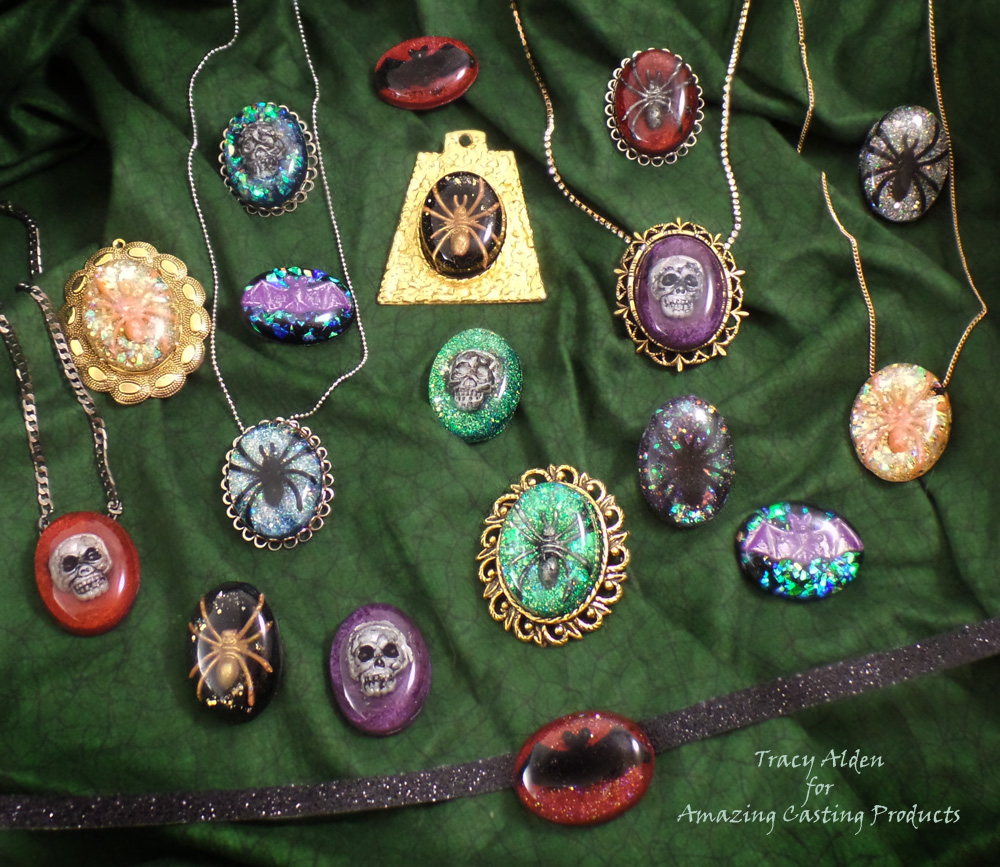
How to make Halloween party favors go from groan to glam with Resin Cabochons made with Amazing Clear Cast.
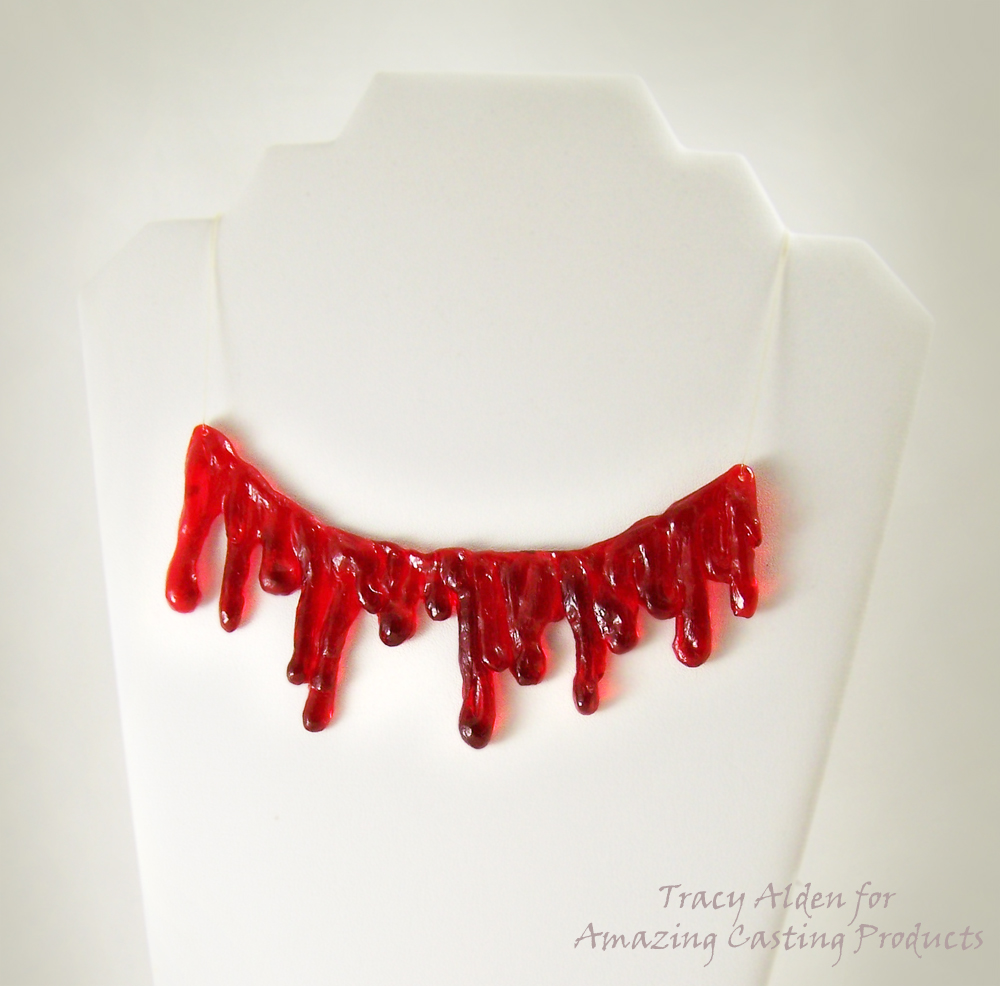
Running out of time on what Halloween costume to wear…. take a look at a Resin Blood Drip Necklace using Amazing Mold Rubber.
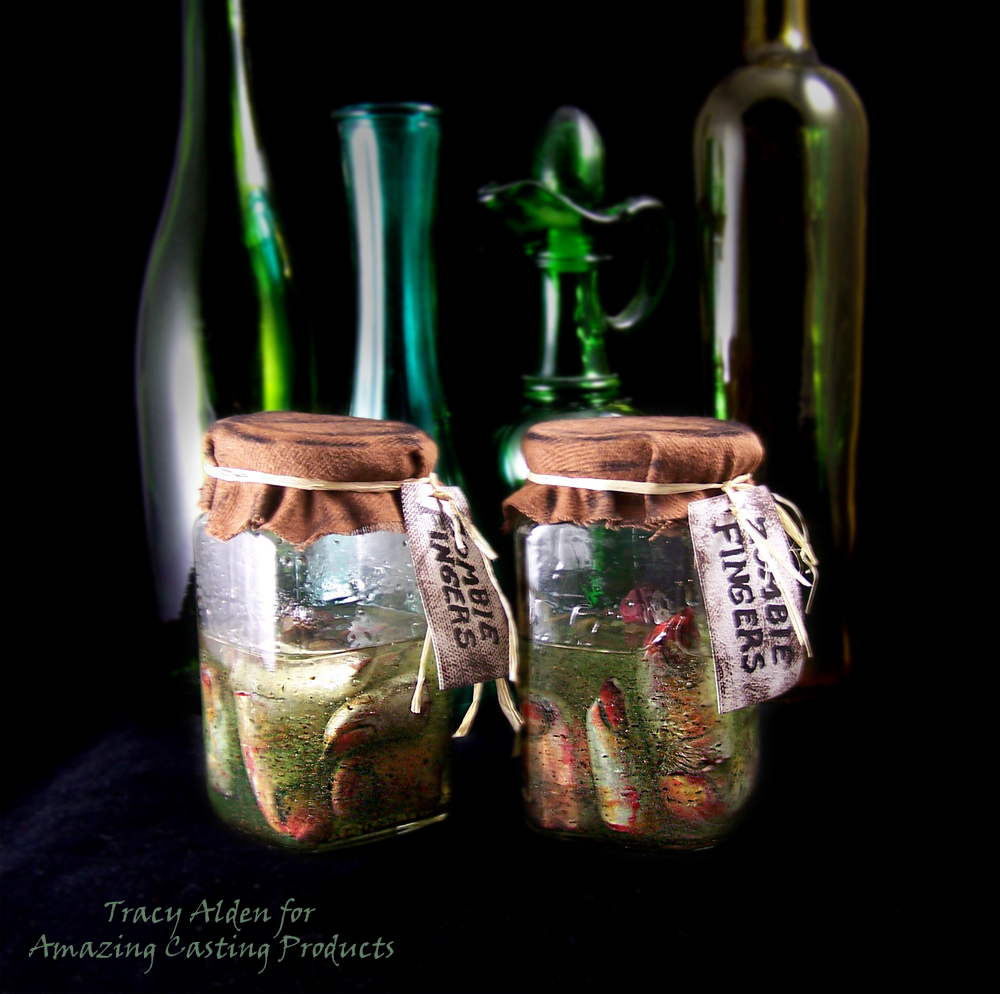
Need that perfect addition to a spooky apothecary? Try you hand at a upcycled Zombie Finger Apothecary Jar using Amazing Casting Products.
I hope sharing some of these projects has you mind a whirl with some Halloween craft project inspiration!
Until Next Time, Safe Travels!
Upcycle Plastic Skulls into Ghoulish Glam Decor
The first day of October: the leaves are starting to fall and the temperatures are slowly starting to drop at night! With only a month left to get all of my Halloween projects, I have been traveling to all sorts of places for interesting supplies. One of my favorites is the many local Thrift Stores in our area that support local charities. At this time of year many will get in all kinds of Halloween items and one store had a lot of plastic skulls. I noticed that while the paint job on the skulls wasn’t particularly grand the sculpting of the skulls was nice. It got me thinking how they would look if I changed the paint and finish, replicating the look of ceramic!
Supplies:
Plastic Skulls and Metal Candle Stands
Liquitex Gloss and Matte Varnish
Black Chalk Board Paint
iZink Pigment Ink bottle – Gold
Fiona Accessories Red Crystal Drop Beads, Black and Red Crystal Rondelle beads
Beadsmith 1 Step Looper Tool
Black enameled chain, jump rings and headpins
Paint Brushes
Cosmetic Sponges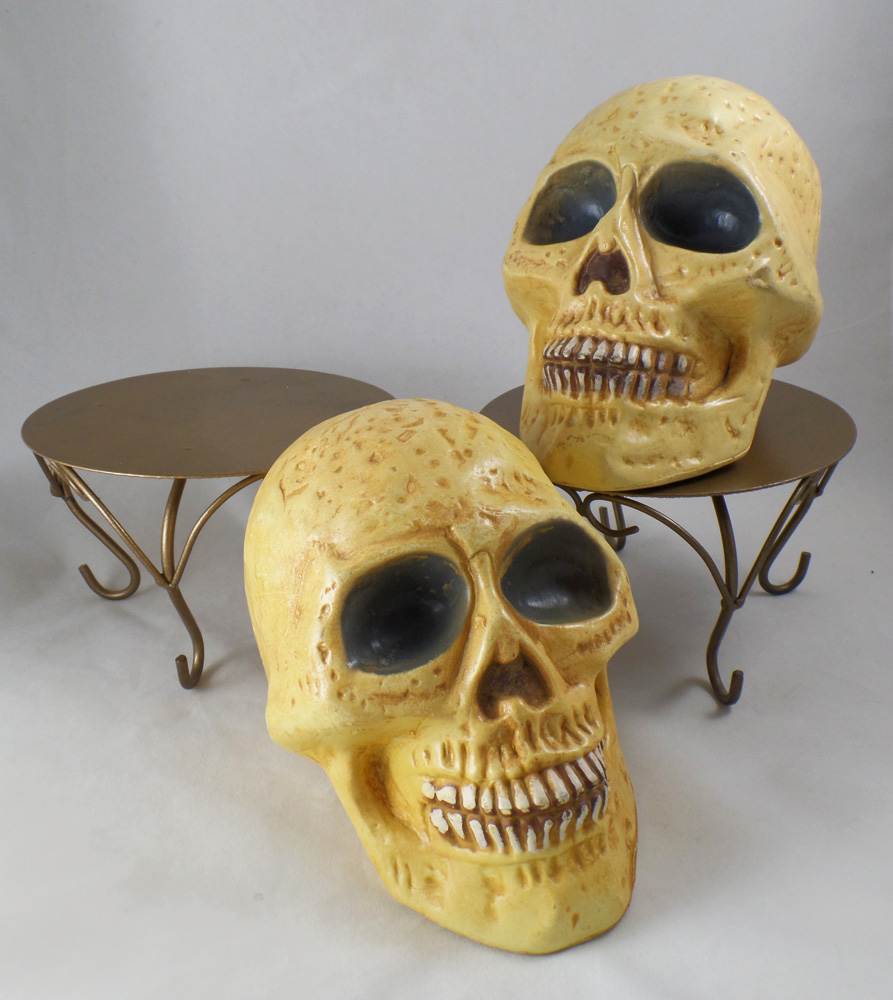
Along with the skulls I found some old candle stands with a old bronze finish. I noticed the skull fit perfectly on them so I bought them along with the skulls. I scrubbed the plastic skulls and candle stands, removing any dust, stickers and uneven edges.
While I could have easily spray painted the pieces, I wanted to go with a nontoxic and child friendly direction by using chalk paint. I painted the skulls and candle stands with 3 layers of black chalk paint. Most chalk paints require a 1-2 hour dry time between coats of paint for best coverage and adhesion of the paint.
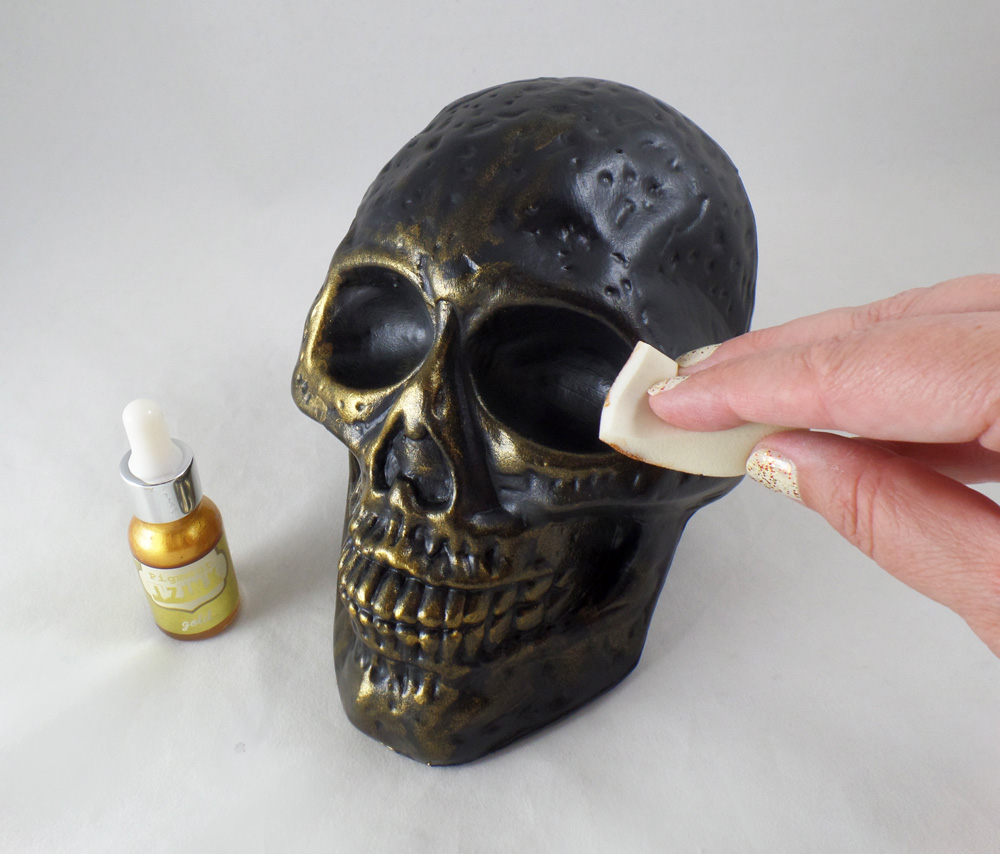
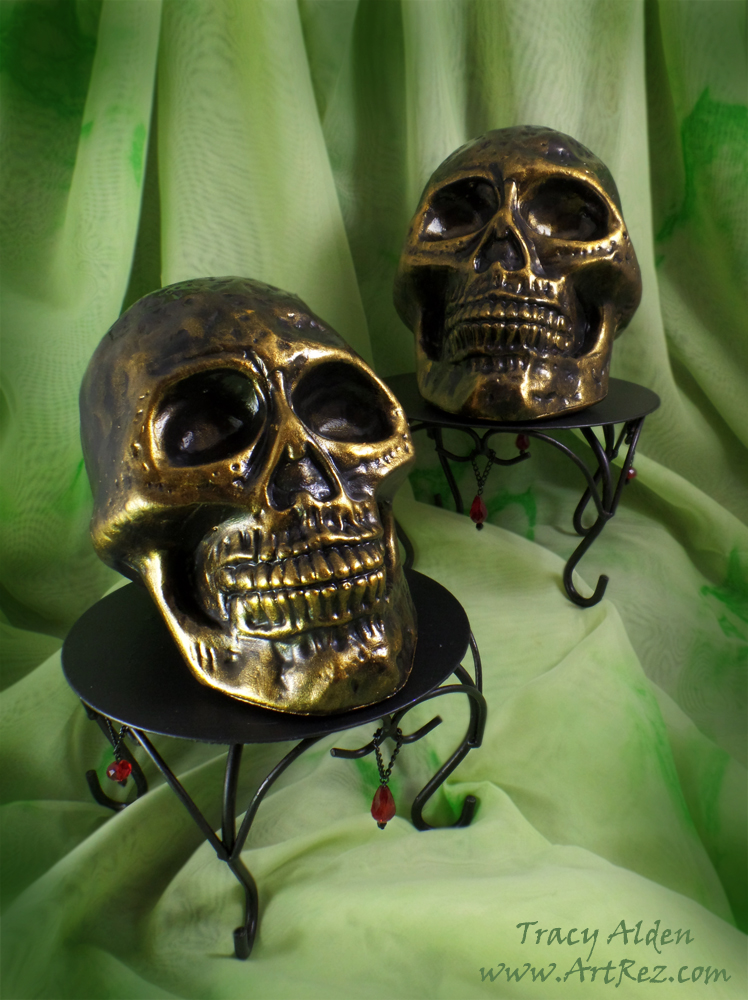
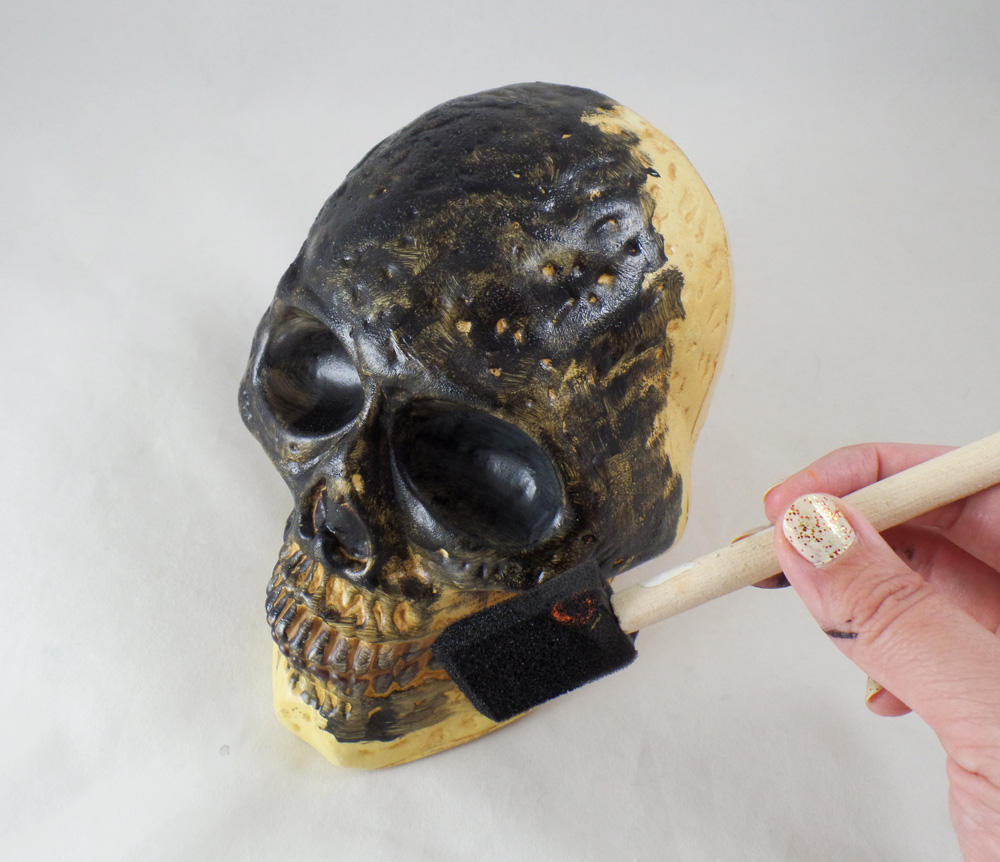
The skulls already looked better than they used to but I wanted them to look more like ceramic. Using a cosmetic sponge I applied Gold iZink Pigment Ink to the raised portions and detailed parts of the painted skulls. The ink dries rather quickly allowing me to add several layers on sections for a dramatic effect.
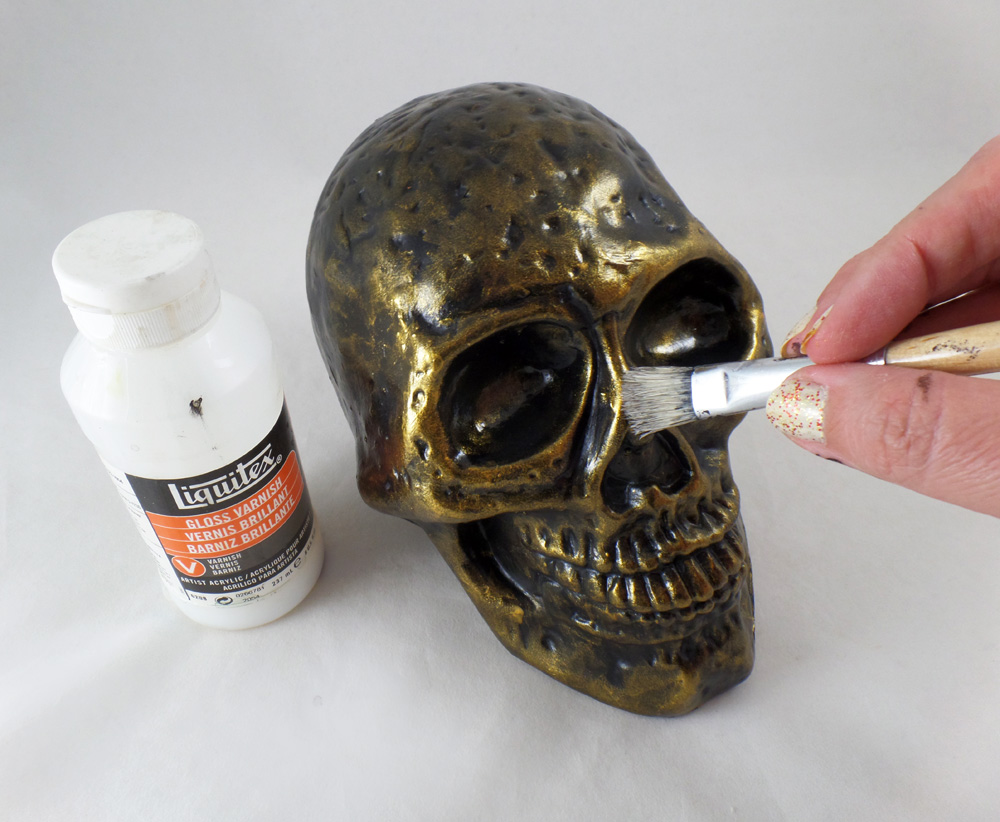
I applied Liquitex Gloss Varnish to the sections on the skulls with gold ink to make the gold tone visually stand out more and give the illusion of ceramic.
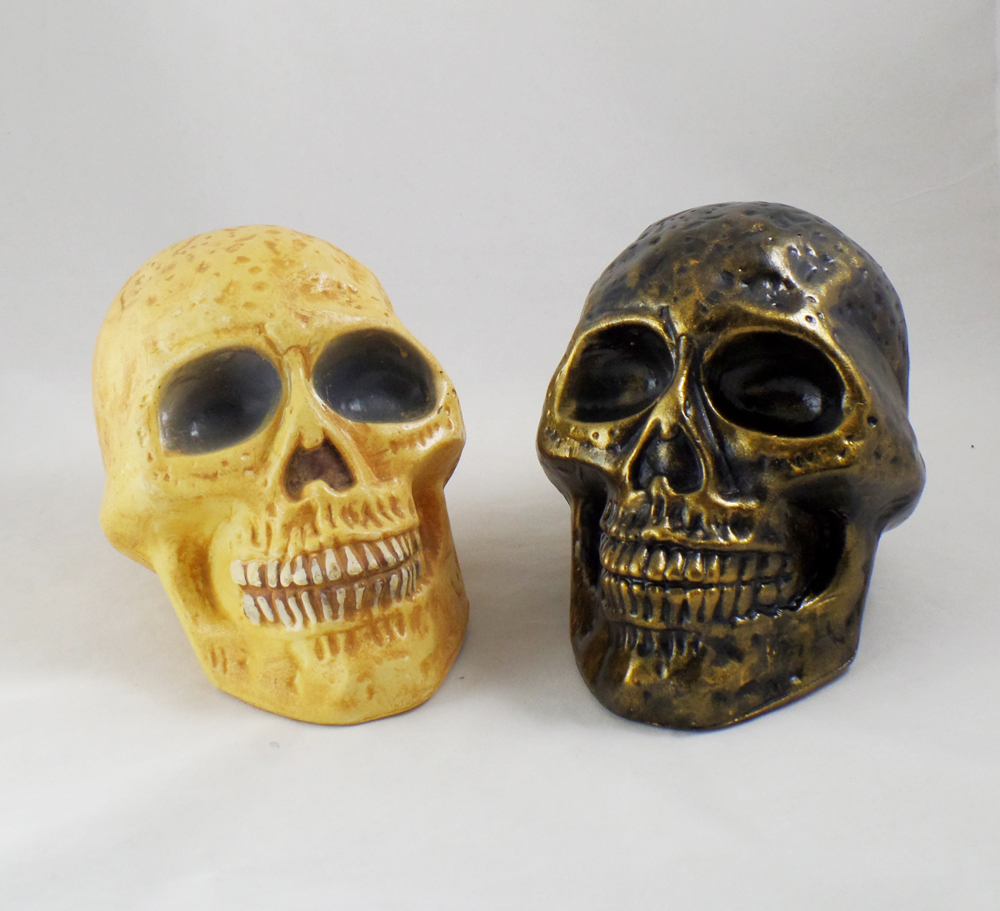
Compared to the original factory paint I was pretty happy with the new version, replicating the look for ceramic. However I felt the skulls needed something more.
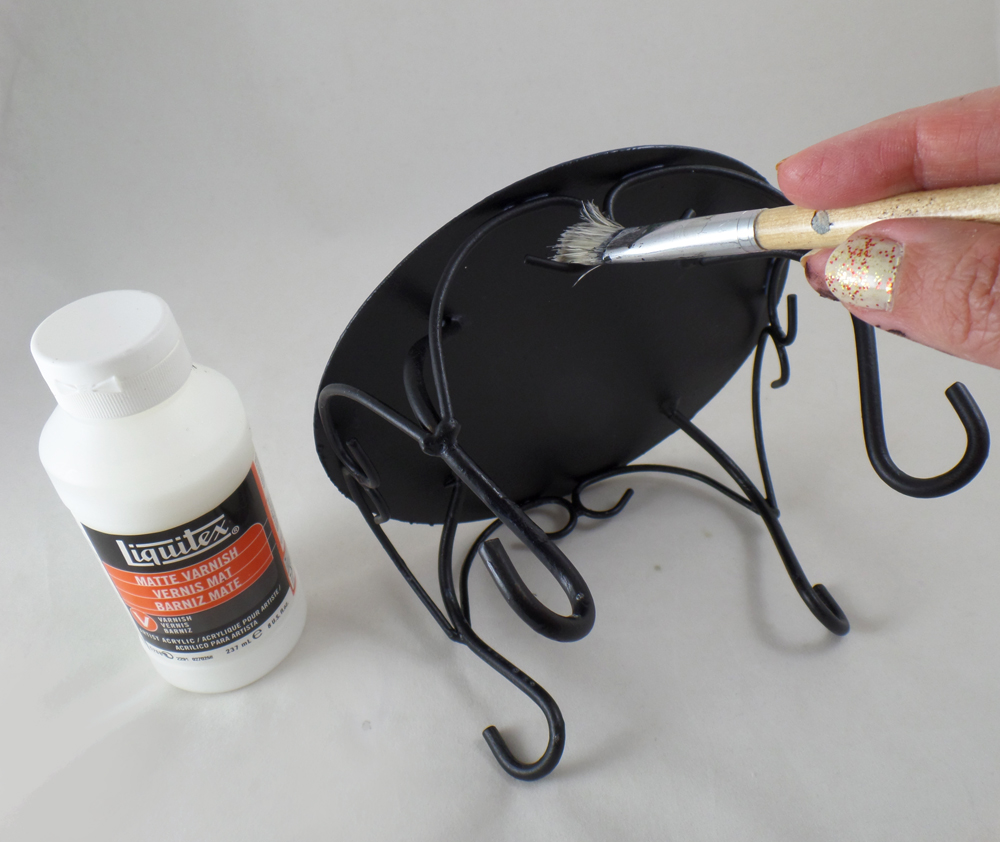
With the candle stands already painted with black chalk paint all I needed to do was paint them with Liquitex Matte Varnish to seal and protect the stands.
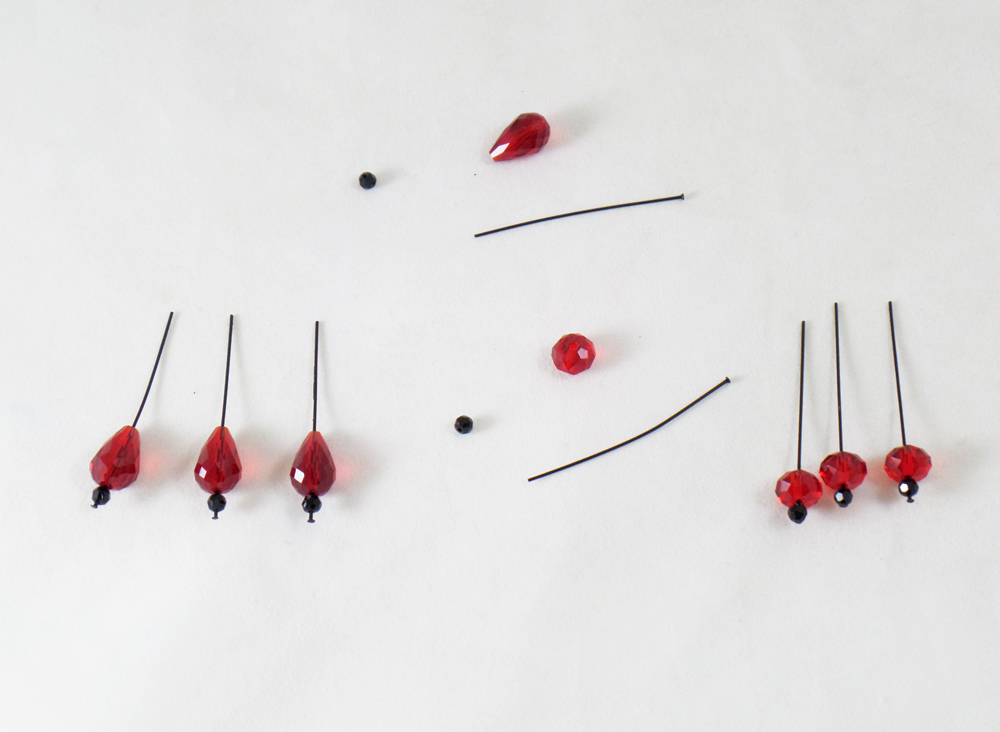
On four black enameled headpins I threaded on one black crystal rondelle and one red drop. On four more black enameled headpins I put one black crystal rondelle and one red rondelle. These will become embellishments for the candle turned skull stands.
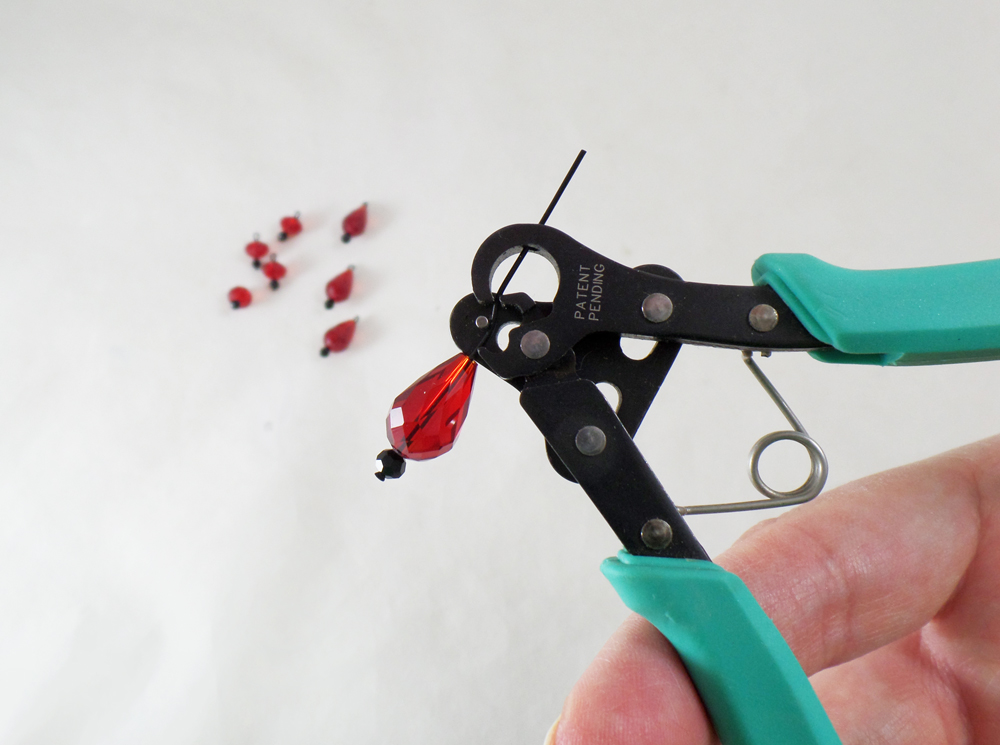
Starting with two beads threaded on a headpin I threaded the wire through the Beadsmith 1 Step Looper Tool, cutting and creating the loop I needed for the start of the beaded dangles. I repeated this the rest of crystal drops and rondelle beads on the headpins.
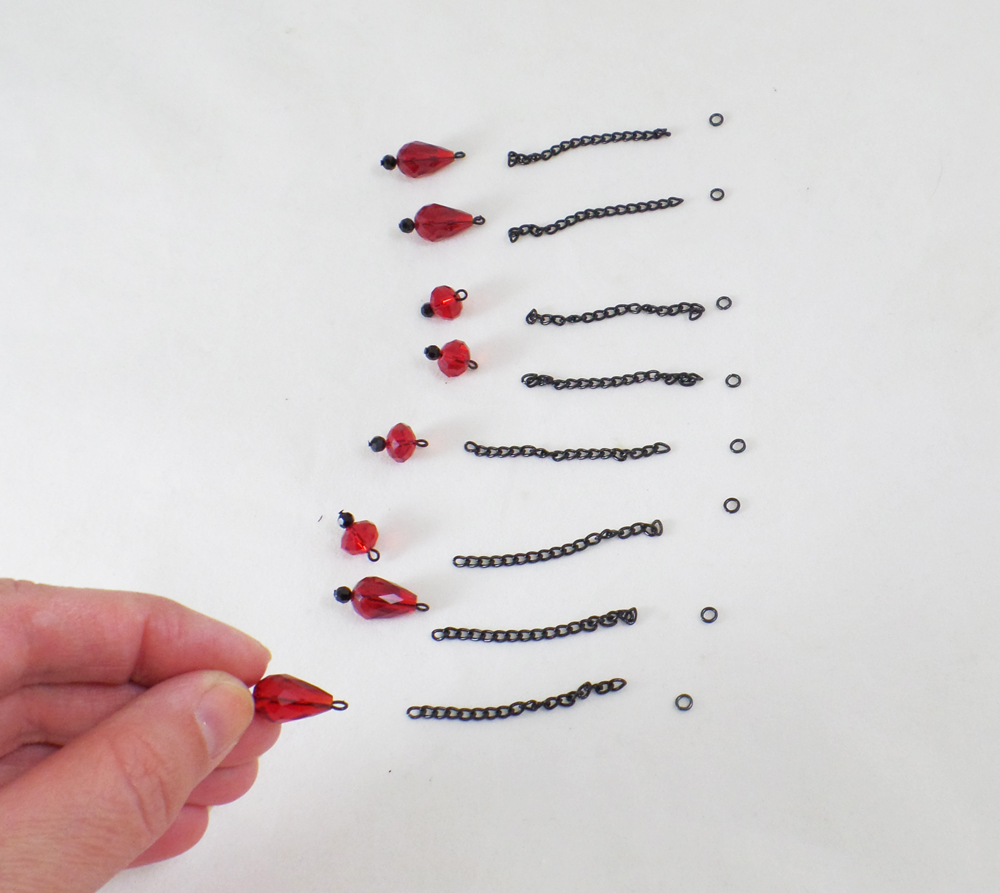
I cut black enamled chain into 2 inch lengths and placed eight black enamel jump rings with each chain and crystal bead drop.
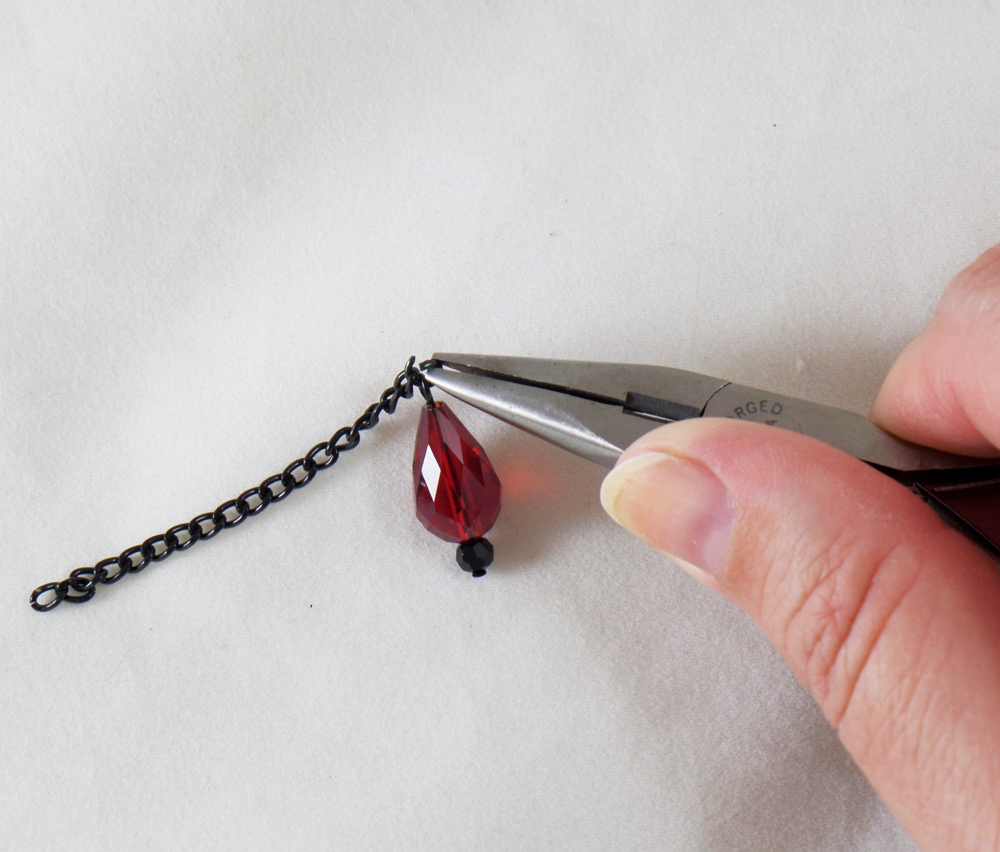
I opened up a jumpring with flat nose pliers and put the jumpring through one of the crystal bead headpins, and one of the cut lengths of chain.
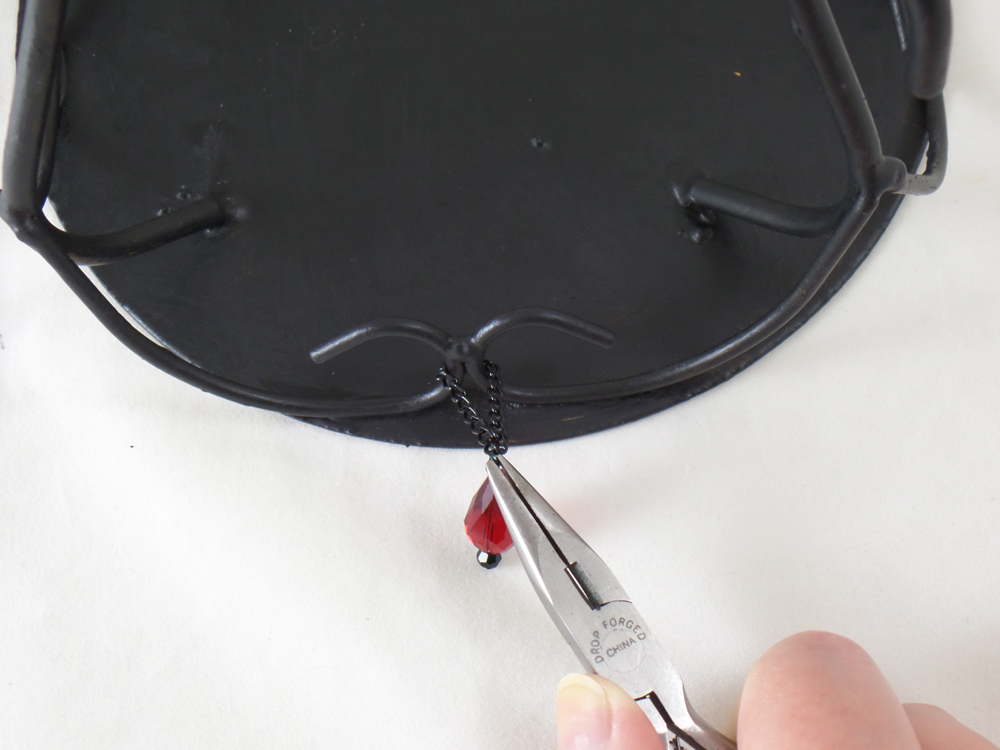
Flipping over a candle/skull stand I lopped the chain around one of the metal curls. I picked up the end of the chain not looped on the jump ring and carefully hooked the still open jump ring on it. I closed the jump ring with the pliers, making sure both ends of the chain and beaded headpin were threaded on the ring. Chain and beaded headpins were added to all four sides of the stand, then the stands were flipped over allowing the chain and beads to become a decorative element.
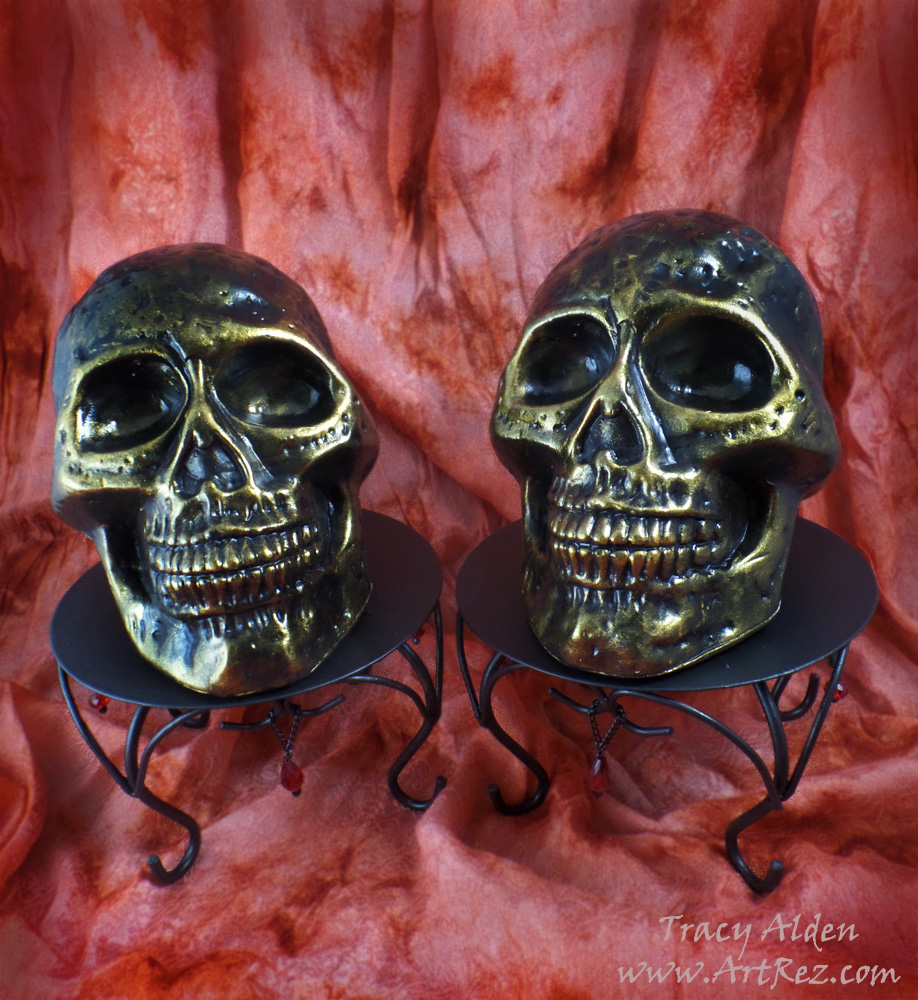
I placed the plastic skulls on their stands and placed them along with my ever growing collection of Halloween decor!
What old decorations might you find in your travels that you can upcycle?
Until Next Time, Safe Travels!

Ancient and Contemporary Inspired Artistry