Polymer Clay Snowflakes Ornaments
With the weather changing and the nights getting pretty cold in our area I have been finding myself wanting to put out Winter decos in the house early. One of my favorite styles of Winter decorations is ornaments, but they don’t need a tree in our house! I hang them on garlands, from curtains and fireplace mantels. A fun and simple project I love to make with children in our family is polymer clay snowflakes! It just require a few basic polymer clay crafting tools and some imagination.
Supplies:
Premo! Sculpey Clay
Pluffy Clay
Pasta Machine/Clay Conditioning Machine
Snowflake Cookie Cutter *Once used with polymer clay do not use for food, just use it for crafts
Stylus
Rhinestones, beads or mini mirrors
Clear Plastic Wrap
Glitter
Jewelry Wire
Round needle nose pliers
Ceramic tile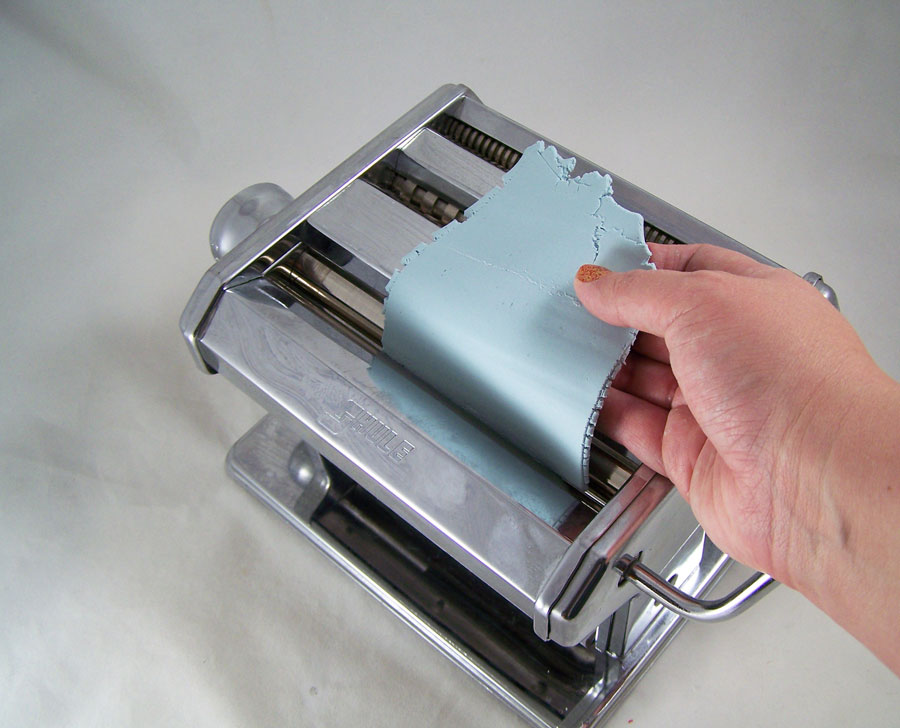 I mixed the Premo! and Pluffy clay together, a one to one ratio. Now you might be wondering why I using that mix of clay. Since we are making ornaments I wanted the pieces to be as light as possible, this is why I am using the Pluffy. I did a review of Polyform’s Pluffy a while back.
I conditioned and mixed the clays by running them through a pasta machine until they were thoroughly mixed on the the highest setting.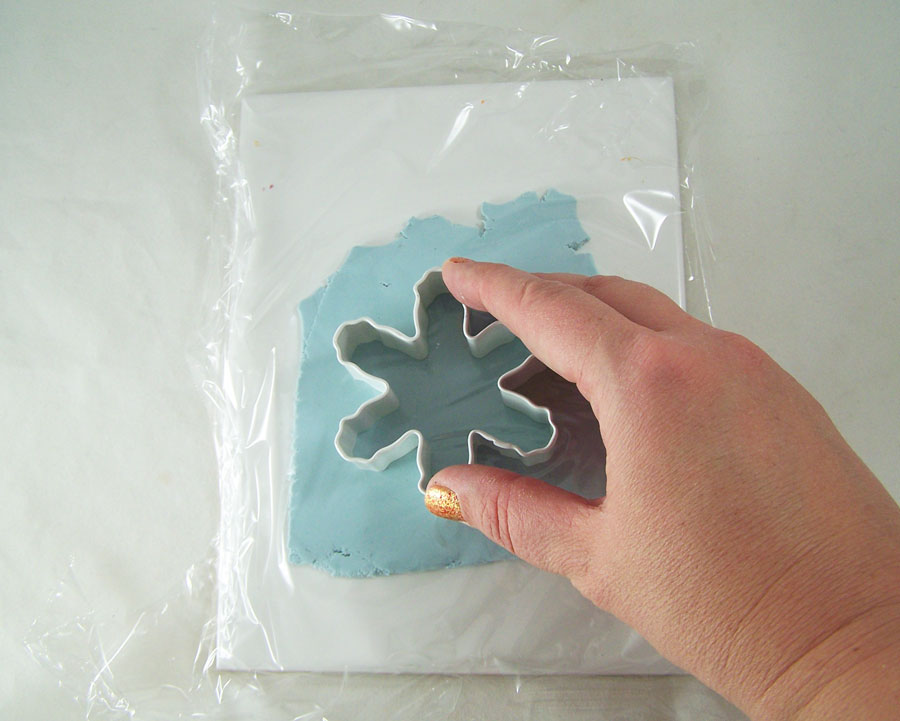 I then placed the clay on a ceramic tile and with a piece of plastic wrap on top of the clay. Carefully I placed the snowflake shaped cookie cutter ontop of the clay covered in plastic wrap and firmly pressed down through the clay until it was cut. The plastic wrap creates a nice beveled edge that you would not get if you just pressed the cookie cutter through the clay.
 Carefully I removed the excess clay, leaving the snowflake cut out in place. Saving excess clay for another snowflake or project.
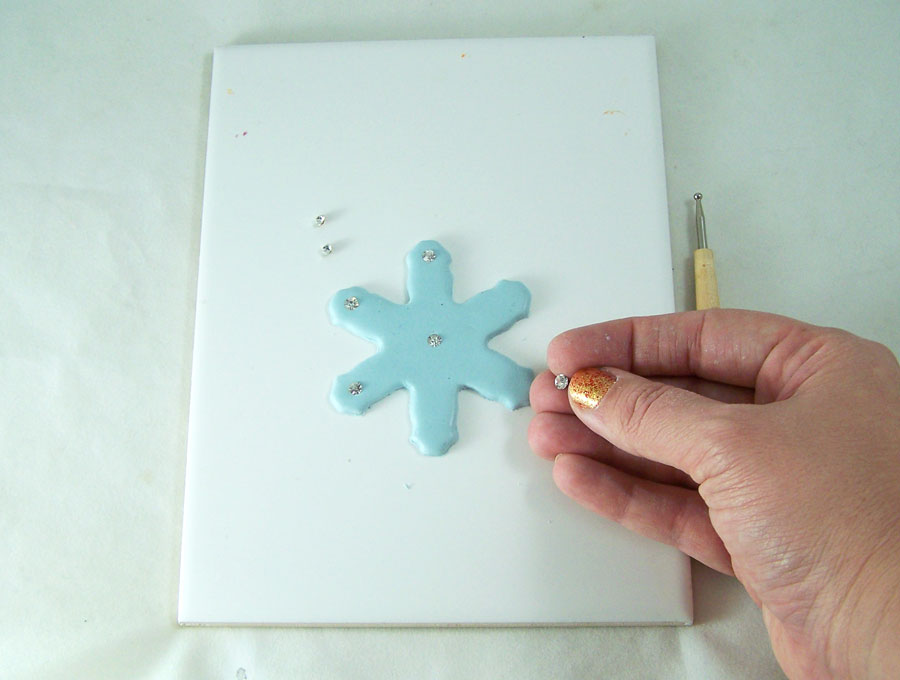 In this photo I put rhinestones in a pattern on the clay and press firmly into the clay but you can use any combination of rhinestones, beads or mirror pieces. There is no right or wrong way! 🙂
 Using several stylus I indented little dot patterns into the clay. Any texture stamps or indentations will work, have fun and come up with all kinds of patterns!
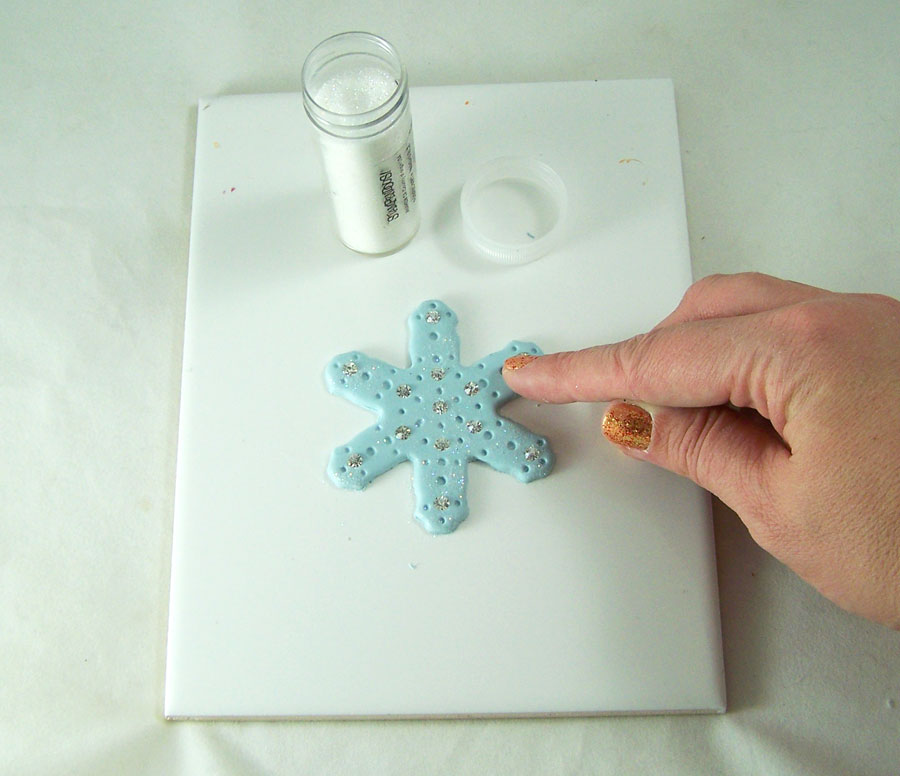 I added some glitter to the clay by lighting sprinkling small pinches of glitter onto the clay and rubbing the glitter into the clay lightly.
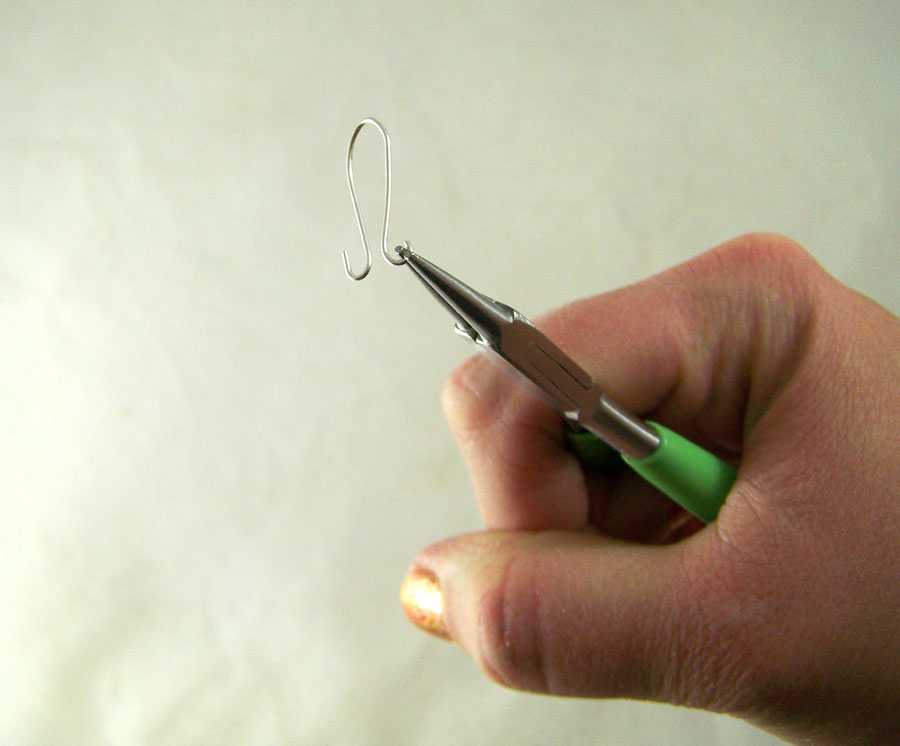 Using the round nose pliers I curled the edges of the jewelry wire; the curled edges will add an extra grip when pushed into the polymer clay.
 Carefully I pushed the wire loop into the stop of the polymer clay snowflake and smoothed the clay around it.
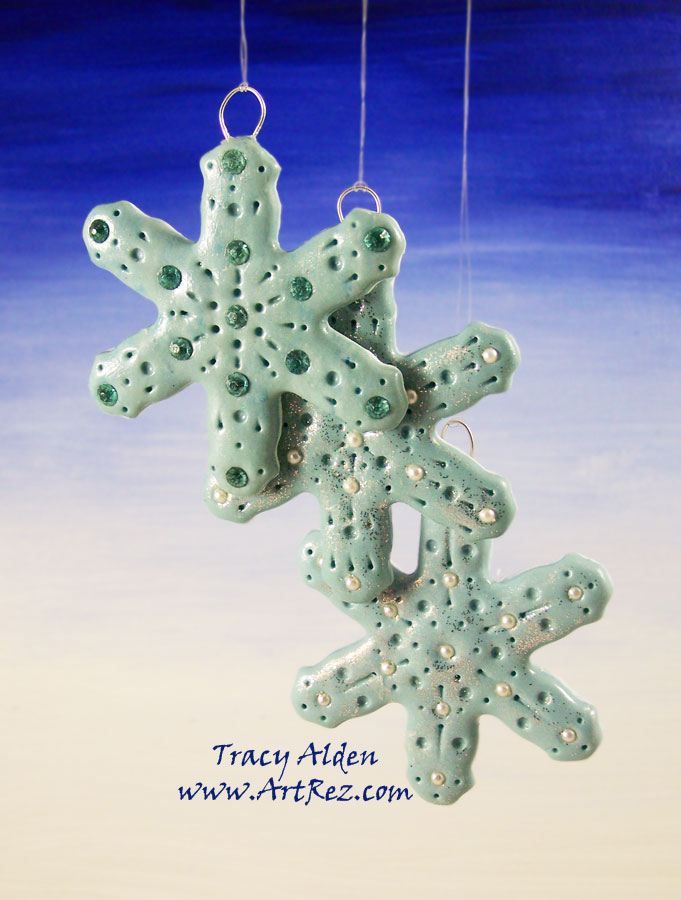
I then placed the tile on a polyclay designated cookie pan and bake according to manufacture instructions. Once cool I degreased the snowflake with dish soap and water. I sealed the piece with a sealer and it now it is ready to hang up!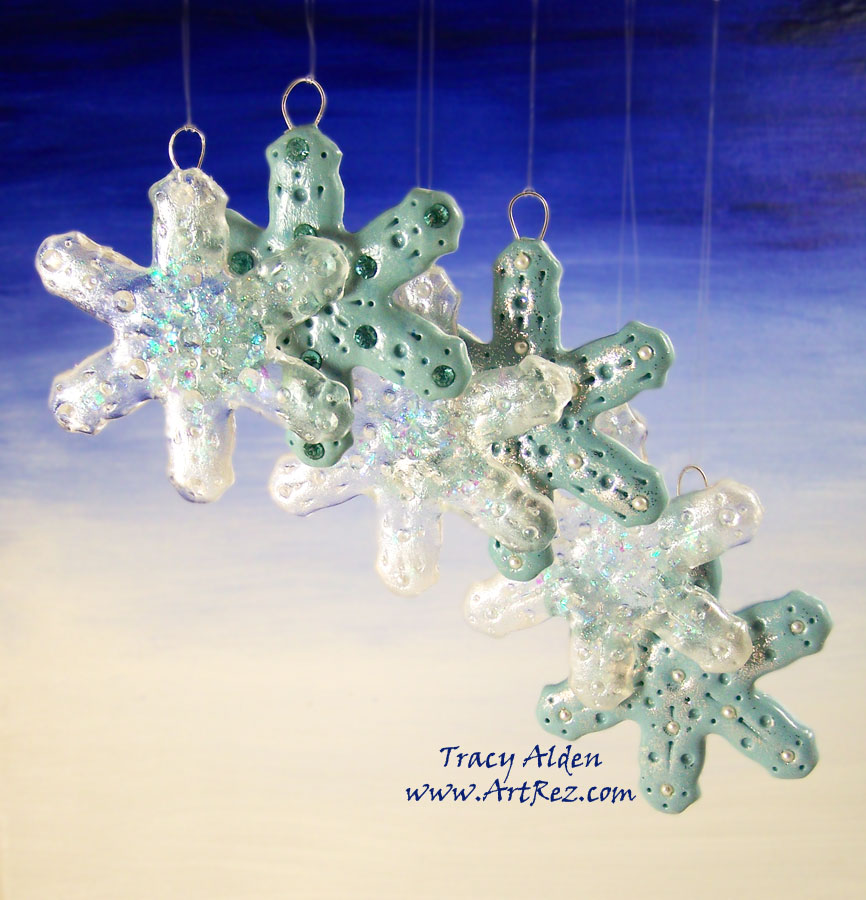 Notice the ice clear snowflakes next to the polymer clay snowflakes? Well taking this project a step further you can make resin copies of the polymer clay snowflakes, mimicking the look of frozen ice!
Hop on over to the Amazing Crafting Products Blog for my clear resin snowflake tutorial! Until next time, safe travels!

Ancient and Contemporary Inspired Artistry
