
Vintage Copper Tag
Recently I have been noticing the paper crafting boards I follow on Pinterest are pinning new types of tag art. From fun and funky to just beautiful, I am loving the variety of art being shown on these little “mini” canvases. I felt inspired to start working on more tags to build up a collection for gifts, paper embellishments and jewelry.
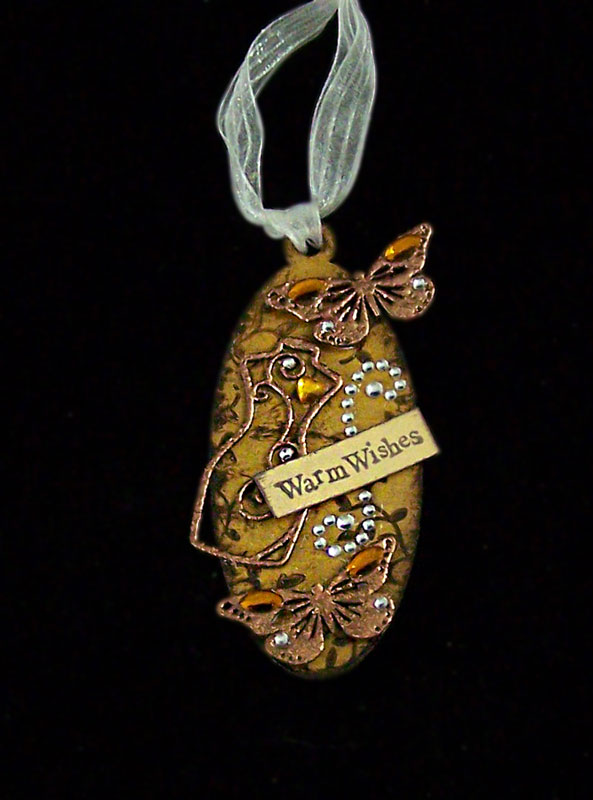
This tutorial is for a simple but lovely Vintage Copper Tag.
Supplies:
G&P Butterfly Charm Set
G&P Vintage Dress Forms Accents
G&P Glastique Gloss Finishing Glaze
G&P Copper Kettle Embossing Powder
G&P Piccolo Embossing Powder Adhesive
G&P Yellow Ochre 3D Enamel Gel
G&P Oval Bezel with 1-Loop
Piccolo Easy Grip Tweezers
Brown ink stamp pad
Mini Adhesive Foam squares
Crystal stickers
Heat gun
Vine and sentiment stamps
Small piece of cardstock
Ribbon
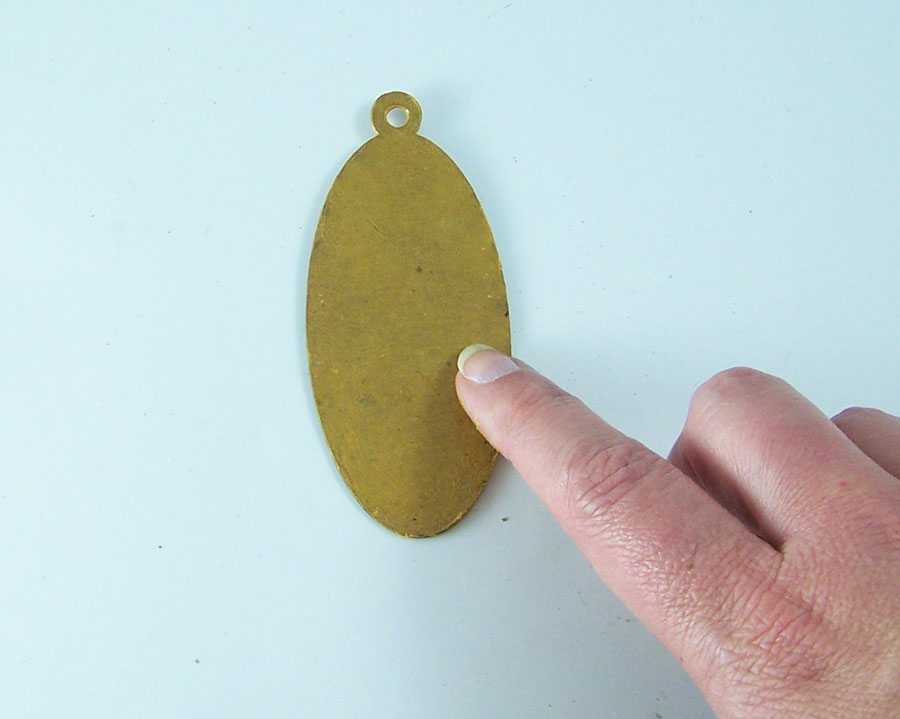
Smear G&P Yellow Ochre 3D Enamel Gel both on the front and back of the bezel. Let dry.
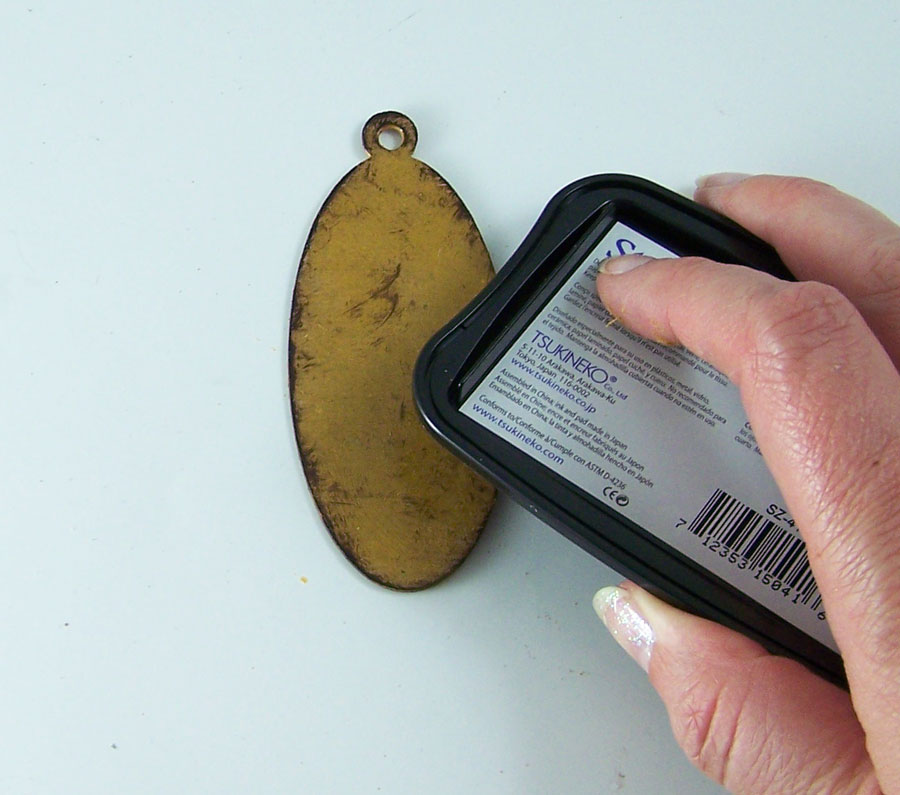
Take the brown dye ink pad, rub it on the edges and sides of the bezel.
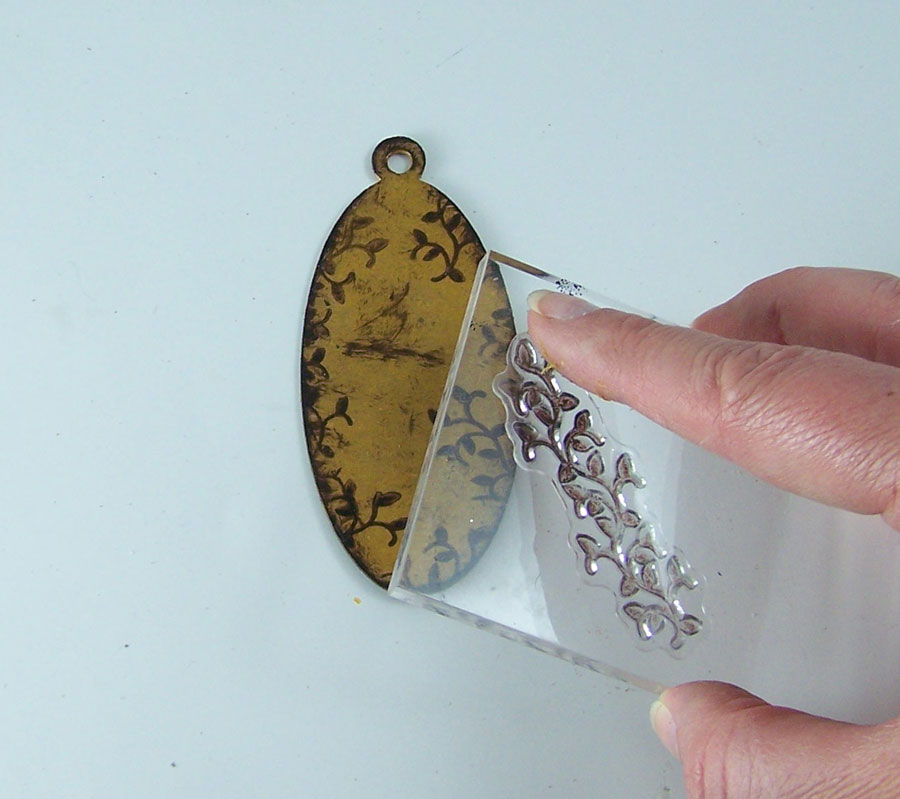
Ink the vine stamp with the brown ink and stamp around the edges of the tag.

Carefully remove the two small butterflies from the G&P Butterfly Charm Set. Remove the loops on both butterflies with a craft knife.
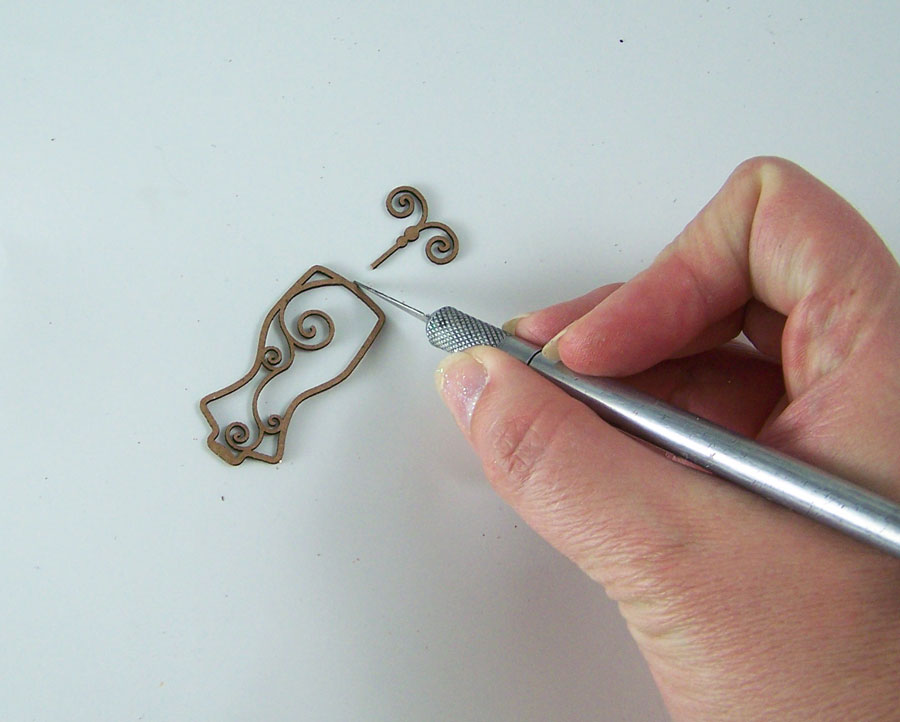
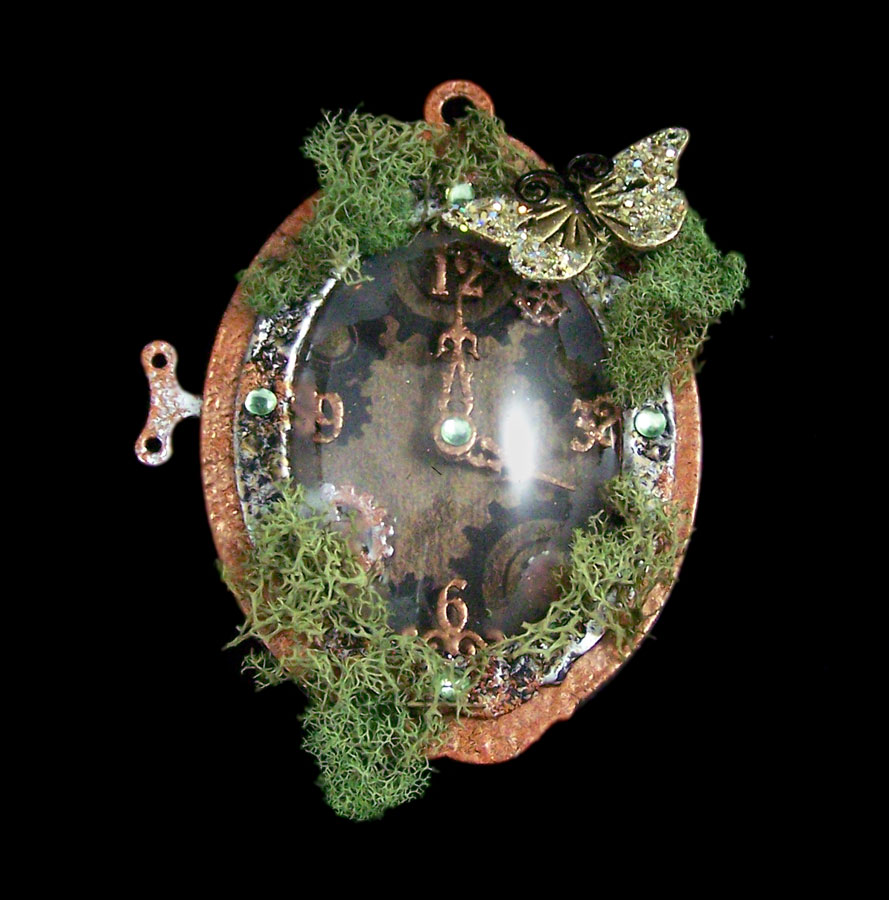
Carefully remove the swirl dress form G&P Vintage Dress Forms Accents set. Using a craft knife remove the stand from the dress form. Save the stand piece and all of the other kit pieces for A time for Nature tutorial; check out the Globecraft & Piccolo blog for instructions. 🙂
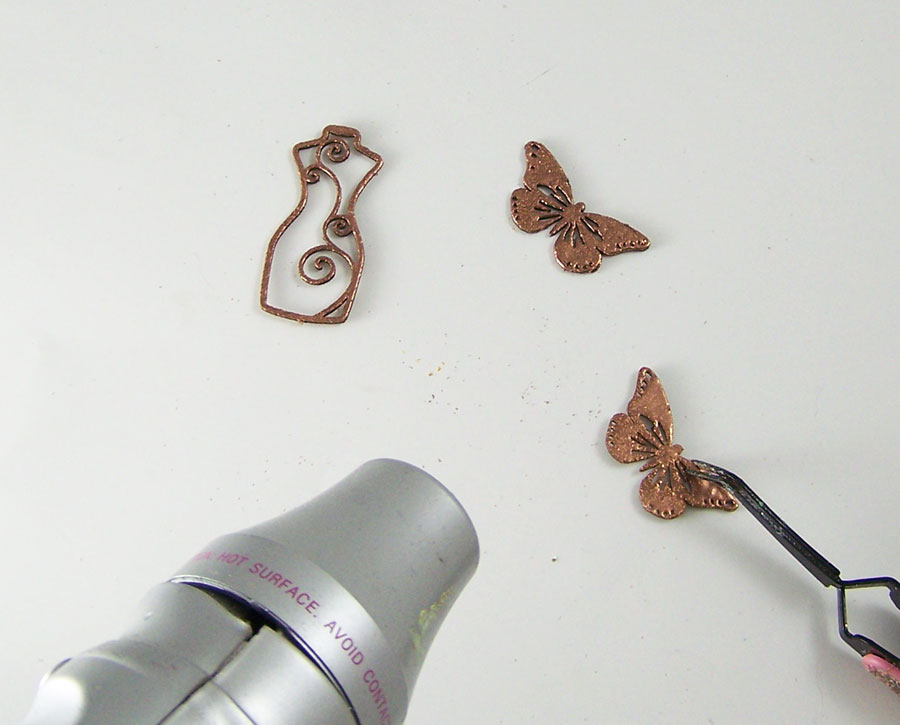
Apply Piccolo Enamel Adhesive to the dress form and butterflies. Apply G&P Copper Kettle to the butterflies and dress form. Heat to set.
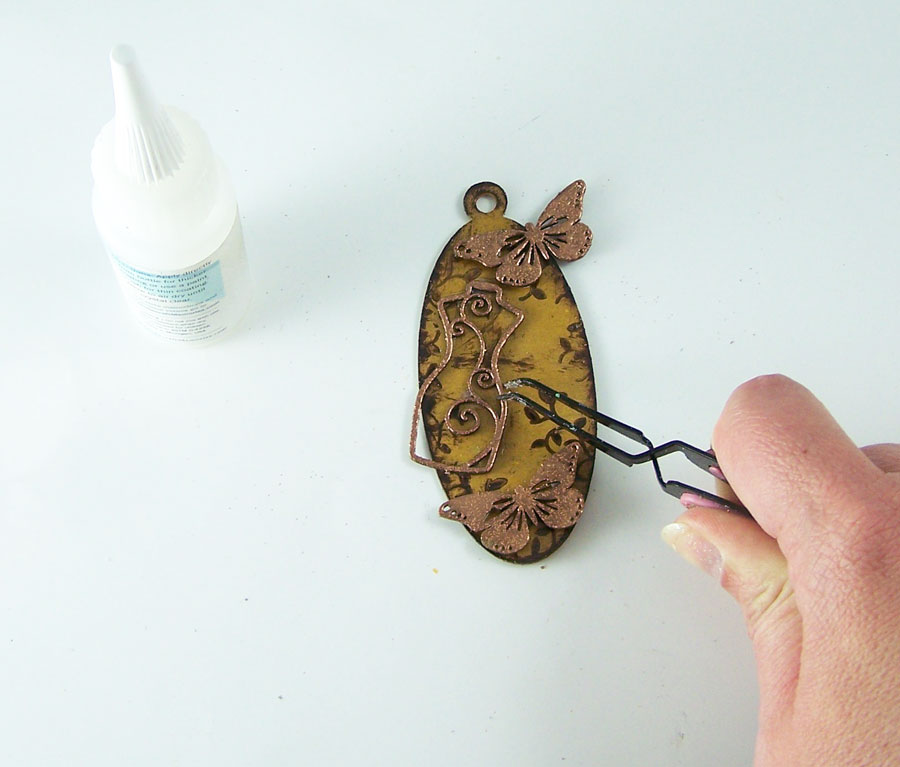
Use Glastique Gloss Finishing Glaze to attach the butterflies and dress from to the tag. Let dry.
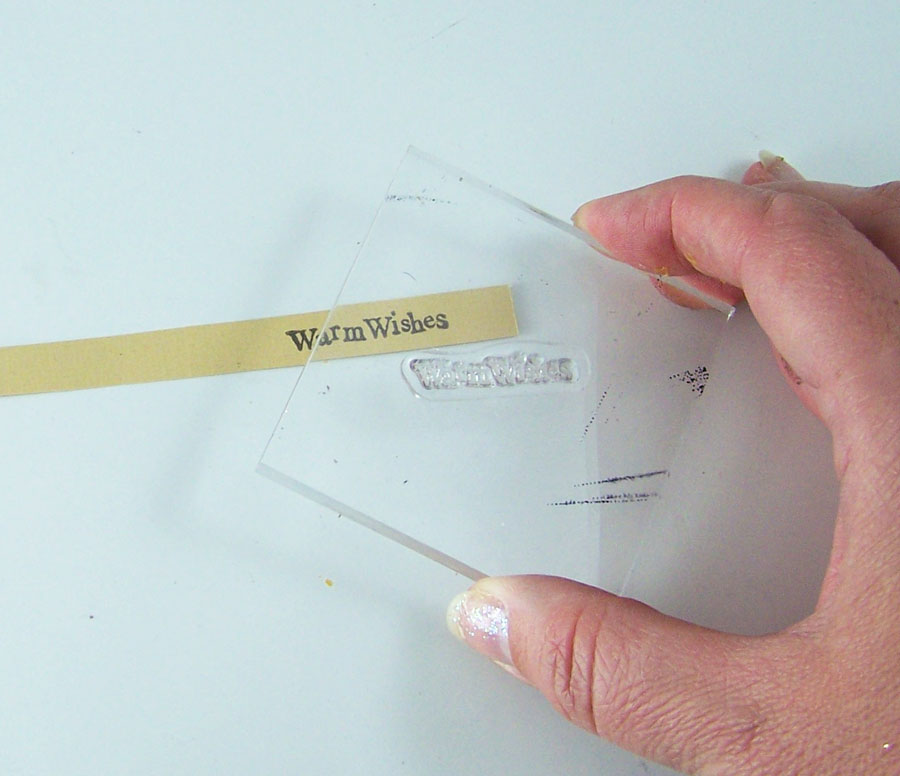
Stamp a sentiment on the small piece of card and cut to fit the tag. Rub the brown ink on the edges of the card stock to give it an aged look.
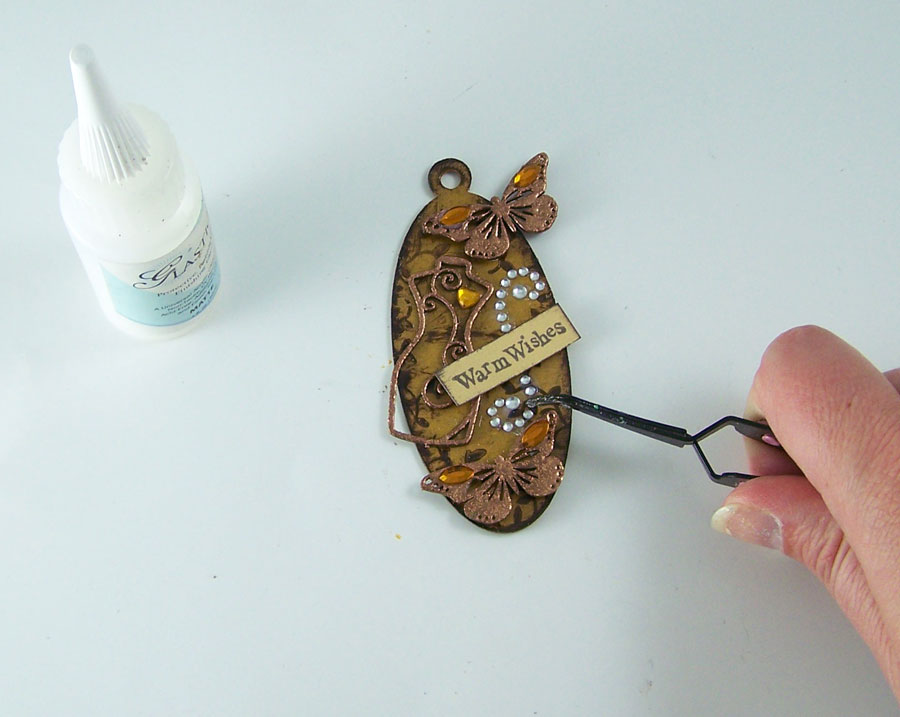
Use Glastique Gloss Finishing Glaze to glue on the sticker gems to the tag as shown. Let dry.
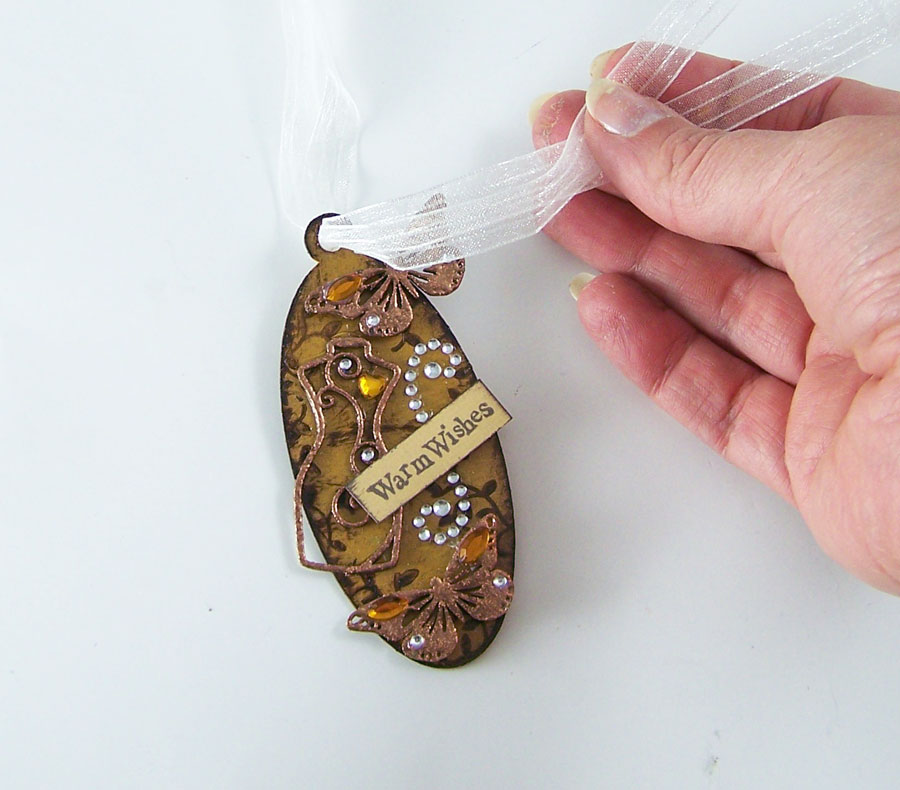
Thread the ribbon through the loop on the top of the tag and tie.
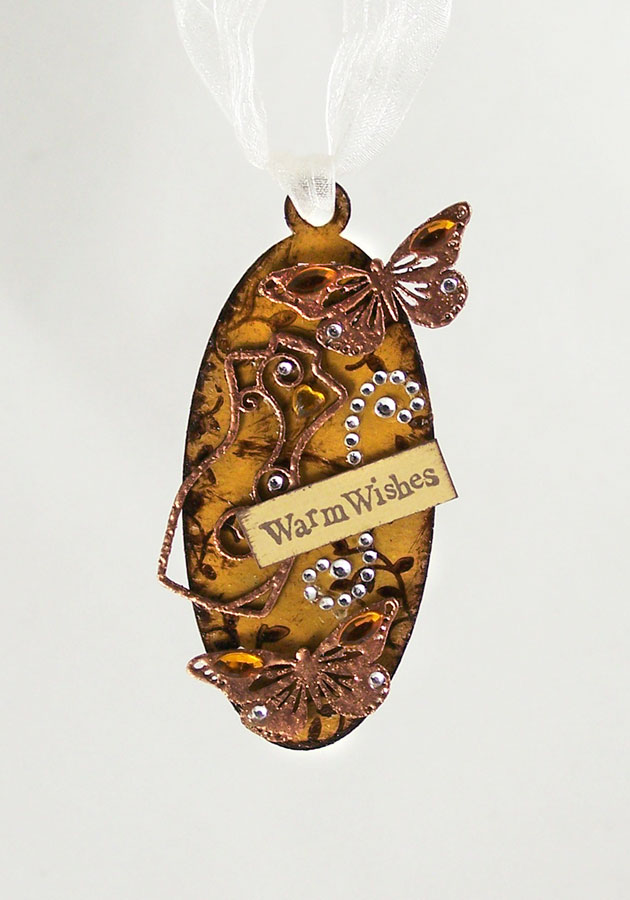
Now you have an embellishment to add to a gift or paper craft.
Hop on over to the Globecraft and Piccolo Blog for my A Time for Nature tutorial!
Until next time, safe travels!
4 Comments
Deb
Here you are making pretty things and I’m repairing other people’s pretty things… haha!
ArtResurrected
Ether way we are working on pretty things. Don’t downplay your beautiful bead work jewelry. 🙂
Deb
LOL True! My plan this week is to sew something, even if its just to re-fit something I already made. 🙂
ArtResurrected
Oh you got me there. I have a pile of cloth items to repair, finish sewing and cannibalize for fabric. However there seems to be an oddly growing pile of craft supplies in my way to the sewing table. 😛