Family of Pumpkins
I have pumpkins on the brain lately (sounds like a condition doesn’t it? LOL). I am trying to grow a pumpkin patch, wanting to make pumpkin pie, finding vintage ads of pumpkins and creating pumpkins out of polymer clay. I have always had fond memories of carving pumpkins, making pumpkin cakes and cookies with my family. To me they are what Fall, Halloween and harvest festivals are about.
This year I am making all kinds of Fall crafts but I wanted to make something showcasing pumpkins and the happy feeling of family together for the seasons. I started with making a cute little family of pumpkins out of polymer clay. I really liked how they came out but felt I could use them on so many projects such as cards, magnets, jewelry and wall decor. So I decided to make a mold of them so I could do all the projects I thought of and more.
For the pumpkin family mold I used:
Polymer clay (any brand or color will do since I made a mold from the original polymer piece)
Amazing Mold Putty
Amazing Casting Resin
Martha Stewart Crafts 2oz Multi-Surface Satin Acrylic Craft Paint Carrot, Jonquil and Beetle Black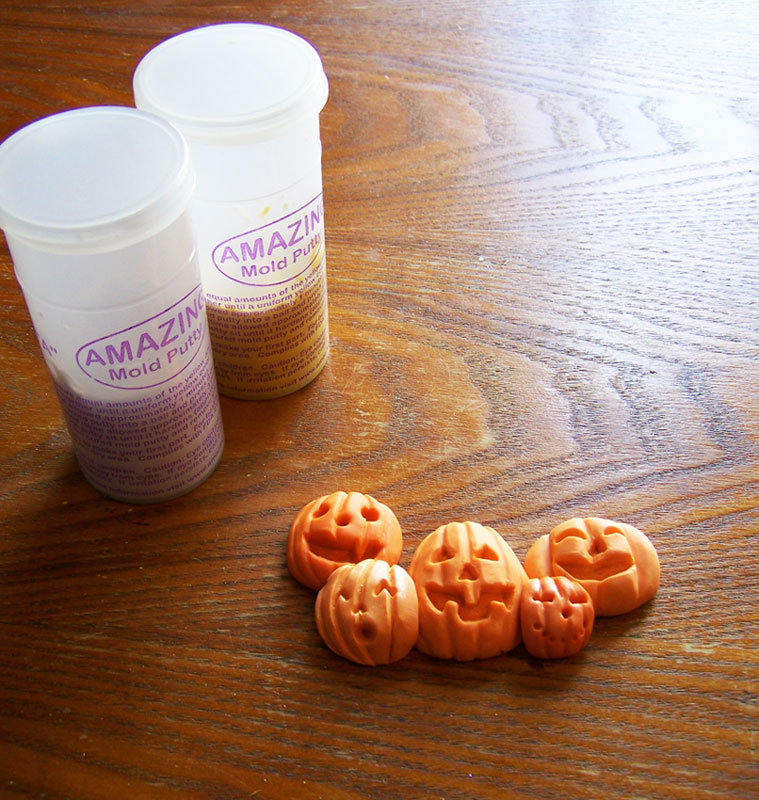
Here is the original pumpkin family made out of poly clay. I gave them deep smiles and happy faces, I don’t have to worry about any detail being lost since the Amazing Mold Putty does wonderful with anything with high detail.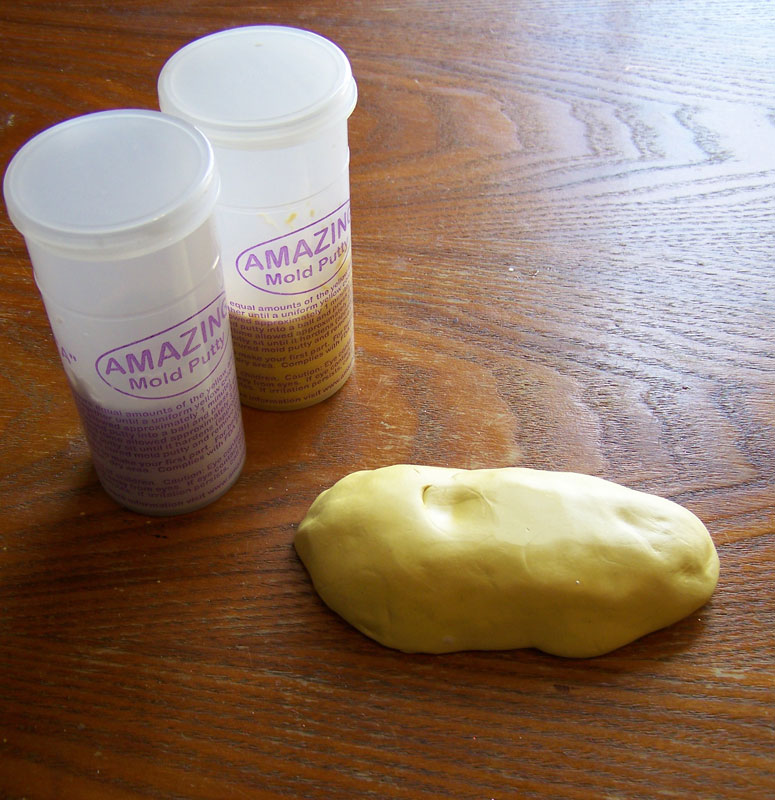
I mixed the putty according to the manufacture’s instructions, though the Amazing Mold Putty is rather forgiving if there is not exact amounts used. I do not attempt to remove the mold for at least 20 minutes to make sure the mold has set.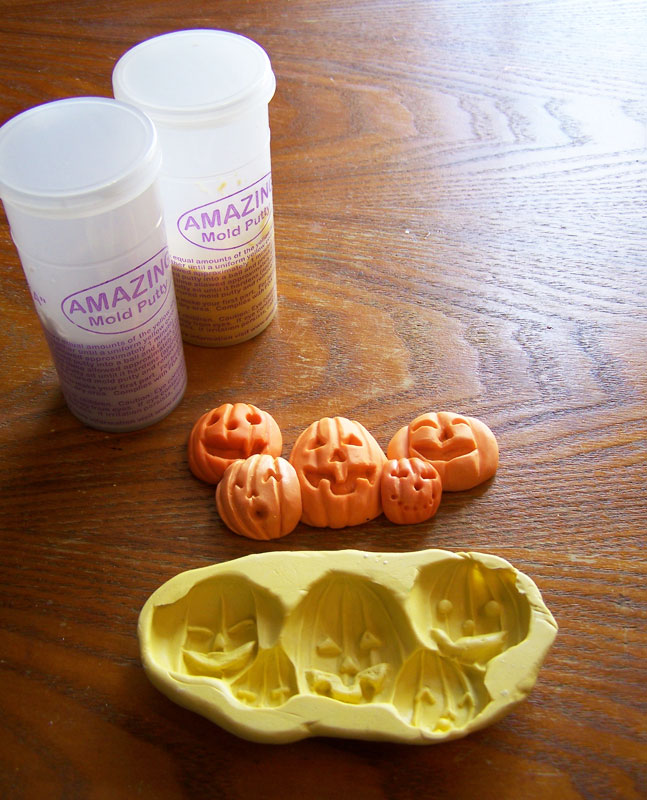 While the cure time for the molds is 20 minutes I like to leave the orignal in the molding putty for longer, making sure the mold is a rigid as possible (but keep in mind it is silicon and very flexible once cured) before trying to make any replicas. The mold can be cleaned with mild soap and water before you make any replicas to remove any loose particles left by the original.
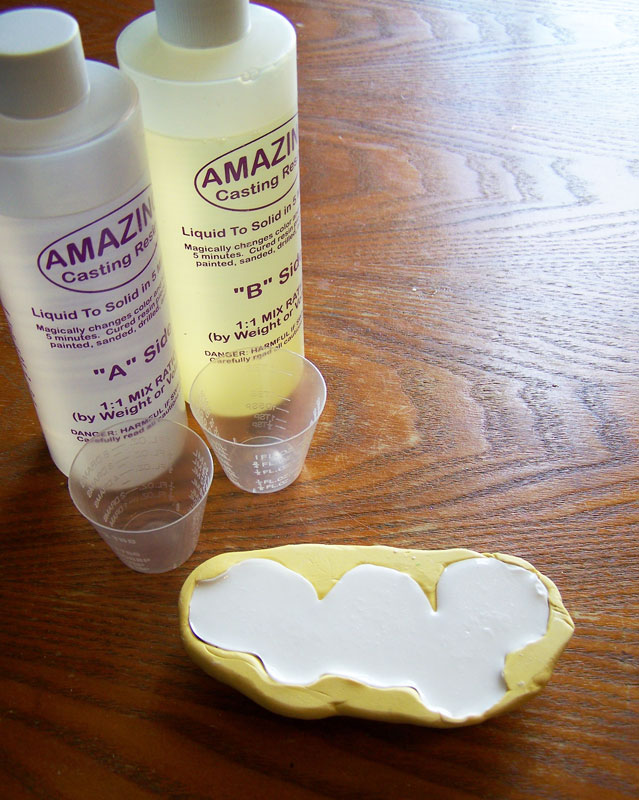 When mixing the Amazing Casting Resin I have to be careful about stirring too fast and for too long. Once the two parts are combined stir carefully until clear, scraping sides, about 15-20 seconds. I then immediately start to pour the resin into the mold; be careful not to pour too quick as you will increase the amount of air bubbles. It will set in 10 minutes, but keep in mind that the thicker the piece the faster the cure time. In this case the pumpkin family is a thick piece and set in about 8 minutes.
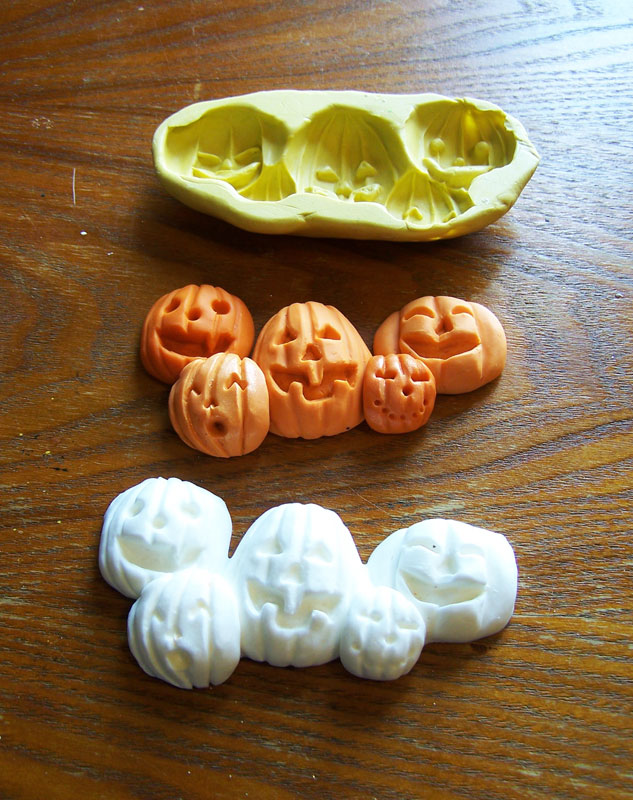 Here the resin copy is next to the original and the mold. Once the piece is cured I demold, trim any rough edges, sand and started painting.
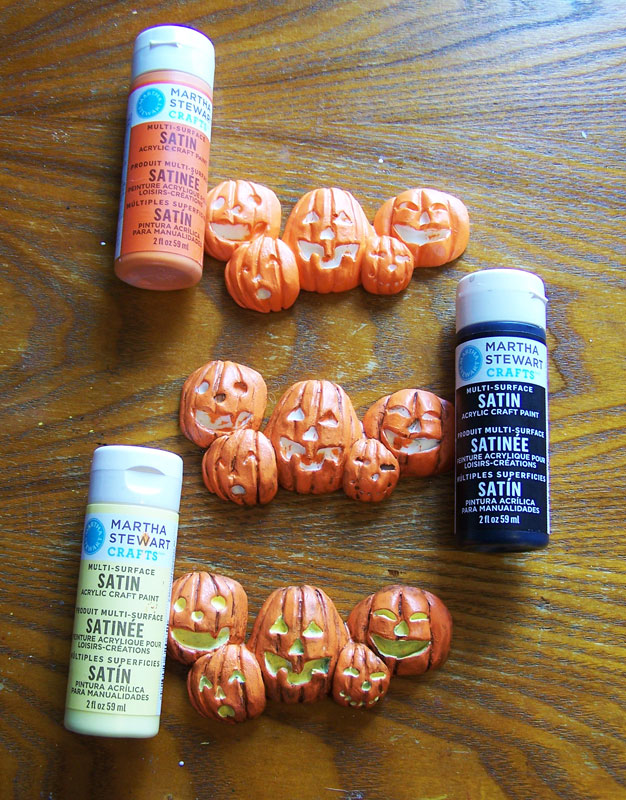
Here I show the 3 stages of painting. I have found that the Martha Stewart Crafts Multi-Surface acrylic paint bonds well with the resin replicas. I start with the Carrot, then a color wash of Beetle Black and then paint the Jonquil paint only in the eyes, noses and mouths of the pumpkin family.The first project I wanted to make with a pumpkin family was a home decor piece for my mother. She loves the holidays and always likes to have the family home to celebrate.
For the home decor piece I used:
Globecraft Memories Classic Fancy Rectangle
Globecraft Memories Glastique Gloss Finishing Glaze
Globecraft Memories Enamel powders 24K Gold and Mossy Glen
Globecraft Memories Piccolo Accents
Cardstock (any color or brand will work, I used orange, metallic white and black)
Mini Fall Leaves (most local craft stores carry small bags of fabric or paper leaves in the scrapbooking or floral sections)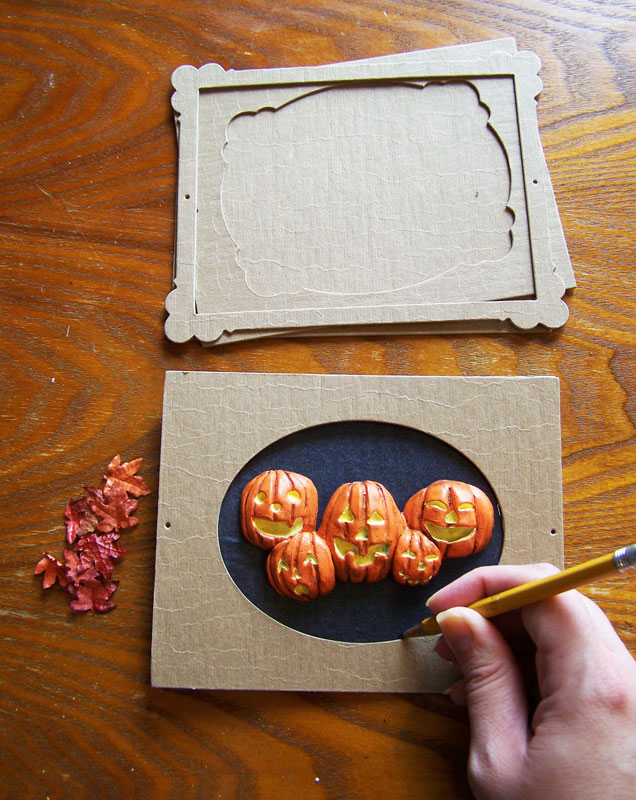 Using one of the finished pumpkin resin pieces, I placed it in the middle of the Classic Fancy Rectangle and traced along the inside of the oval to make sure the background paper, pumpkins and a leaf embellishments fit inside the globe.
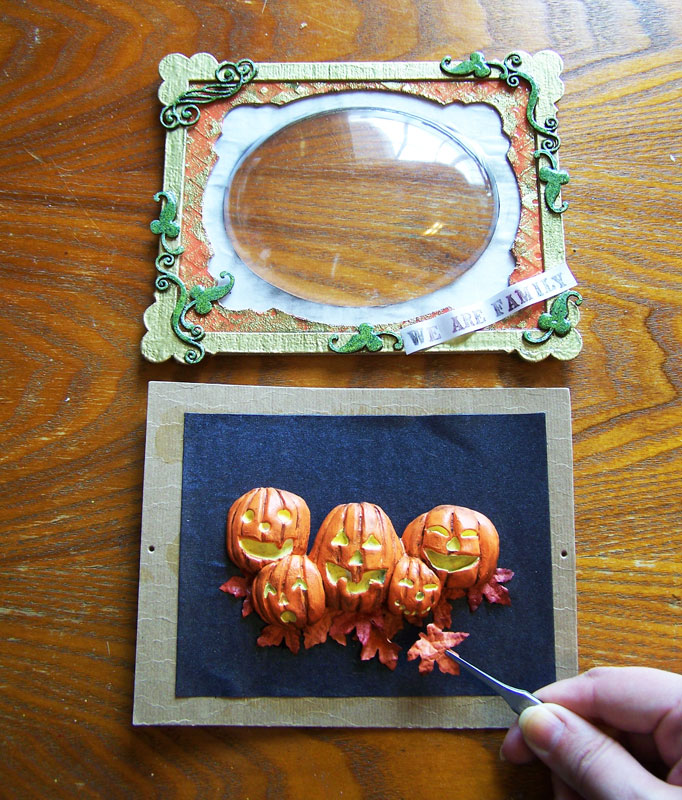 Once I decorated the outer layers of the frame with the paper, enamel and Piccolos, I coated the outside layers with two coats Glastique Gloss glaze. Once completely dry I glued the layers and globe with Glastique together. I then glued the pumpkin resin piece to the backplate of the frame with a thick layer of Glastique. I carefully added the mini leaves around the bottom of the pumpkin family to give them a “bed” of leaves to be on.
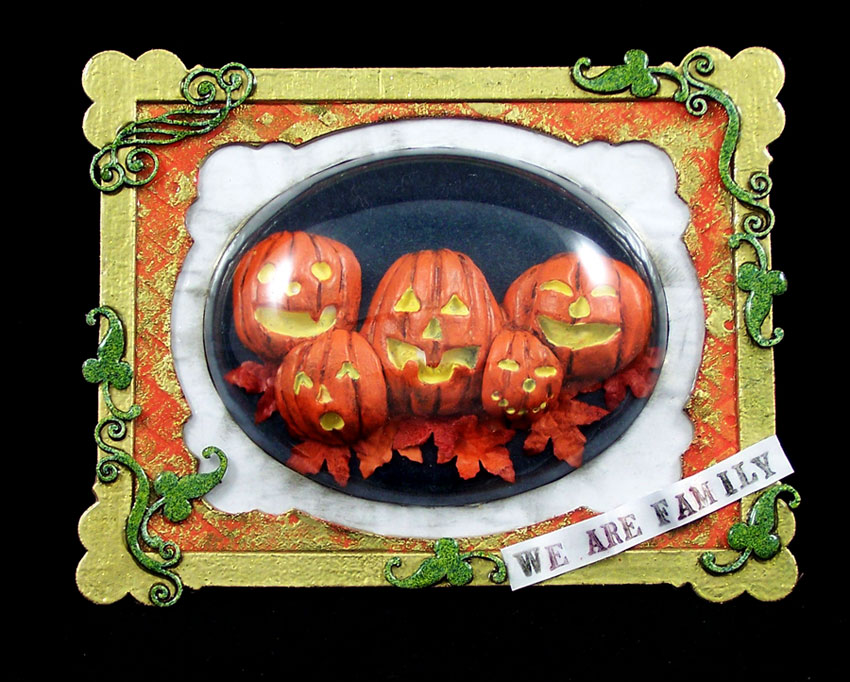
Glue the top layers of the the frame to the backplate with Glastique and once dry it is now ready to hang on the wall! 🙂Until next time, Safe Travels!
Creative Crystals
I often get into these creative modes where I get focus on a specific medium or supply. My recent craze is using crystals, be it vintage, natural, glass, anything with a sparkle to it. I am testing my boundaries with this because I generally do not use crystals in my work, I always get so worried I will break the delicate pieces or chip them. But a few months back at the Winter CHA I came across the Connie Crystal booth. The booth had this gorgeous dress made from paper and crystals, it was such an eye catcher I had to walk in and look at the crystals.
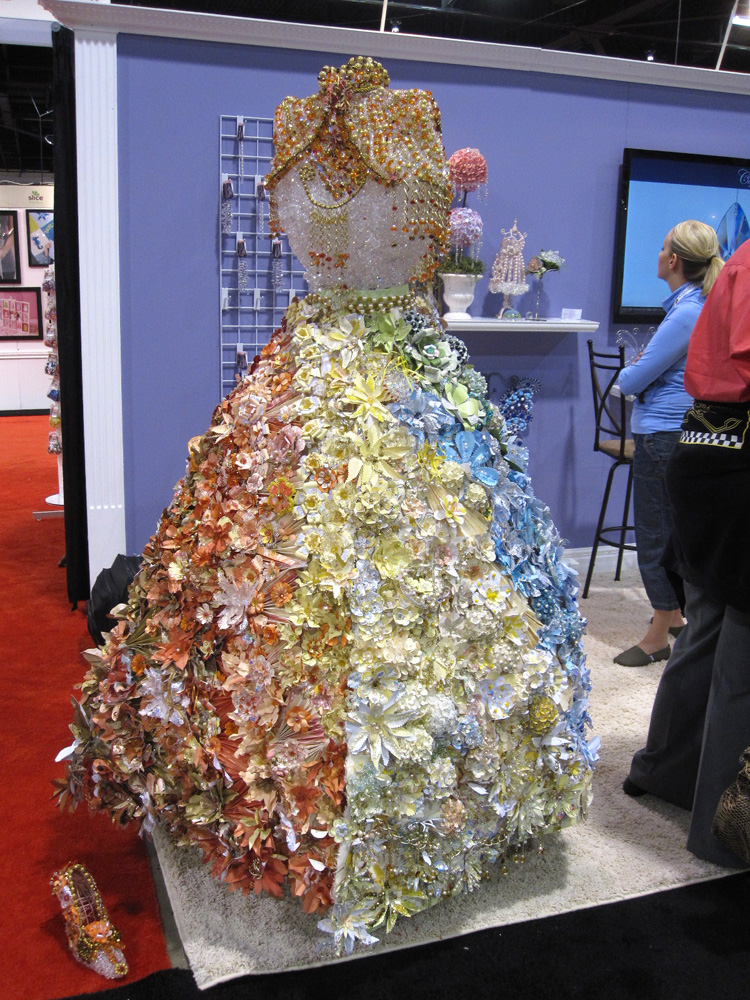
Connie herself was teaching make-and-takes and invited me to try making one of her projects. I was pleasantly surprised by the high quality of the crystal beads and focal pieces she had in a stunning array of colors. The crystals did not chip while working with jewelry tools and they had amazing clarity. I bought some of the floor samples and carefully packed them away. I would take them out now and then just to look at the beautiful beads but still not sure what type of jewelry I would like to make of them. After seeing some some other artists work in crystal I got inspired. I researched some ancient jewelry patterns and I came up with these necklaces and earring sets: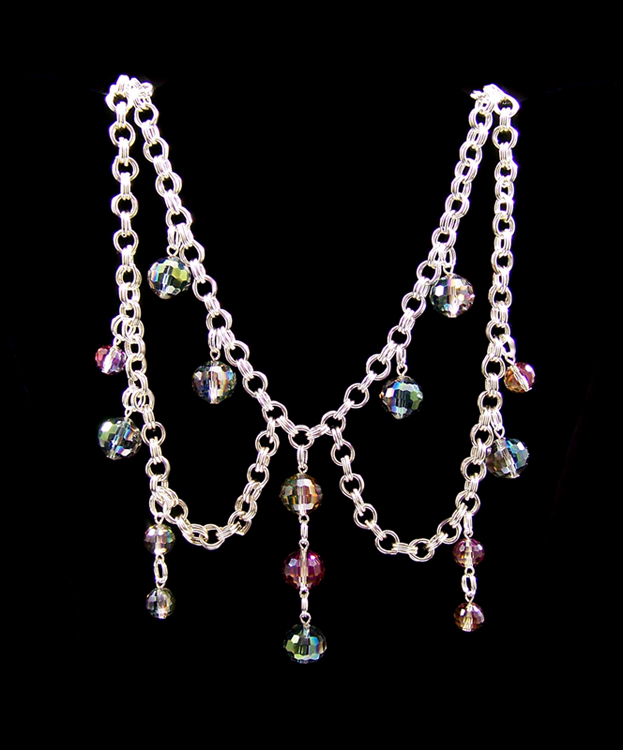
Sterling silver chain, size: 12mm and 10mm Connie Crystal beads. A simple design but I was going for a fantasy piece that brought to mind a female warrior’s adornment.
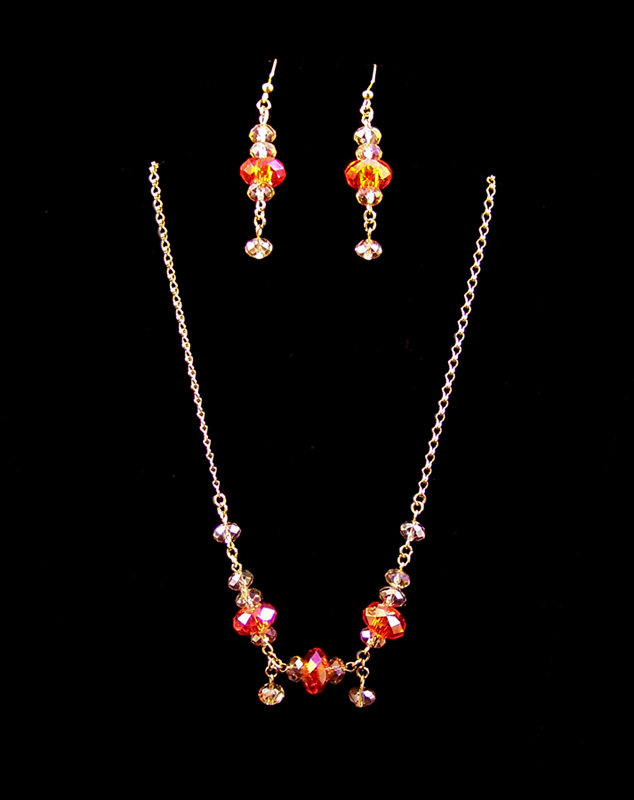
Gold plate vintage chain with 10mm Connie Crystal beads. With this piece I went with the theme of the the Leo horoscope sign and the colors often attributed to the sign.
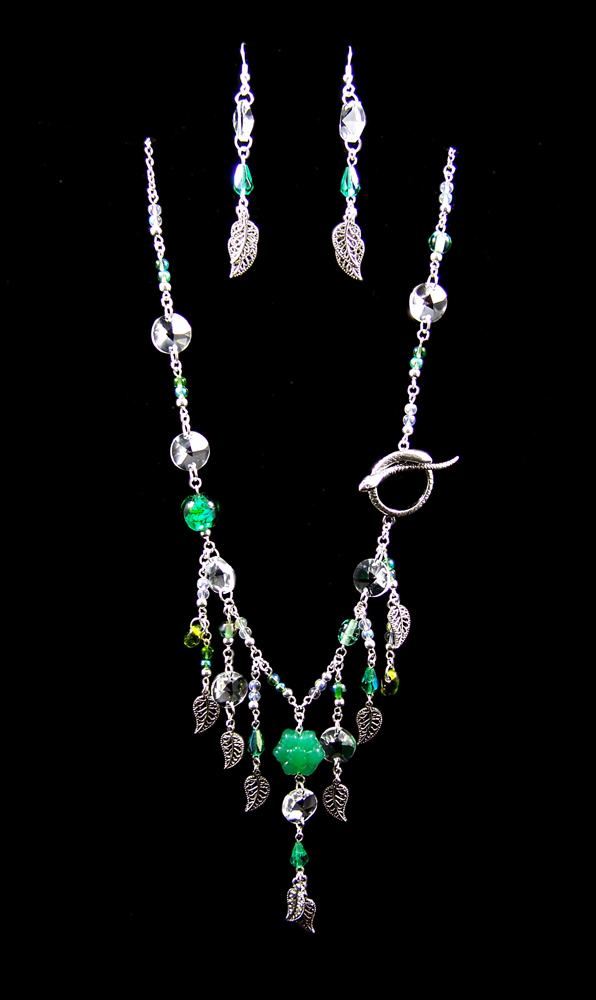
Silver plate chain and findings, vintage green crystals, lampwork glass beads and 14mm circle Connie Crystal beads. I love to put animal themes in my artwork whenever I can and with this one I used a lovely snake toggle as one of the many focals on this asymmetrical piece. It hints back to ancient myths and legends so I named the set “Snakes of the Crystal”.
After making all of these pieces and using Connie Crystal beads I can honestly say they work very well, have amazing color and can handle being moved around a lot. I tend to adjust my jewelry pieces, connecting and moving about elements until I am happy with the design, and these beads came through it looking beautiful. If you do bead work or mixed media and want something different to add to a piece, go to their website. 🙂
Until next time, Safe Travels!
Summer Jewelry fun…
It is a very warm and dry summer here in sunny California, which means I am trying to spend as much time indoors trying to stay cool with the critters. I have been cleaning house, donating a lot to local thrift stores and our local senior center. Now that I am making more room I am finding art supplies I had forgotten about. What I did not give away I am now making some great new summer jewelry pieces.
First on my list is my recent obsession with fruit polymer clay canes. I found several blocks of lovely orange polymer clay, I just had to make some orange slice pendants and beads! At first I wasn’t sure what beads to place with them, but after sorting through a “Boss Bag” from Fire Mountain Gems, I found the perfect findings. After some rummaging through my stash of beads I was able to make up some really cute and summer time necklaces.
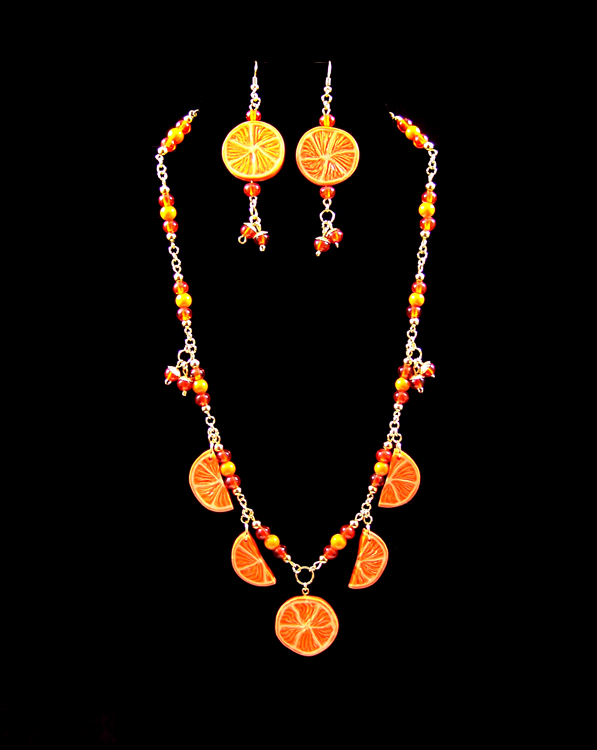
Handmade polymer clay orange slice beads, glass beads, gold toned findings and bead caps.
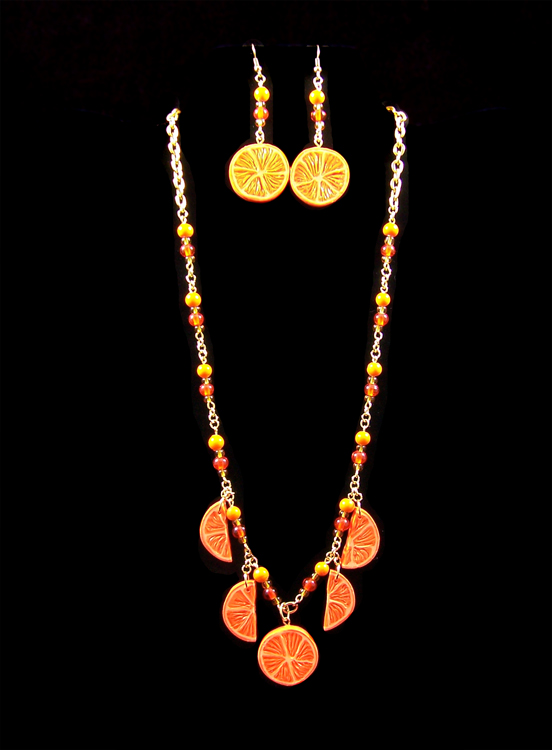
Handmade polymer clay orange slice beads, glass beads and gold toned findings.
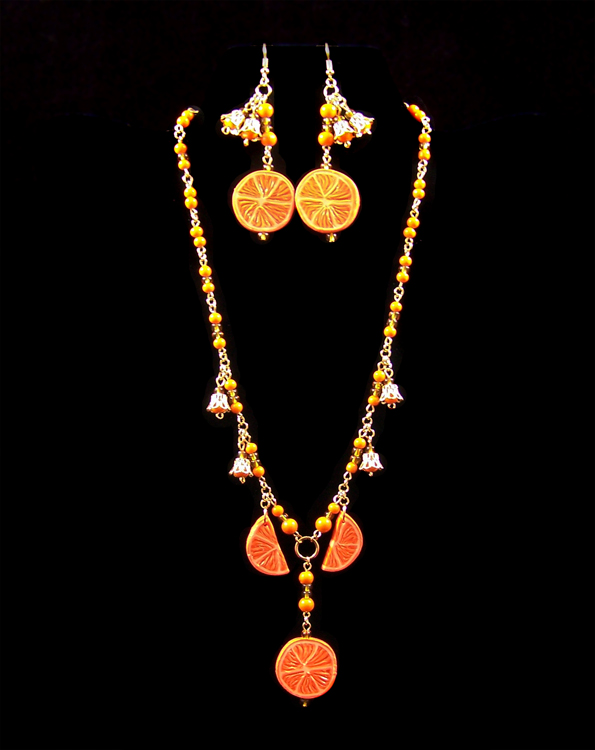
Handmade polymer clay orange slice beads, glass beads, gold toned findings and bead caps. I used beads caps to simulate orange blossoms. 🙂
Next in my series of summer jewelry is my “Ice Cubes” set. I live off of ice water in the summer so anything that makes me think of cool water and relaxing makes me a happy camper. I found these lovely irregular lamp worked beads, no two were alike but they all had a silver foil on the inside that reminded me of ice. Add some silver chain, more findings from a “Boss Bag” from Fire Mountain Gems and voilà!

“Ice cubes”, silver chain, findings and lamp worded glass beads.
Next clear glass beads and findings (again “Boss Bag” from Fire Mountain Gems) make a piece that I call “Blue water, golden sun”. I wanted to make a piece that would be reminiscent of the beach of clear blue waters with a gold sun in the sky.

“Blue water, golden sun” pressed blue glass, gold beads and gold findings.
Last but not least, “Cobra tears”. I always keep an eye out for hand crafted artwork and love to support artisans in their craft. The lovely hand carved coconut focal piece is made by artisans in Sri Lanaka. The carving is of Mucalinda, a snake-like being in the form of a cobra, who protected Buddha from the elements after his enlightenment. I buy these lovely hand carved pendants from my friend Kim McWhorter who makes sure the artisans get 100% of all money from the sale of the lovely creations. Kim is the the Associate Executive Director of Animal Venom Research International an organization that’s goal is to alleviate world-wide suffering caused by animal envenomation by bringing the technology of antivenom development to countries in need.
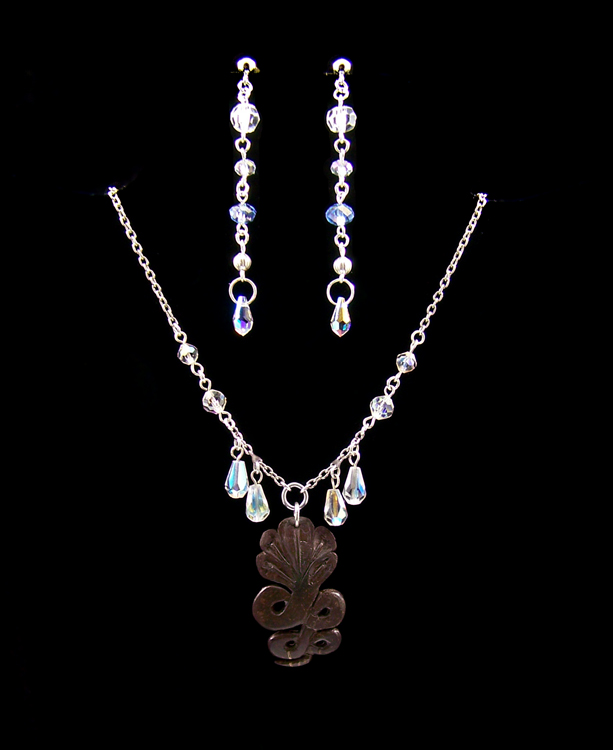
Crystals, carved coconut cobra, silver chain and findings.
Stay cool in the heat and keep crafting!
Until next time safe travels!
Globecraft Memories New Piccolo Charm line!
I have been working on so many art projects that I am lucky I had the time to take photos of them before they were sent off! I once again had the wonderful opportunity to work with Globecraft Memories as a designer/product design and development on of their new line of Piccolo charms. By now you know about the Piccolo Card Toppers and the Piccolo embellishments. They have added a new Piccolo Charm line! Steampunk gears, hearts, kitties, sea life, angels, butterflies, horses, keys and silhouettes are just a few of the new kit themes in the charm line. With each kit you can make anything from a necklaces, earrings, lapel pins, wineglass charms, curtain tiebacks, rear view mirror dangles and much more!
Like all of the Piccolo Card Toppers and the Piccolo embellishments, the Piccolo Charm line is made from a high quality chipboard. To make the charms more durable and able to handle daily wear and tear I use Glastique Flexible Finishing Glaze (Gloss) on all of the pieces to give it flexibility, strength and a enamel-like finish. The Piccolo Charm sets will be available soon at Globecraft Memories, so watch their website for product updates. I have been merrily making up product samples of this new line to be displayed at upcoming shows for Globecraft Memories, and here is a few:
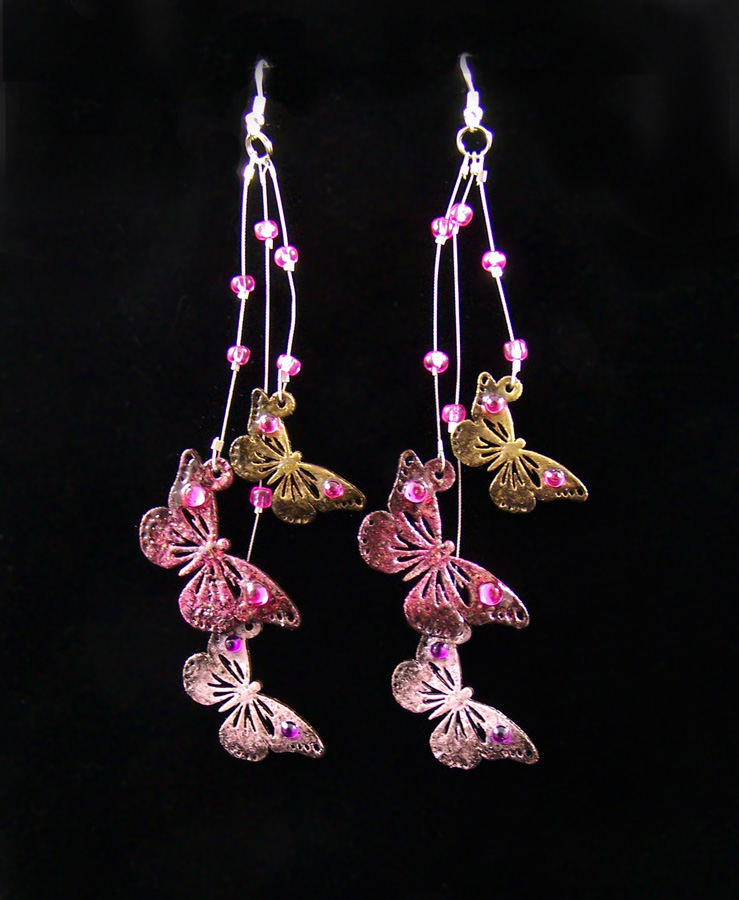
This set I turned into Butterfly shoulder duster earrings. Sticker gems, stamp-pad ink and Globecraft Memories’s Piccolo Enamel Powders.
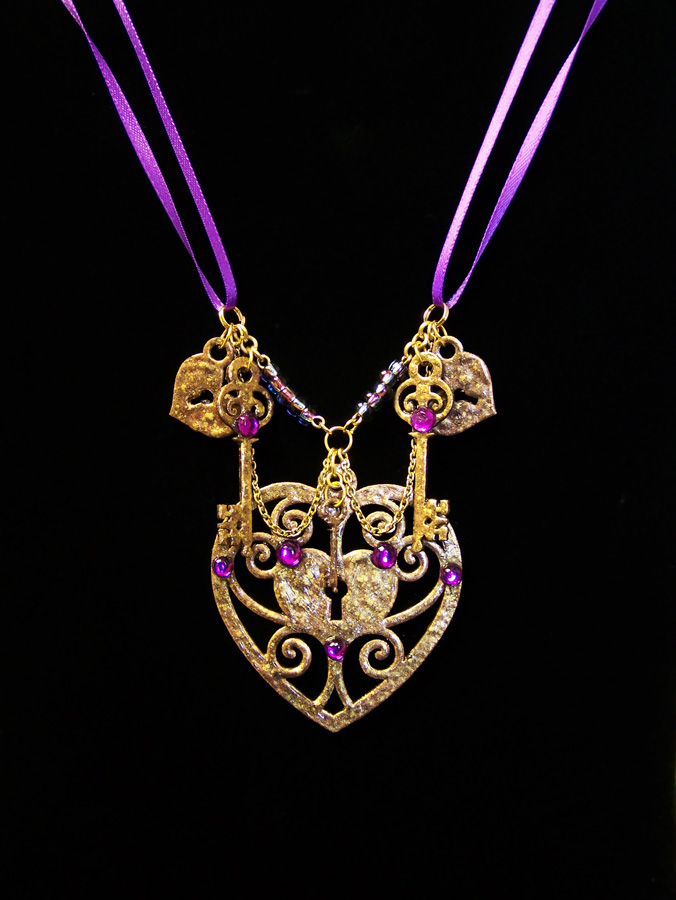
This lovely Heart lock and key set I felt would be perfect for a faux vintage necklace. Sticker gems and Globecraft Memories’s Piccolo Enamel Powders.
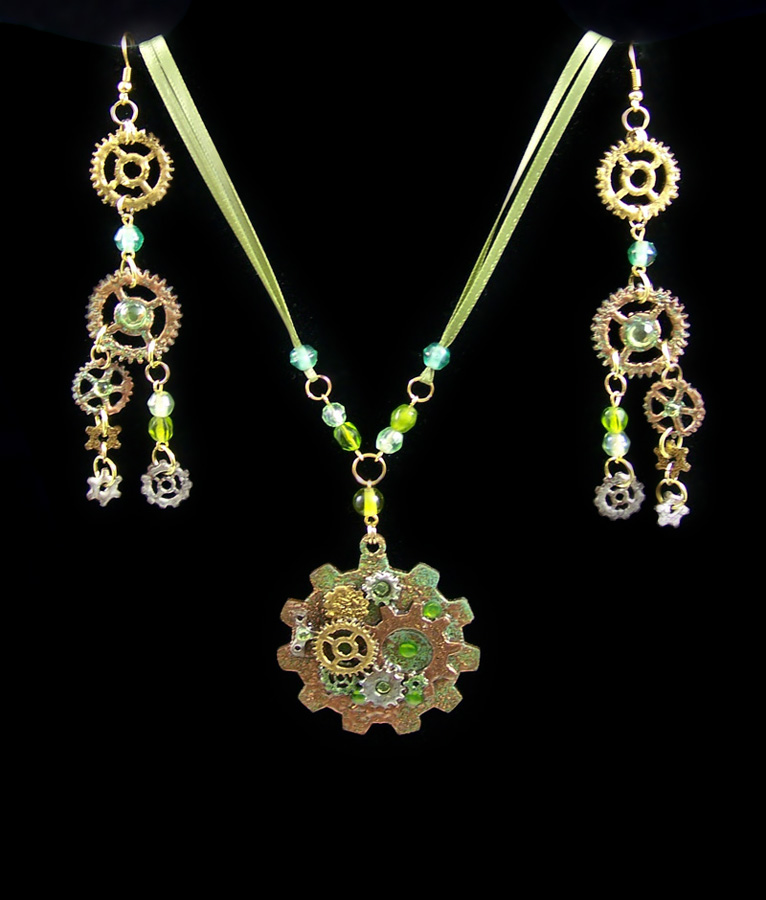
I love Steampunk gears and I wanted to something different with a Emerald City themed necklace and earring set. Sticker gems and Globecraft Memories’s Piccolo Enamel Powders.
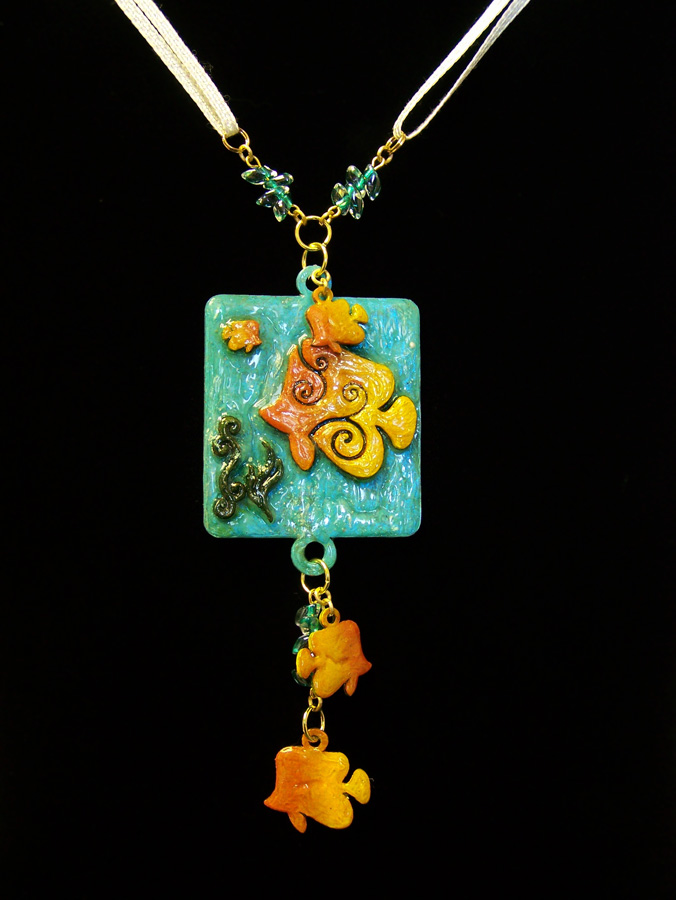
The Sea-life set is perfect for Summer and I put a textured heavy coat of Glastique on this piece to mimic the look of water. Acrylic paint and Globecraft Memories’s Piccolo Enamel Powders.
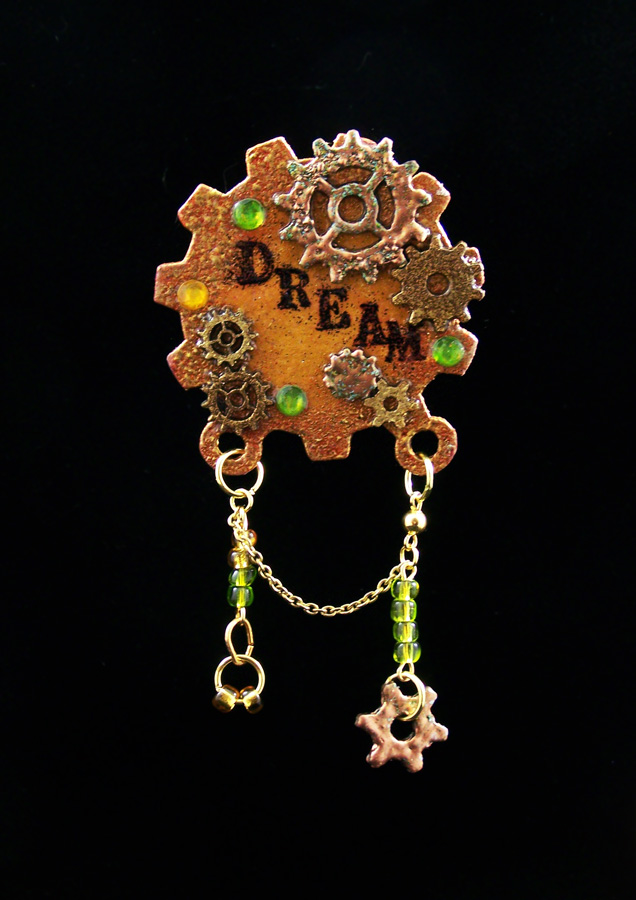
Another lovely Steampunk gears kit that I turned into a lapel pin. Acrylic paint, sticker gems, stamp-pad ink and Globecraft Memories’s Piccolo Enamel Powders.
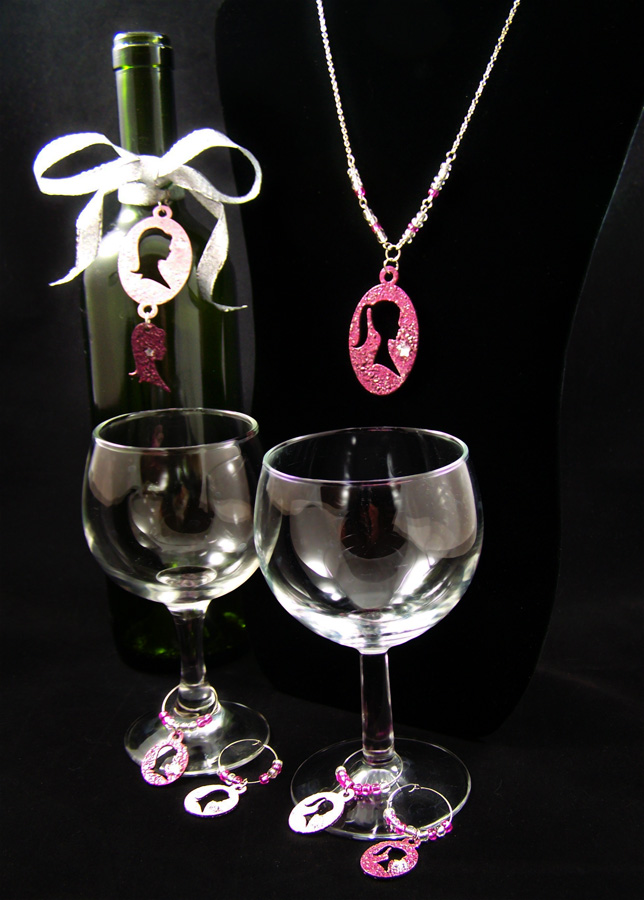
The Silhouette set I made into a hostess gift set, with a wine bottle tag, matching hostess necklace and wine glass charms. Barbie meets Girls Night! Sticker gems and Globecraft Memories’s Piccolo Enamel Powders.
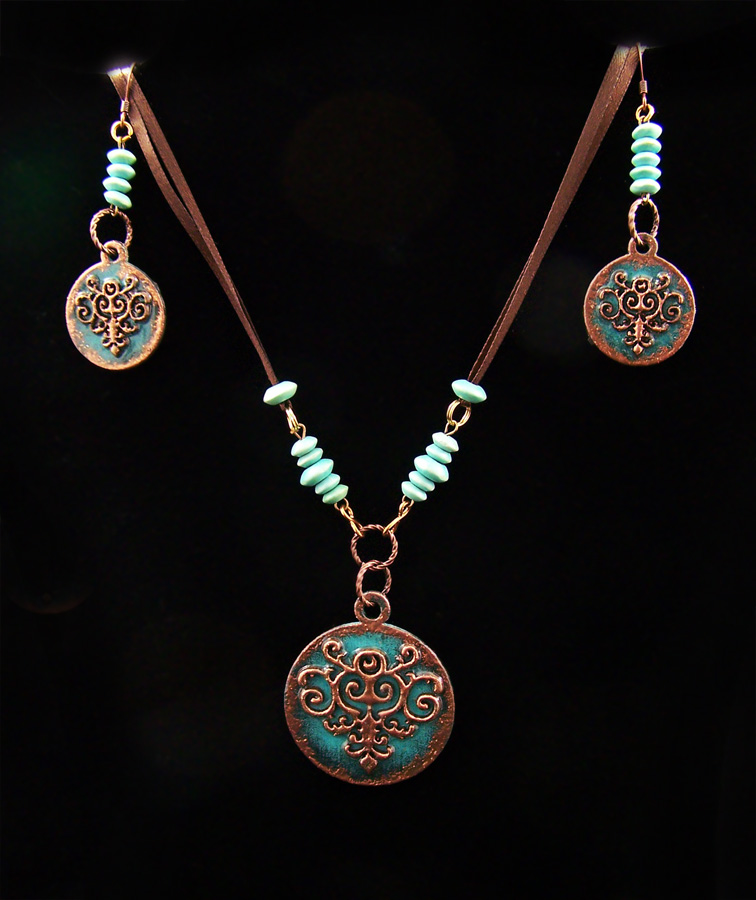
One of the many lovely Flourish sets, I wanted to try a faux vintage look with copper highlighting the amazing detail in the flourishes. Acrylic paint and Globecraft Memories’s Piccolo Enamel Powders.
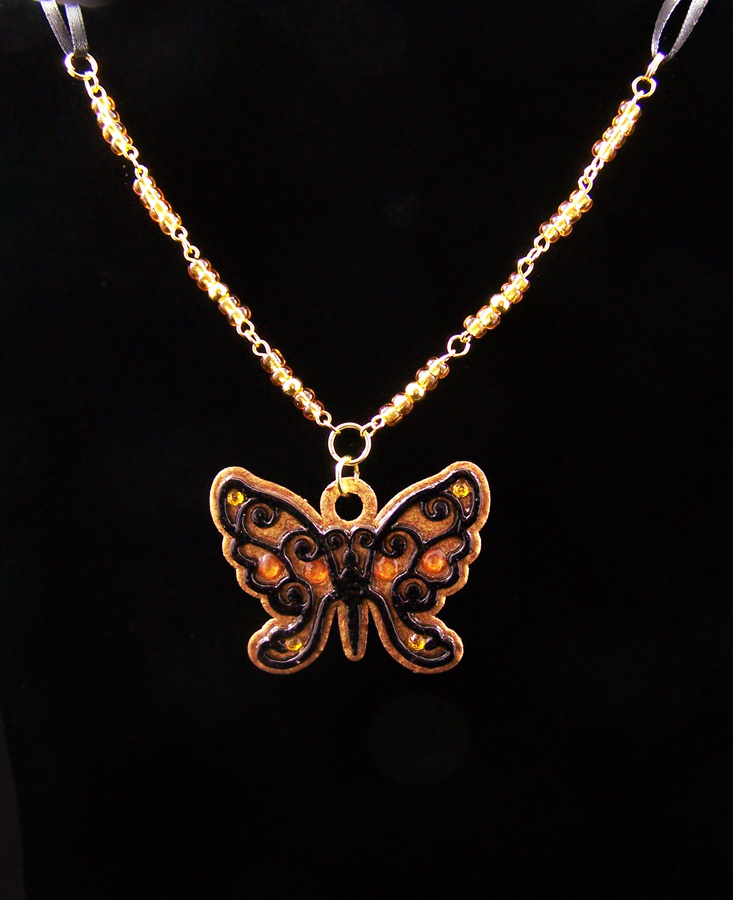
They have so many butterfly sets, though this set is one of my favorites since it lends so well to faux enamel. Sticker gems and Globecraft Memories’s Piccolo Enamel Powders.
Untill next time, Safe Travels!
CHA Winter show 2012 part 2
As I noted in my last post this year’s winter Craft and Hobby Association show was awesome! My last post was mostly about Globecraft Memories and my first time doing demos at the CHA. This post will be about some of the new products, designs and workshops at CHA!
First I would like to talk about the DCWV booth which had some of the most beautiful paper and bead booth decor at the Winter CHA. DCWV Inc. is known for their very popular scrapbooking papers, cards, brads, stickers, albums, and embellishments. In 2010, the Blue Moon Beads brand was acquired by DCWV, so the booth was showing a wonderful fusion of these companies. I have used both DCWV and Blue Moon Beads products before, mostly for artwork at small shows. I must say though after seeing their booth decor and product samples I just had to get wholesale catalogs to use their products for classes.
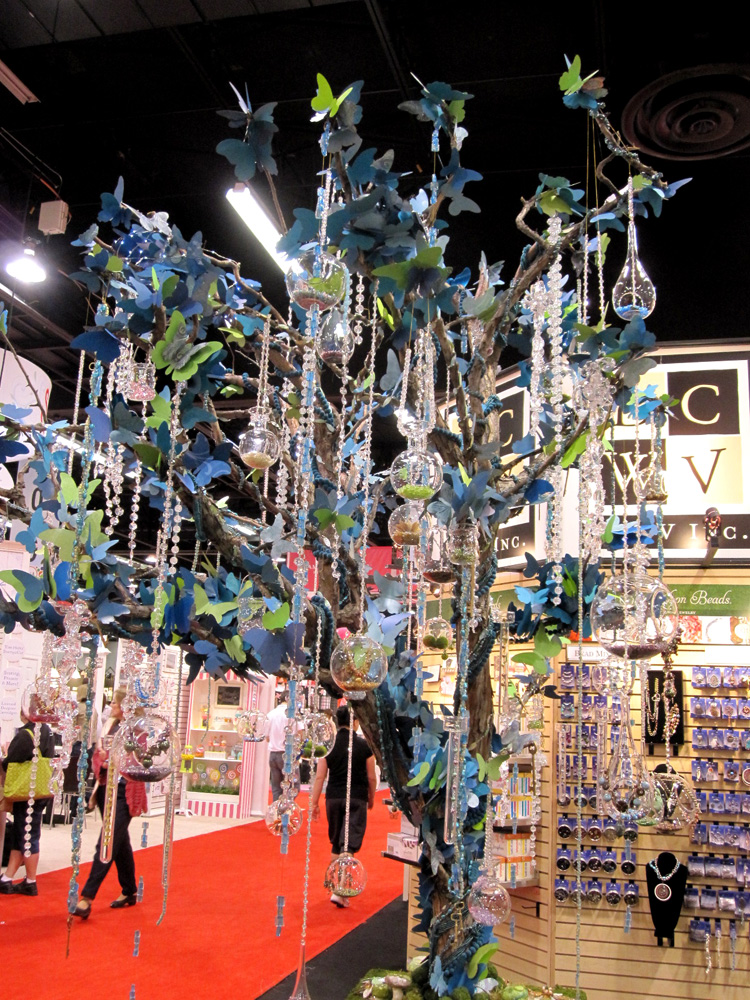
The blue color tone tree was one of my favorites. It looked right out of a fairy tale. I keep trying to think how in the world I could make a tree of my own and where to put it.! LOL
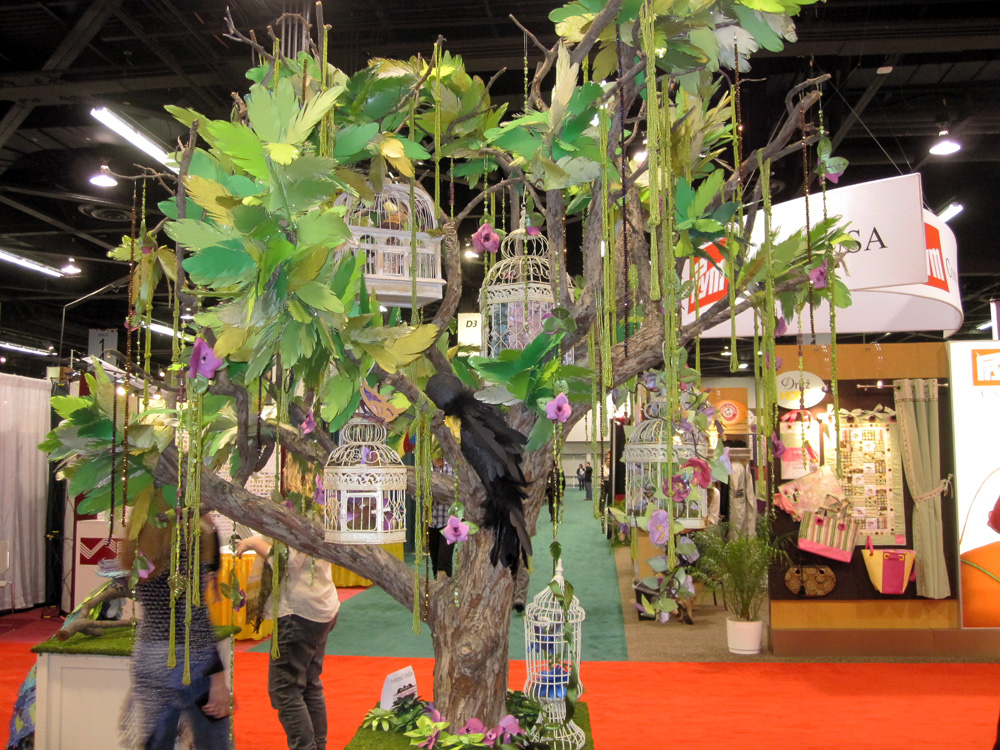
The green beads on this tree are just gorgeous, and the photo does not do it justice.
I ended up wandering around, several isles over, and once again to stopping at a booth just because of how stunning booth decor was. In this case a glittering, full size gown made from crystal beads, paper and chain. I had to stop to see what this booth was about!

As I ended up finding out this beautiful piece of art was part of Connie’s Crystal booth. They carry genuine, high quality crystal beads and focal pieces in a stunning array of colors.
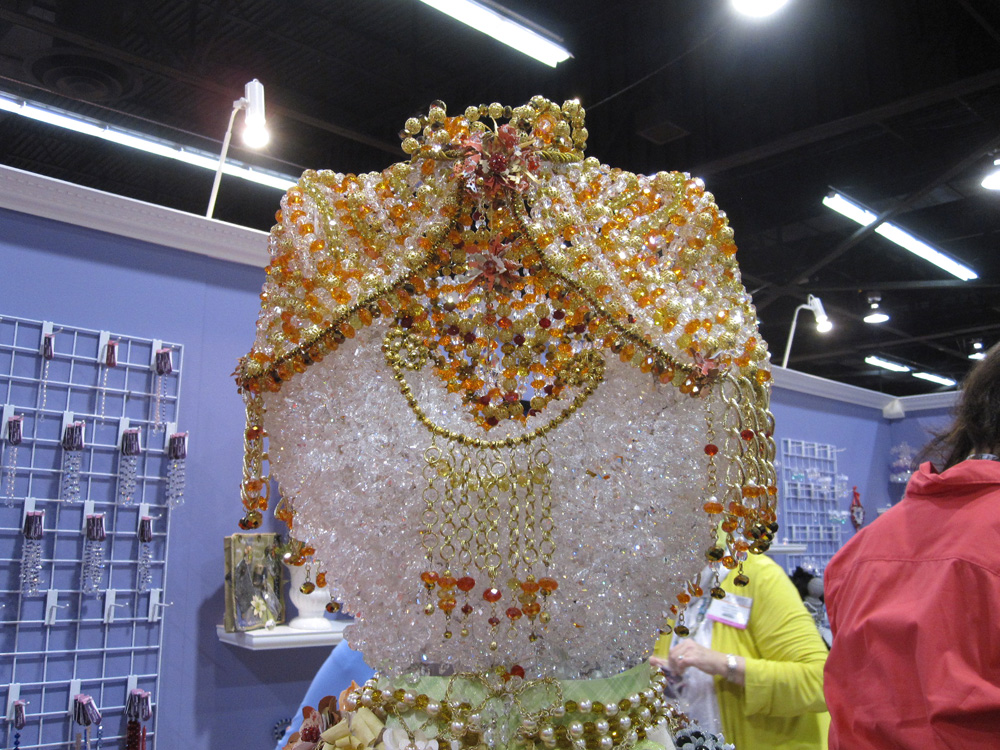
A close up of the bodice of the wonderful booth display at Connie’s Crystals.
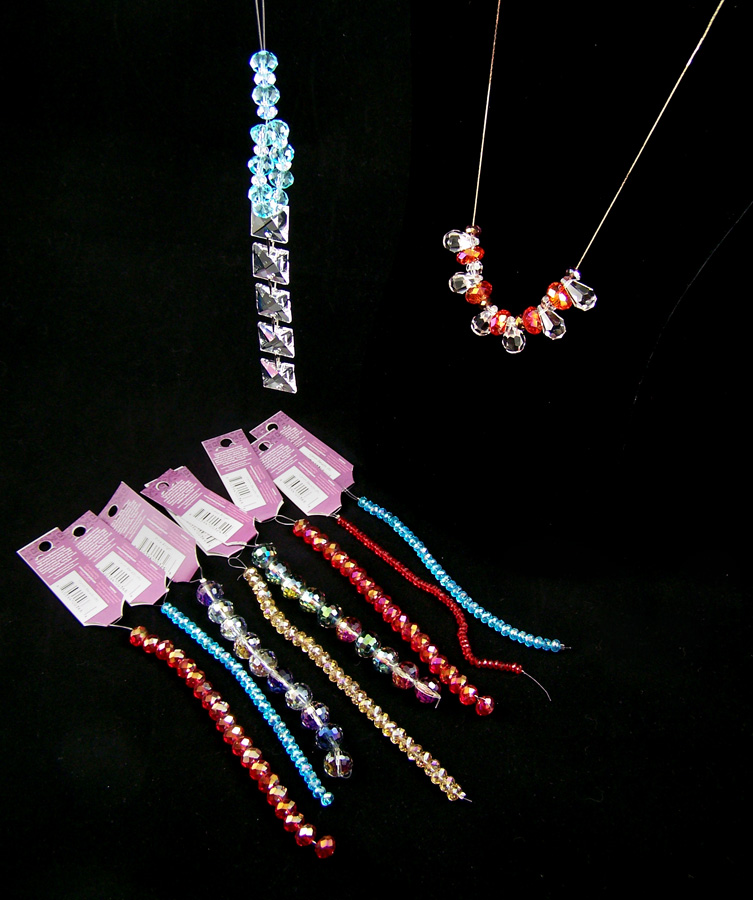
I wandered by their booth on the last day and noticed they were selling out the booth crystals, so of course I had to buy some. Sadly I did not get there early enough to get all of the colors I wanted but I did buy some beauties. The reflection of light with their sun-catcher line is amazing. If you do bead work, mixed media or even just want lovely sun-catchers go to their website and request a catalog!
While I normally do not have time to attend many workshops at CHA, when I heard about Makin’s Clay Explore the Possibilities class I had to take it! Makin’s Clay produces a no-bake polymer clay providing an alternative modeling medium to oven-bake type polymer clays, environmentally safe, biodegradable and user friendly. The workshop, which was instructed by designer Ann Butler, explored the applications of Makin’s Clay and helped those who attended gain hands-on experience using Makin’s Brand products.
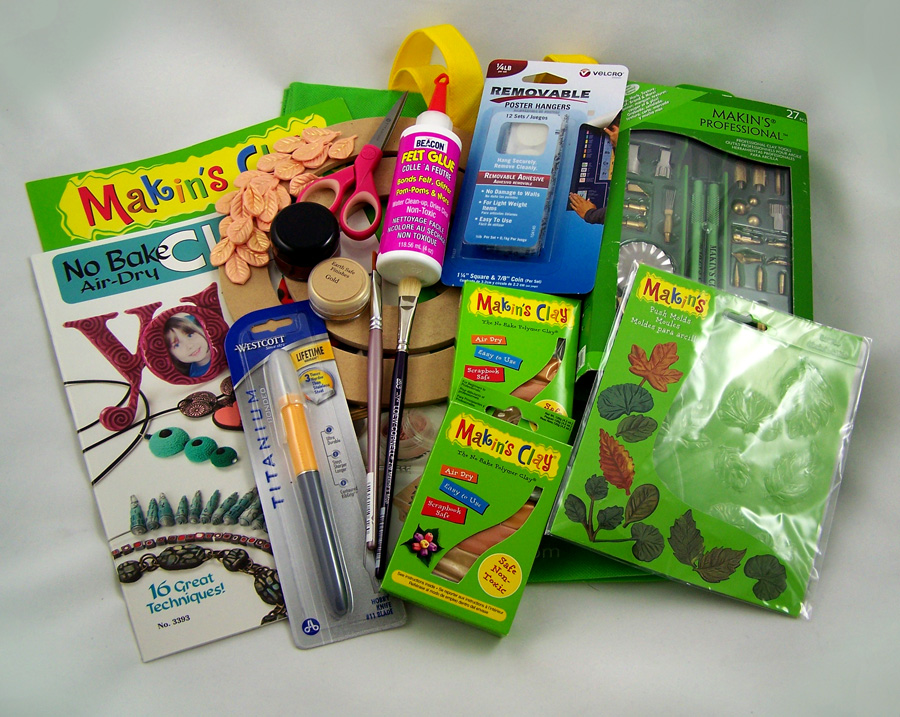
Each workshop participant received this seriously awesome complimentary Makin’s Clay gift bag just stuffed with goodies! I even ended up winning a Makin’s Professional Clay Tools set in class as well!
While I have not used Makin’s Clay polymer clay line in the past I do use their tool line a lot and I can say it is some of the best on the market. After trying out their clay and finding out they make some rather nice new color lines I will be using their clay with projects in the future. 🙂
Until next time, safe travels!
