Recycled mixed media artwork….
I love doing mixed media artwork. I often feel confined if stuck using one form of media. Art like nature, in my mind, should be flowing, entrancing, organic in thought and in form. The inclusion of recycled elements in art not only helps the environment but gives a second life to pieces once forgotten. In my travels I am constantly looking for things to use in my artwork, such as dried plants, sticks, metal, stones, anything that might catch my fancy.
One of my favorite ancient Egyptian myths was how those long past and forgotten would live again if people would repeat their name and talk of their life. When I make recycled art I try to pick ancient ideas and stories to replay with modern recycled goods. I feel I am giving people glimpses of stories and worlds long forgotten, whispering ideas of times past using the tools of unwanted items of today.
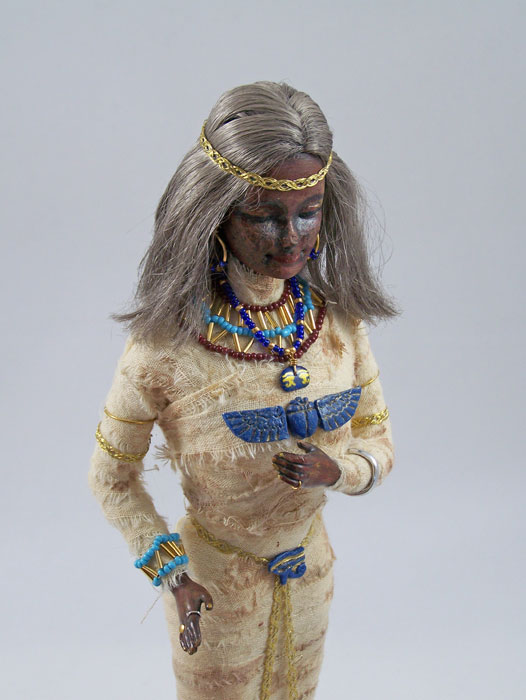
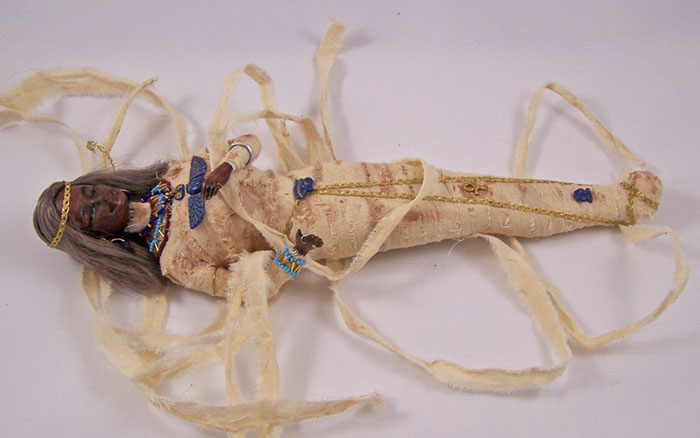
The Recycled Princess:
In her former life this was a rather badly damaged Barbie doll. The toy had a major amount of gouges, scratches and was apparently chewed on. While I know many other people have done mummy dolls before I often find them grotesque and not well made. I wanted this one to be as realistic as possible, just in miniature format. Her wrappings are muslin scraps dyed with used tea leaves. Her jewelry is made from old earrings and all her pendants and amulets are made from polymer clay. All of the acrylic pant is from old paint bottles I found at a yard sale; they were somewhat on the “chunky” side but when layered on the plastic of the Barbie it looked like mummified skin. Her hair was also dyed with the old acrylic paints. To bend the arms into new positions I put them in a boiling water bath to re-shape.
Now this once forgotten toy tells a story of a ancient princess, carefully mummified, silently resting throughout eternity.
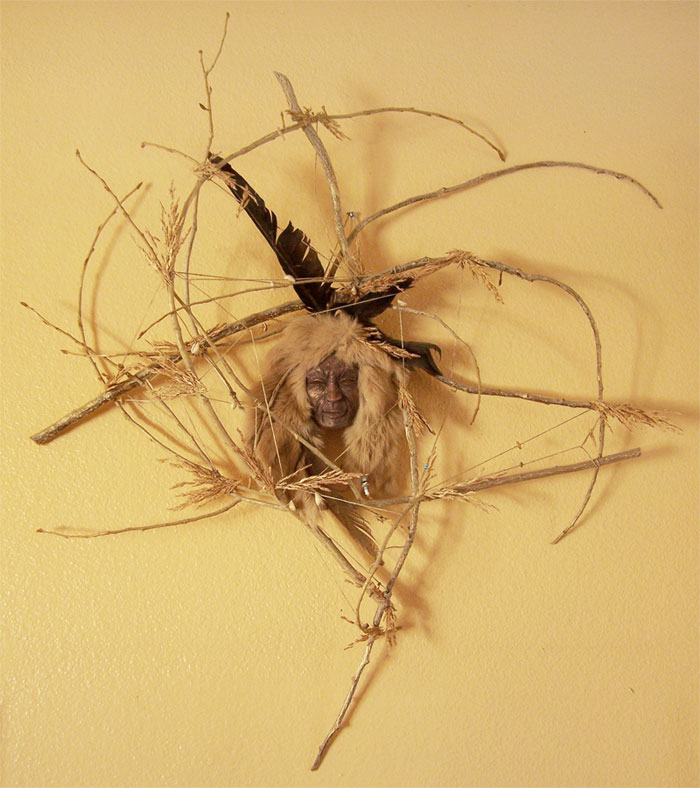
Beautiful Crone Maiden:
Found poplar tree sticks laying on the ground in a circular pattern was my inspiration for this piece. I collected those sticks and tried to arrange them as I had found them, using old hemp twine. The addition of beads and shells from broken old necklaces, dried weeds and found raven feathers all helped to give meaning. It took me tinkering around with polymer scrap clay to create the center piece. I gave her a headdress of rabbit fur salvaged from a rotting fur coat. I only use old recycled leather and fur in my pieces.
A story of a medicine woman, ever seeing but sightless, dreaming of visions of the future build on the past.
What wonderful stories might you create out of found objects and scraps?
Until next time, safe travels!
Texture and shape…
Texture and shape in the natural world has always amazed and entranced me. The flux of colors over a bumpy surface, the shadows, tactile variables all add to the experience. I have always felt any good artist looks to nature for inspiration and by watching it in action, might catch a amazing moment not normally noticed.
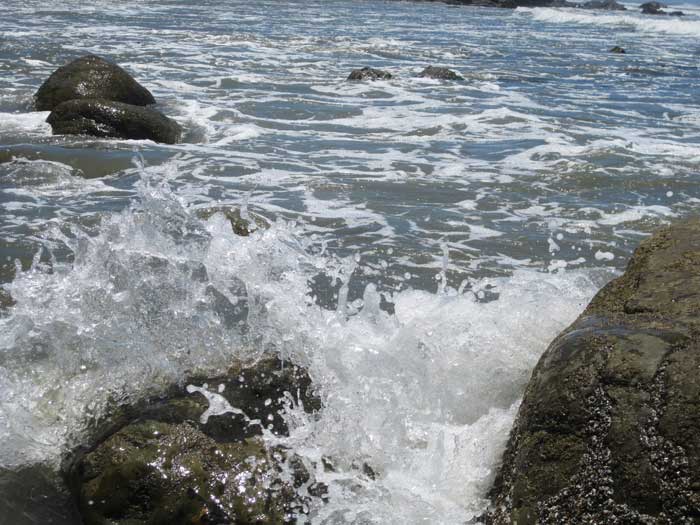
Taking photos, doing quick sketches or even a pencil rubbing of a texture of an element in nature is a great way to capture it for future use in artwork. I had the lovely chance to go to San Diego for a short trip and was able to run away to the ocean side for a day. Here are just a few of the lovely textures, shapes and moments I was able to capture, but sadly photos do these no justice.
I love Bougainvillea, anywhere I find it growing I just have to take a picture.
The twists and bends to the limbs give it such a surreal quality.
I didn’t even realize I took this photo, I was trying to get a photo of the rocks. LOL
A tiny crab hopes you don’t see him.
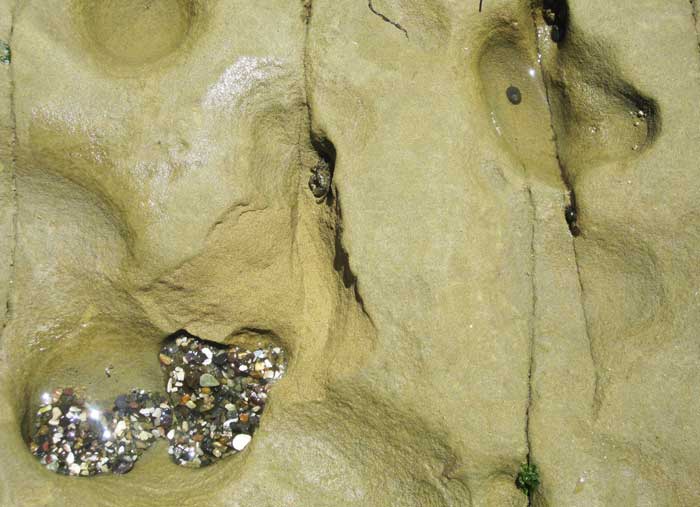
The rocks worn by water reminded me of a Martian landscape.
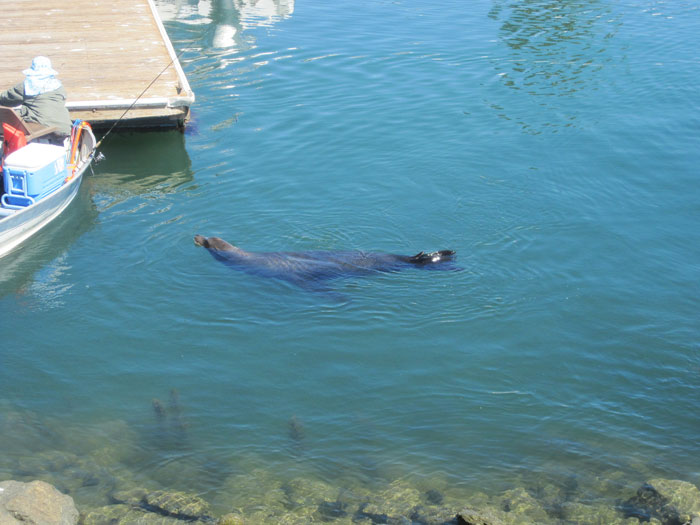
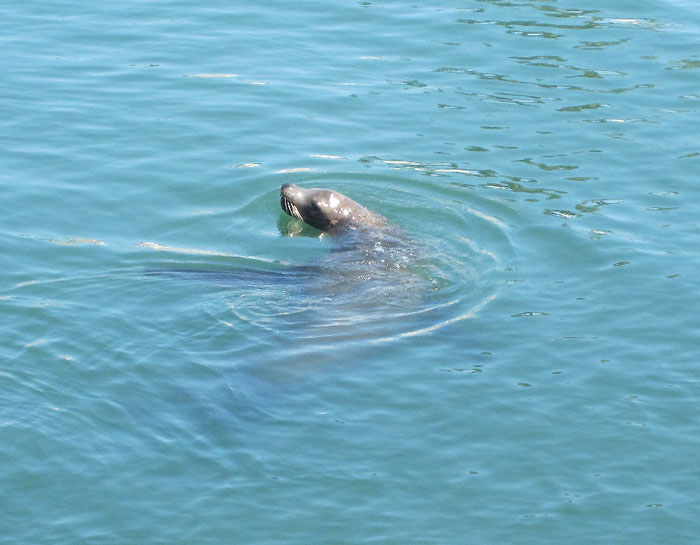
Happened to see a California sea lion begging the local fishermen at one of the docks.
“Aww come on just one?”
“Fine then I will find another boat!”
All kidding aside it was good that they did not feed it since they can become too accustomed to people and handouts. California sea lions are very smart, fast and can be very quiet, lovely creatures to watch, from a distance.
Until next time Safe Travels!
Busy times and a family of Artists…
I have been madcap busy these past few weeks with several art projects and clients; sadly, when that happens my blog posting drops off the deep end. I promise to rectify that. 🙂
Due to one of my current projects, I have been searching through photos and memorabilia. As a result I found some amazing photos of my parents at work. For some this might seem mundane but for me it give me a closer look at the people they were and how they changed over the years.
My parents were rather artistic people. My father was an aerospace engineer and my mother was a graphic illustrator. Being the hard working folk they have always been, they did not have time to take many pictures of their work or themselves in the process of working. I was told many stories and sometimes shown airplanes my father worked on or cartoons my mother inked but never got the chance to see them at work. They always encouraged my brother and I to do an interest in wildlife, artwork, study science and history. There’s no surprise that my brother is now a Ph.D in biochemistry, an artist in his own right, and I have worked as a exotic animal researcher, handler and full time artist.
My father passed away from prostate cancer in 2009 and I regret not talking to him more about his life. He was a quiet man but would share stories if certain people asked. I am beyond grateful that my mother is still with us and in good health for a woman in her 70s. I try to spend as much time as possible with her these days; often she surprises me with things I never knew about or pulls out a photo I thought was long gone.
These are some of the wonderful stories and photos my mother surprised me with the other day; while these will not be used in my projects I thought they were too wonderful not to share. 🙂
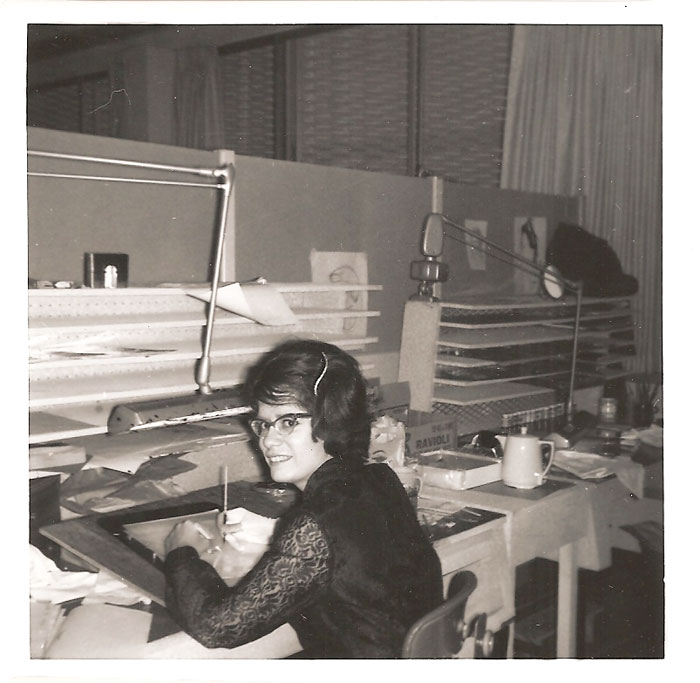
In the 1960s my mother worked as a animation cell inker for the
legendary Hanna-Barbera Productions; she worked on The Flintstones,
Jonny Quest, Yogi Bear, The Jetsons and many cartoon advertisements.
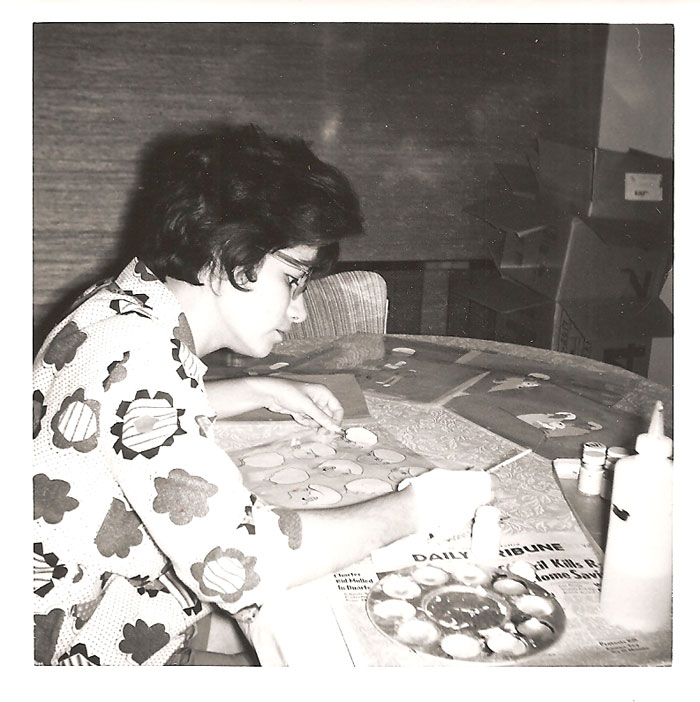
This is her in the animation cell workroom.Here my mother is working on practice animation cells of Jonny Quest at home.
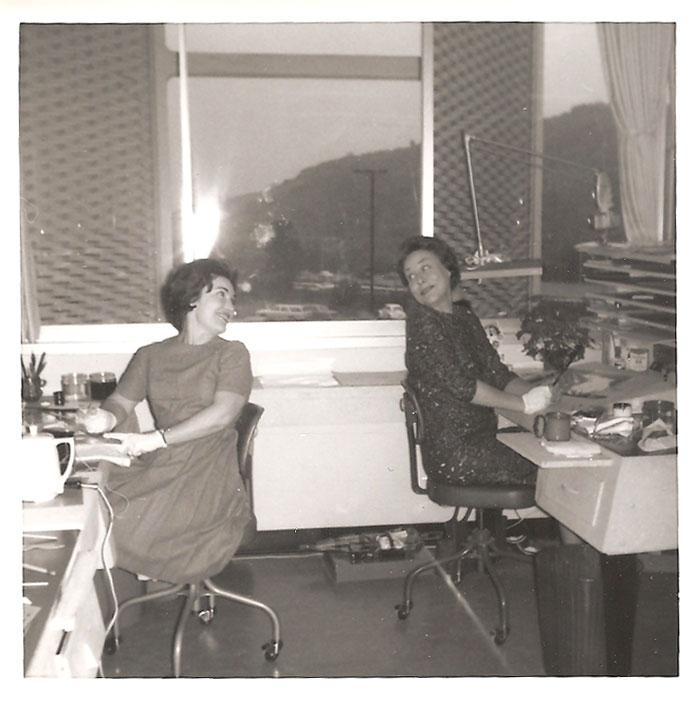
Both of my mother’s coworkers and friends, at Hanna-Barbera Productions, this is the animation cell workroom. Of interest the hills in the back are the old Universal backlot, they would see them filming them The Virginian TV series all times of the day and night.
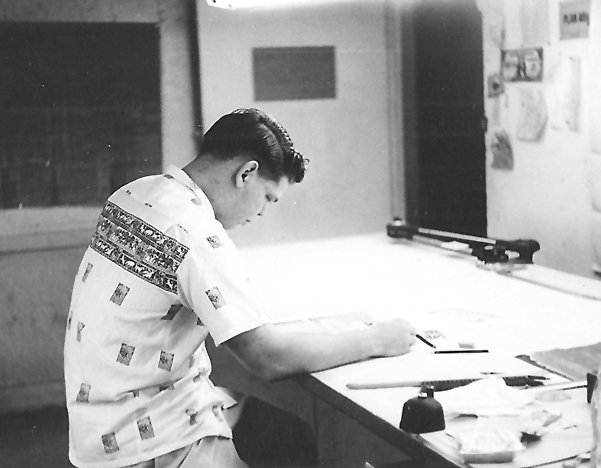
My father starting his career as an aerospace engineer, this was his first aerospace job after he served in the US Army as a MP and engineer.
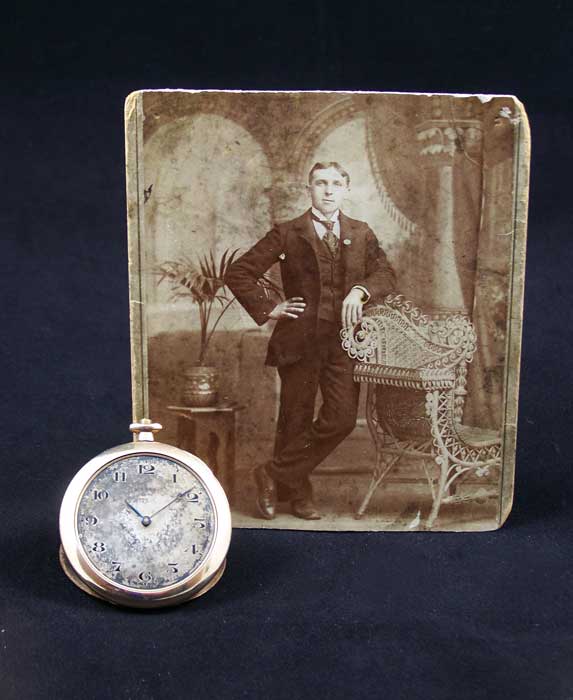
My grandfather on my father’s side, circa 1910s. I found his pocket watch carefully stashed away by my father many years ago. From what I can gather it is the same pocket watch shown attached to his lapel on his left side of his jacket in this photo.
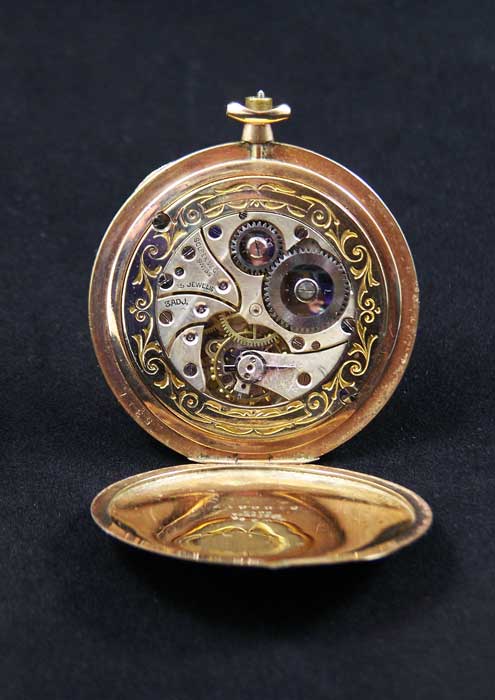
Here is a close up of the inside of my grandfather’s pocket watch, the engraving is just stunning.
I am grateful for these snippets into my family’s past and encourage you to do the same! You never know what wonderful stories and treasures you might find.
Until next time, Safe Travels…..
Scraps and leftovers…
Due to the change in weather, I wanted to set up a nice garden this year of veggies and native drought hardy plants, which I did to the detriment of my blog postings. LOL
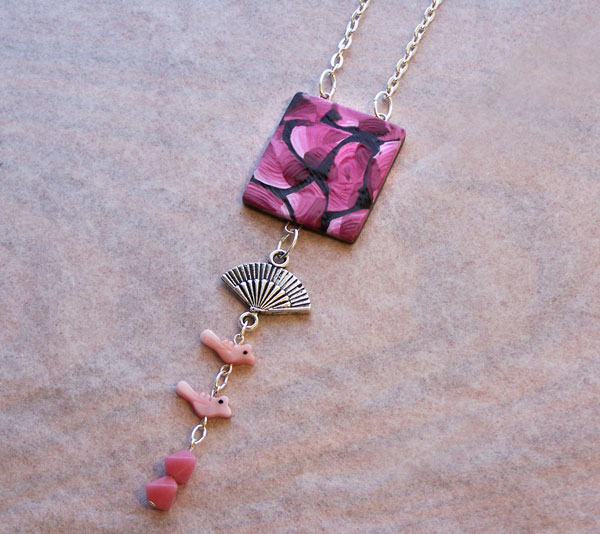
I have however also been making all types of jewelry out of leftover projects. I like to try to use up as much as possible of old supplies and pieces before I make any new orders or get new supplies. In this case leftover polymer clay, which seems to run rampant in my projects, I keep every poly clay scrap I possibly can. Sadly they often sit in a box for months, “glaring” at me when I go through my scrap box for something to make. Wanting to make a new order of supplies but knowing I had to do something with some of my left over stuff, off I went to my poly clay scrap and my jewelry finding junk box. I collected some slices off a cane, which I was able to cut into small pieces and arrange on a bed of scrap black poly clay, smooth the edges, carve little texture lines and add 3 horseshoe hoops for hanging findings.
Add a few findings, beads for contrast and silver chain, and there you have it: a quick and classy necklace. 🙂
After a few more necklaces made from scraps I realized I was honestly low on supplies so merrily I went ahead and made an order to Fire Mountain Gems. Though this time along with the needed supplies, on a whim I ordered a Boss’ Bead Bag. Basically a grab bag of all types of findings, beads, cabs, frames, anything and everything they carry might end up in one of these bags. I was more than pleasantly surprised when I opened my order.
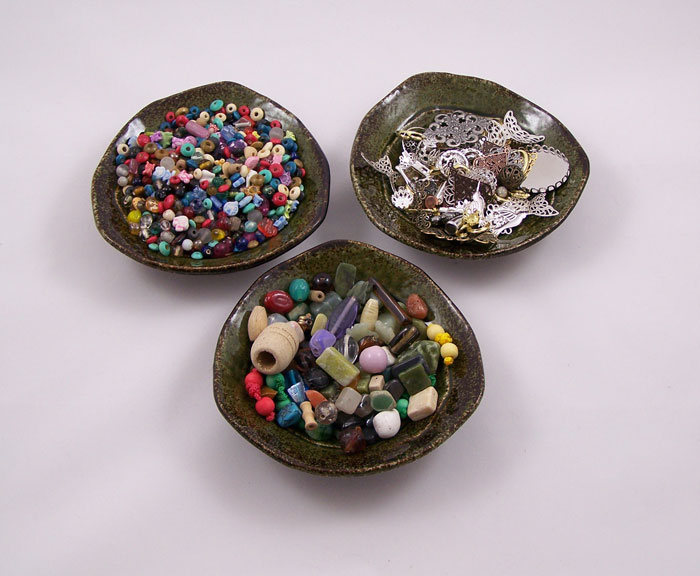 Here is the Boss’ Bead Bag separated by size of beads and metal findings. There was sterling silver beads, semi precious stones, wood beads, adorable plastic animal beads, glass beads of all sorts, frames and filigree findings! Which of course got my squirrely little mind a whirl with the idea of making necklaces just from the supplies found in the Boss’ Bead Bag.
 I wanted to try making the first one as classy as possible, just to see how un-grab bag like I could make it. I ended up with this lovely mix of butterflies and purple/pink hues, everything was from the Boss’ Bag except for a few added jump rings, eye pins and nail pins, which was also from this order to Fire Mountain Gems. I still have loads of stuff left over from the bag to make more necklaces and even some miniature work (there was some very tiny pendants and beads perfect for a doll house).
I highly suggest anyone into jewelry making but also likes interesting surprises to order a Boss’ Bead Bag.
Till next time Safe Travels! 🙂
Mushrooms and Mayhem….
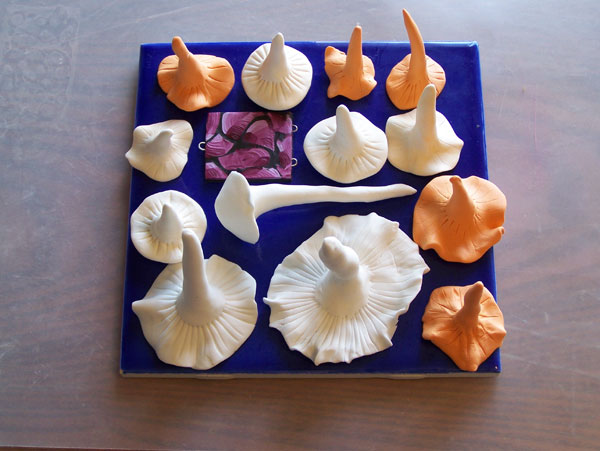
Well lots of artistic mayhem has been afoot lately and I finally got some time to sit down and do a blog post! I have been working with polymer clay and recycled materials as of late, and due to spring coming up I got growing things on the mind. Mushrooms and their appearance in artwork are a favorite of mine (not the use of to create art LOL). I had attempted to make mushrooms out of polymer clay in years past but was never completely happy with the feel or texture of the finished piece. This is where Sculpey’s Ultra Light and Sculpey’s Pluffy polymer clay came into play.
Ultra Light clay is well, ultra light, flexible when rolled thin, and you can use it for armatures and mix it with their other lines of clay. The down side is that when the clay warms up from handling it has a somewhat melted marshmallow feel and sticks to your hands if overworked. Pluffy (A new addition this year to the Sculpey family) has the same qualities, but with the addition of some rather nice colors and marketed towards children. On a whim I made a few mushrooms out the first block I got of the Ultra Light; while trying to mold it quick enough without warming the clay up too much was tricky, the outcome was worth it!
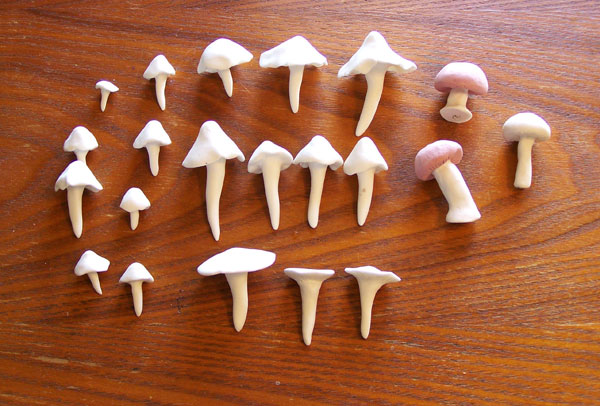
The mushrooms came out velvety soft, very easy to carve, paint and I could put a large amount of them on a diorama without adding unwanted weight. I quickly started to work out more designs and made up “species” of mushrooms for my scenes. What follows is a quick tutorial of how to make the “flat top” mushrooms (great for small polyclay critters and creations to sit on).
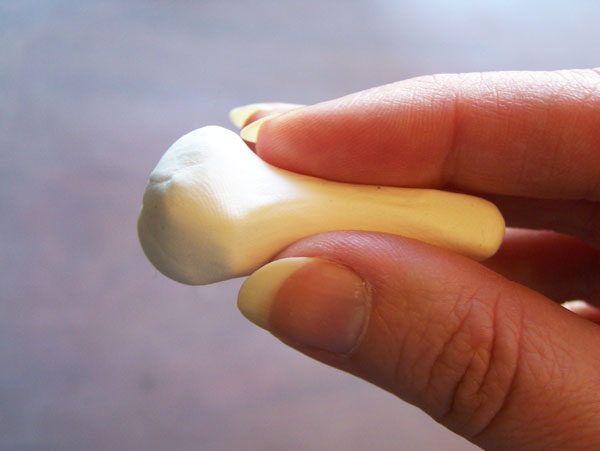
Grab a small chunk of Ultra Light or Pluffy and quickly make it into a elongated drumstick.
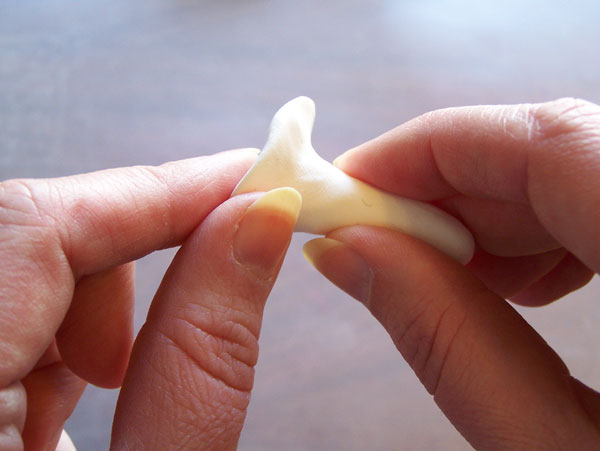
In a circular motion pinch the top portion of the drumstick until you have a flat top.
Don’t worry if it looks uneven, it looks more natural that way!
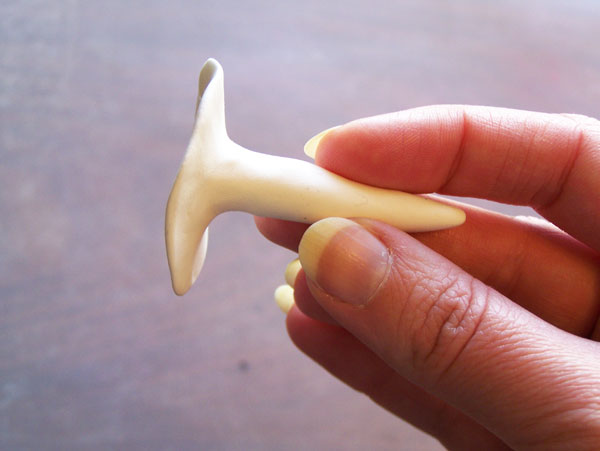
Now to add the “gills” of a mushroom (you don’t have to add these but I like to give it that added level of detail). Using a polymer cutting blade or a rigid thin piece of plastic depress into the clay until all the way around to form the gills, you can do that in your hand or on a cutting mat, just be careful if using a blade.
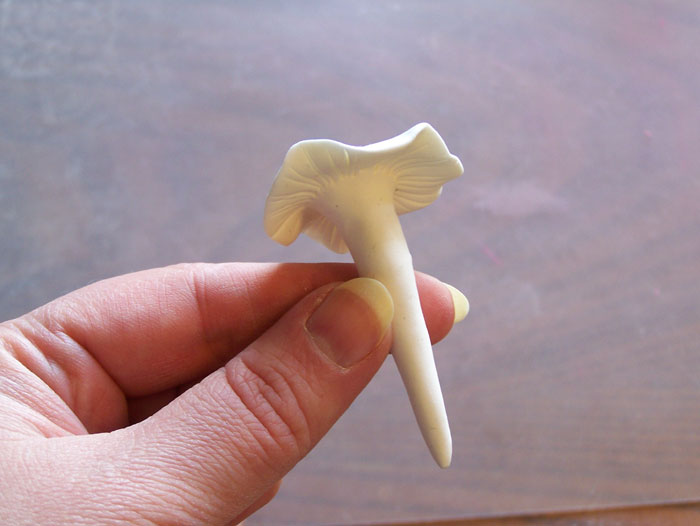
Now do tiny pinches and slight rolling edge to the mushroom, careful not to destroy the “gills”. Your mushroom should look something like this.
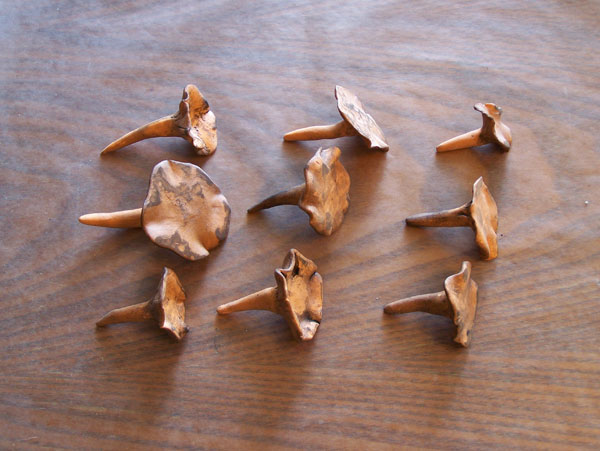
Some mushrooms might end up being longer than others, the nature of this clay is to slump a little in baking so put tooth picks in the stem of the larger mushrooms to maintain shape and give it strength. I like to carefully place them on ceramic heat proof tiles, place them in a polyclay designated cookie pan and bake according to manufacture instructions.
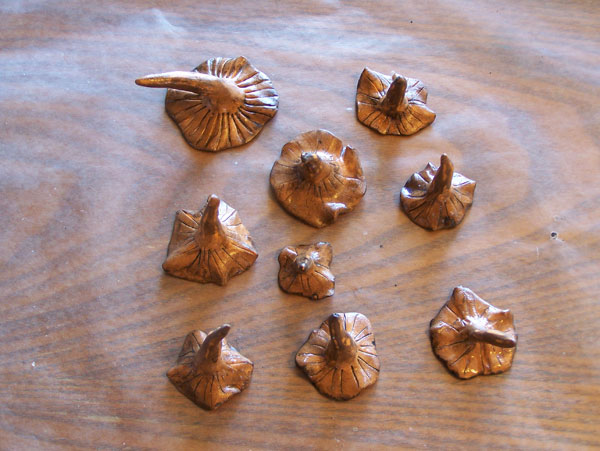
Once baked and cooled you can sand or carve any imperfections off. Now you are ready to paint and glitter if you would like. The mushrooms shown are the Pluffy Orange tint that are drying after a black color wash.
Always remember polymer clay that has been painted can have the paint damaged and nicked, so always put a sealant or glaze over the pieces to protect you work. I like to use Mod Podge Matte or Glossy (Sparkle Mod Podge could also be used for a fantasy feel) for the mushrooms, but use other products for other polymer projects.
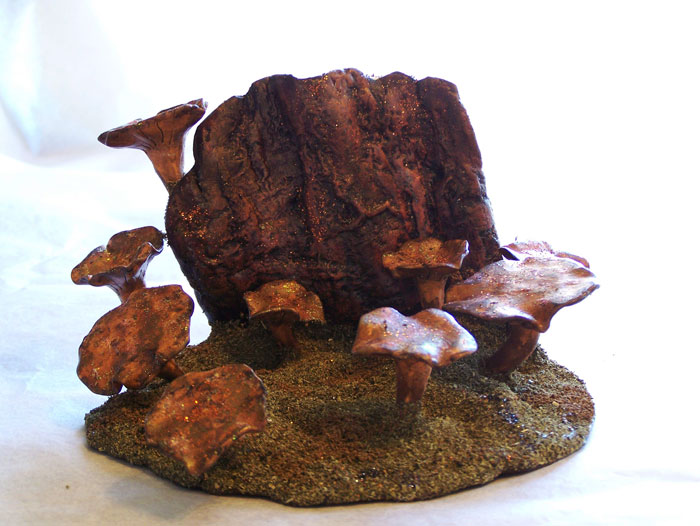
Here the mushrooms are placed in a scene completely made from the Ultra Light. To get the texture of the “bark” I pressed Ultra Light into the trunk of a tree, baked it separate from the base, painted, sealed and covered the base in used ground tea leaves.
The wonderful part is that you can research more mushroom shapes and designs to try in in polymer clay by looking online, taking field trips into nature to take reference photos and checking your local Natural History Museum for collections!
Until next time safe travels! 🙂

