Resin work….
Resin work of any sort has always been an interest of mine. My parents had worked with it over 35 years ago but often complained about the odor and the “cooking” (over heating anything put into the resin) element of resin. With that in mind, I avoided working with resin, concerned about the vapors and heat. That was until I ended up talking with the people at Alumilite Corporation booth, makers of the Amazing Mold Making and Casting Products at CHA‘s 2010 Winter Trade Show. (See this blog post for 2011 CHA Winter Trade Show) They were showcasing their Amazing Mold Putty and Amazing Casting Resin as a way to create replicas of practically anything in a very short period of time. The Molding Putty is non-toxic (in fact you can make food safe molds with it) and the Casting Resin is a opaque, low odor resin and cures within 10-15 minutes. After seeing the demos I went ahead and got several kits.
I started making master pieces in polymer clay to make molds from. I generally use my junk clay, pieces left over from other projects, which for some reason always end up making pink or gray-purple color. LOL
Keep in mind while I use polymer clay as my master you can practically mold any surface or item you like. The more detail in the piece, the finer the mold.
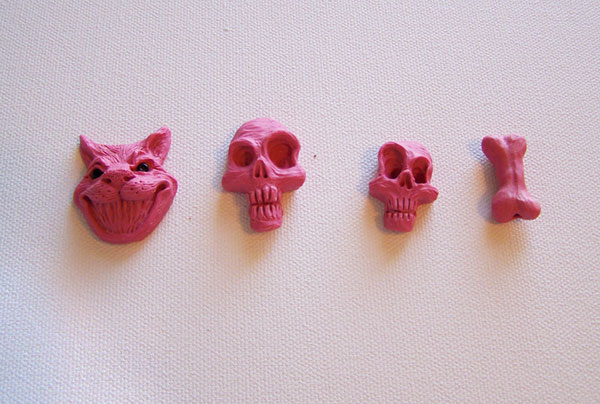
Here are the masters made out of poly clay. Keep in mind I did high detail work. The Amazing Mold Putty does wonderful with anything with high detail, and I get better molds with high detail masters. The Cheshire cat is about the size of a US Silver Dollar.
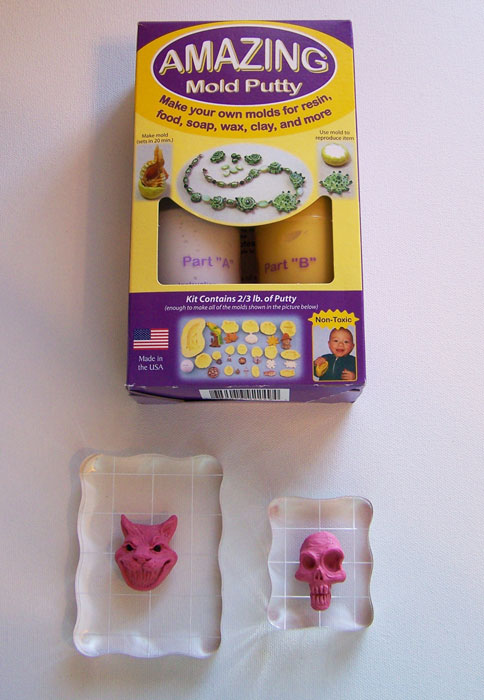
Note I place the masters on Clear Stamp Acrylic Blocks used for stamping. I use them to keep track if the molding putty is plum to the piece and make sure there is little if no creases forming when placing the molding putty on the piece. You can use small clear glass titles as well.
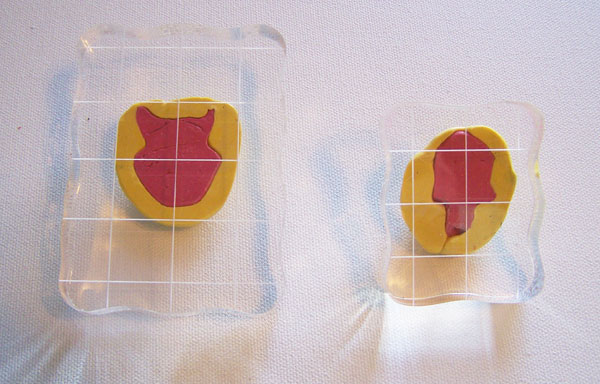
Make sure you mix the putty according to the manufacture’s instruction, though the Amazing Mold Putty is rather forgiving if there is not exact amounts used. I try to use as little as possible to be able to do more projects. Do not attempt to remove the mold for at least 20 minutes to make sure the mold has set.
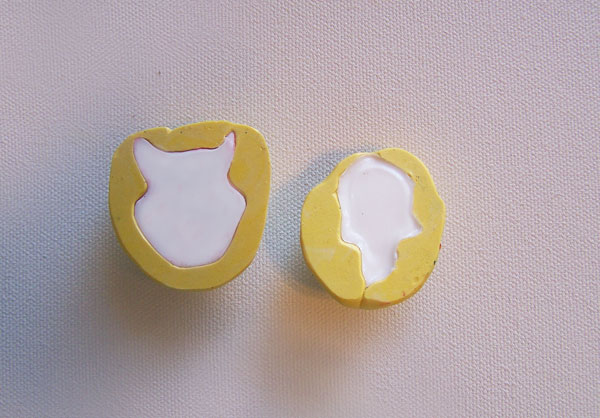
As you can see I tried to get the mold putty as plum as possible, using the Clear Stamp Acrylic Blocks as my guide.
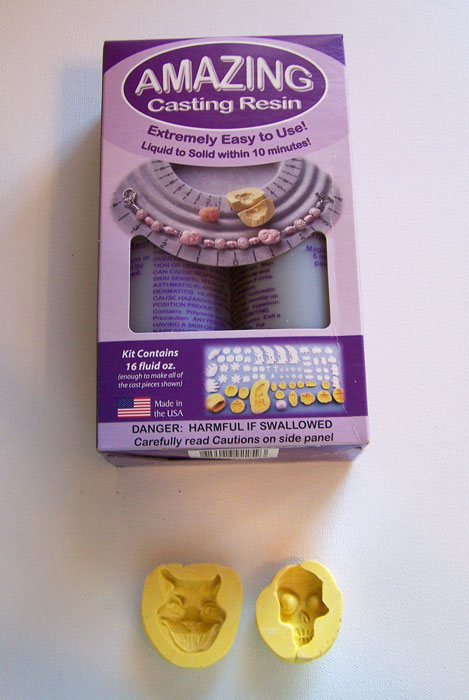
While the cure time for the molds is 20 minutes I like to leave the master in the molding putty for longer, making sure the mold is a rigid as possible (but keep in mind it is silicon and very flexible once cured) before trying to make any replicas. The molds can be cleaned with mild soap and water before you make any replicas to remove any loose particles left by the master.
When mixing the Amazing Casting Resin be careful about stirring too fast and for too long. Once the two parts are combined stir carefully until clear, scraping sides, about 15-20 seconds. Then immediately start to pour the resin into your molds; do not pour too quick as you will increase the amount of air bubbles. It will set in 10 minutes, the thicker the piece the faster the cure time. Once the piece is cured I quickly demold, trim any rough edges, sand and either start painting or put some sort of clear protective sealer (I like to use Mod Podge); the resin will bond with the paint or sealer in those few minutes after demolding. I let them dry and sit for about an hour before I do the final sanding or drill any of the replicas.
The finished replicas sanded, drilled, painted and sealed. You can even easily put this resin into clear resin as well, as you can see with the skull that I purposely caught air bubbles in the eye sockets to give it the look of eyeballs.
Until next time, Safe Travels…

